Industrial Wales - South and Mid-Glamorgan
The Cynon Valley
From Mountain Ash to Aberdare and Hirwaun
Search the site here
|
|
Industrial Wales - South and Mid-Glamorgan
The Cynon Valley
From Mountain Ash to Aberdare and Hirwaun
|
Search the site here
|
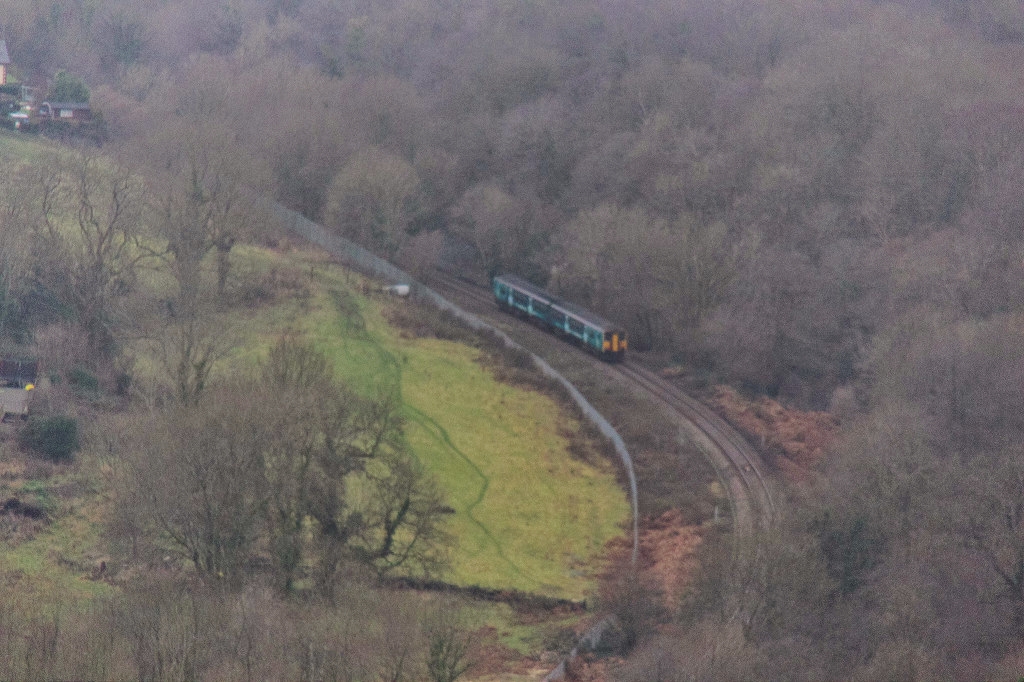 A 'Sprinter' at Tyntetown |
 Penrikyber Colliery, No 11 |
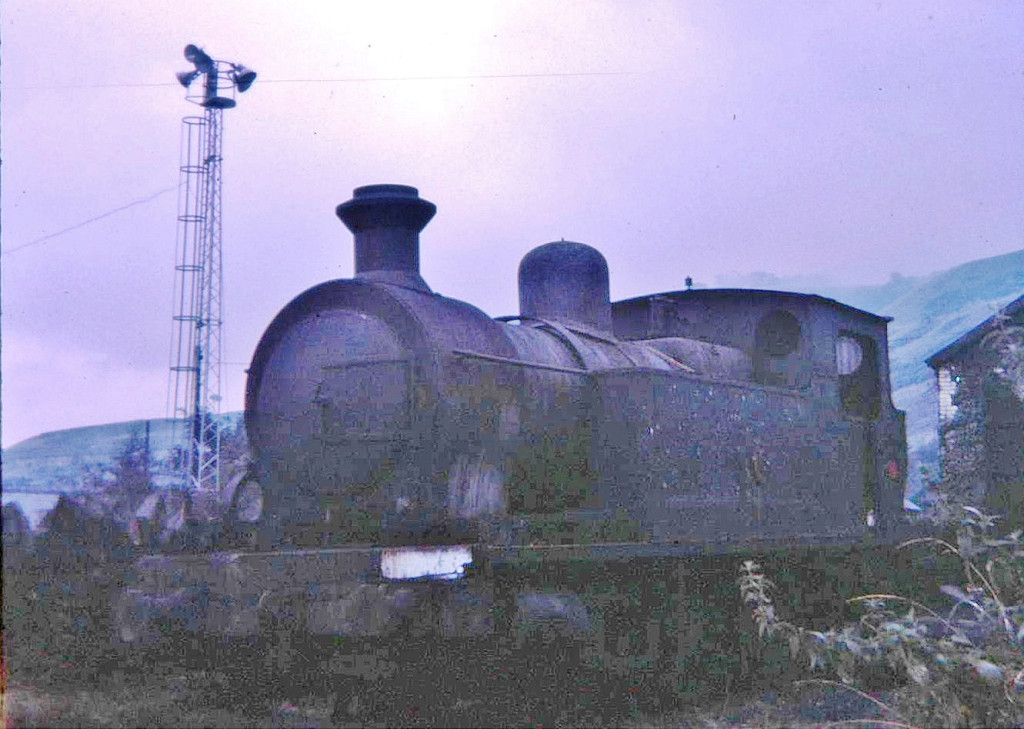 Penrikyber Colliery, No 18 |
|
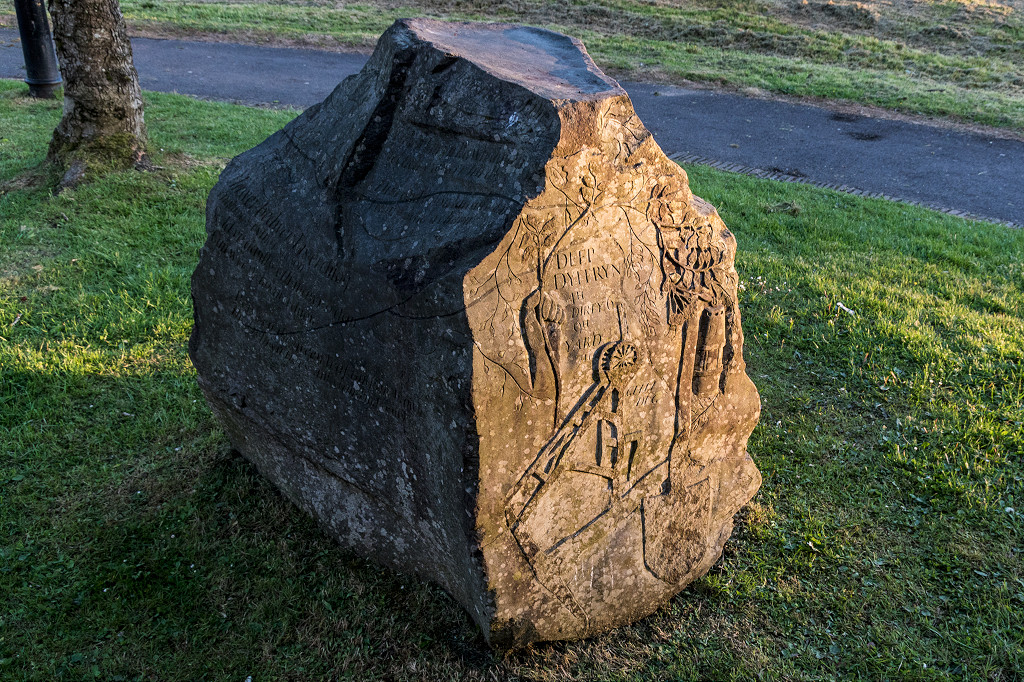 Deep Duffryn Colliery monument |
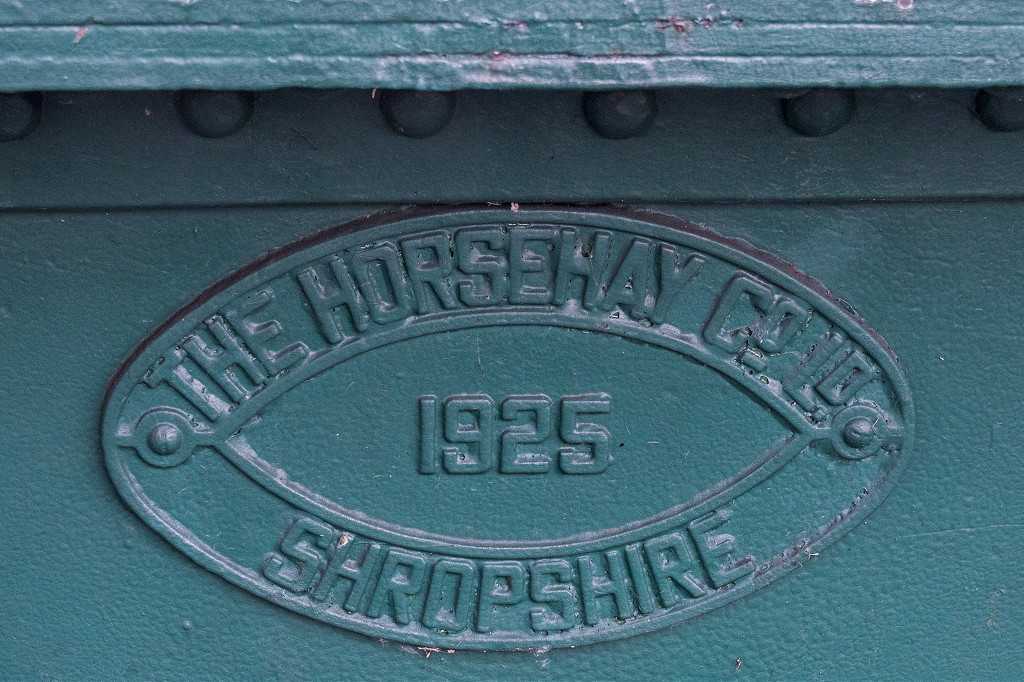 Horsehay Co works plate |
 Incline to Perthcelyn |
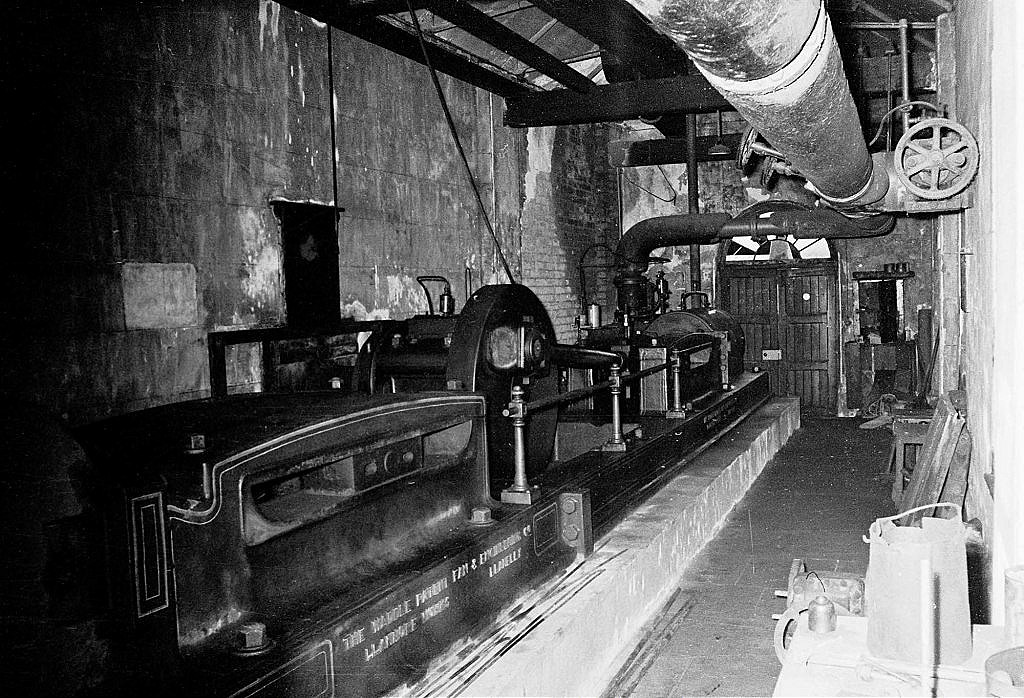 Fan engine at Mountain Ash |
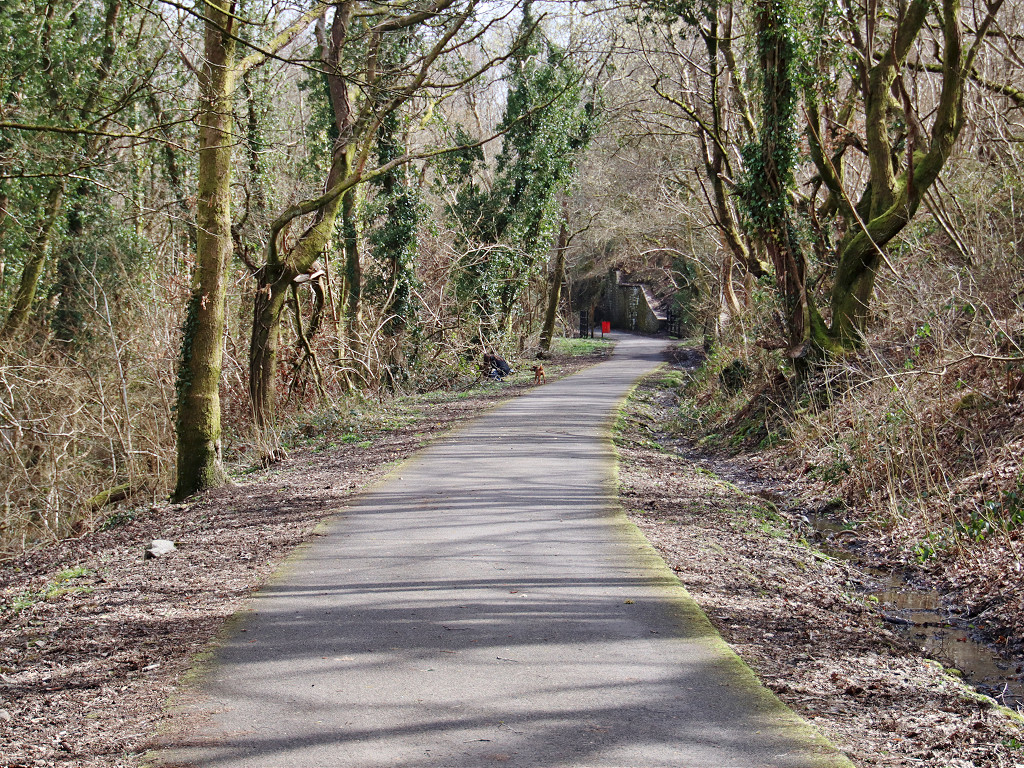
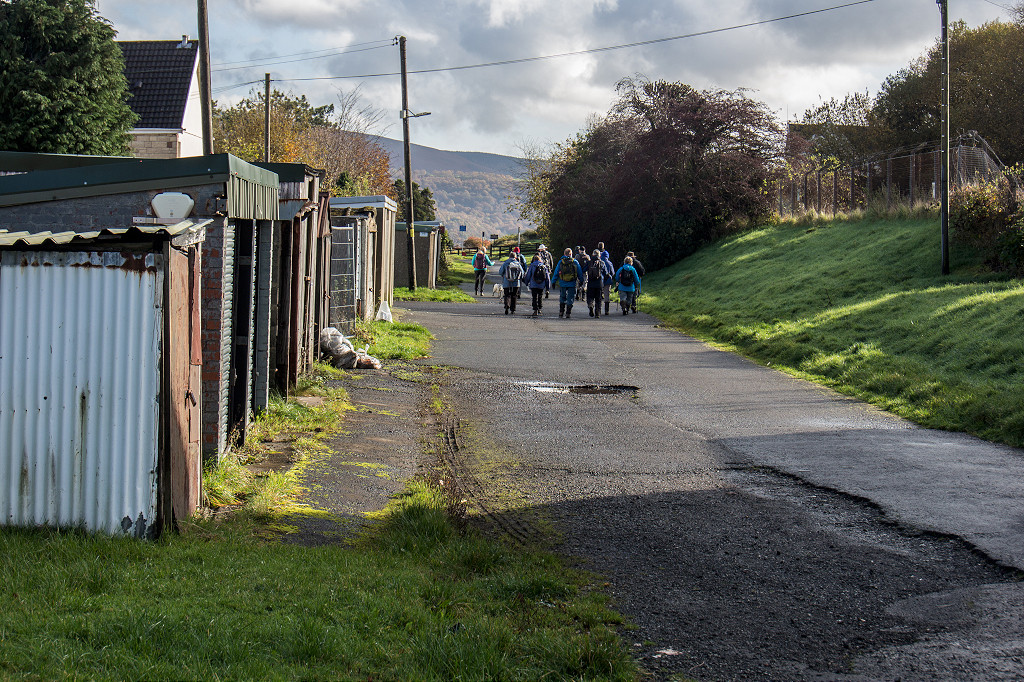
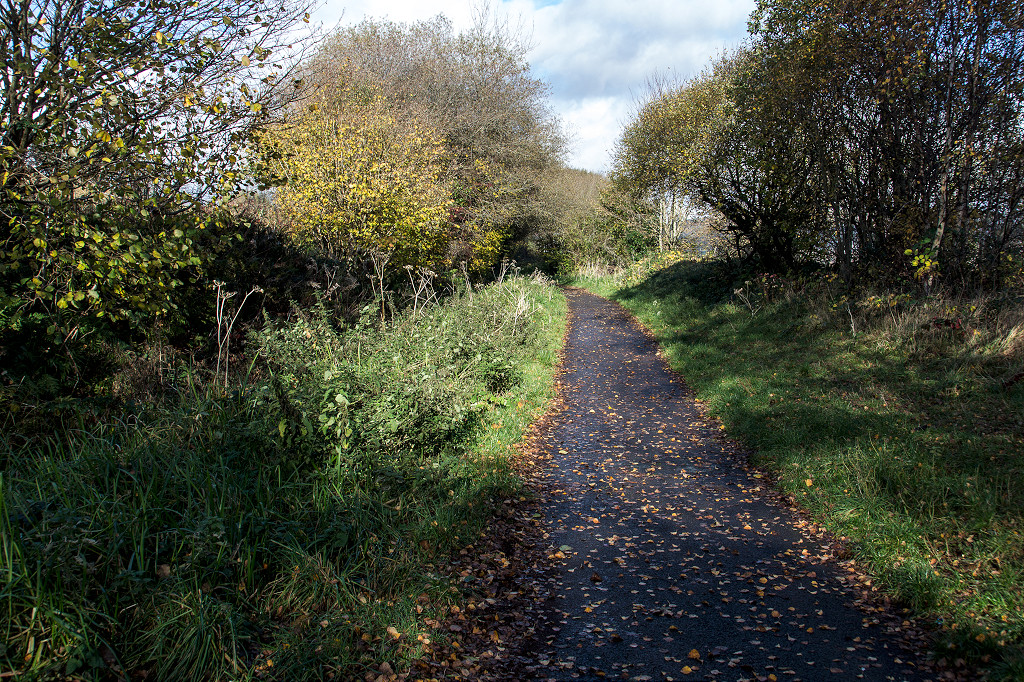
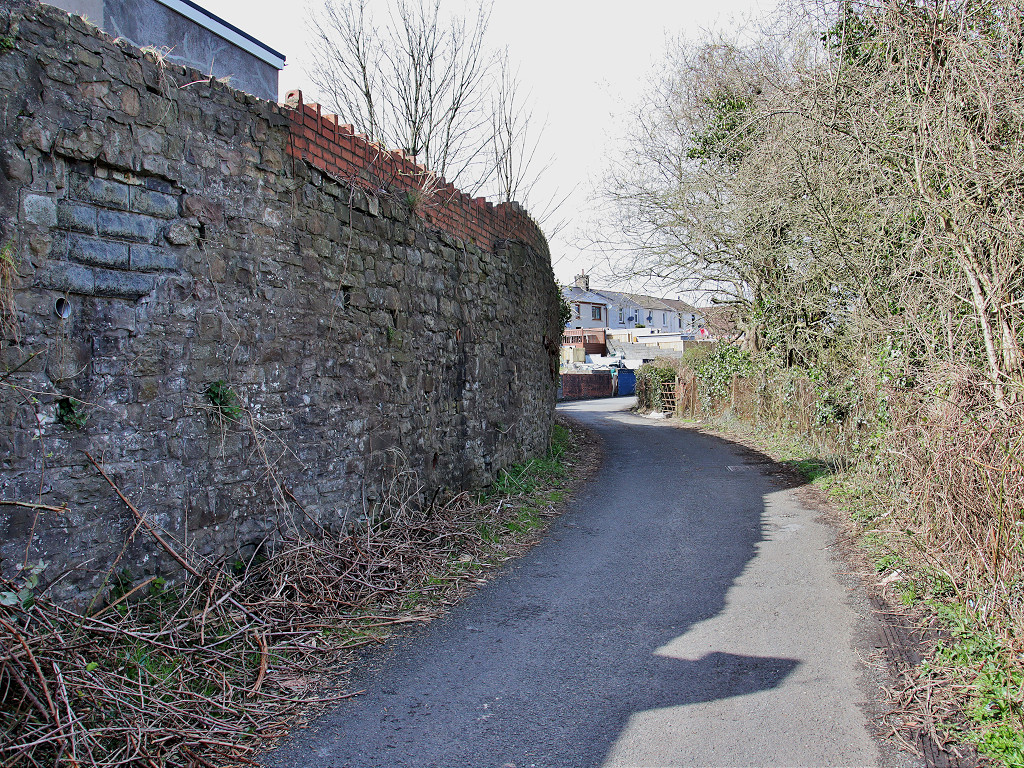
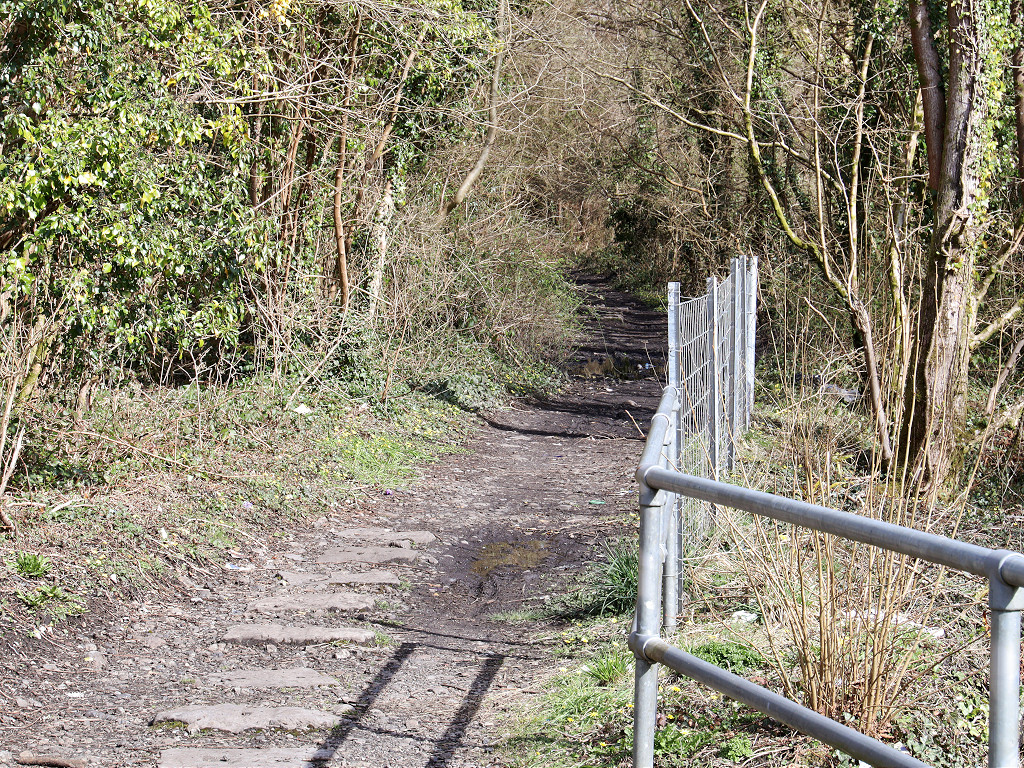
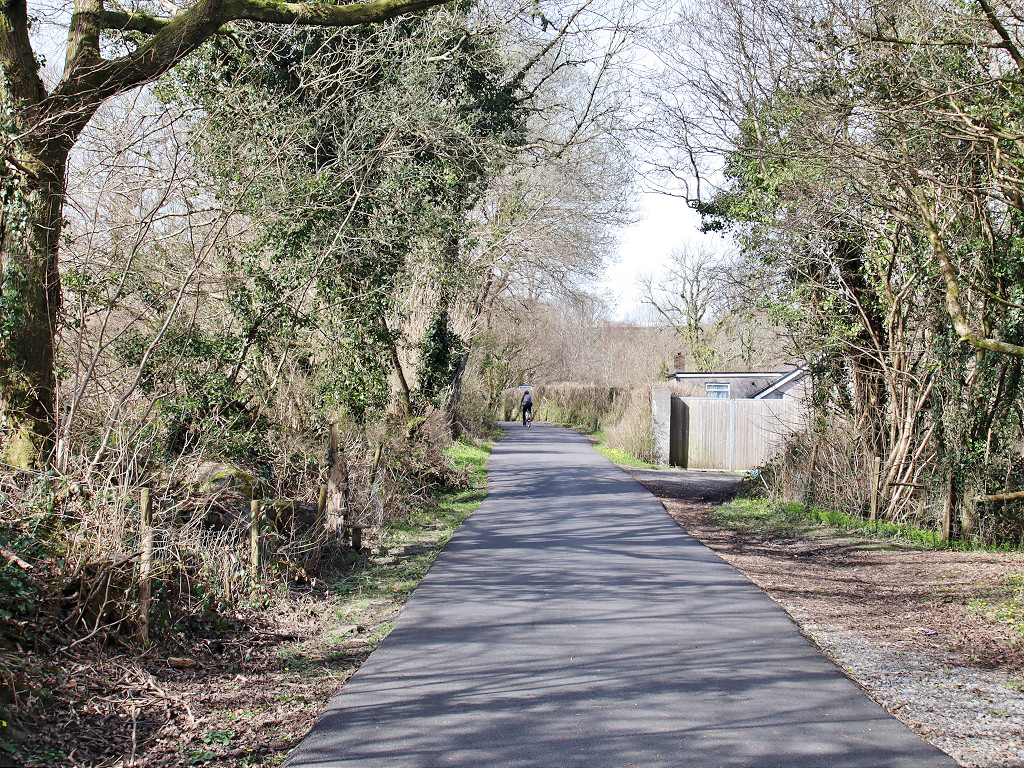
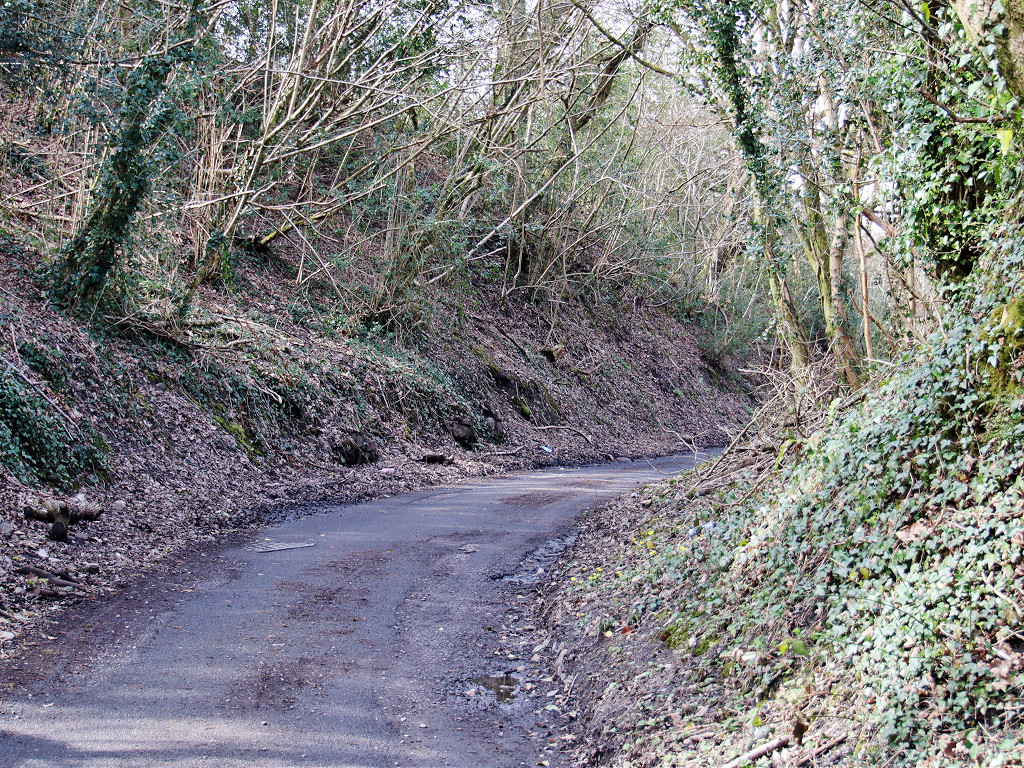
 The TVR Dare Valley branch |
 The TVR Dare Valley branch |
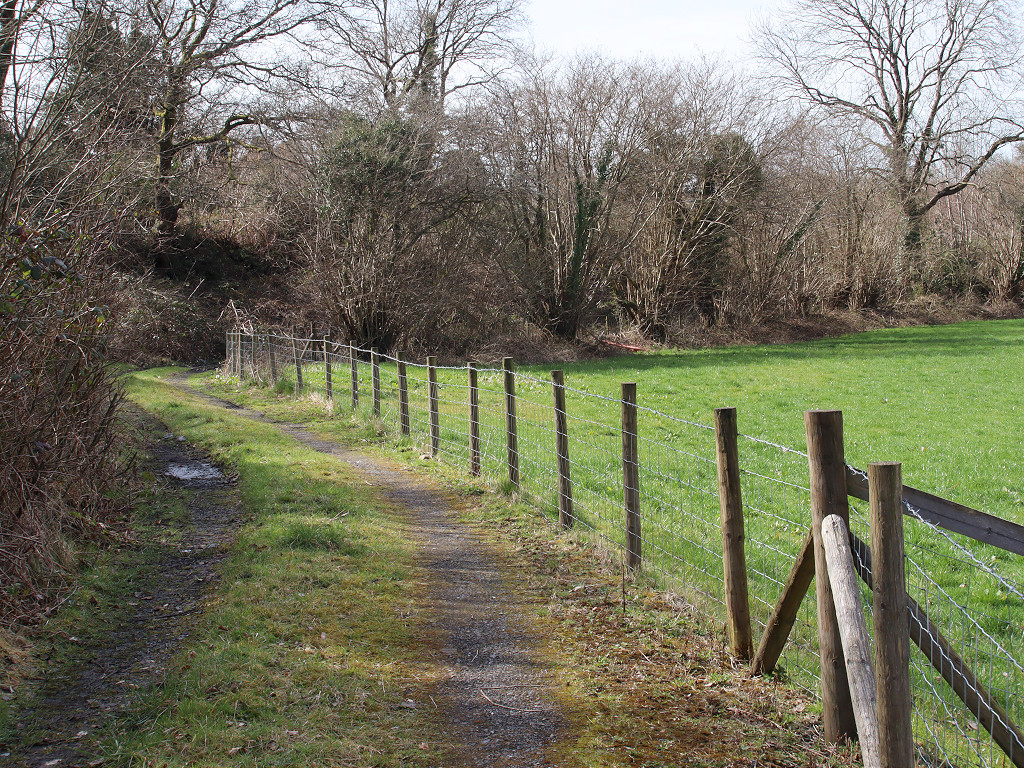
 Gadlys Colliery |
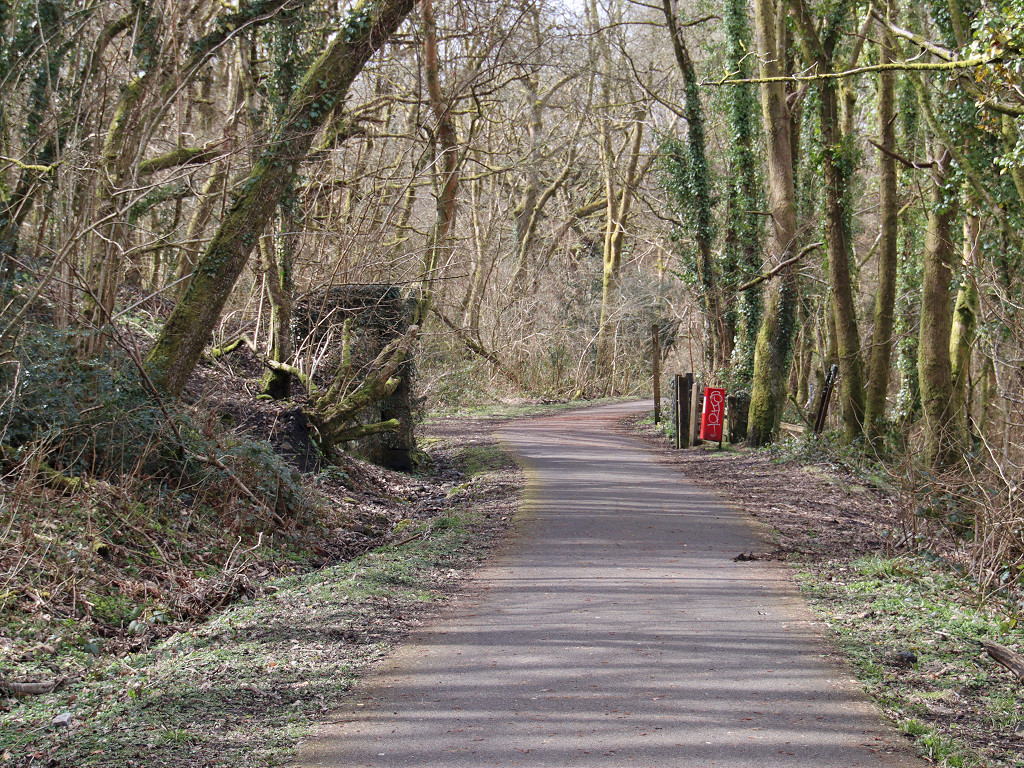
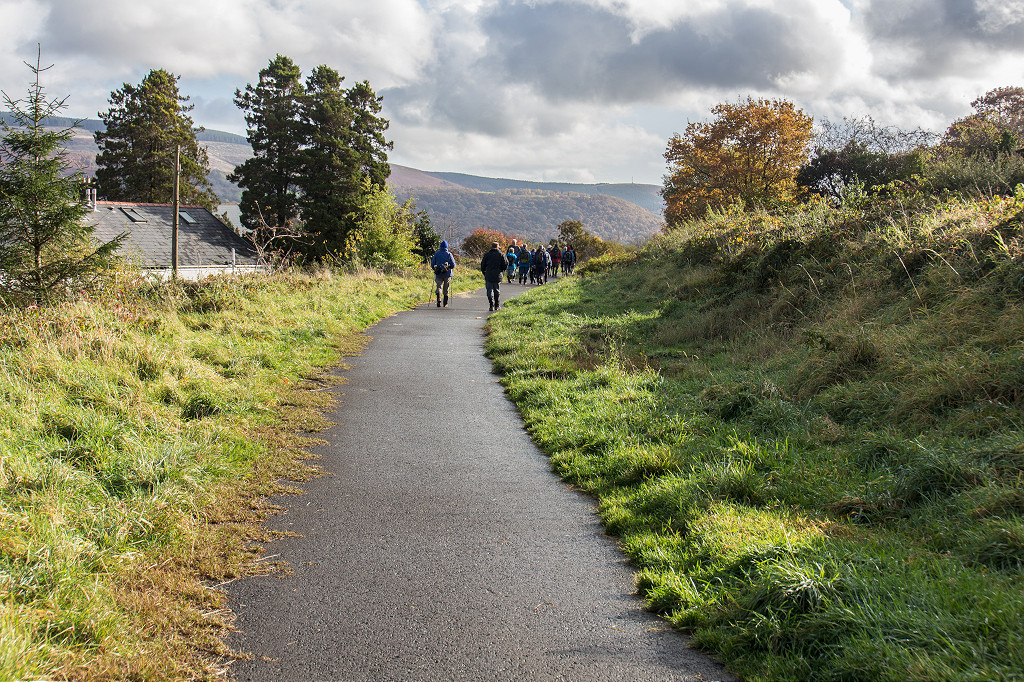
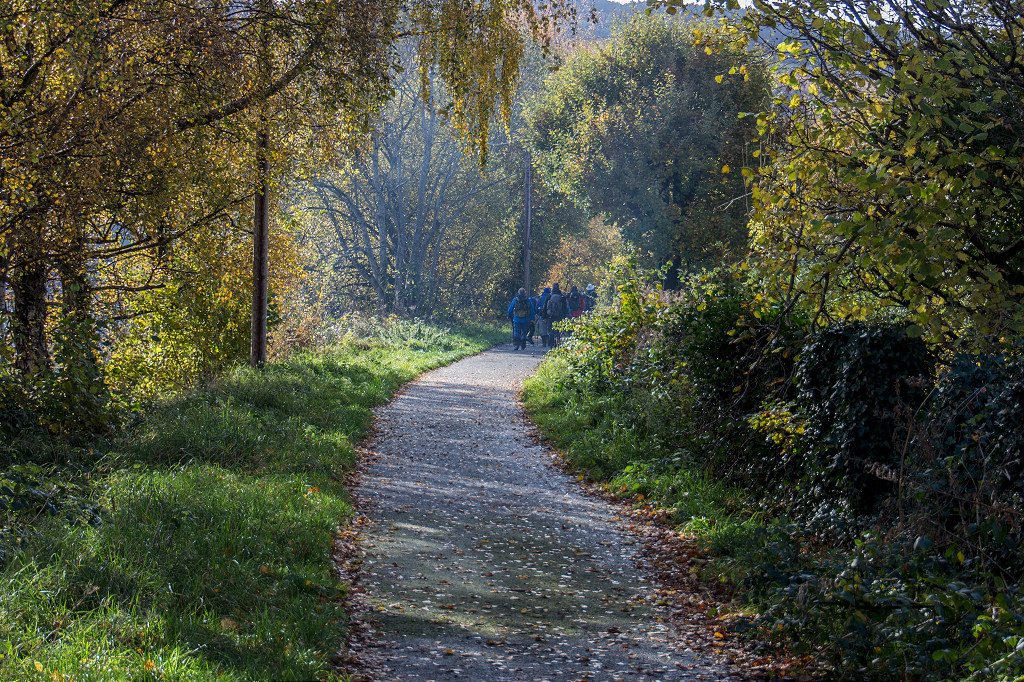
 The TVR Dare Valley branch |
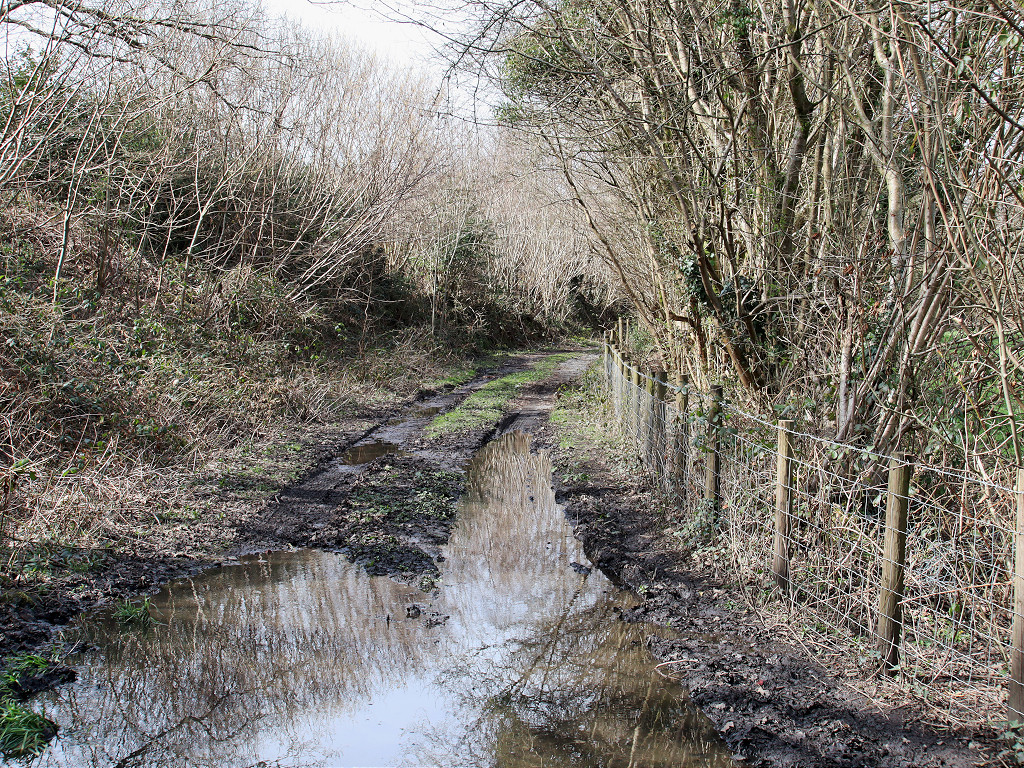
 The TVR Dare Valley branch |
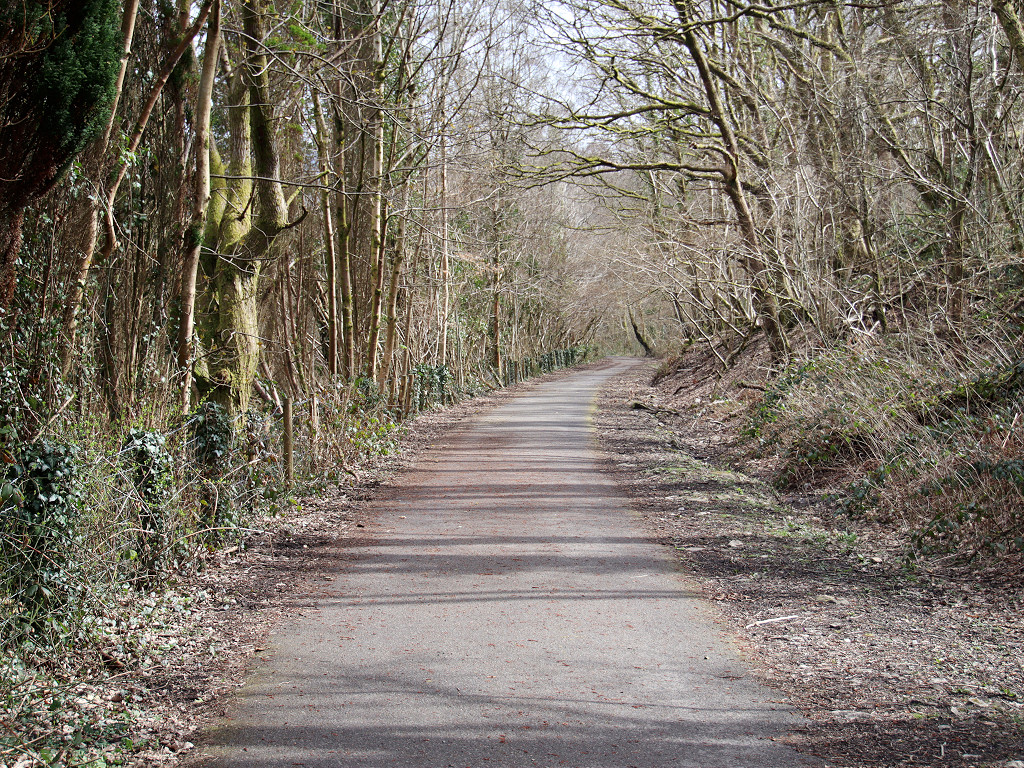
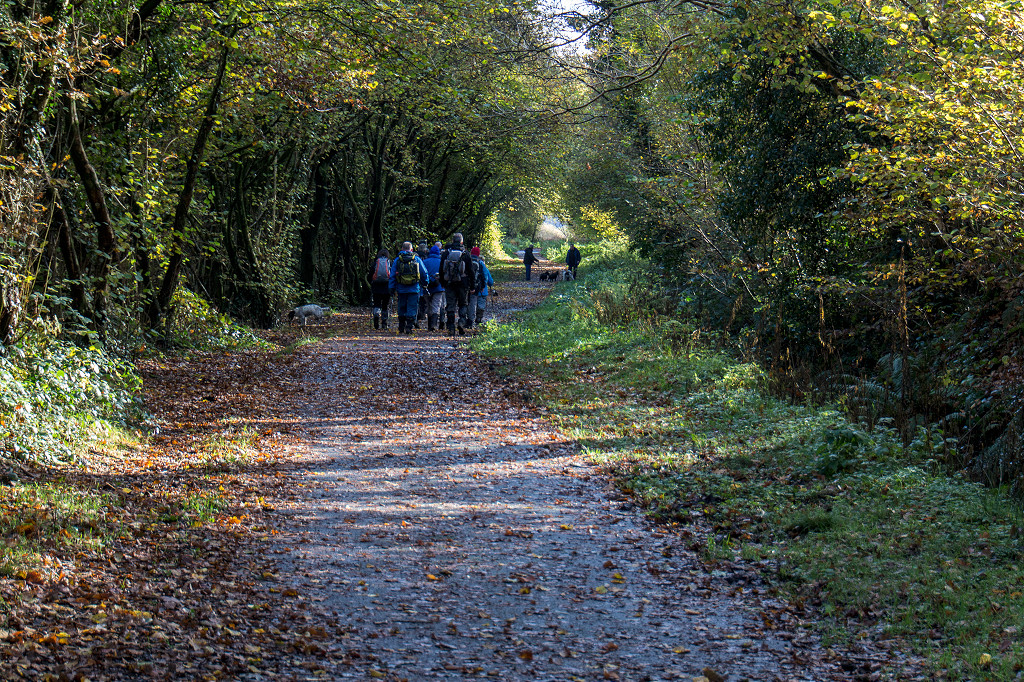
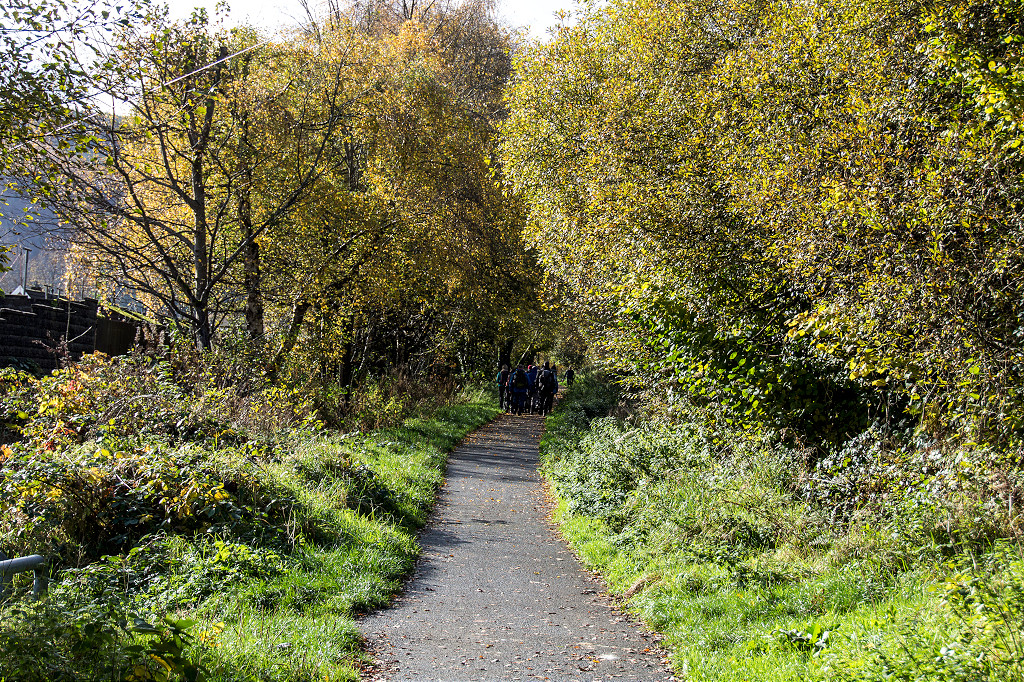
 The TVR Dare Valley branch |
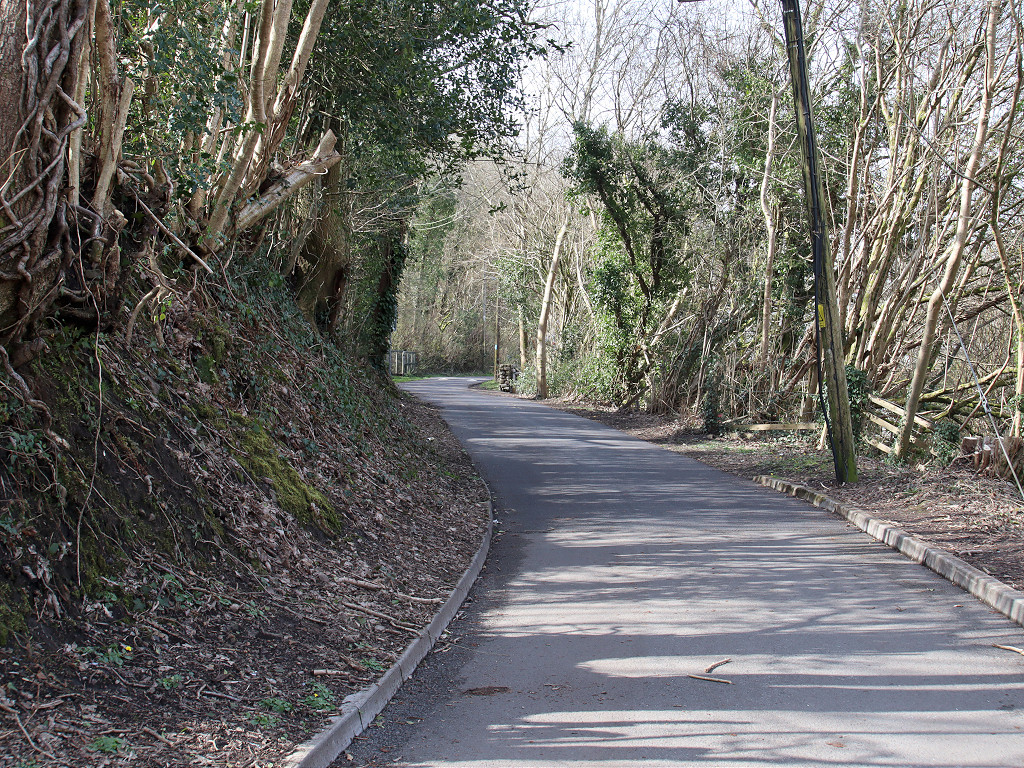
 The TVR Dare Valley branch |
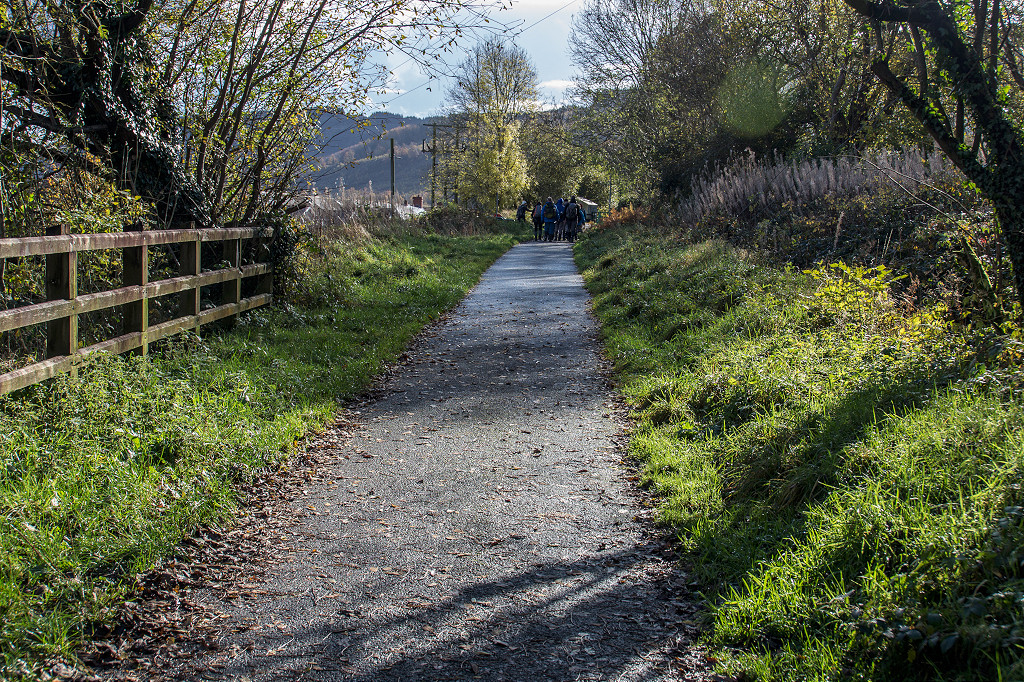
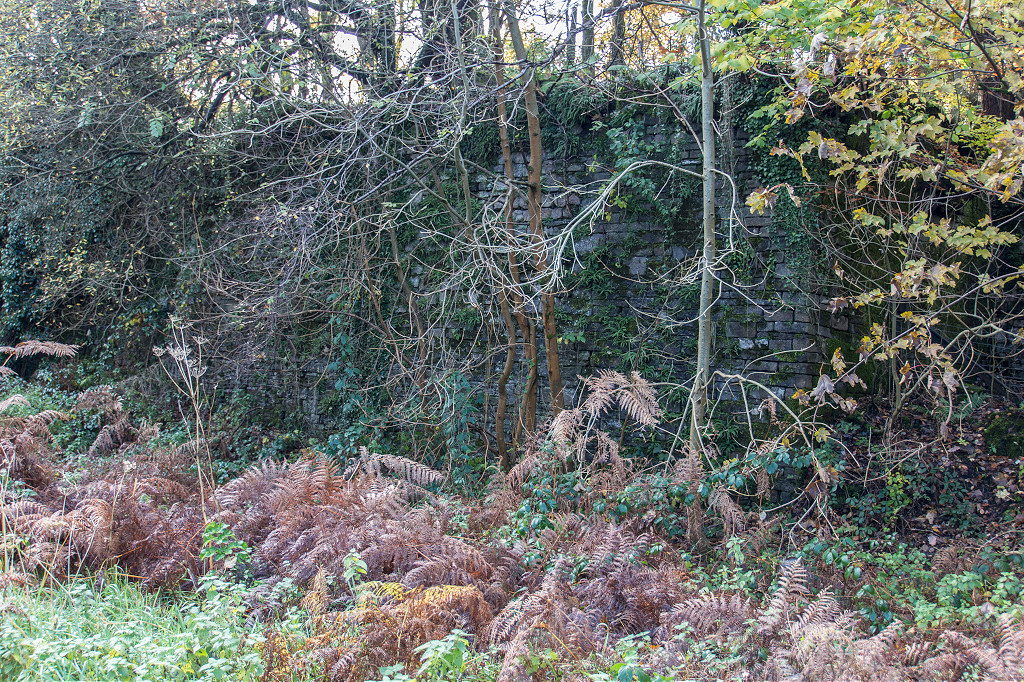
 The TVR Dare Valley branch |
 The TVR Dare Valley branch |
 The TVR Dare Valley branch |
 The TVR Dare Valley branch |
 The TVR Dare Valley branch |
 The TVR Dare Valley branch |
 The TVR Dare Valley branch |
 The TVR Dare Valley branch |
 The TVR Dare Valley branch |
 The TVR Dare Valley branch |
 The TVR Dare Valley branch |
 The TVR Dare Valley branch |
 Cwmdare Colliery tips |
 Cwmdare levels |
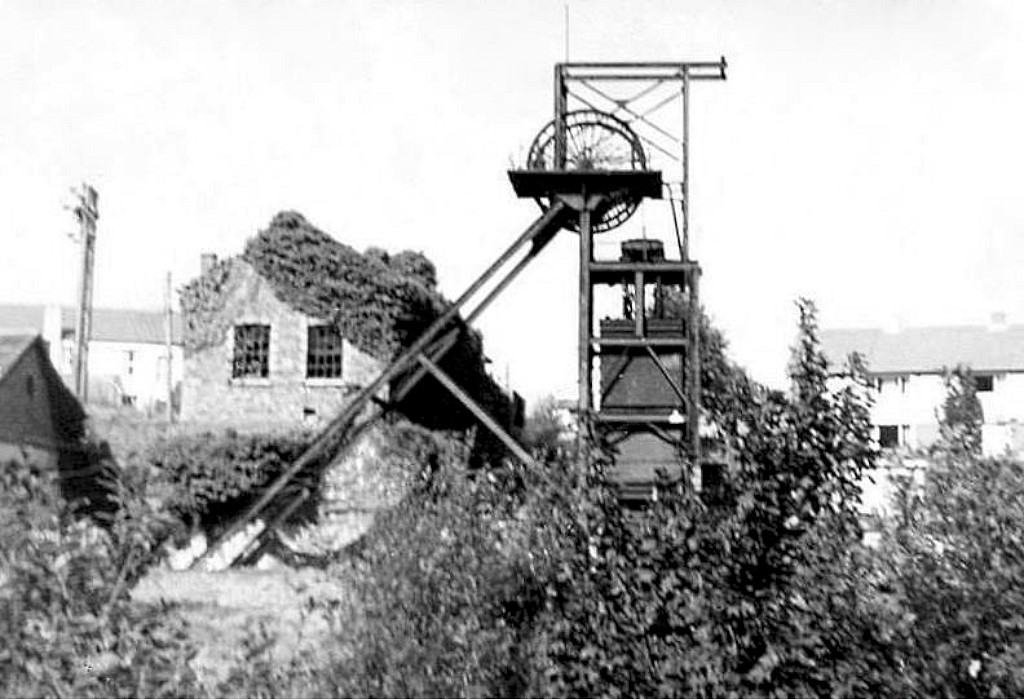
 Graig Colliery c1900 |
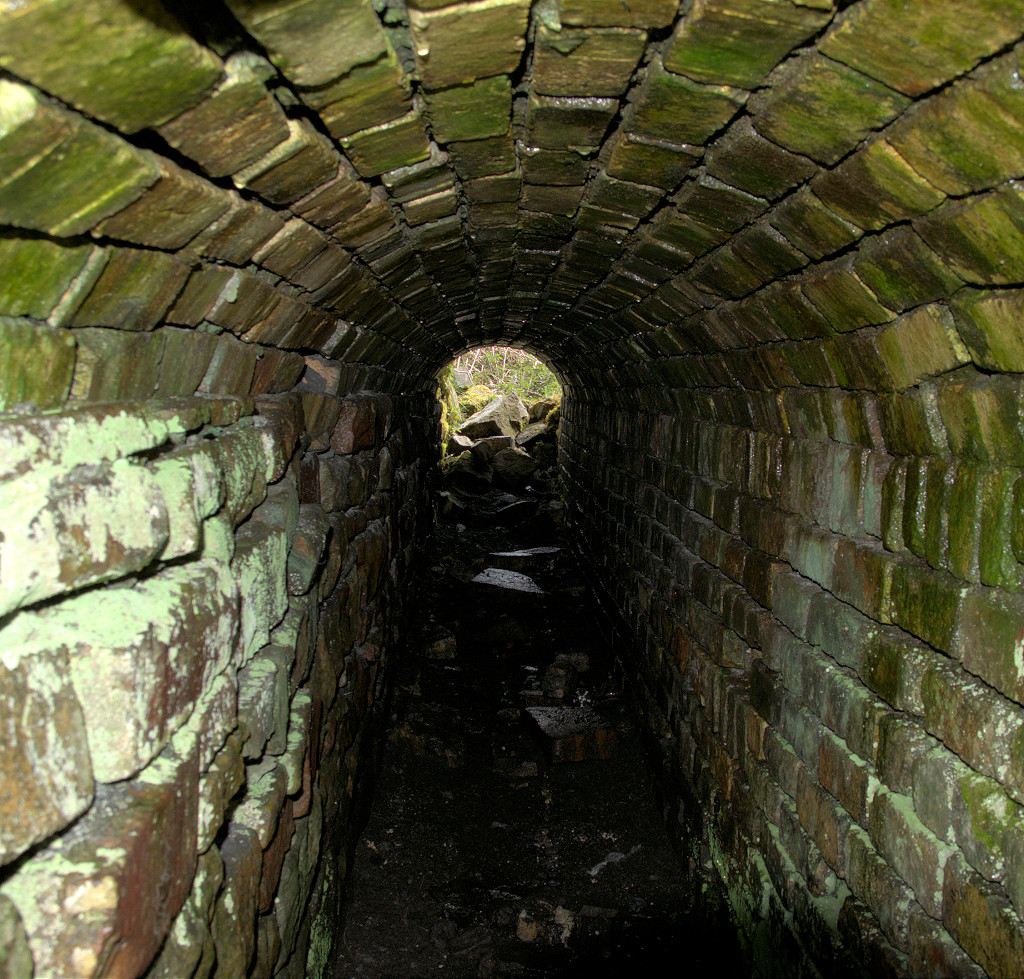
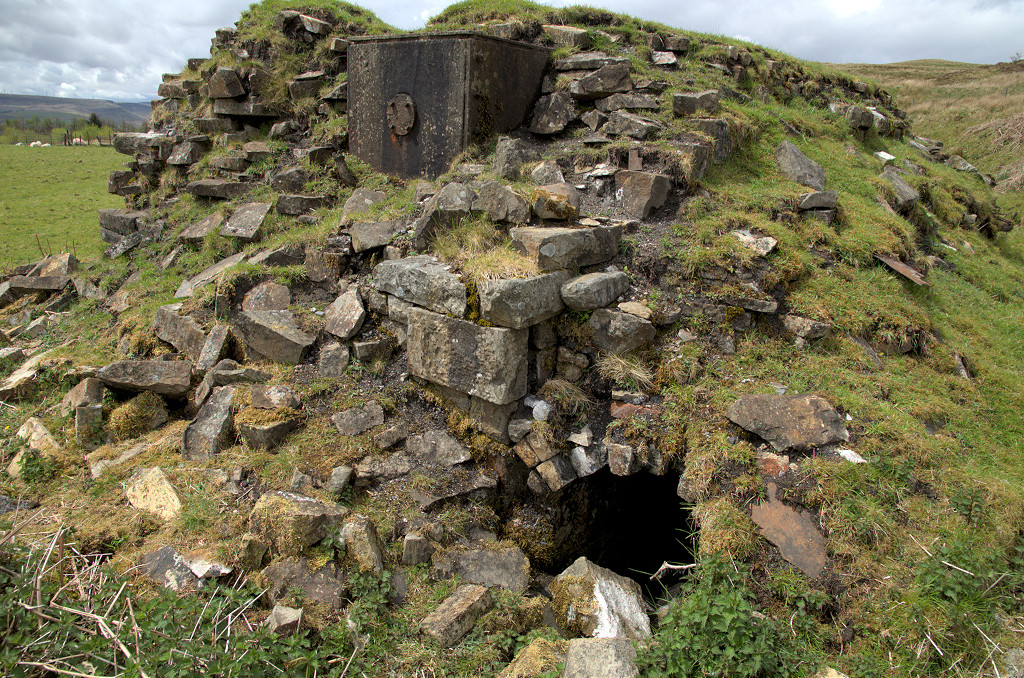
 Graig Colliery airshaft |
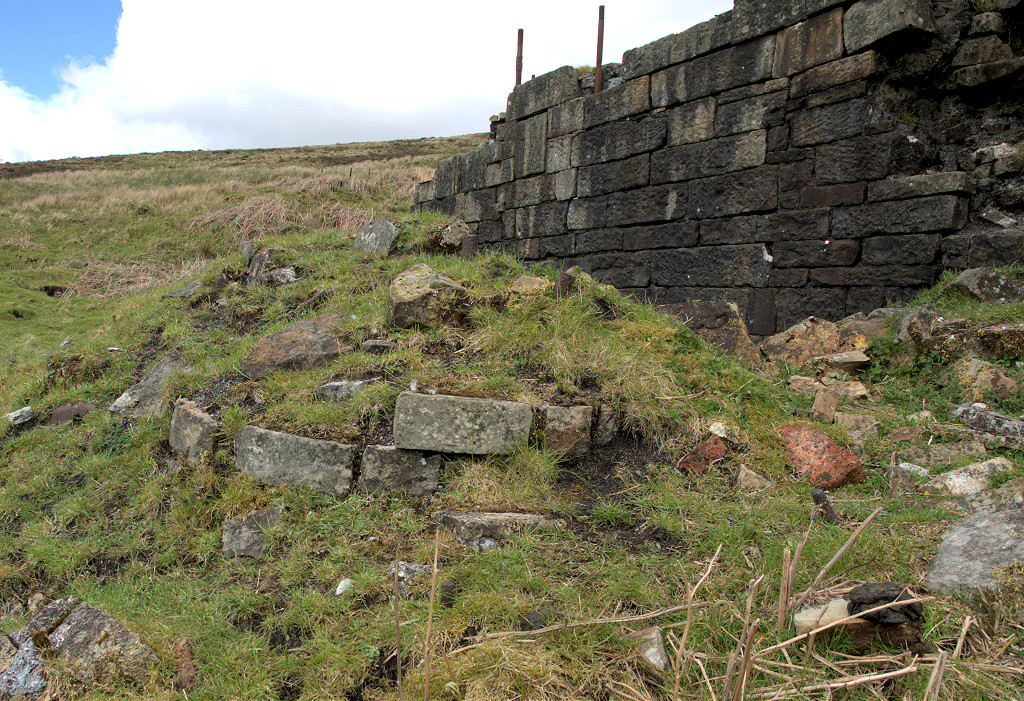
 Graig Colliery site and shaft |
|
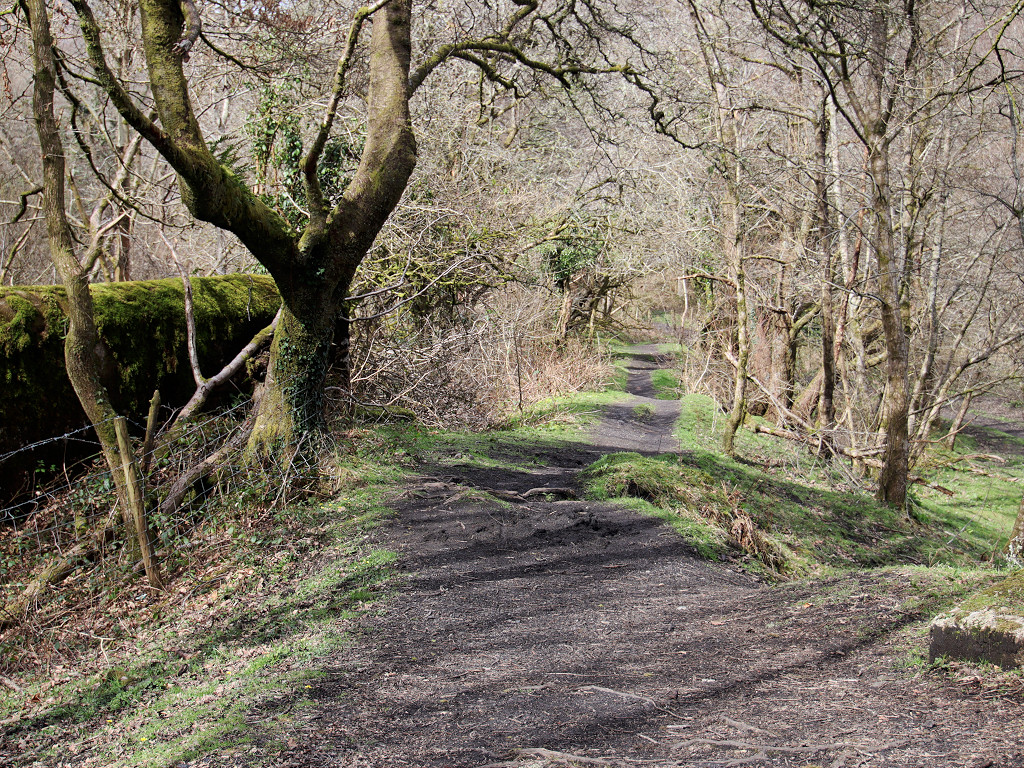
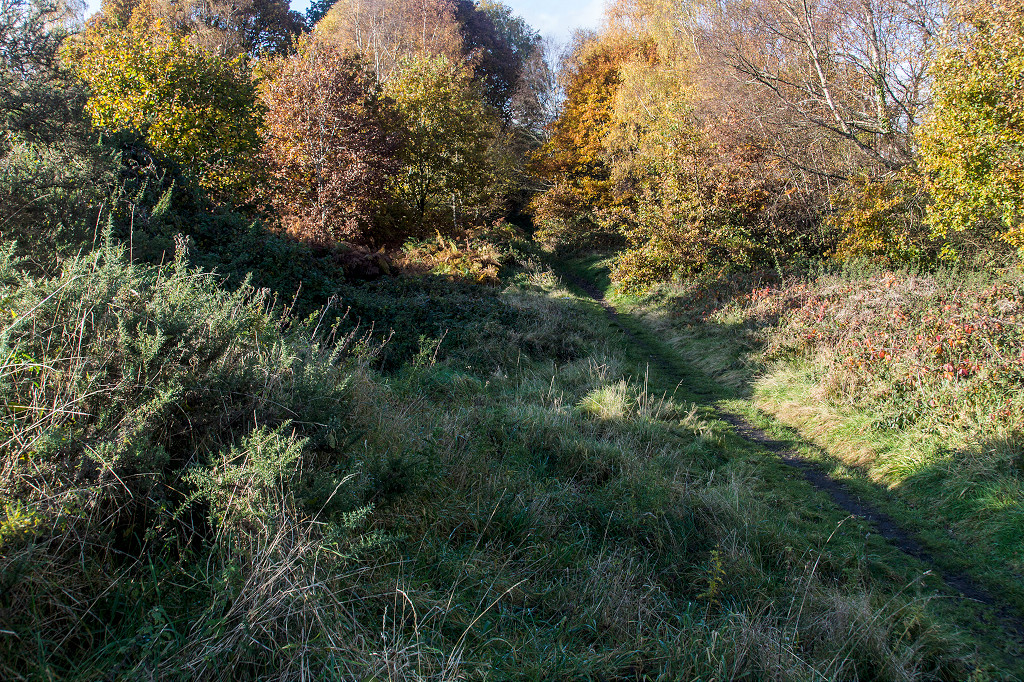 Graig Colliery tramway |
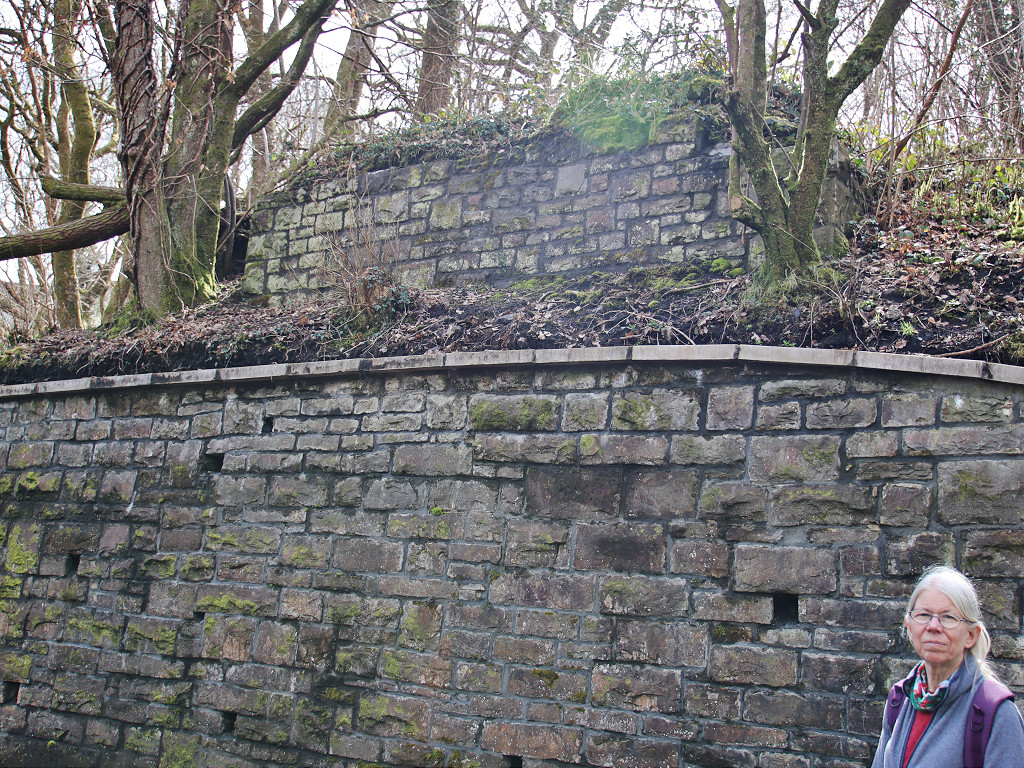
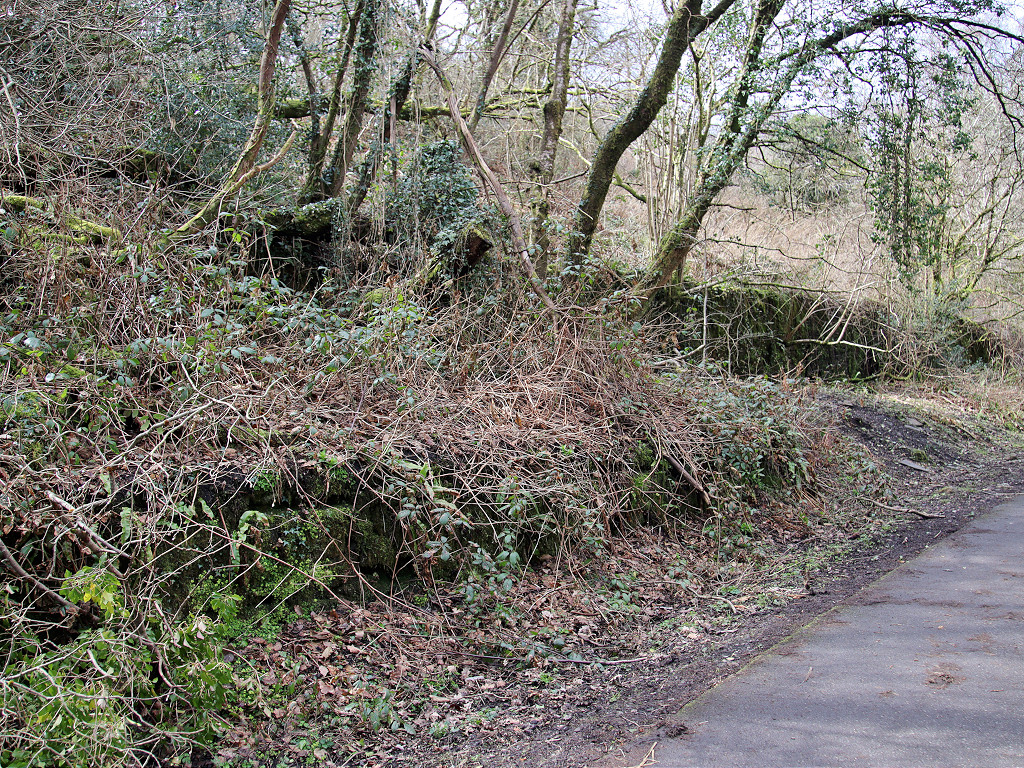
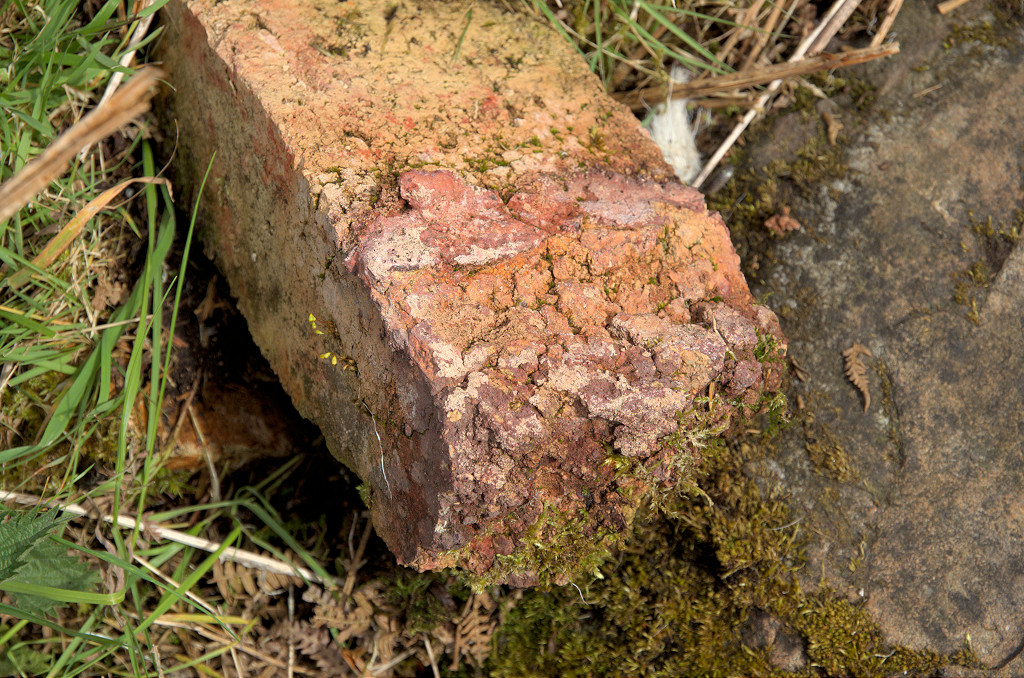
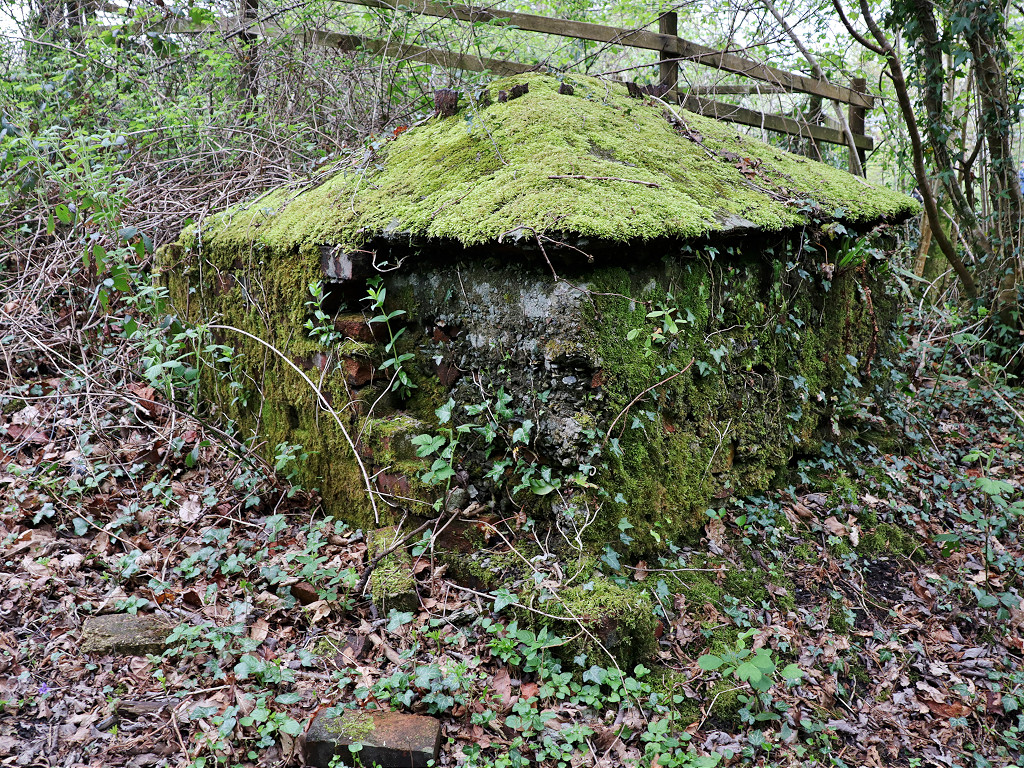 Graig Colliery tramway block |
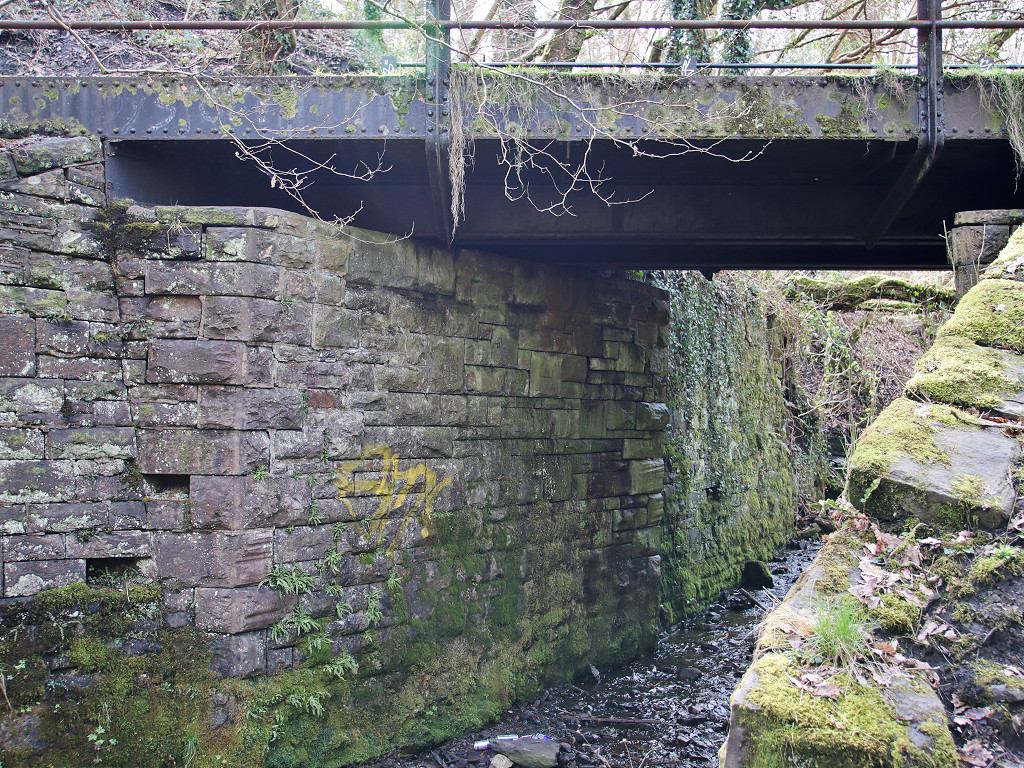
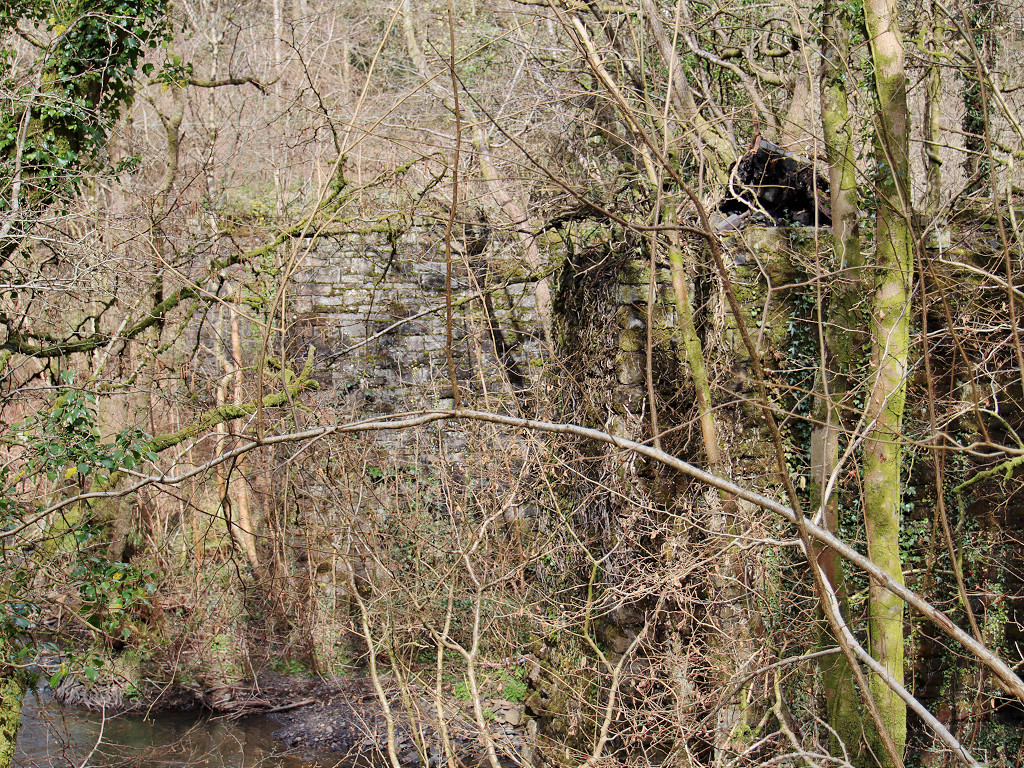
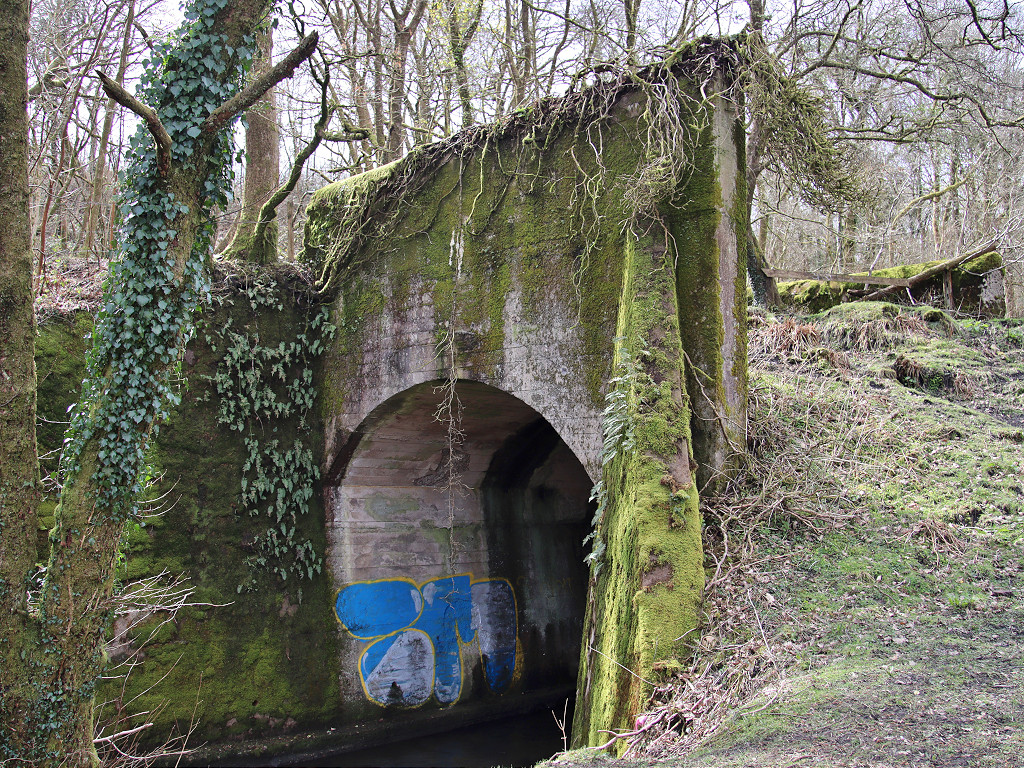
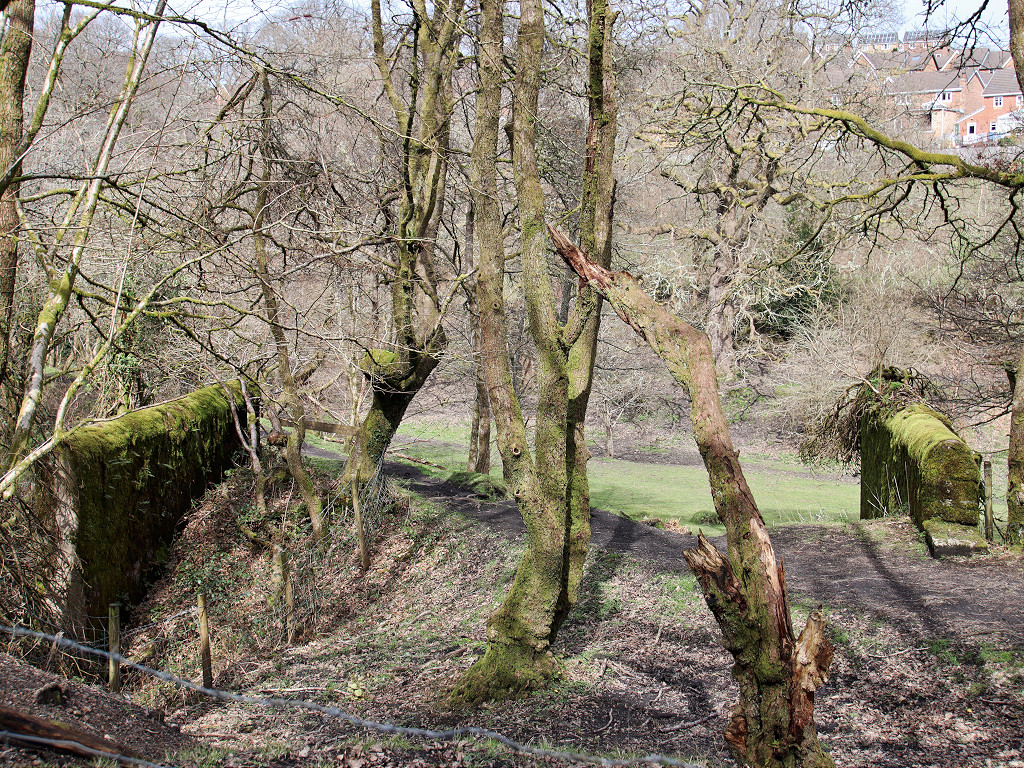
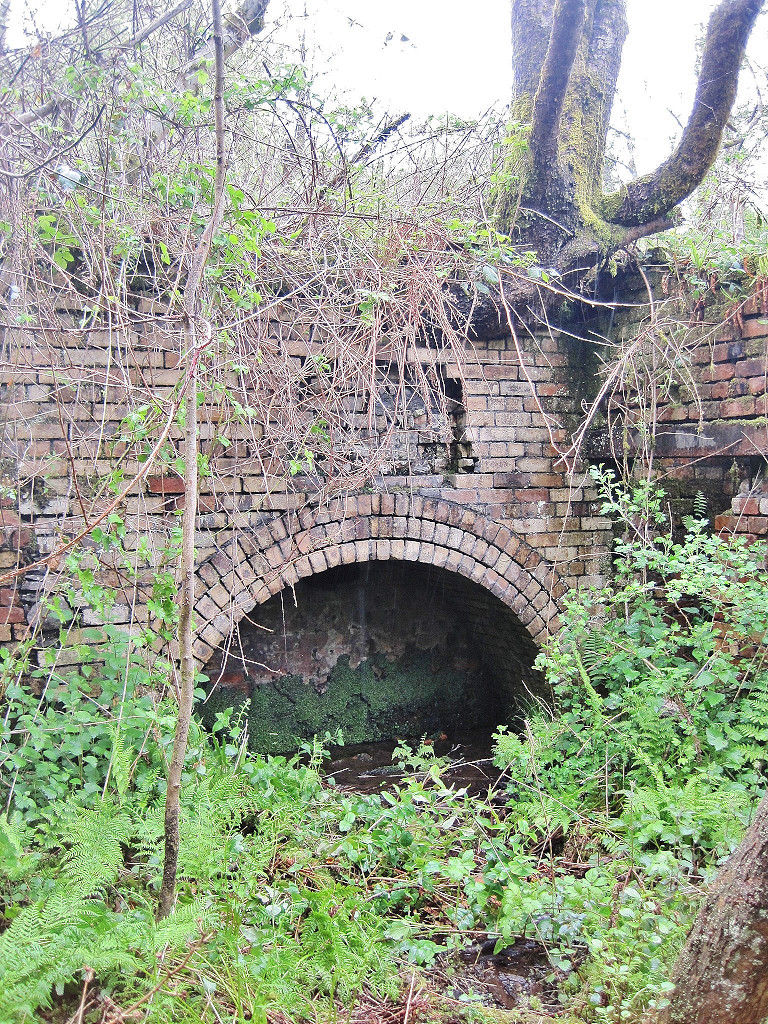
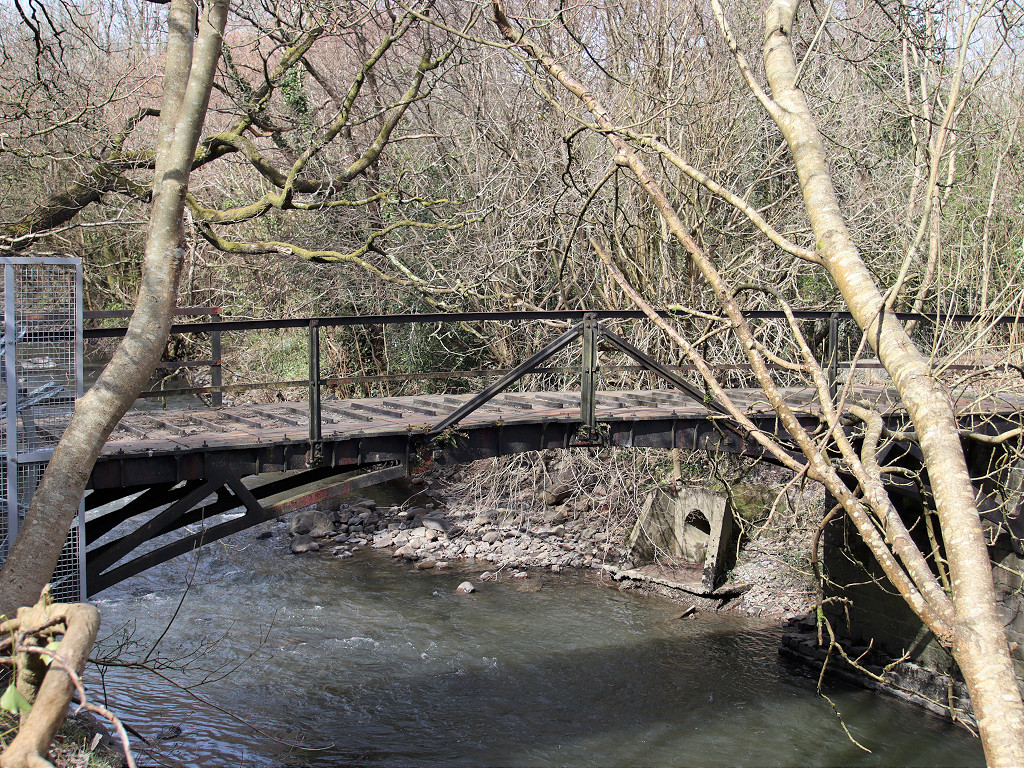
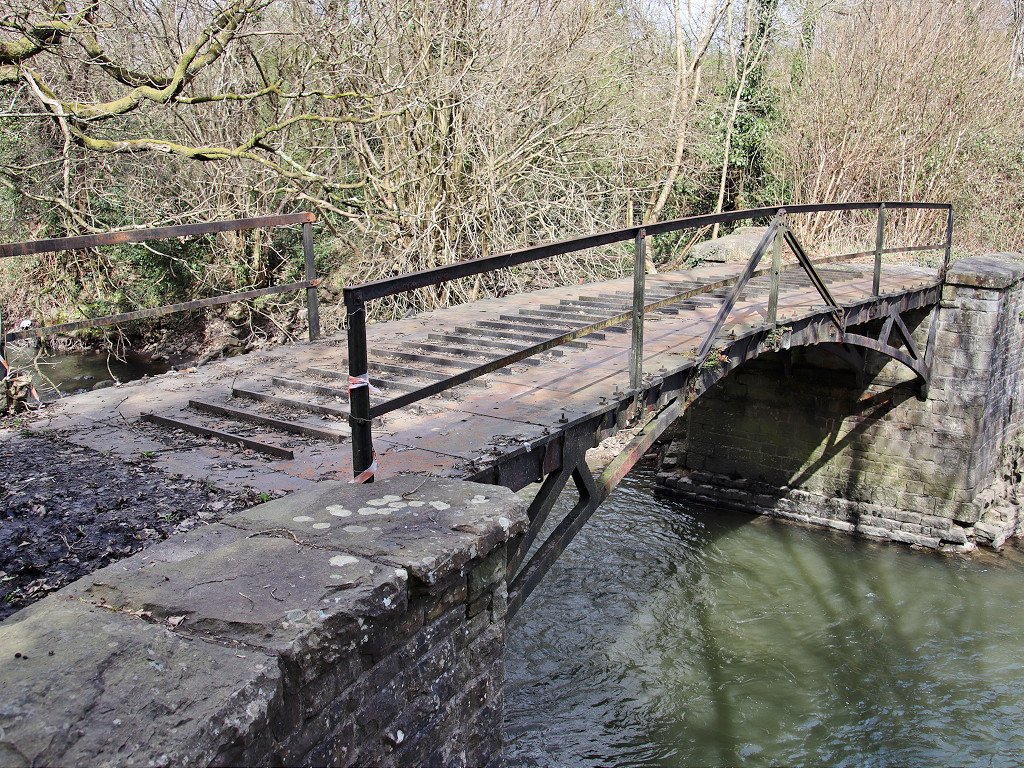
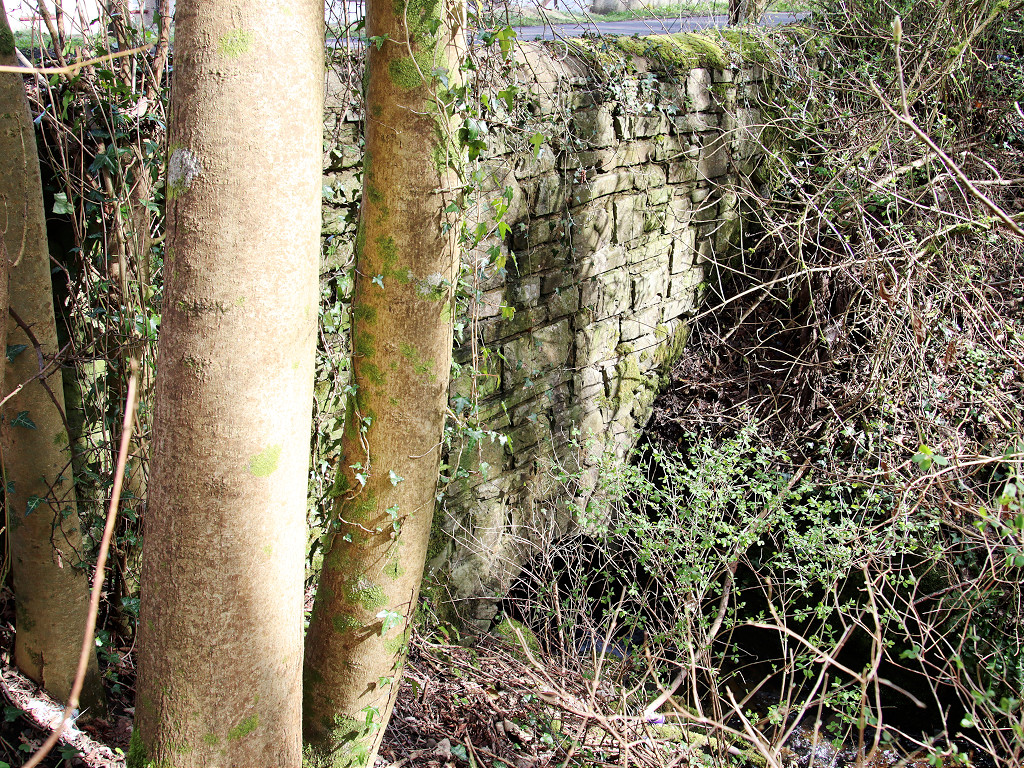
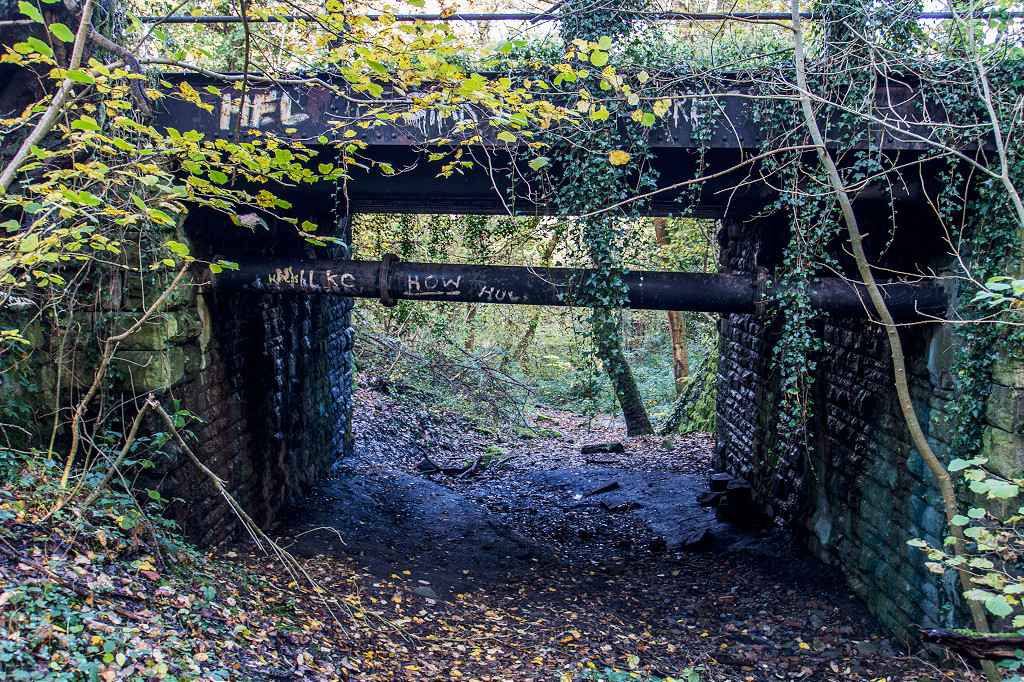 Graig Colliery tramway bridge |
 Graig Colliery tramway bridge |
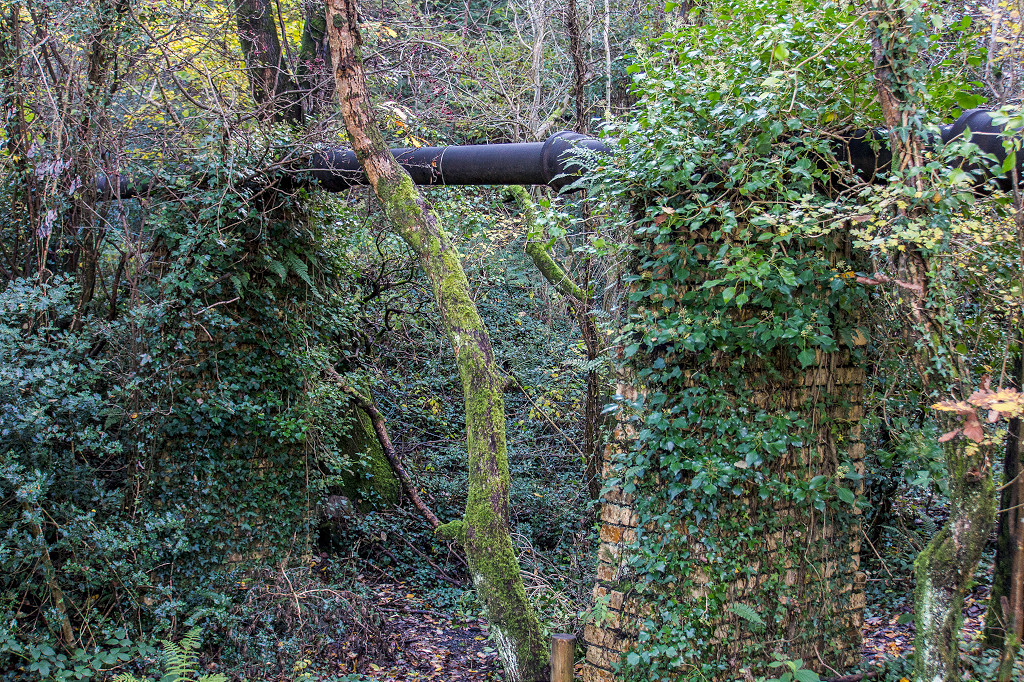 Graig Colliery pipeline |
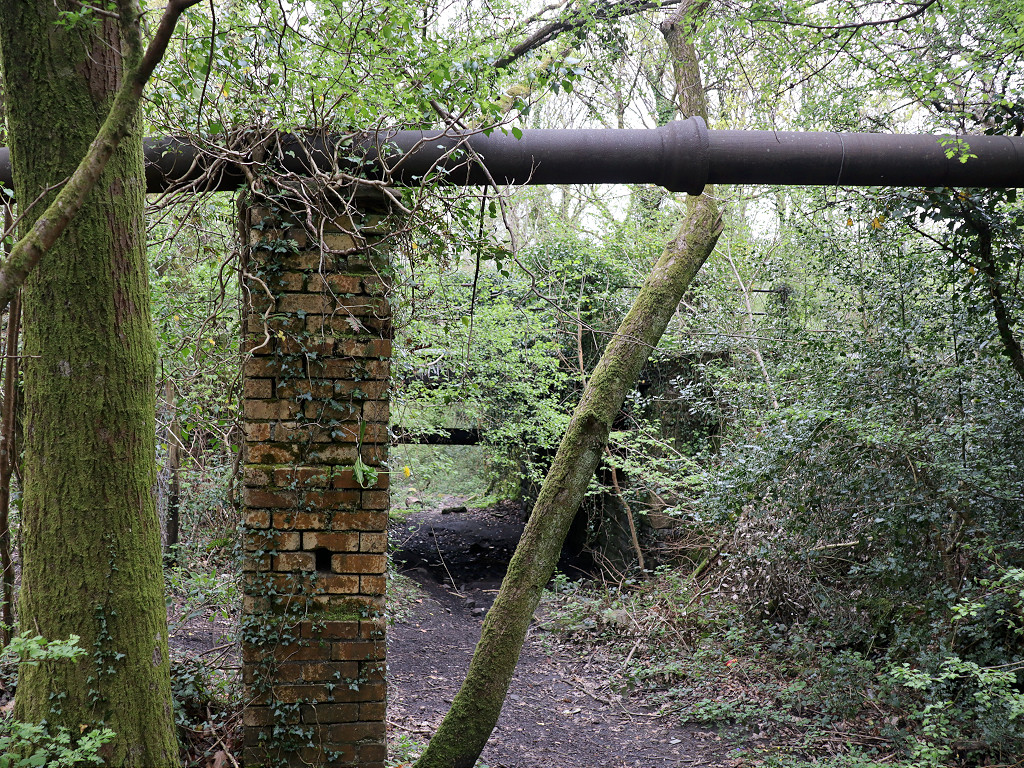 Graig Colliery pipeline |
||
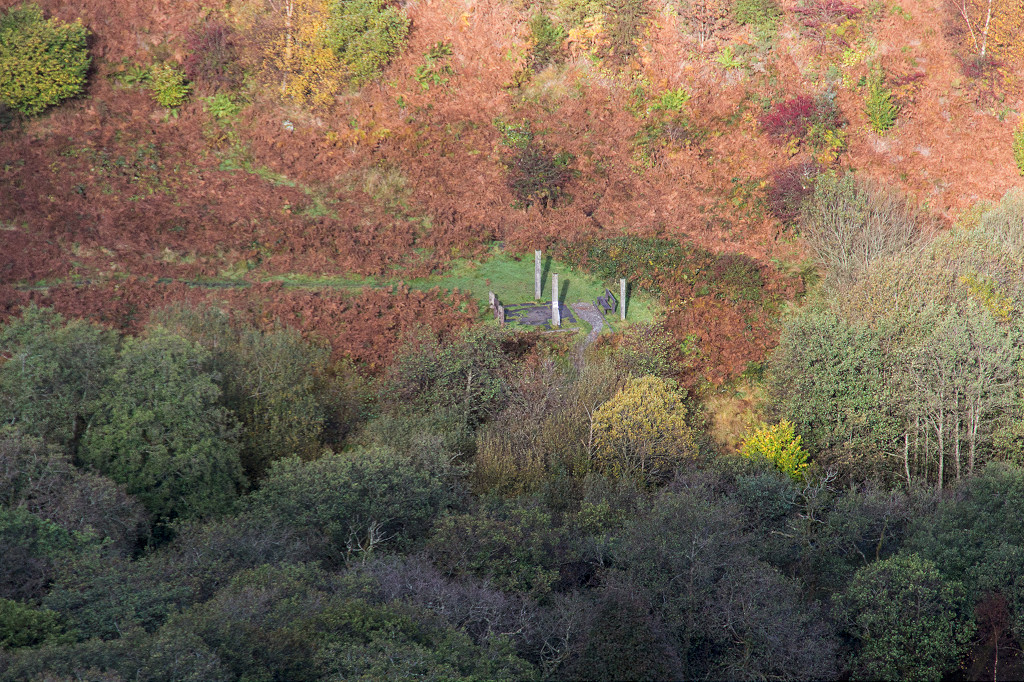
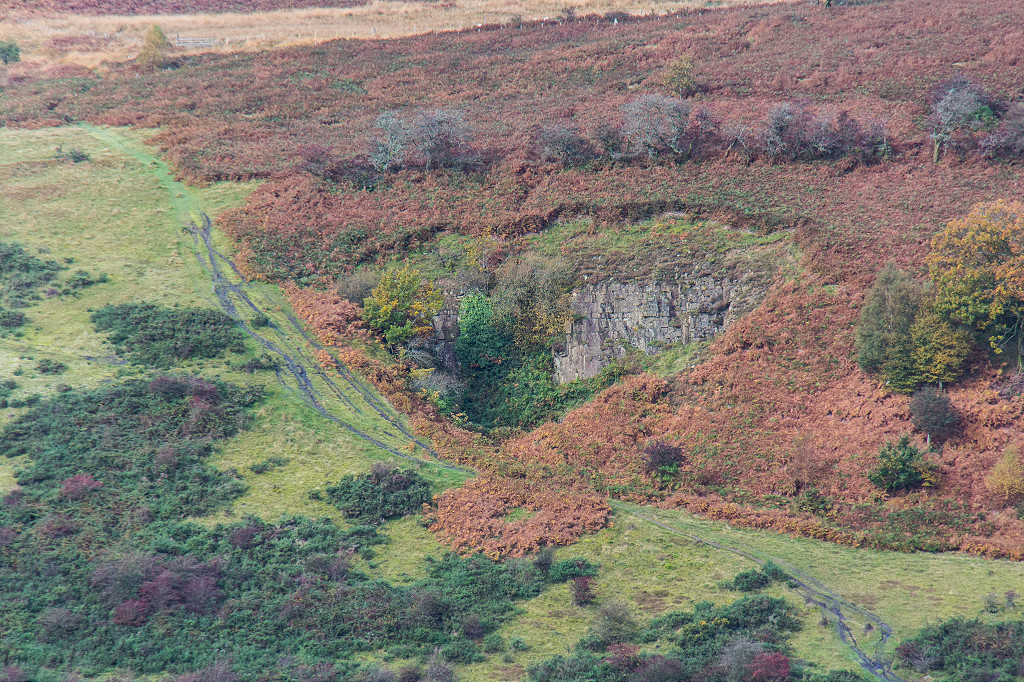
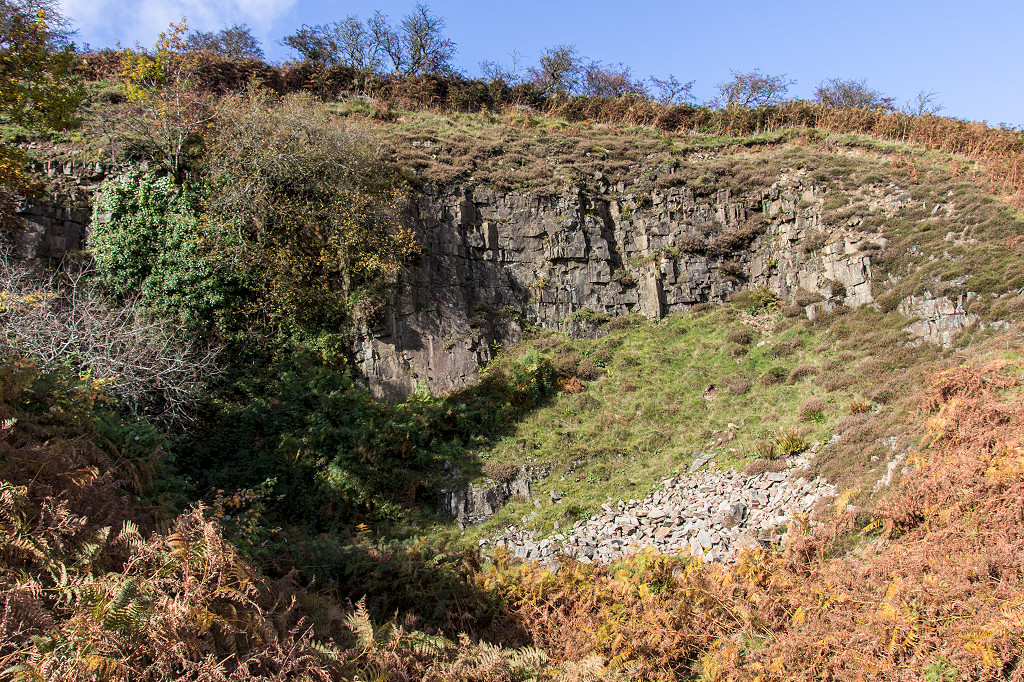
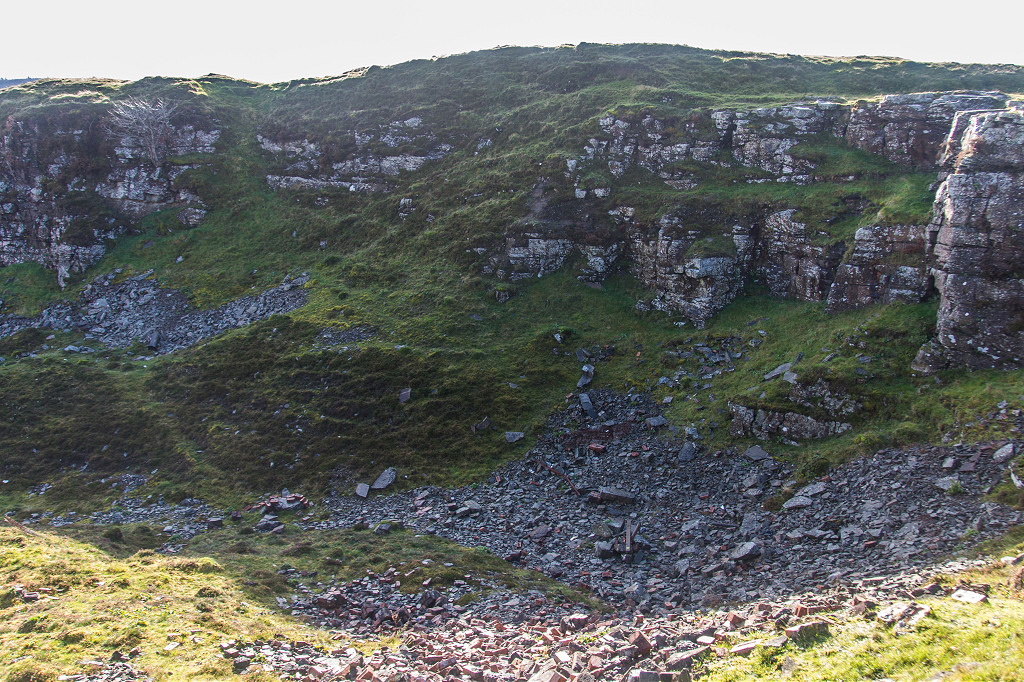
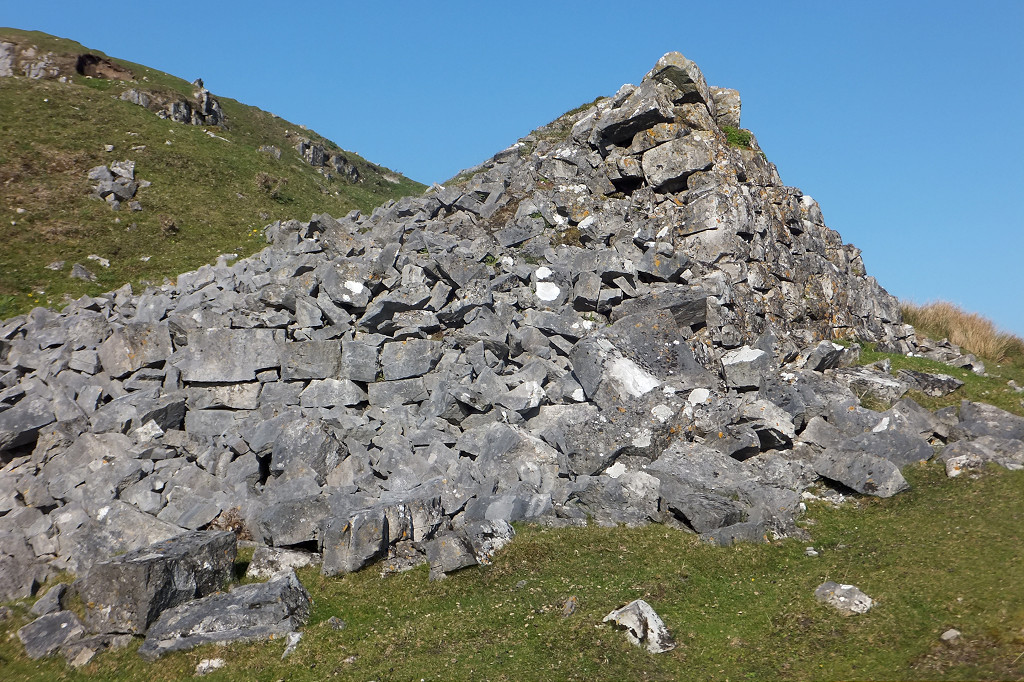
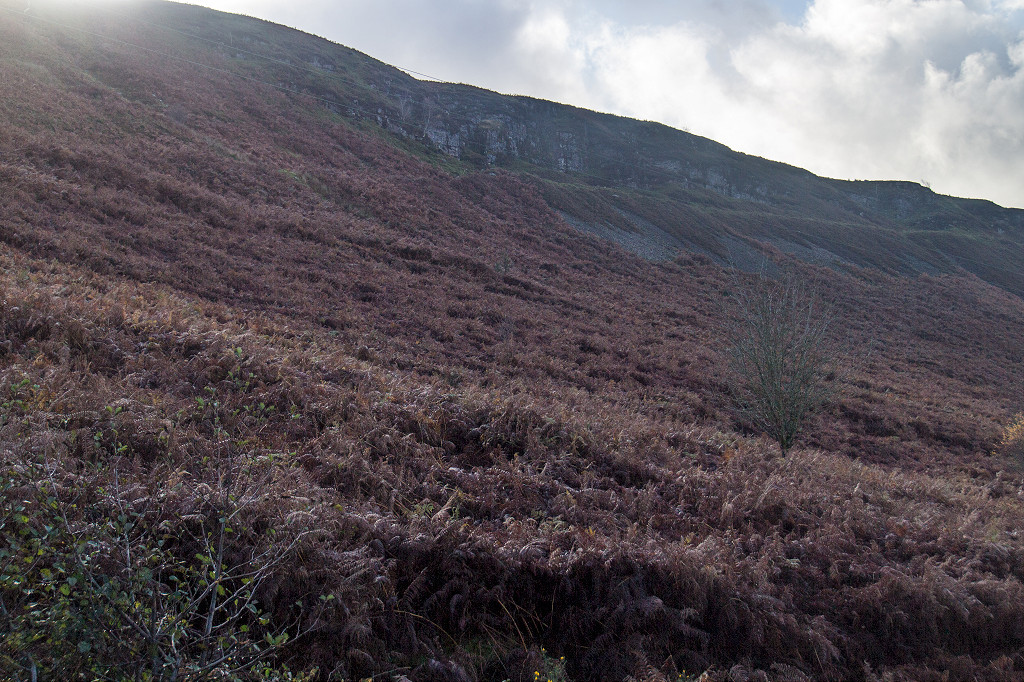 Craig Rhiw Ddu Quarry |
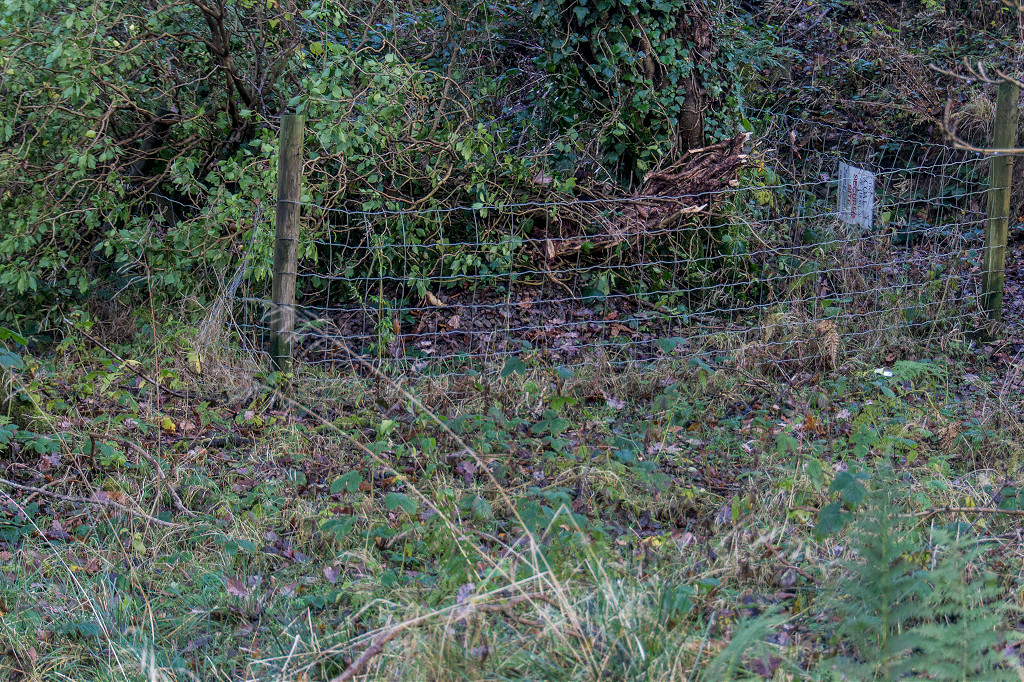 Craig Rhiw Ddu airshaft |
 Craig Rhiw Ddu Quarry tramway |
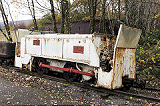
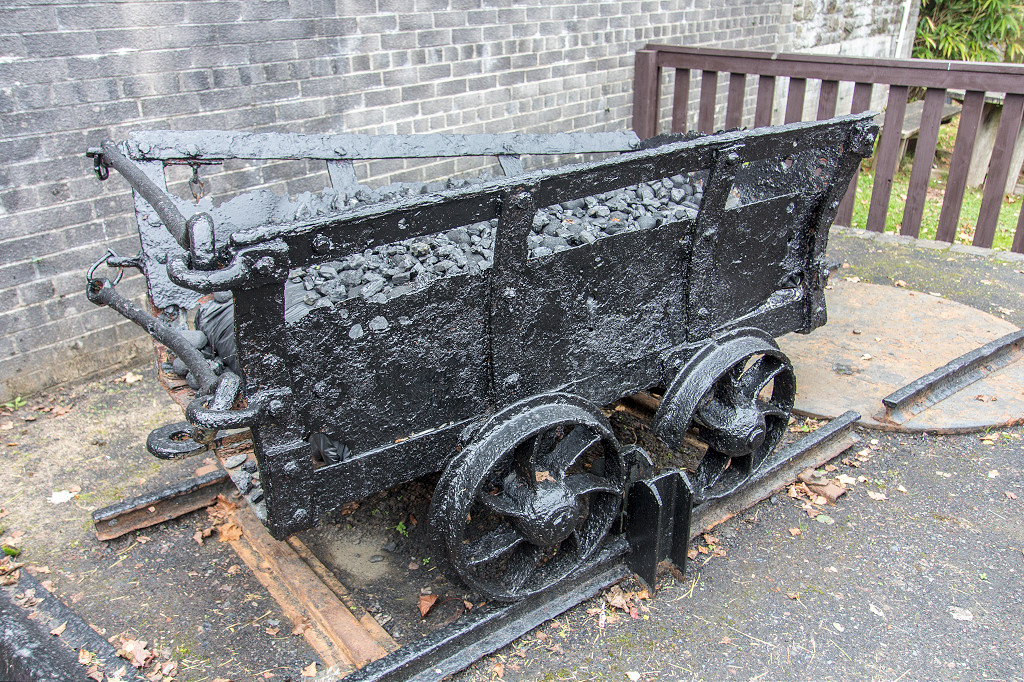 Dare Valley Country Park dram |
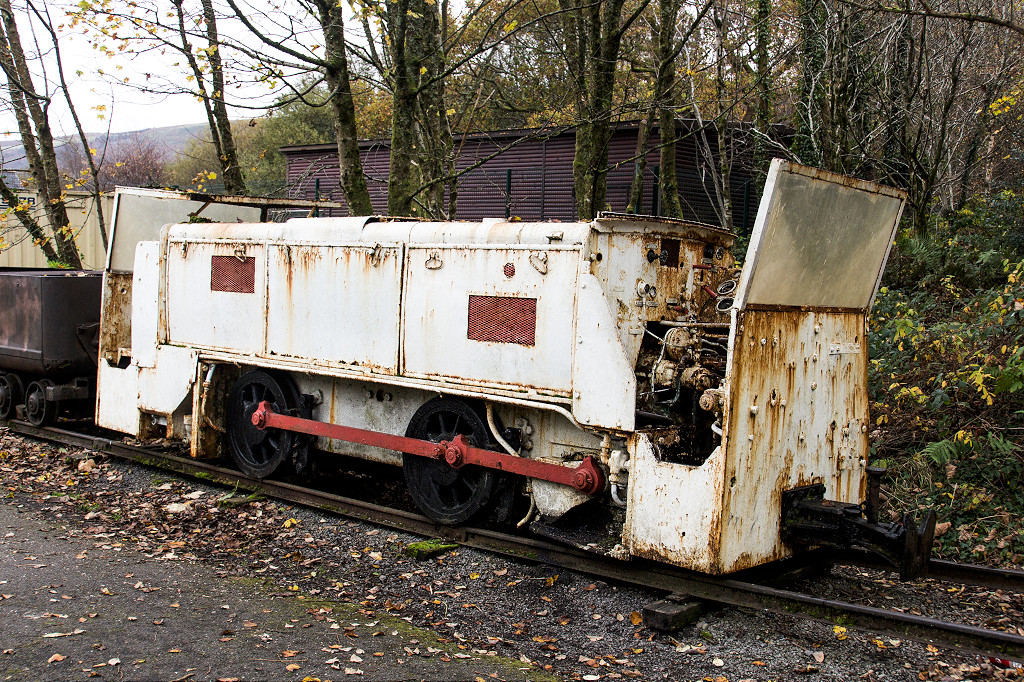 Underground loco, HC DM1314 |
 Maerdy Colliery equipment |
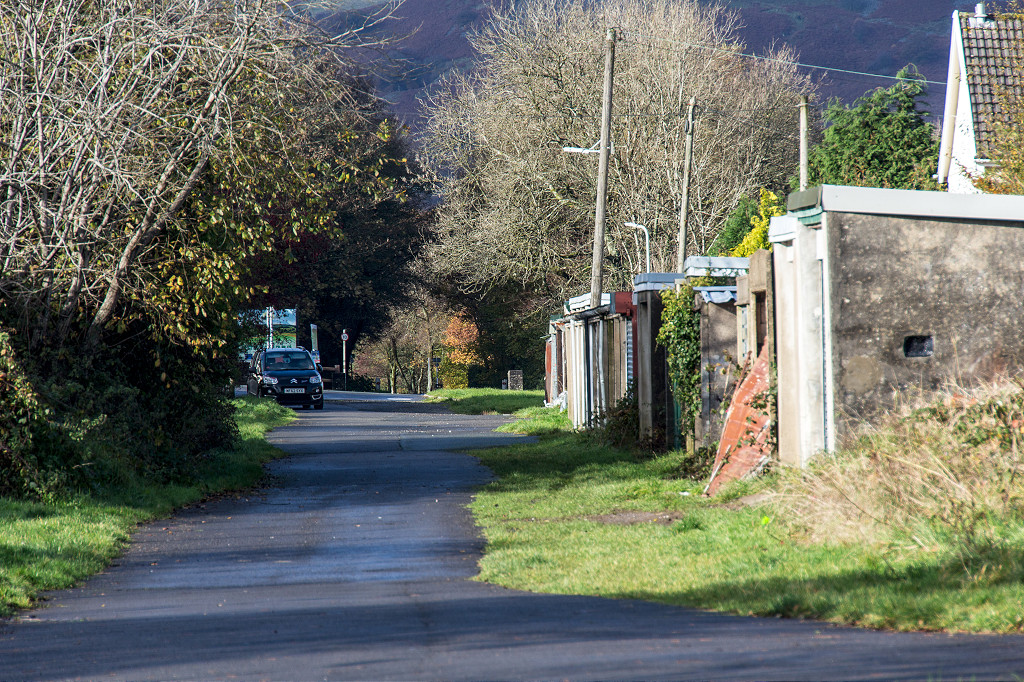
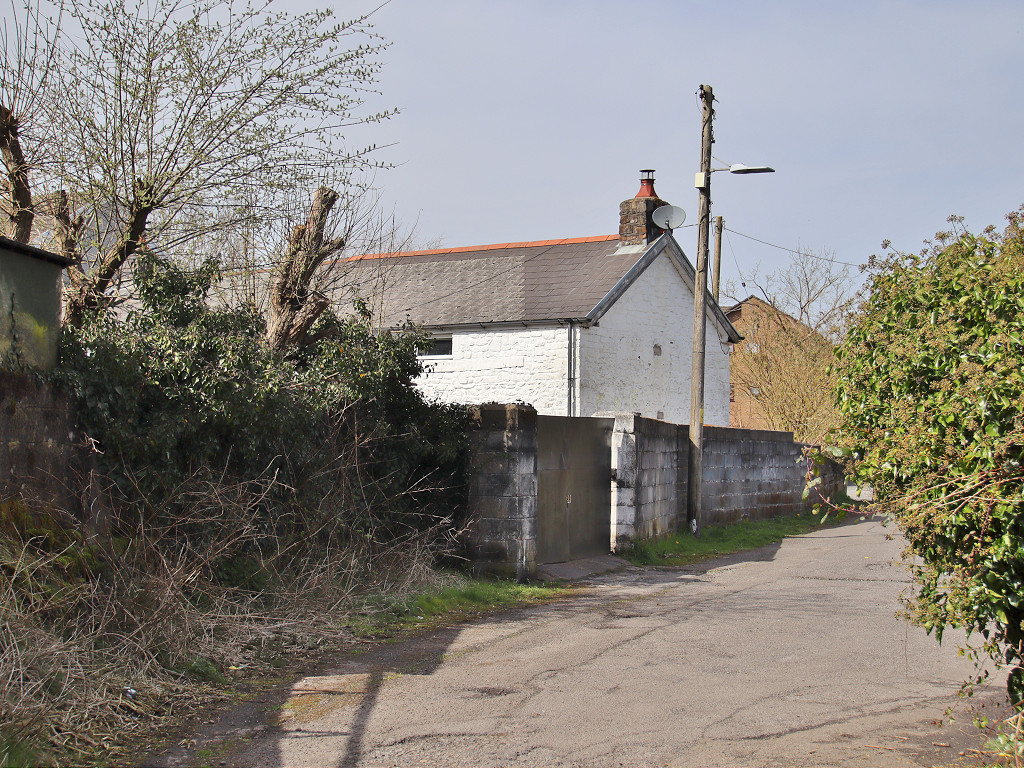
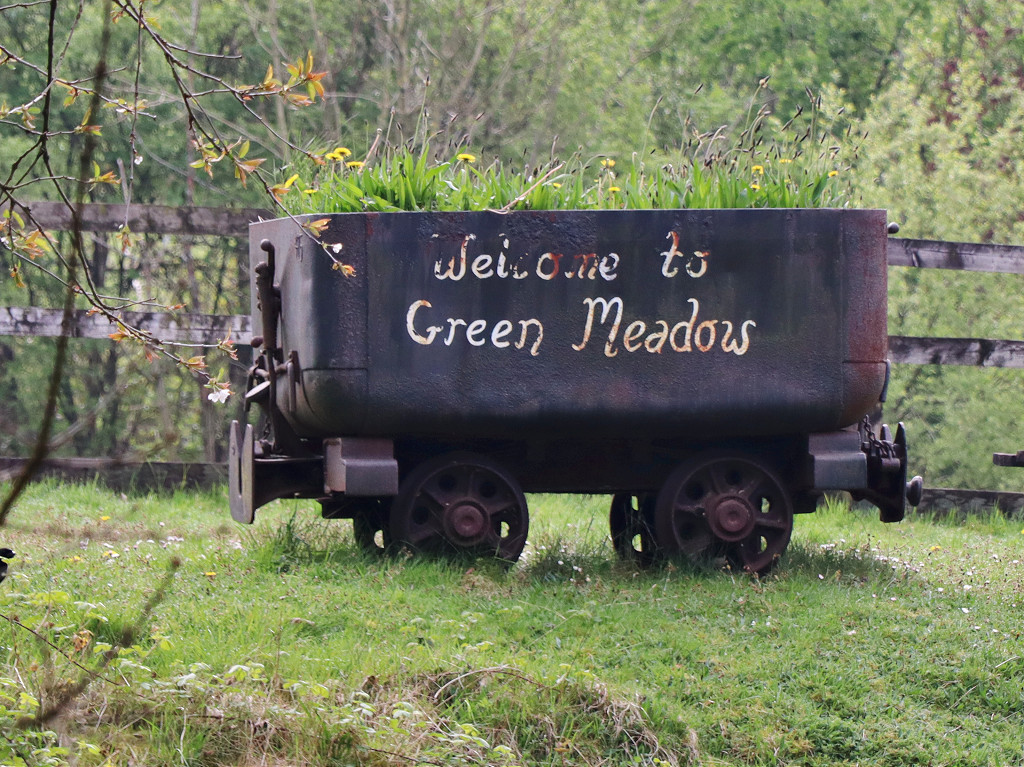 Dram outside Green Meadow Farm |
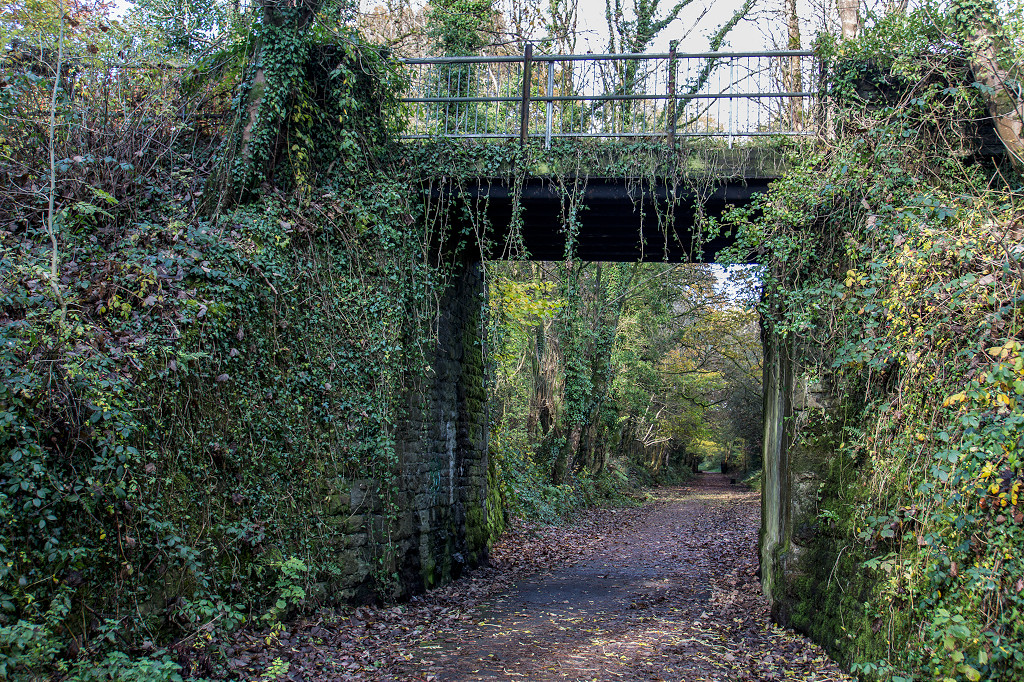
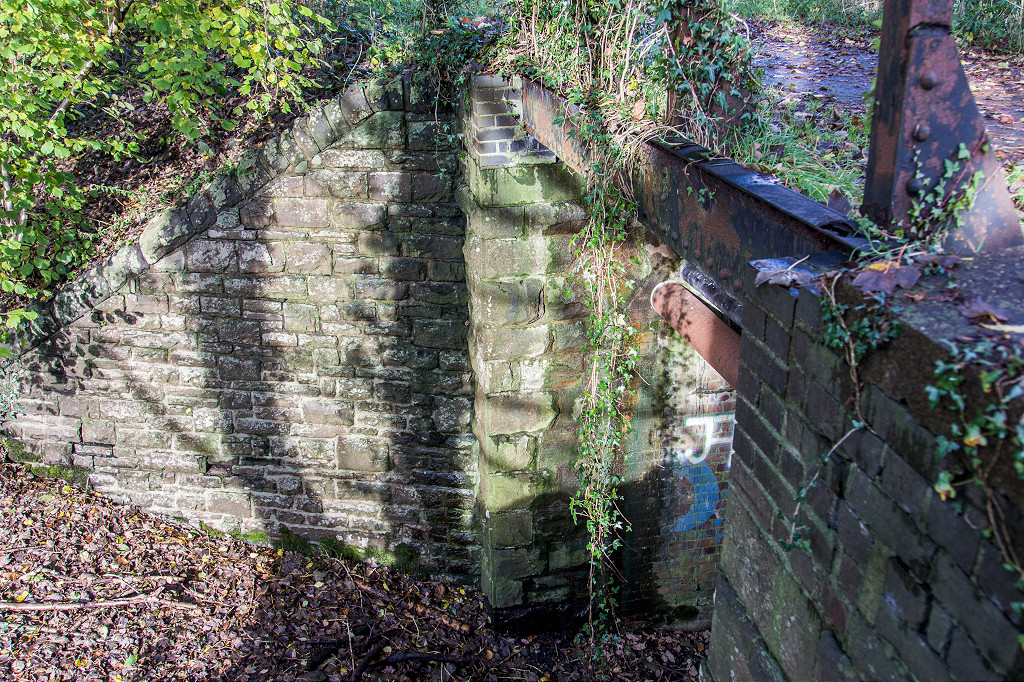
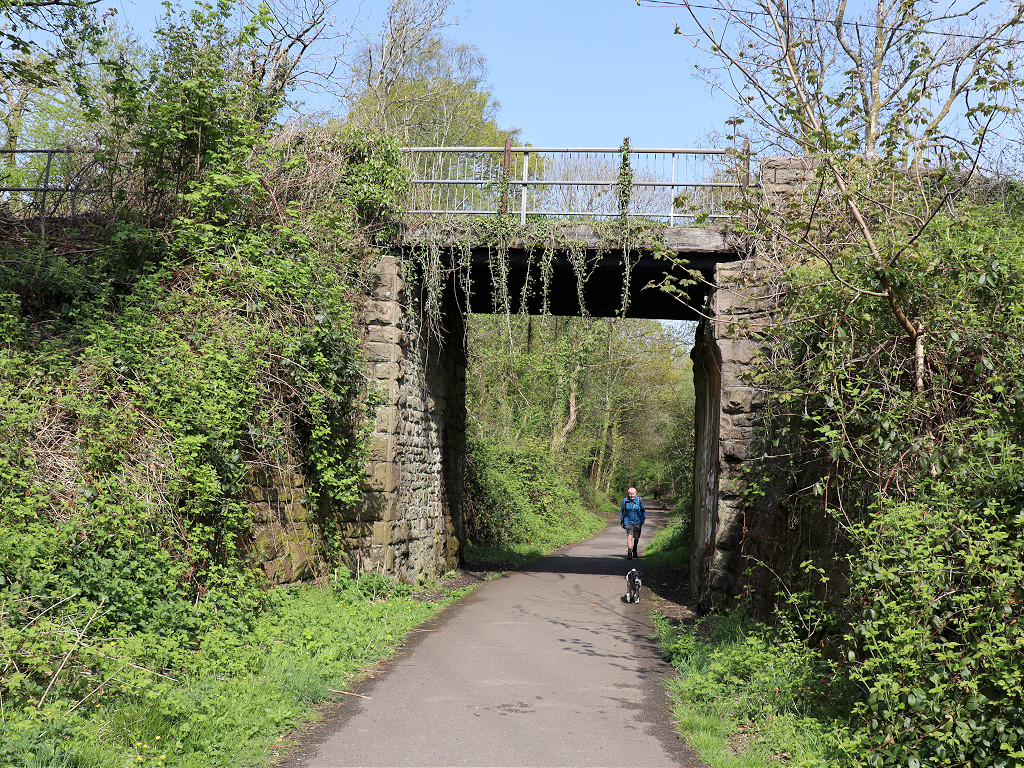
 Llwynhelig Colliery bridge |
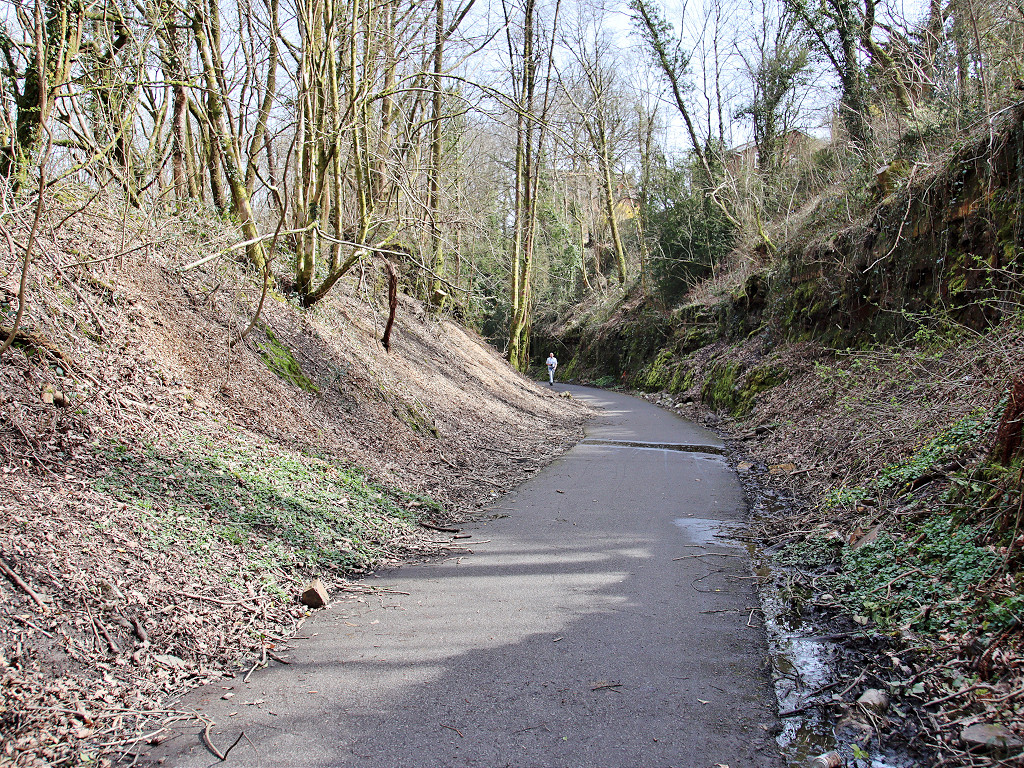
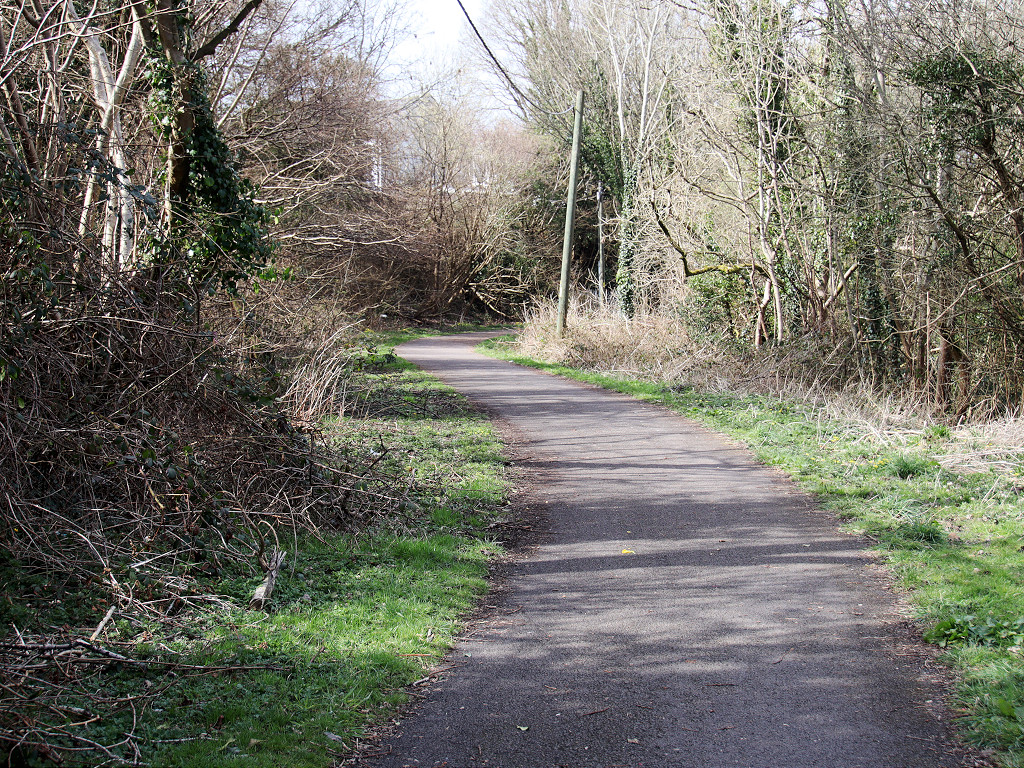
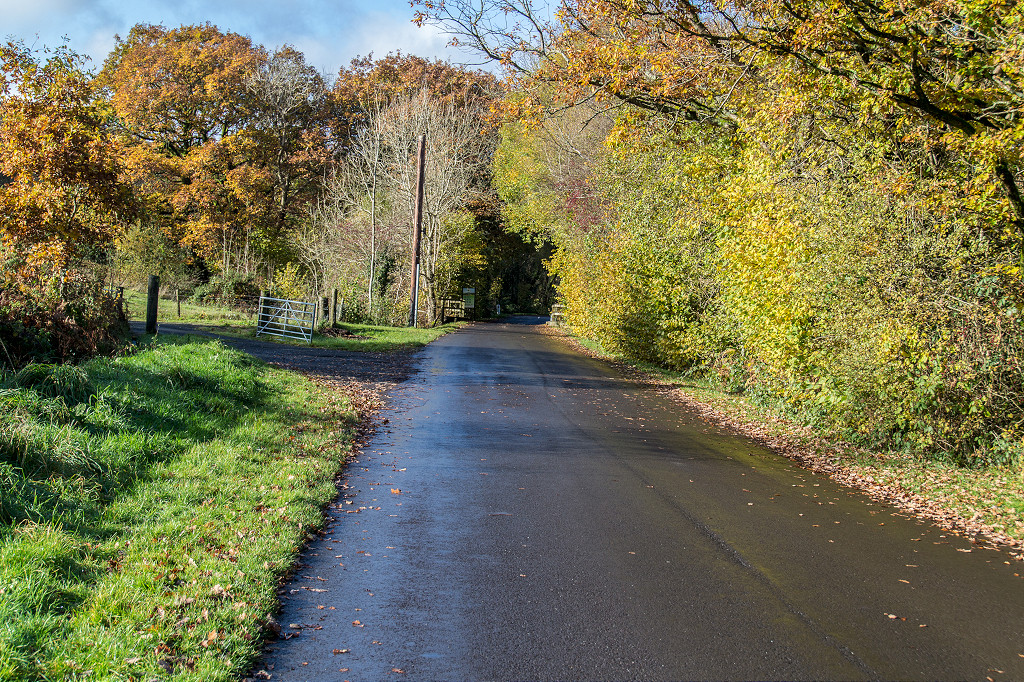 Cwmdare branch trackbed |
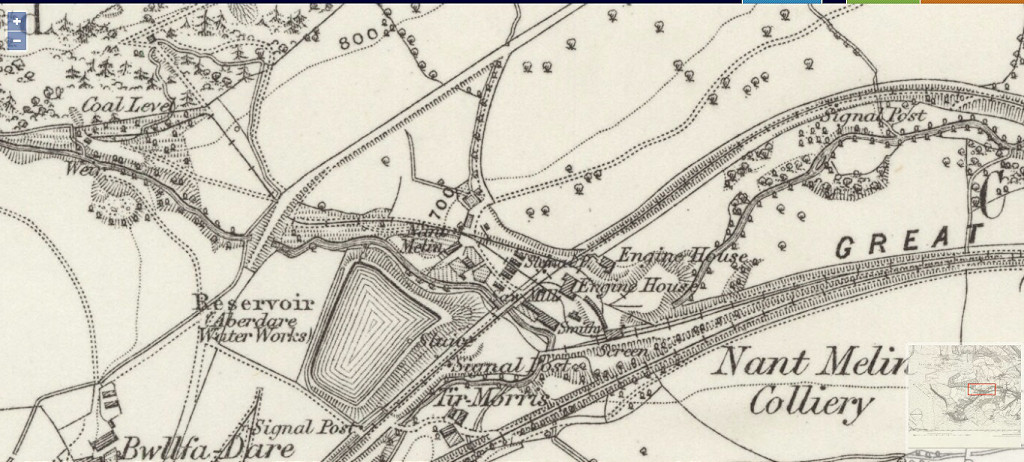 Nantmelyn Colliery, 1878 |
 Nantmelyn Colliery, 1914 |
 Nantmelyn Colliery |
 Nantmelyn Colliery |
 Nantmelyn Colliery |
 Nantmelyn Colliery |
 Nantmelyn Colliery |
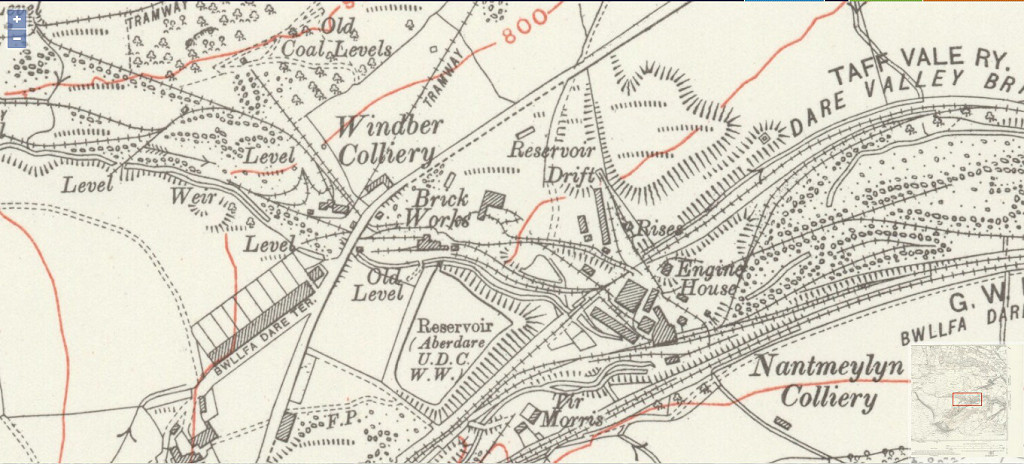
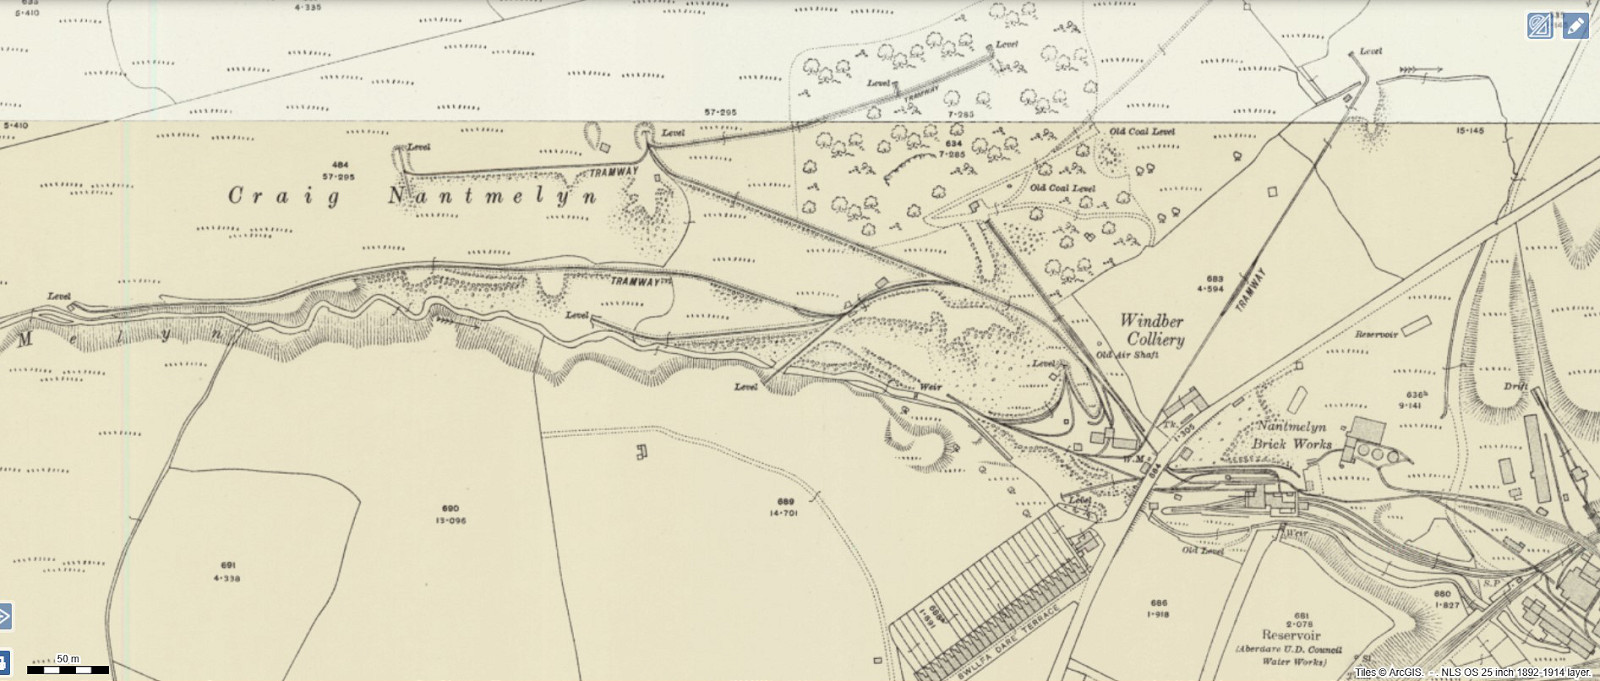 Windber Colliery, 1914 |
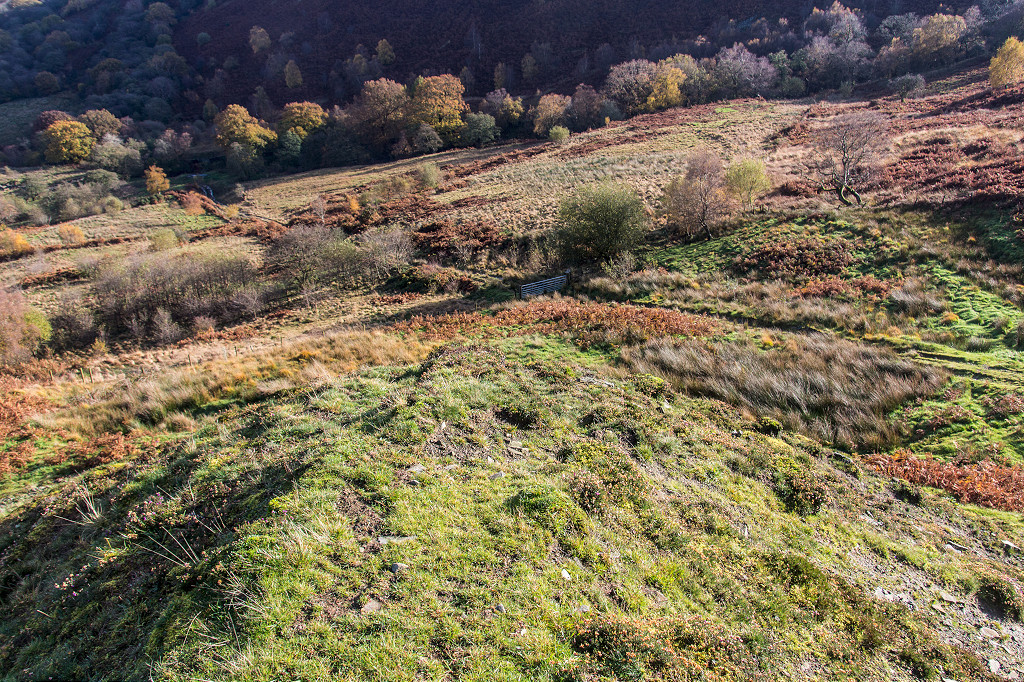
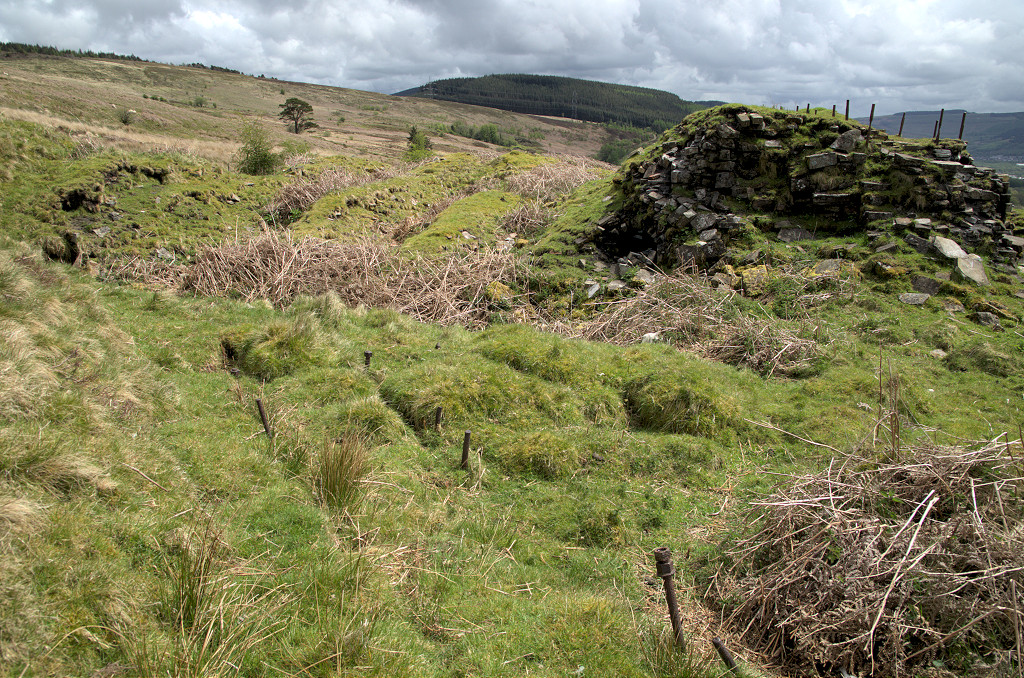
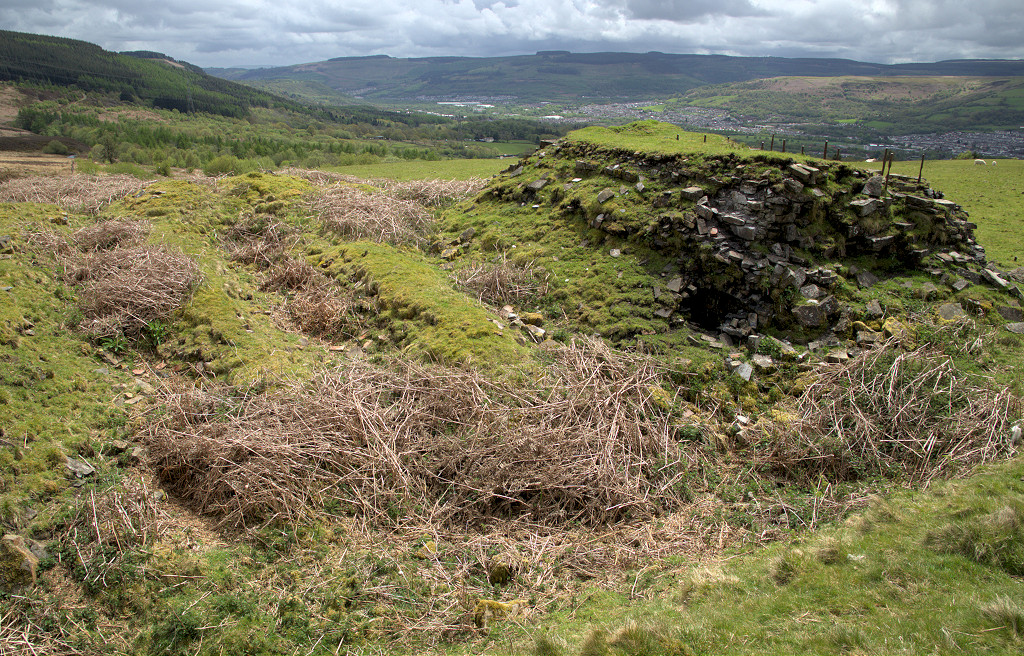
 Windber Colliery and levels |
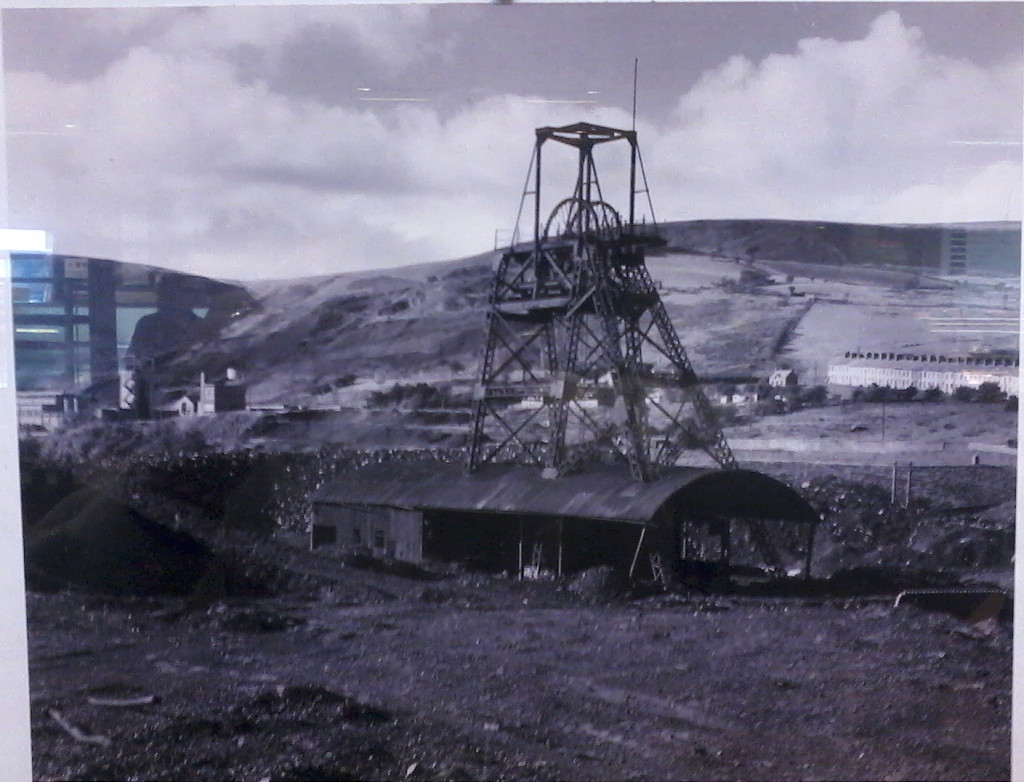
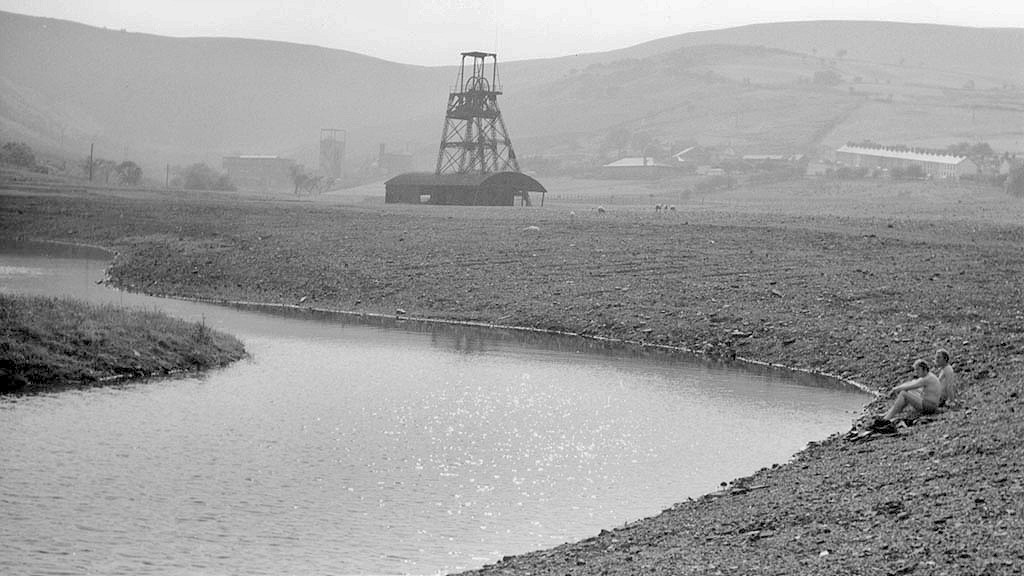
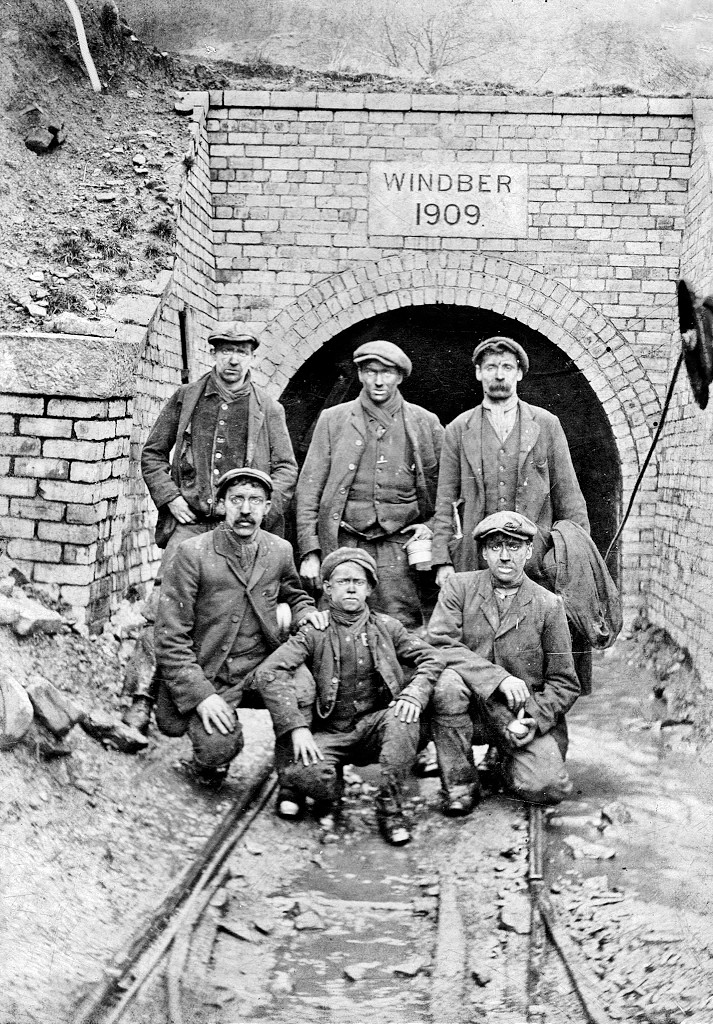 Windber Colliery |
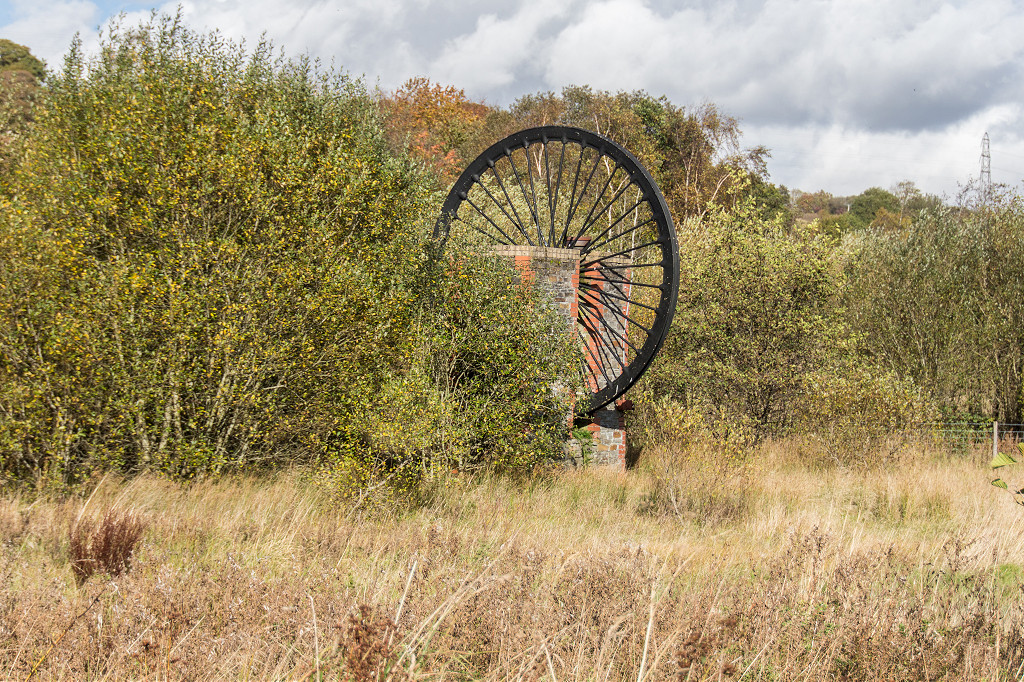
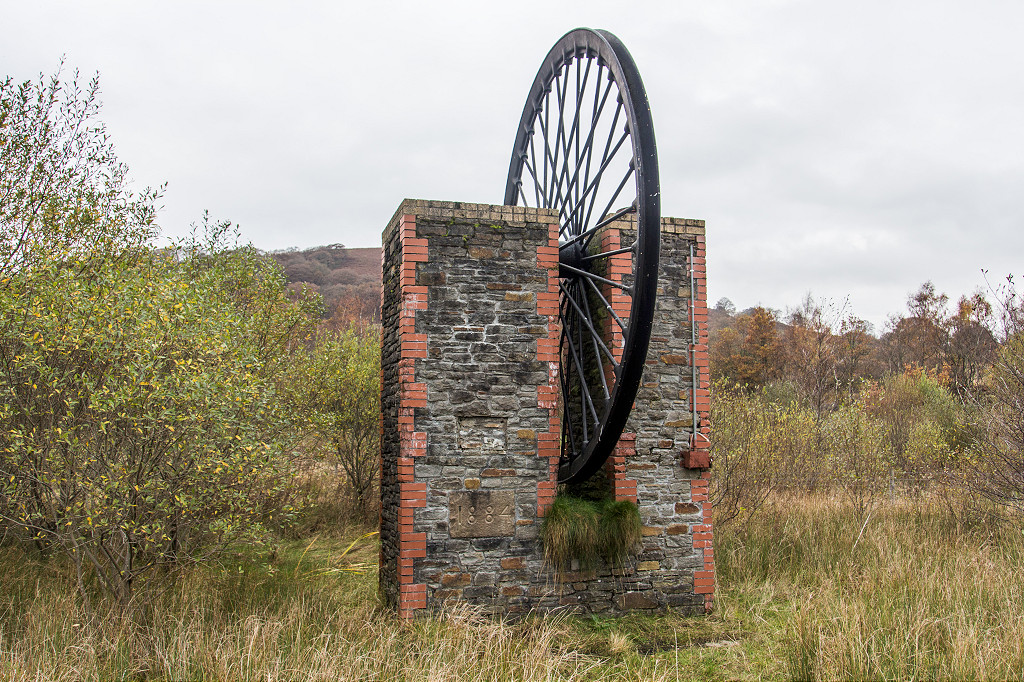
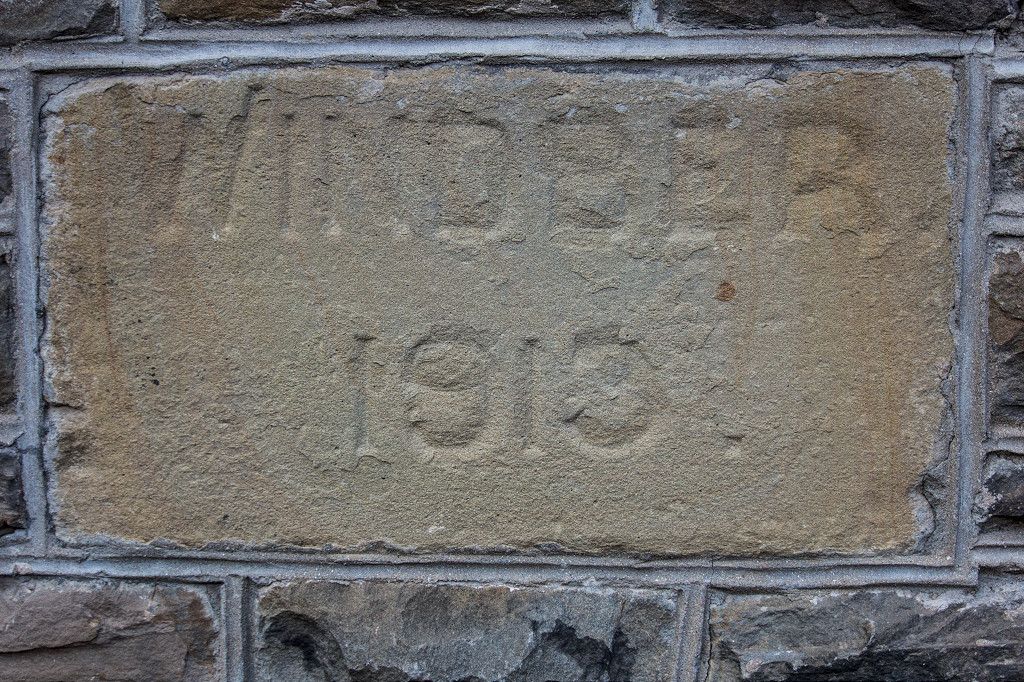 Windber headstone '1913' |
 Windber Colliery and levels |
 Windber Colliery and levels |
 Windber Colliery and levels |
 Windber Colliery tips |
 Windber Colliery tips |
 Windber Colliery building |
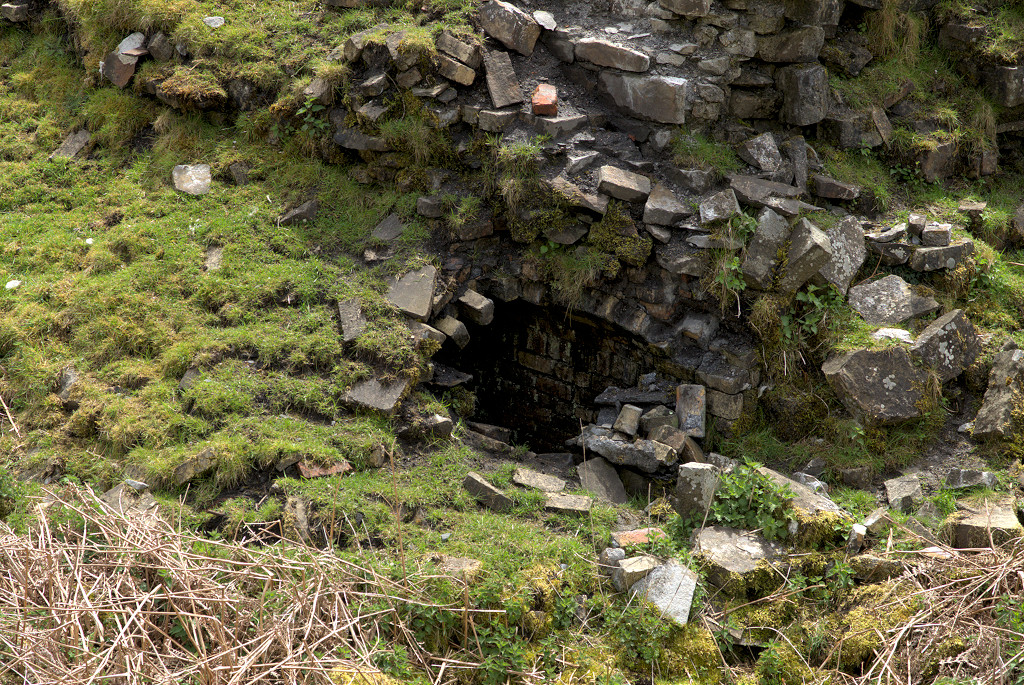
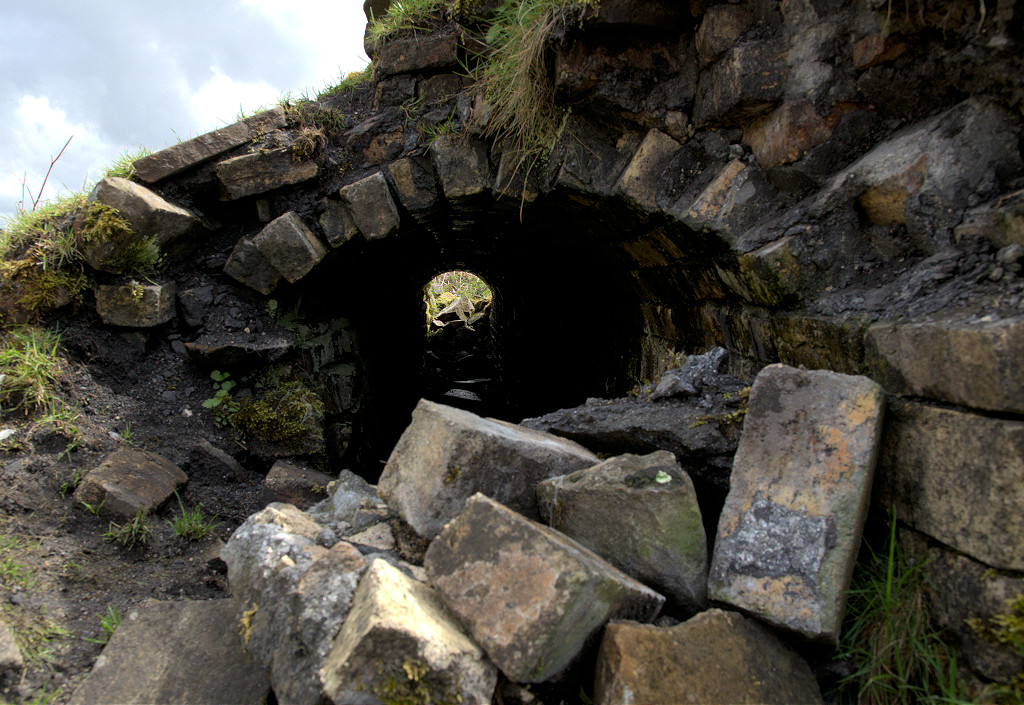
 Windber Colliery level |
 Windber Colliery level |
 Bwllfa Dare Colliery, 1878 |
 Bwllfa Dare Colliery, 1914 |
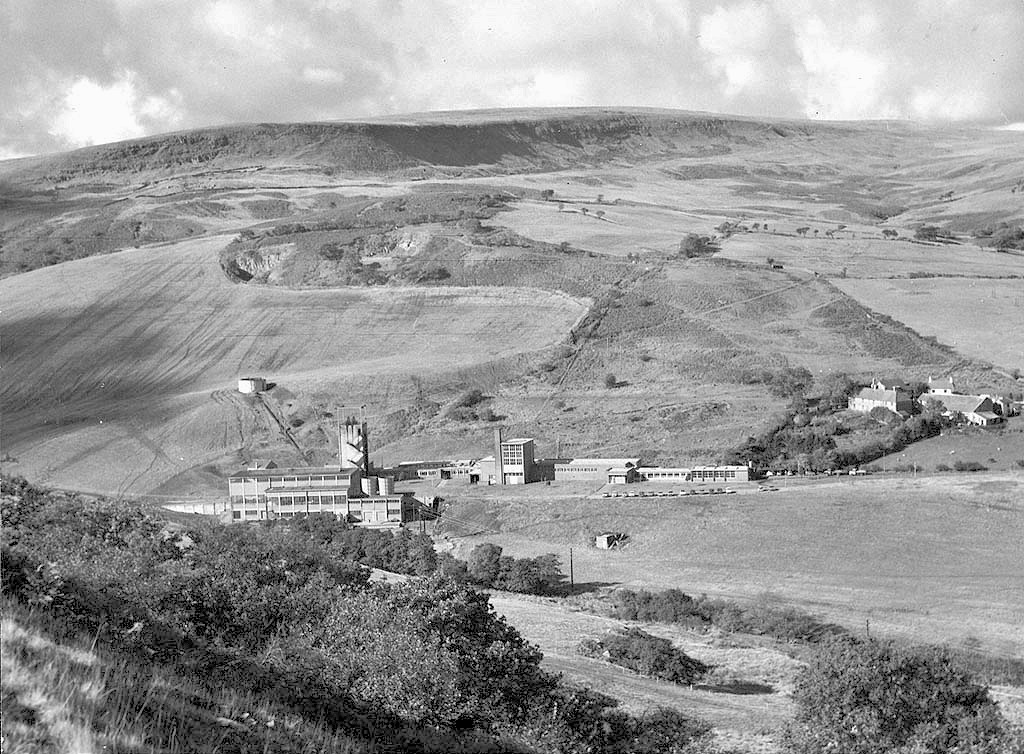 Bwllfa Dare Colliery |
|
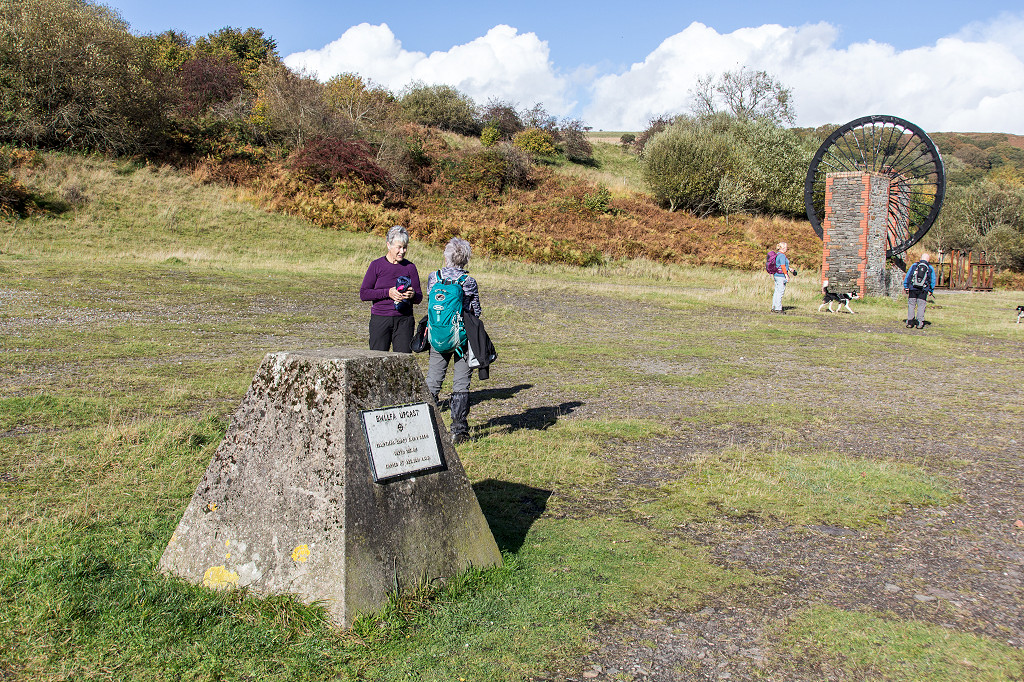 Bwllfa Dare shaft and headgear |
 Bwllfa Dare Colliery |
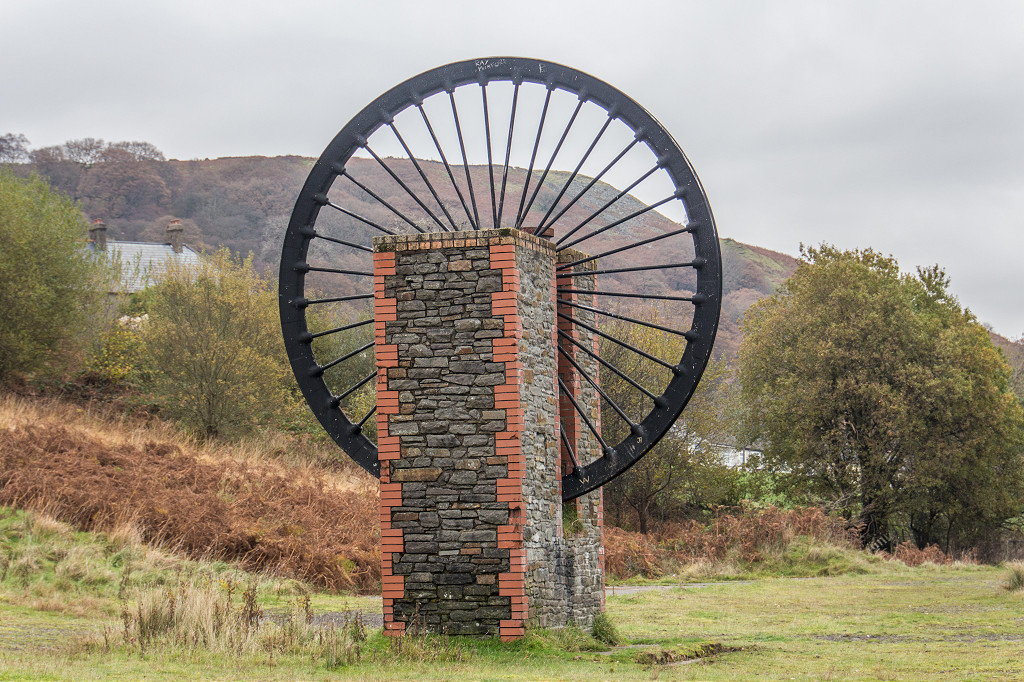 Bwllfa Dare Colliery |
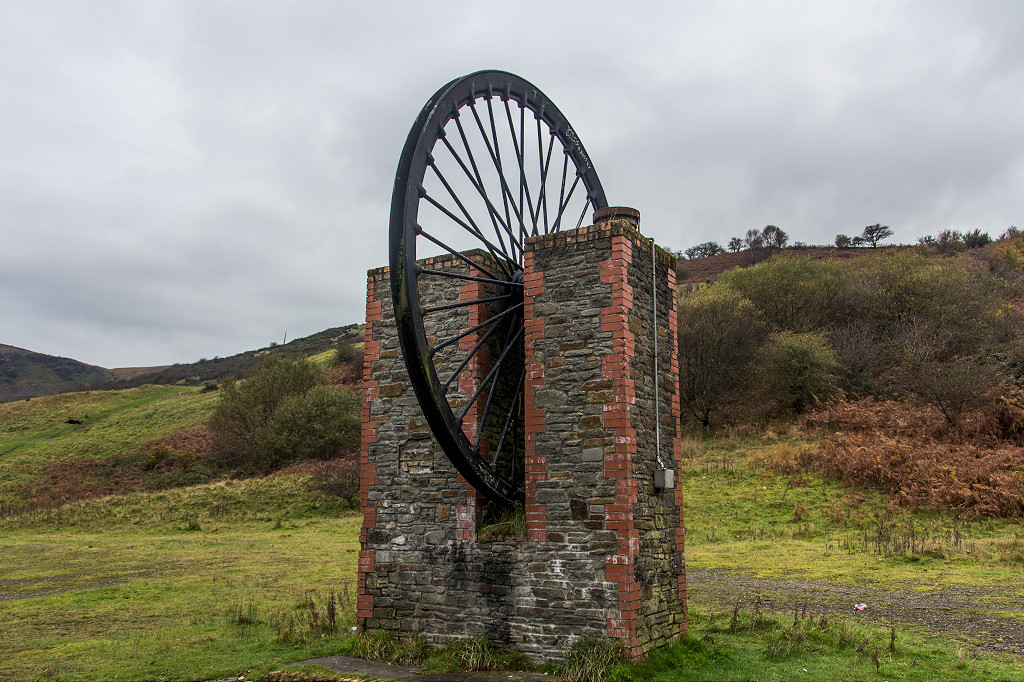 Bwllfa Dare Colliery |
 Bwllfa Dare headgear or cage |
 Bwllfa Dare Colliery headgear |
 Bwllfa Dare Colliery headgear |
 Bwllfa Dare school |
 Bwllfa Dare glazed tiles |
 Bwllfa Dare Colliery |
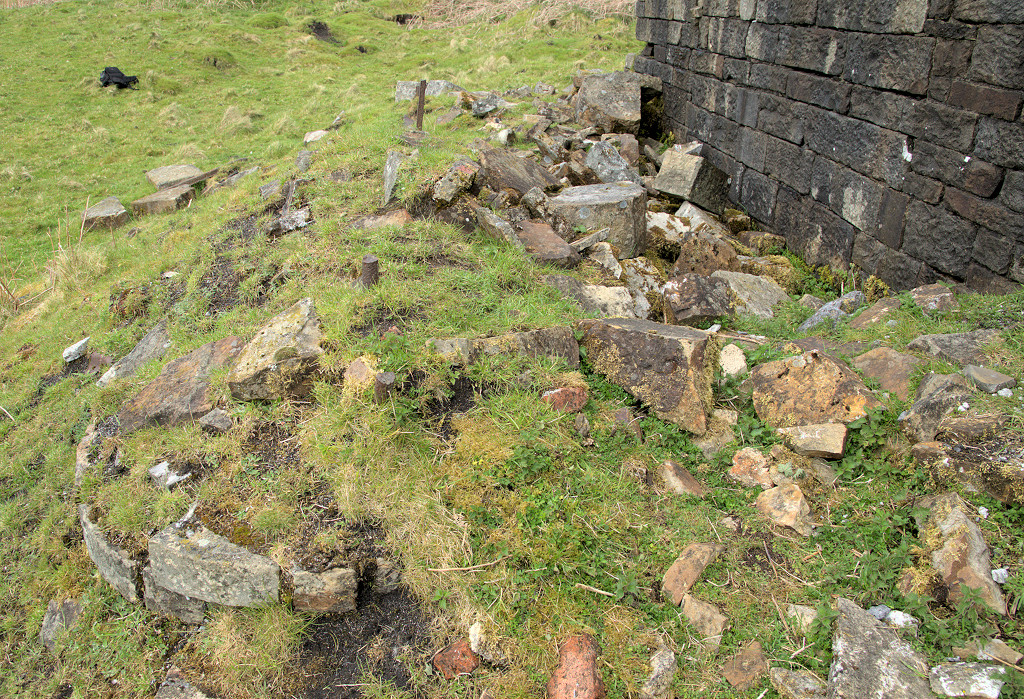
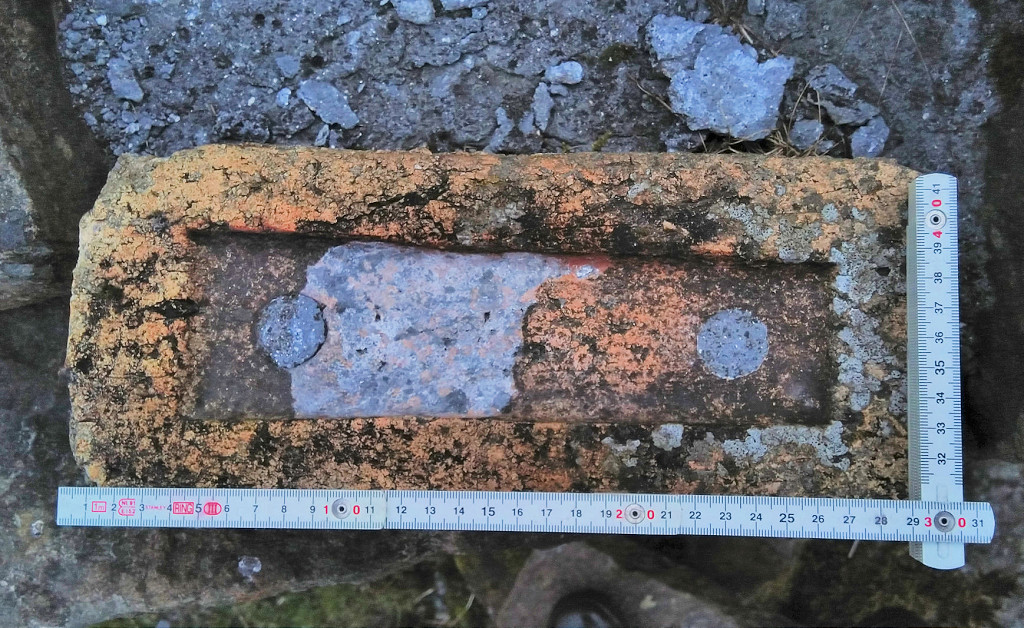
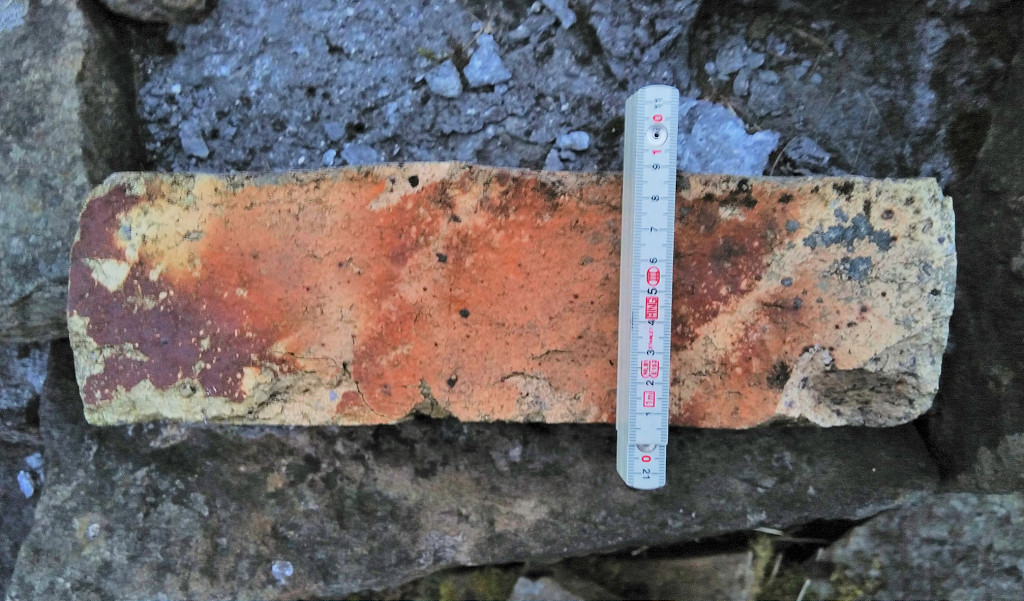
 Bwllfa Dare brickworks |
 Bwllfa Dare |
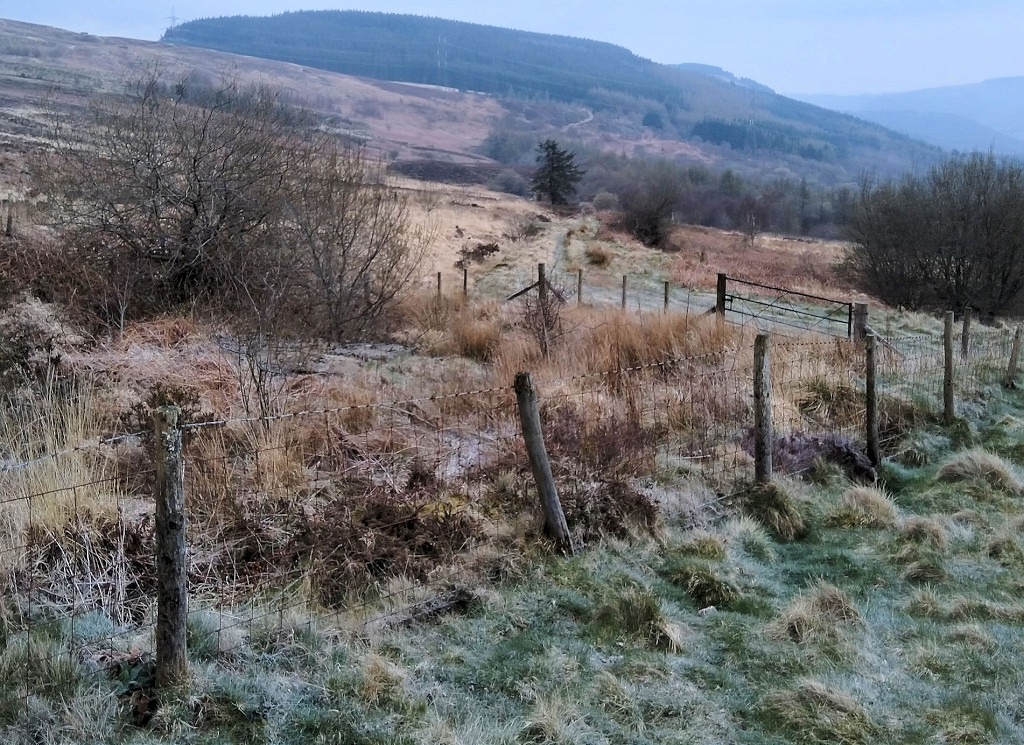
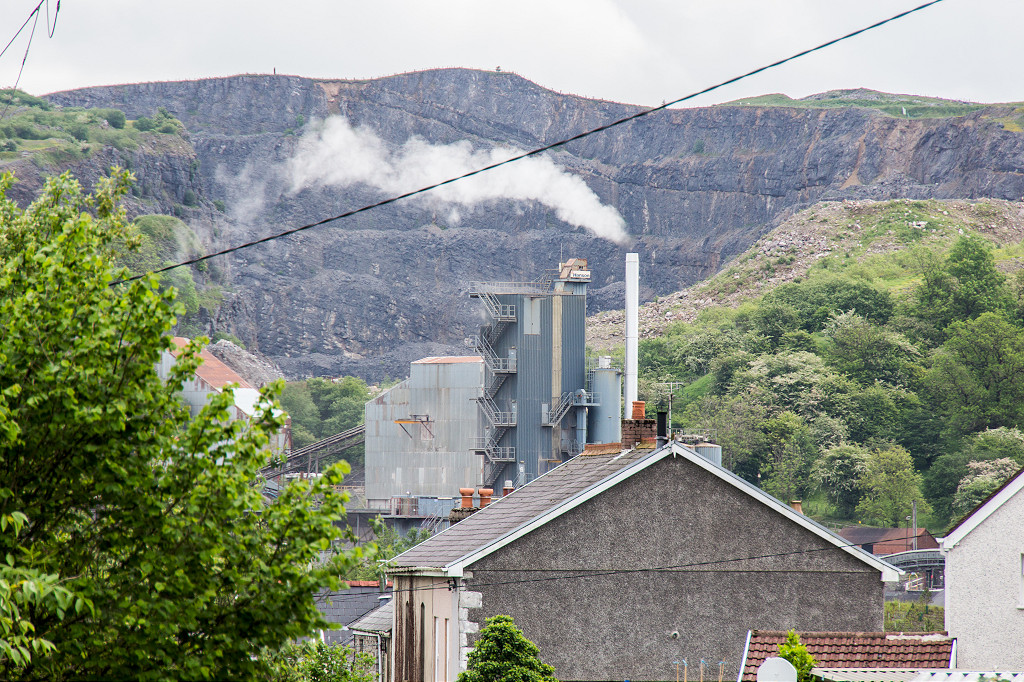
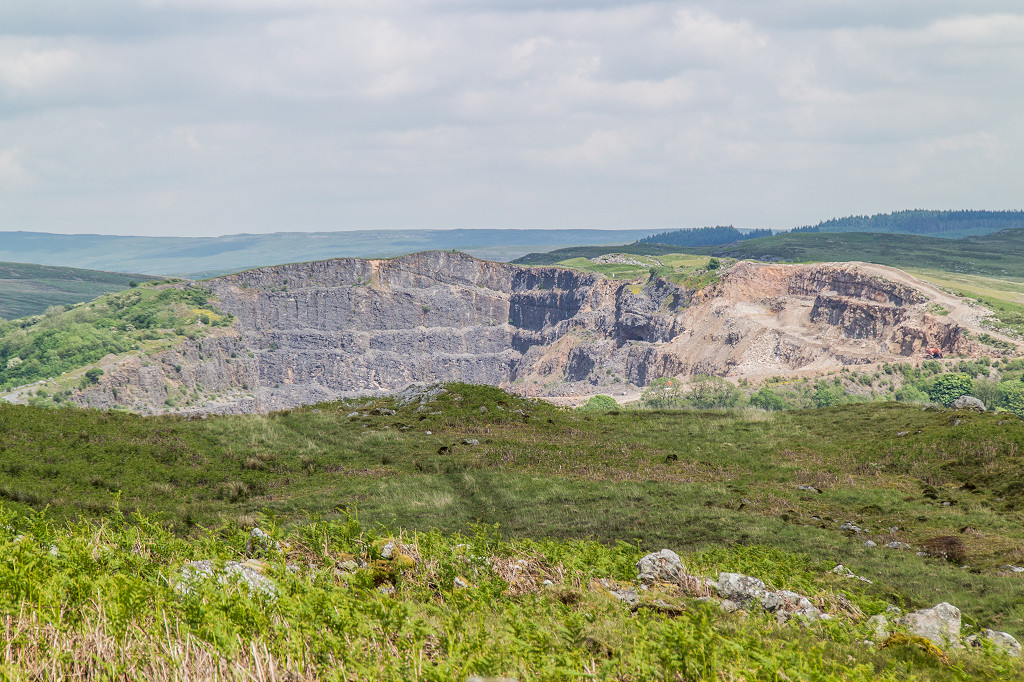
 Bwllfa Dare Quarry |
 Bwllfa Dare Quarry |
 Bwllfa Dare Quarry |
 Foundry Town level crossing |
 Foundry Town level crossing |
 Foundry Town trackbed |
 Aberaman branch trackbed |
 Aberaman branch trackbed |
 Aberaman branch trackbed |
 Aberaman branch trackbed |
 Aberaman branch trackbed |
 Blaengwawr Colliery loading bank |
 Blaengwawr Colliery loading bank |
 Blaengwawr Colliery loading bank |
 Blaengwawr Colliery bridge |
 Blaengwawr Colliery bridge |
 Blaengwawr Colliery bridge |
 Maes-y-Ffynnon Lane bridge |
 Blaengwawr trackbed |
 Blaengwawr footpath bridge |
 Blaengwawr footpath bridge |
 Blaengwawr Quarry |
 Blaengwawr Quarry |
 Blaengwawr Quarry |
 Blaengwawr Quarry tramway |
 Blaengwawr Quarry tramway |
 Blaengwawr Quarry tramway |
 Blaengwawr Quarry incline |
 Godreaman trackbed |
 Cwmneol trackbed |
 Globe Inn, Cwmneol |
 Cwmneol Farm |
 Cwmneol trackbed |
 Cwmneol trackbed |
 Cwmneol workshop |
 Cwmneol Street bridge |
 Cwmaman trackside building |
 Cwmaman trackbed |
 Cwmaman trackbed |
 Cwmaman Colliery site |
 Cwmaman Colliery site |
 Forchwen Pit site |
 Forchwen Pit site |
 Forchaman Quarry |
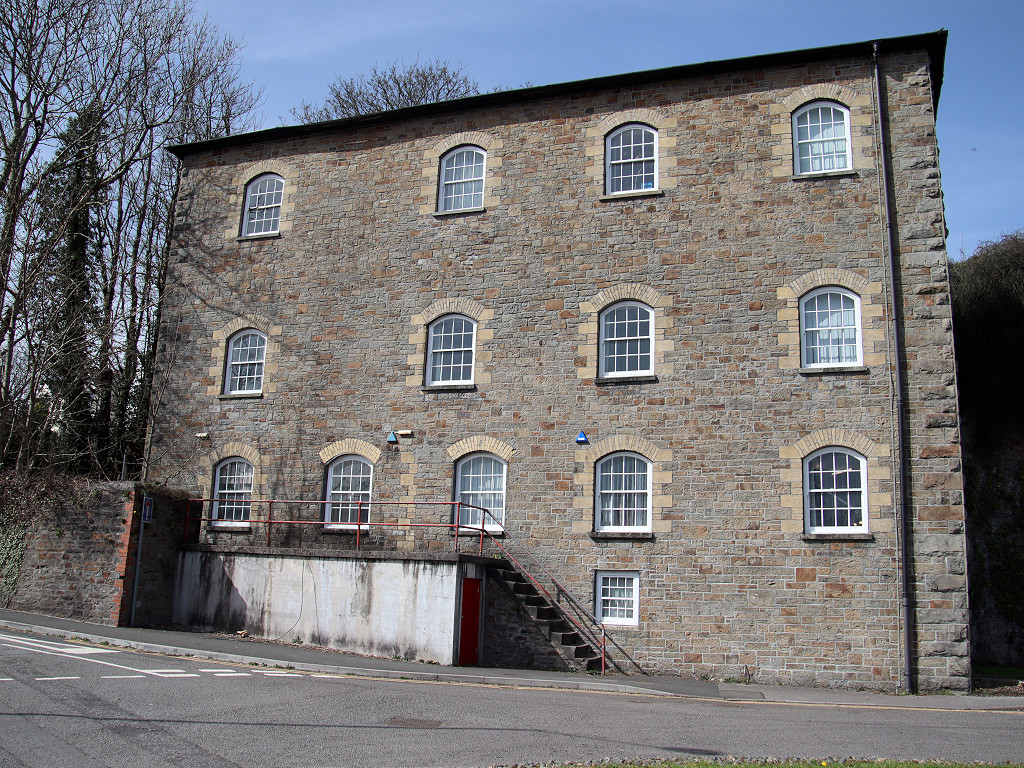 Gadlys Blast Engine house |
 Gadlys Blast Engine house |
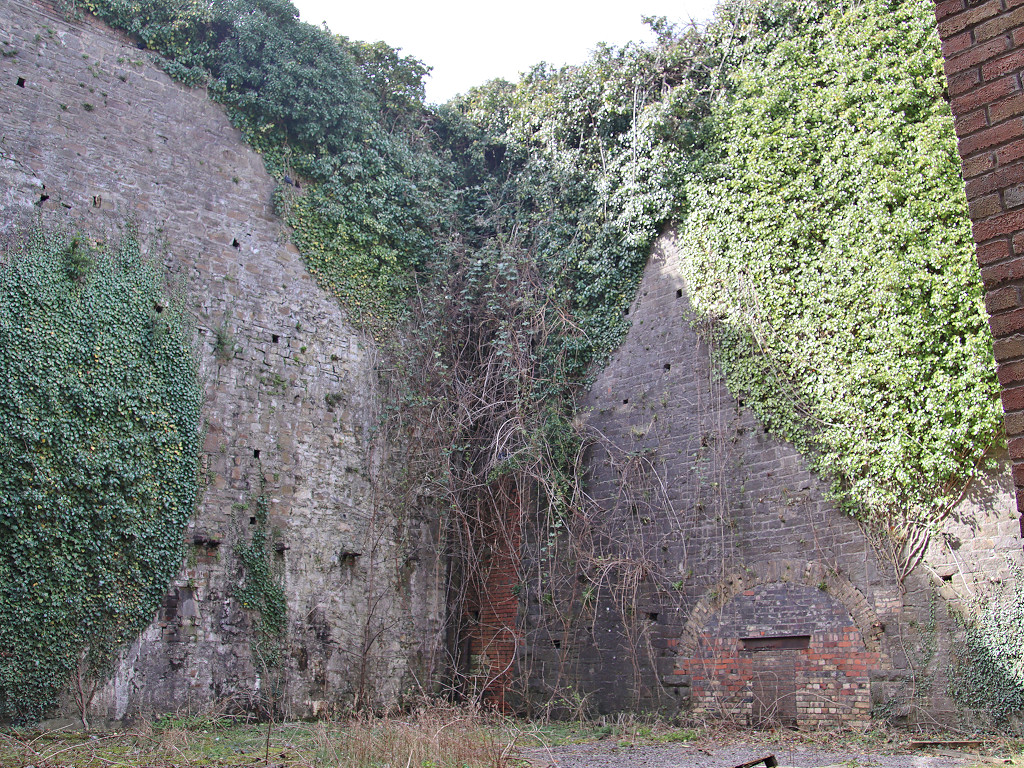 Gadlys Blast Furnaces |
 Gadlys Blast Furnaces |
 Gadlys Blast Furnaces |
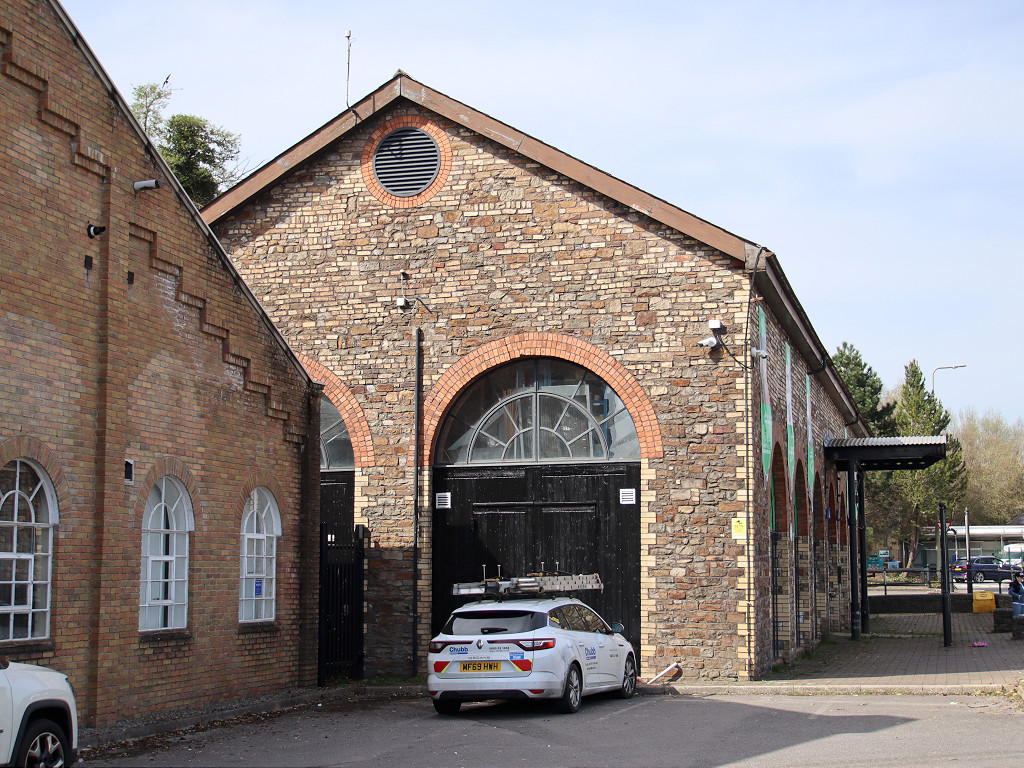 Gadlys Museum, the old tram shed |
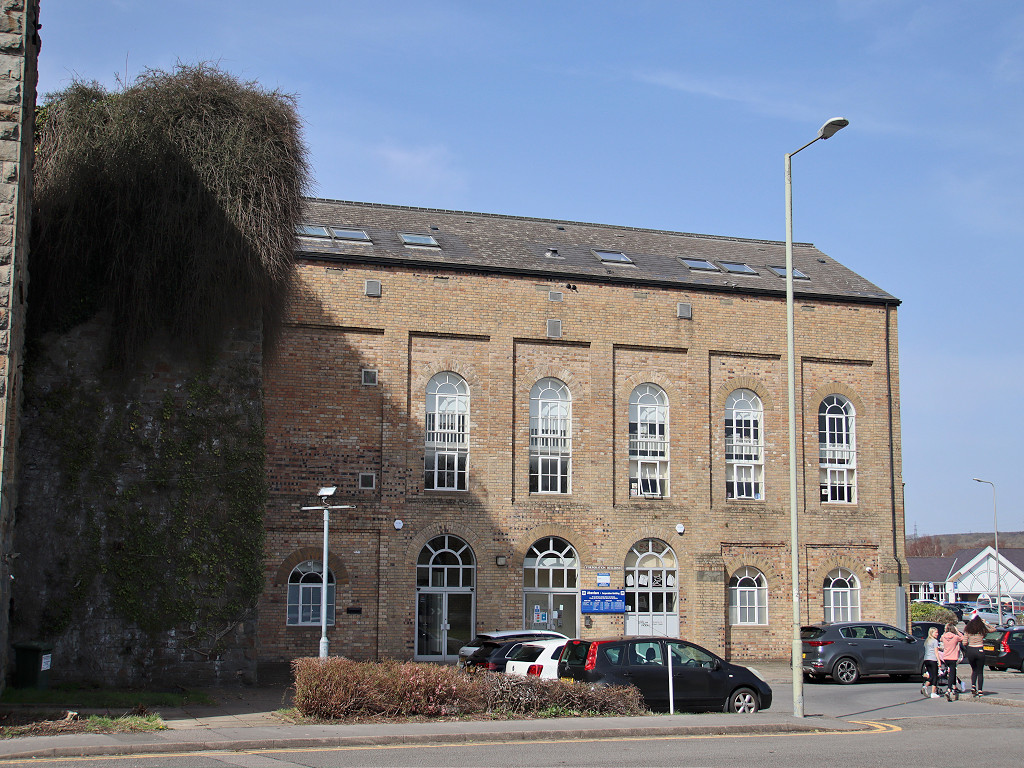 Gadlys Wagon Works |
 Gadlys Wagon Works |
 Vertical boiler near Gadlys |
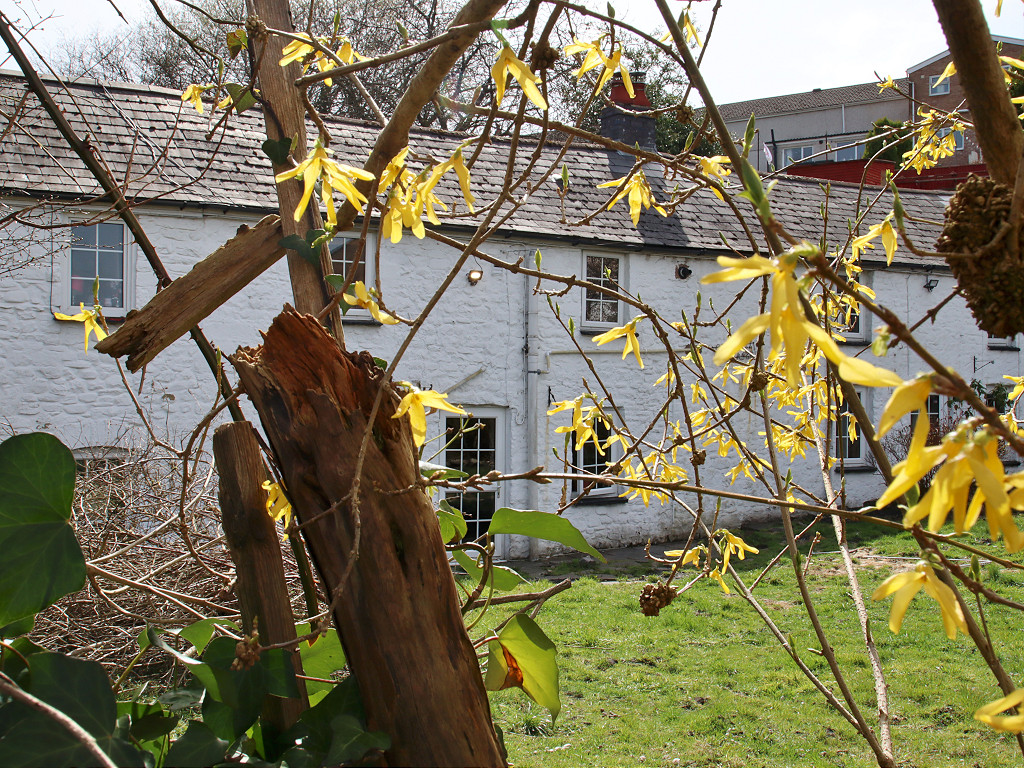 Mill Street Cottages, Aberdare |
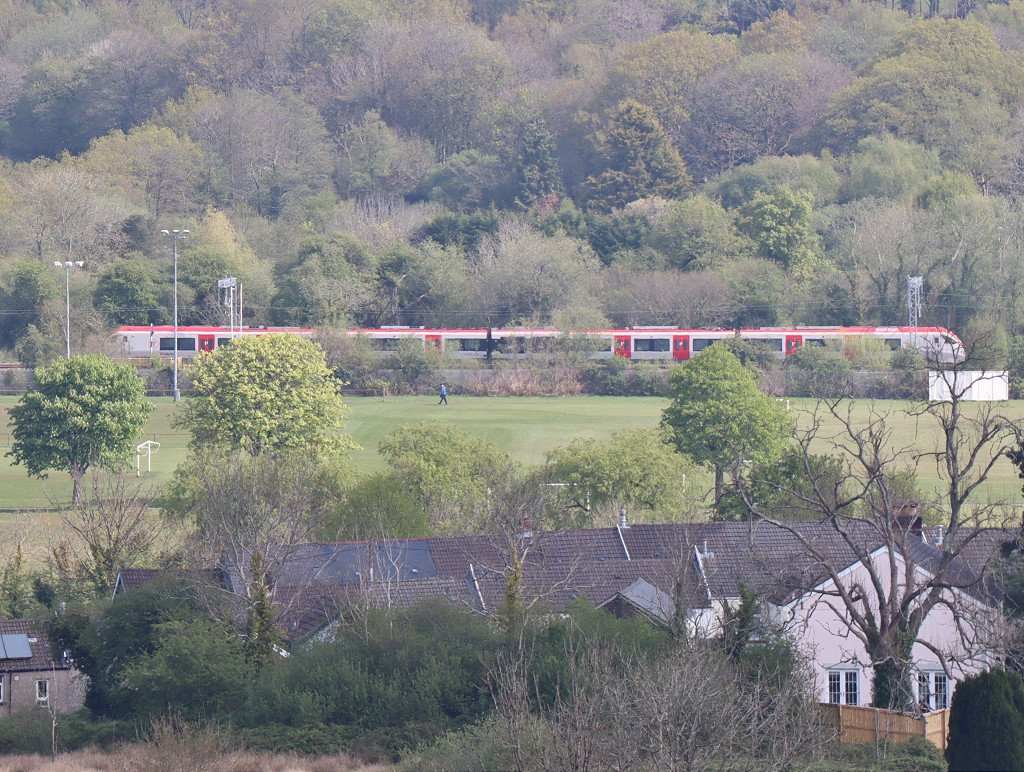 Class 756 approaches Aberdare |
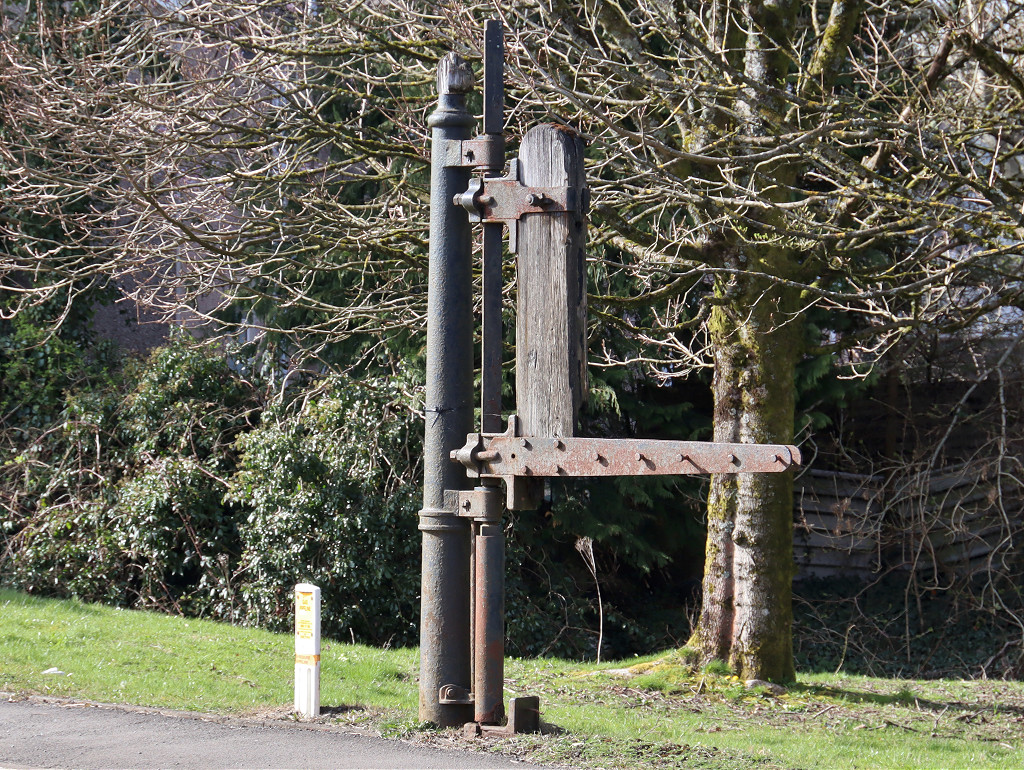
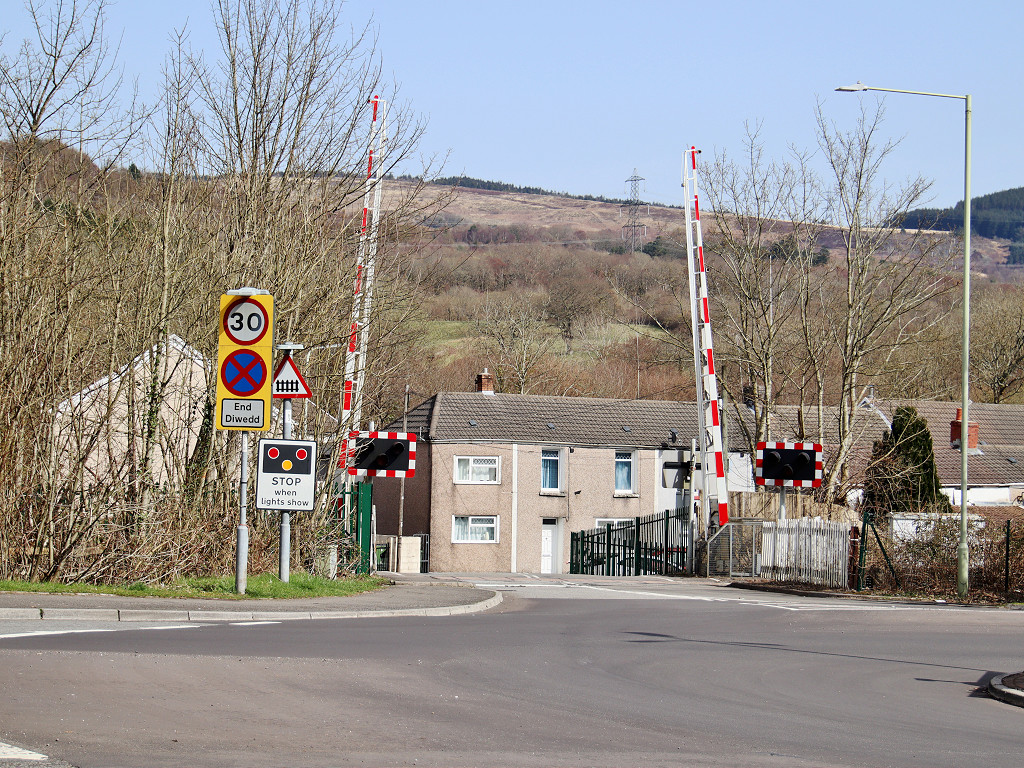 Robertstown Level Crossing |
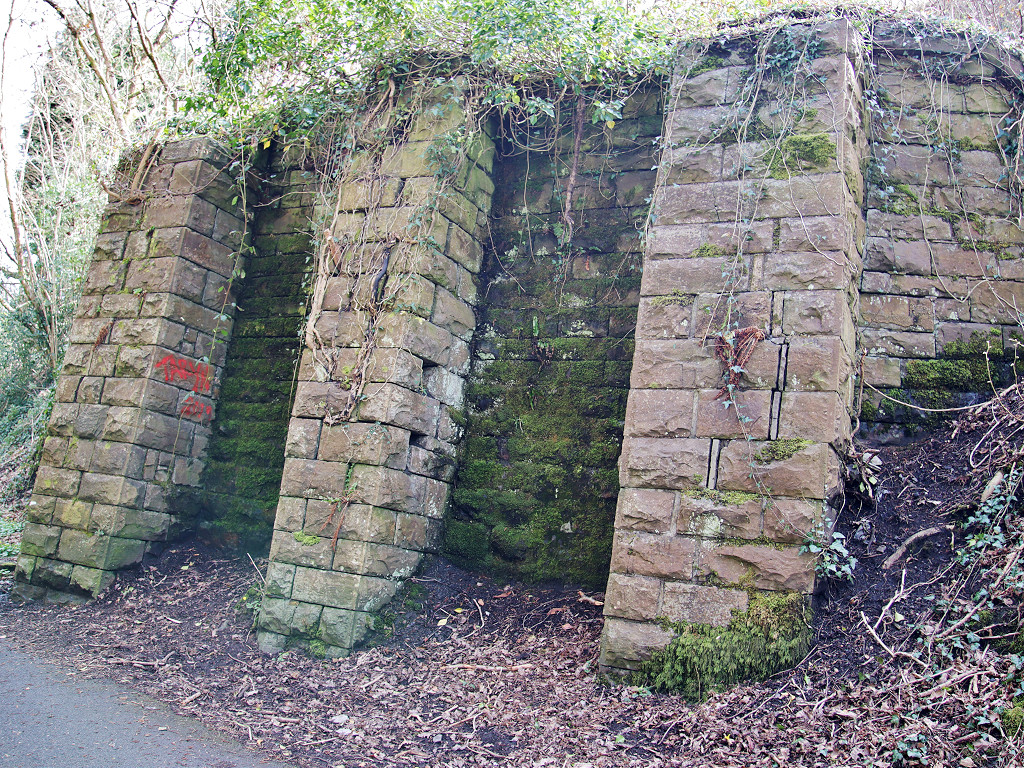 Gamlyn Viaduct |
 Gamlyn Viaduct |
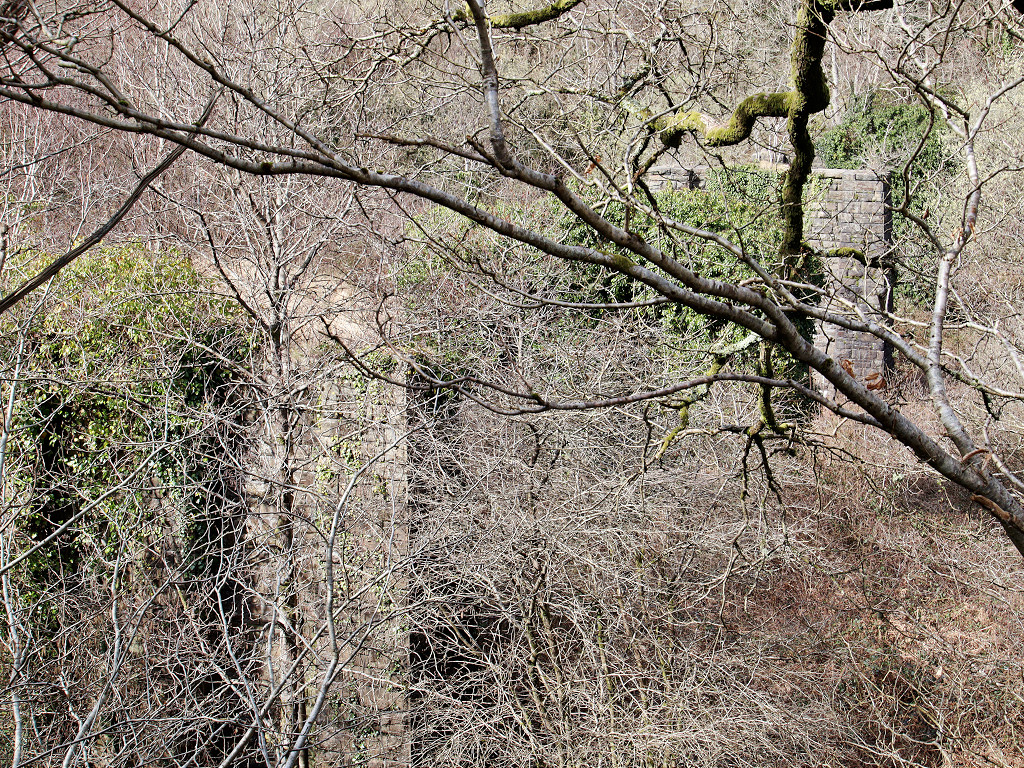 Gamlyn Viaduct |
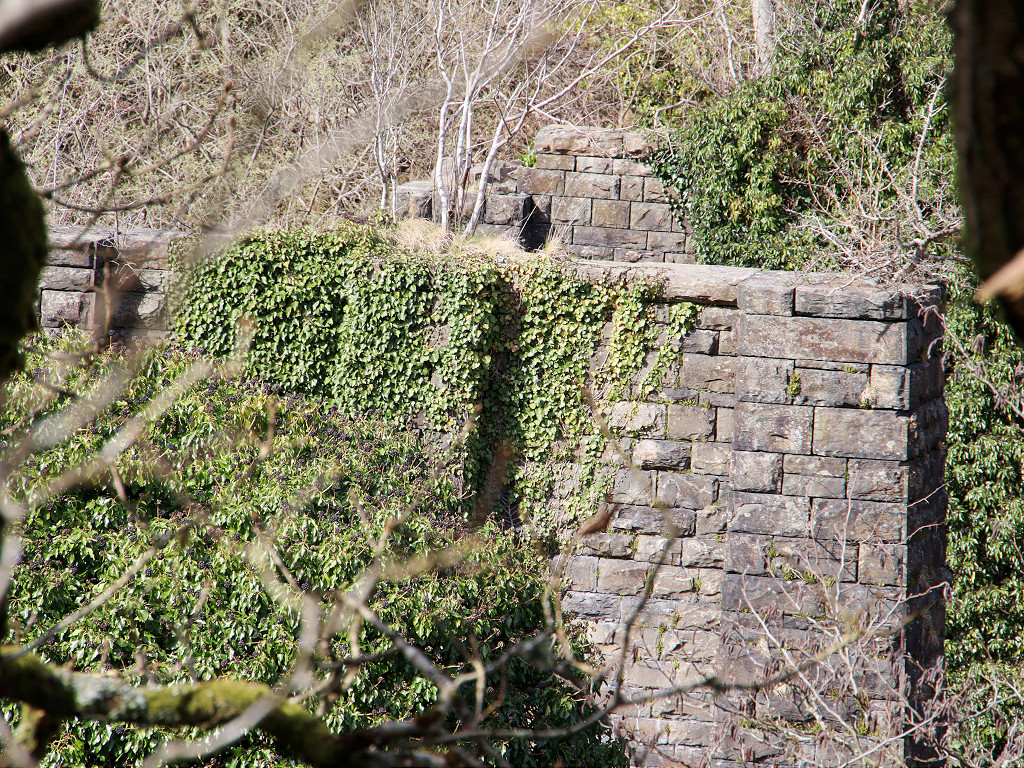 Gamlyn Viaduct |
 Gamlyn Viaduct |
 Cemetery Road level crossing |
 Cemetery Road level crossing |
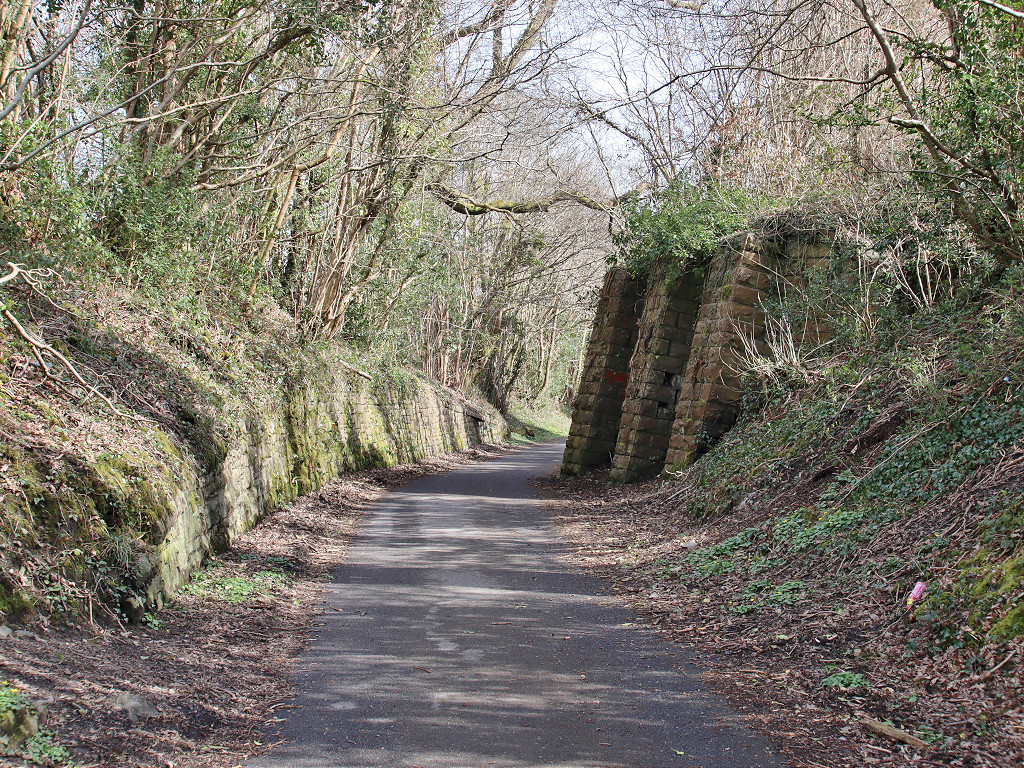
 Aberdare Tramroad near Gadlys |
 Aberdare Tramroad near Gadlys |
 Robertstown Bridge, Aberdare |
 Robertstown Bridge, Aberdare |
 Robertstown Bridge, Aberdare |
 Aberdare Tramroad at Mill Street |
 Aberdare Tramroad at Mill Street |
 Tramroad at Harriet Street |
 Tramroad at Harriet Street |
 Tramroad at Gelli Isaf Lane |
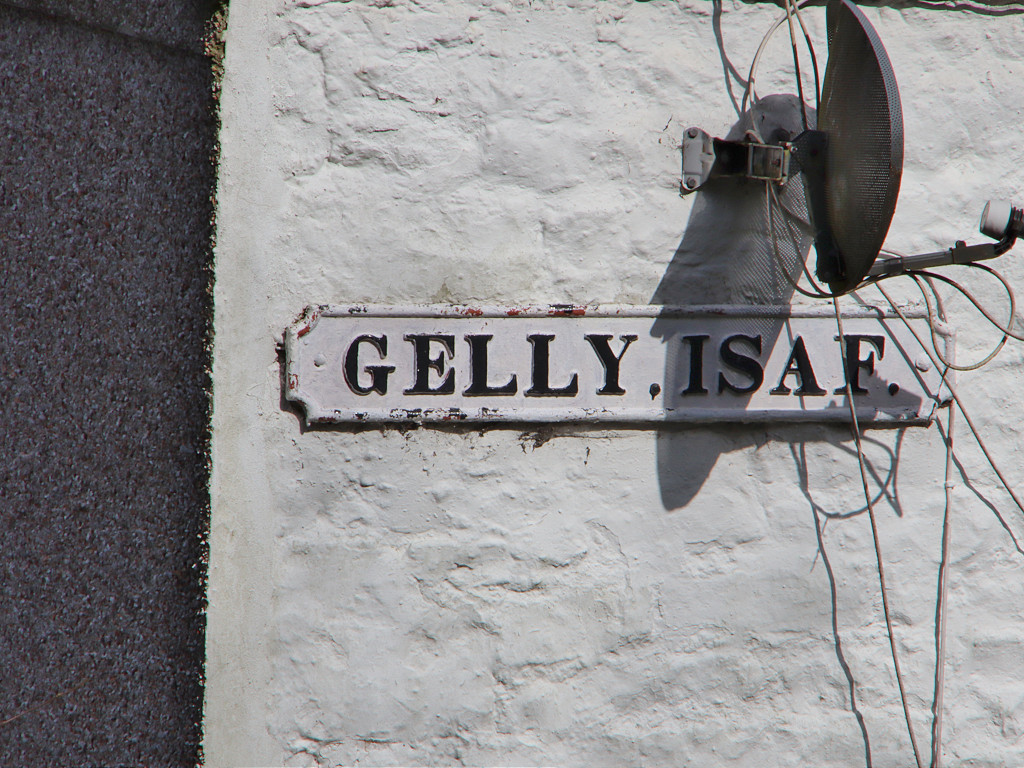 Aberdare Tramroad at Gelli Isaf |
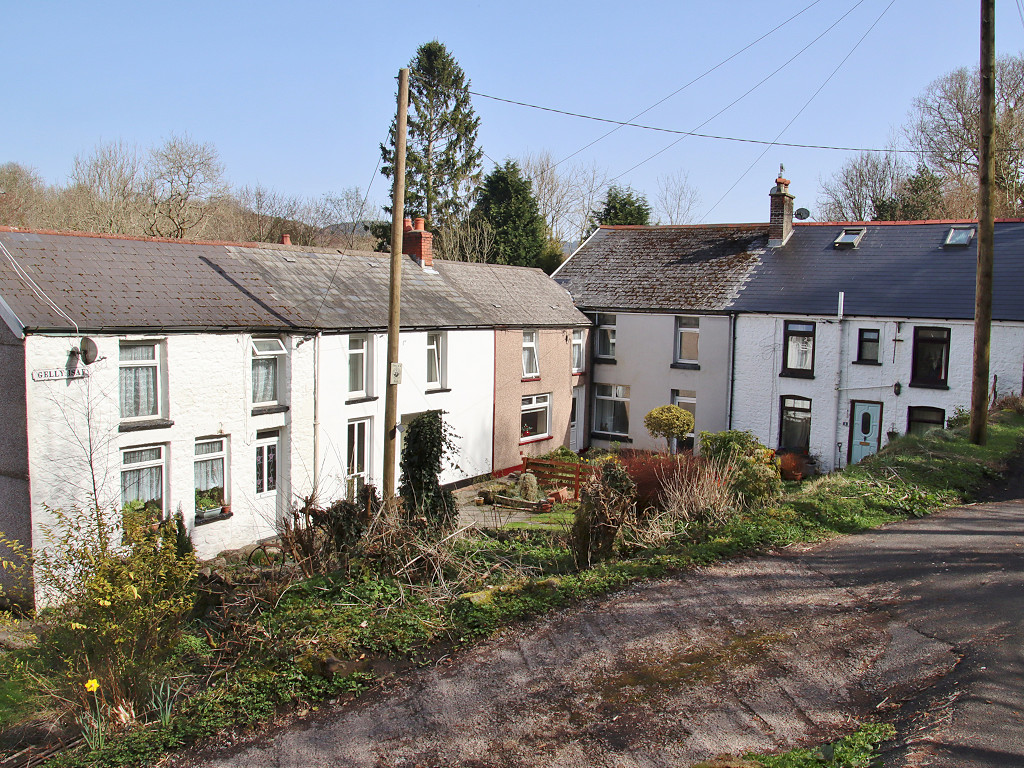 Aberdare Tramroad at Gelli Isaf |
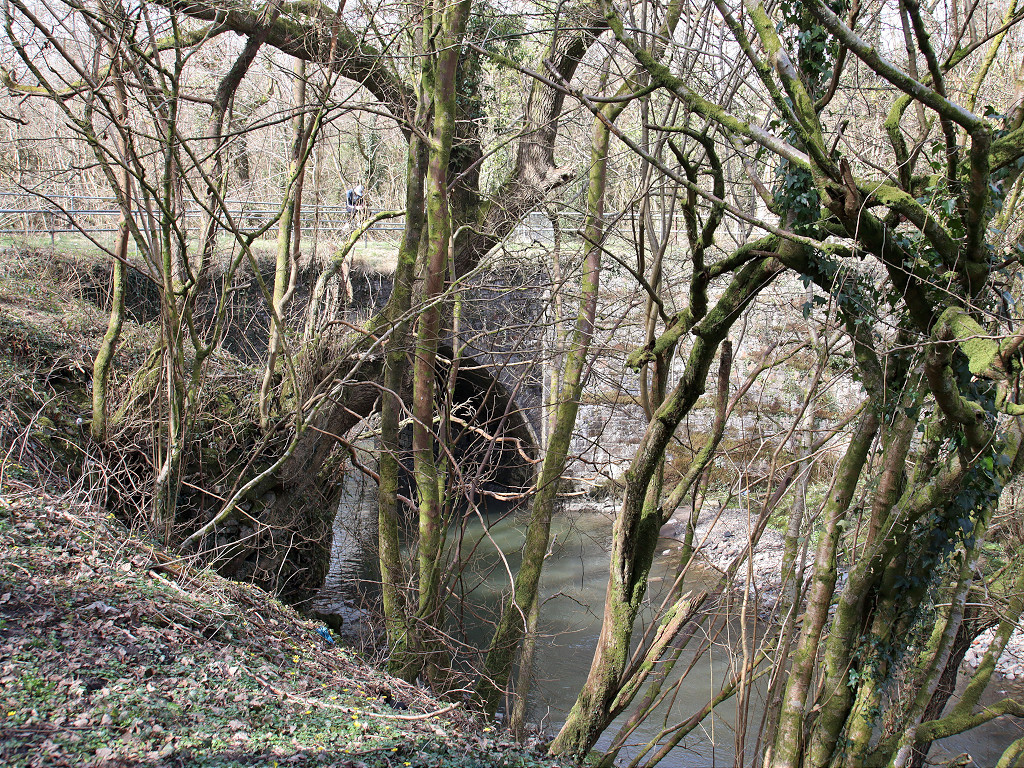 Gelli Isaf bridge |
 Gelli Isaf bridge |
 Gelli Isaf bridge |
 Gelli Isaf bridge |
 Gelli Isaf bridge |
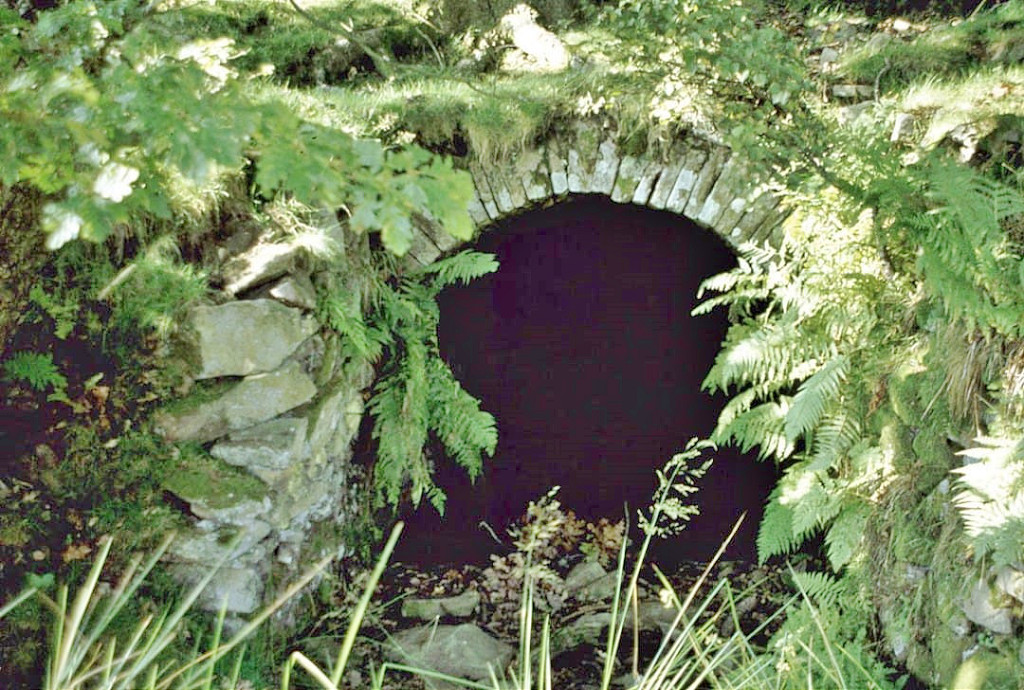
 Gelli Isaf culvert |
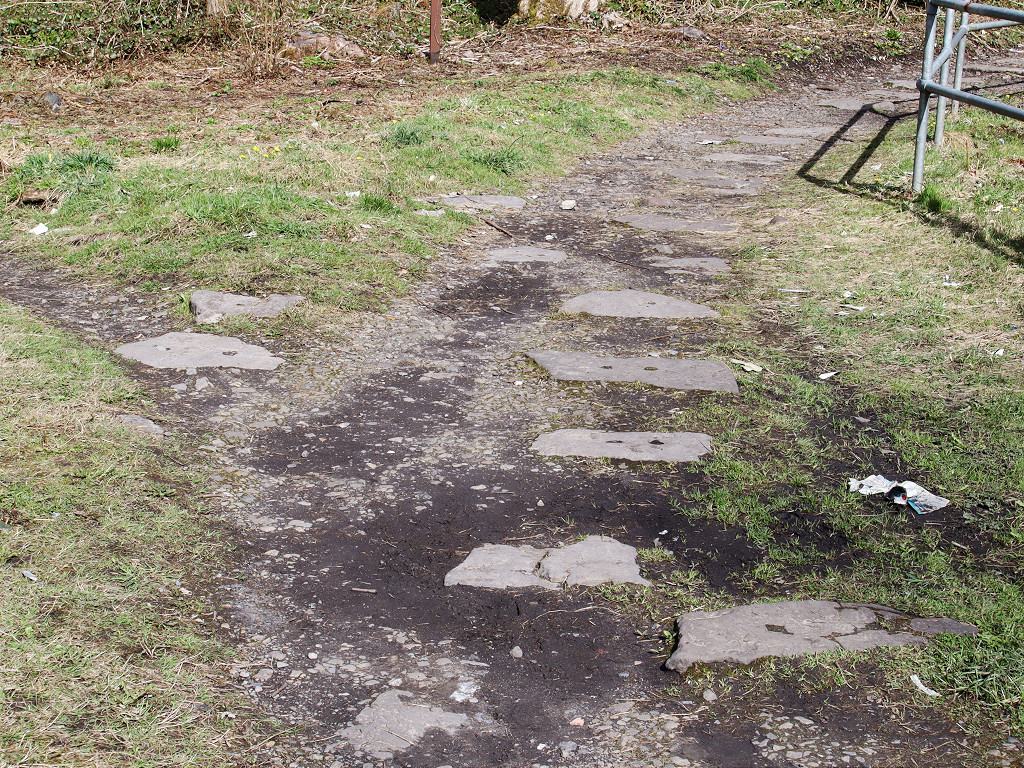
 Aberdare Tramroad near Gelli Isaf |
 Aberdare Tramroad near Gelli Isaf |
 Tramroad at Gamlyn Colliery |
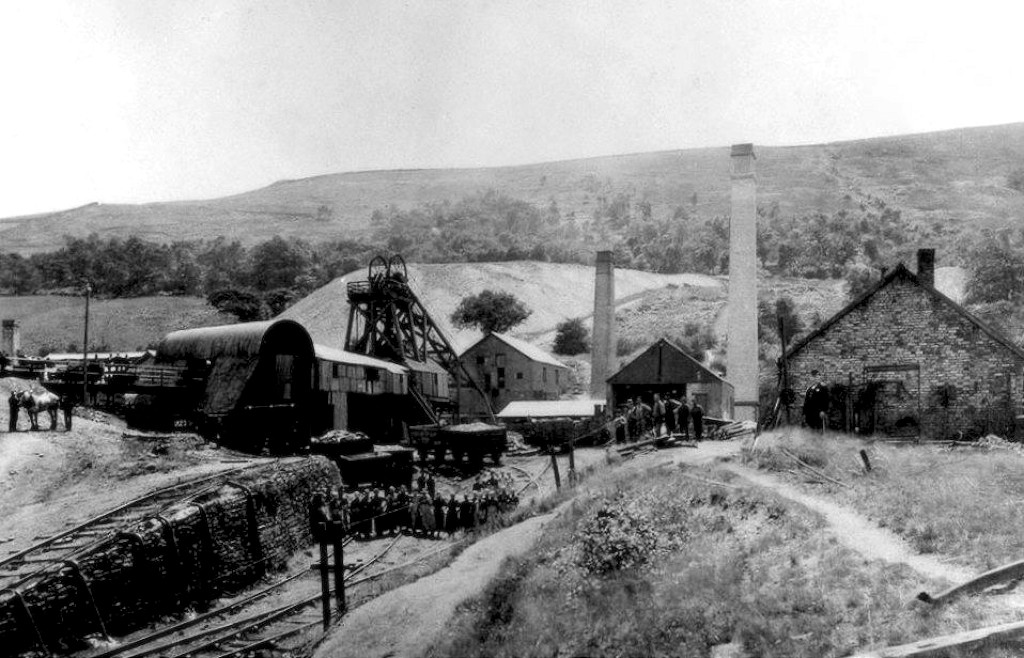
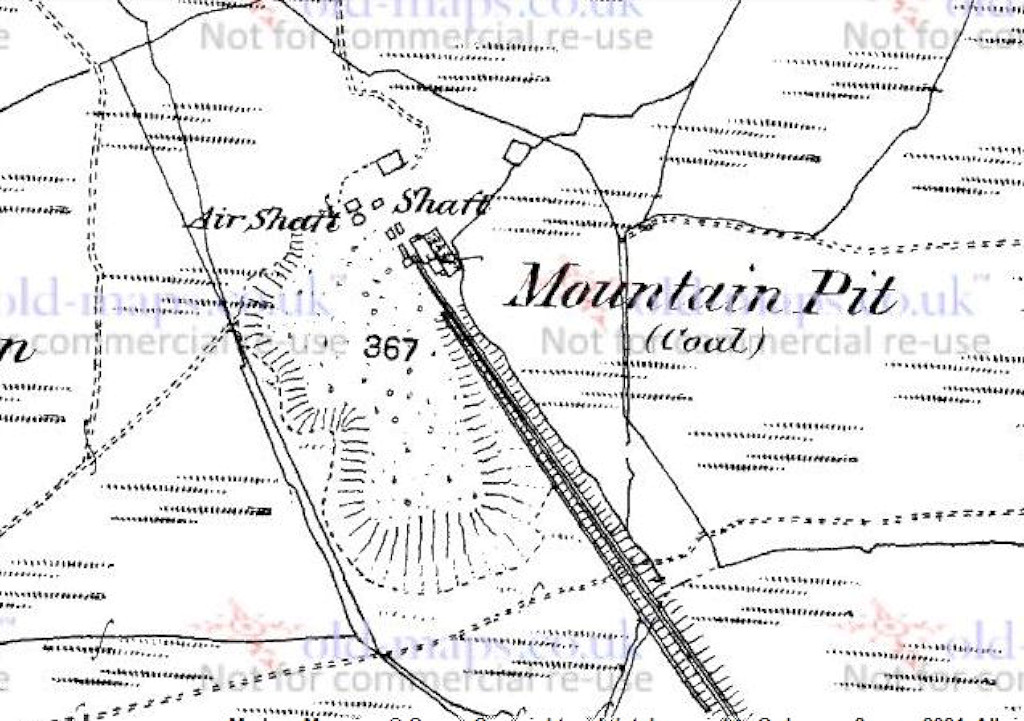 Mountain Pit, Blaen-nant, 1868 |
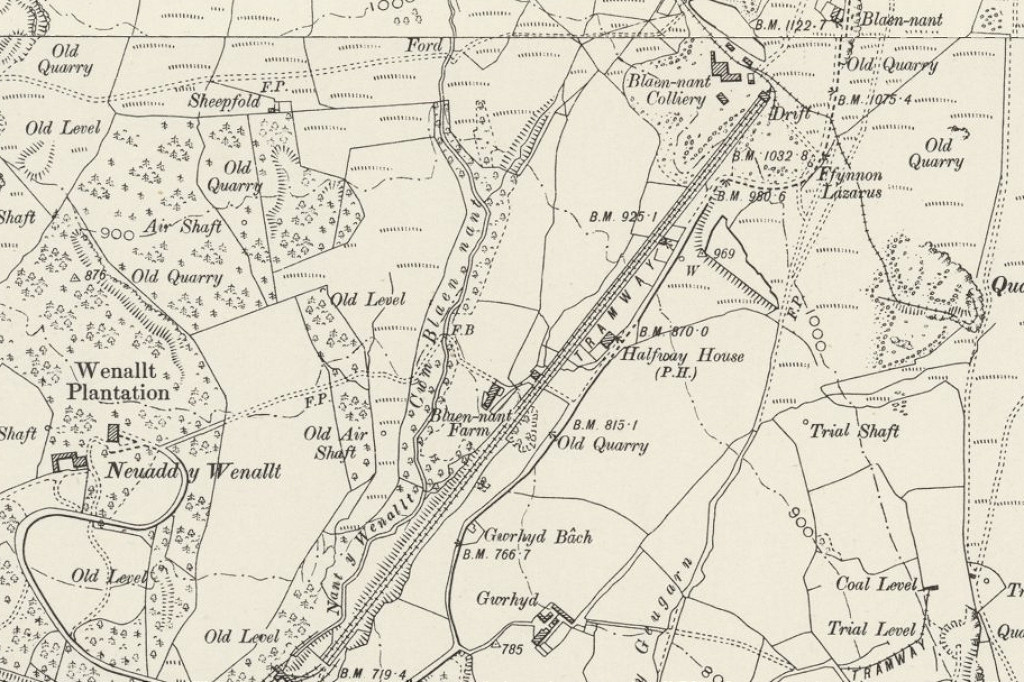 Blaen-nant Colliery, c1901 |
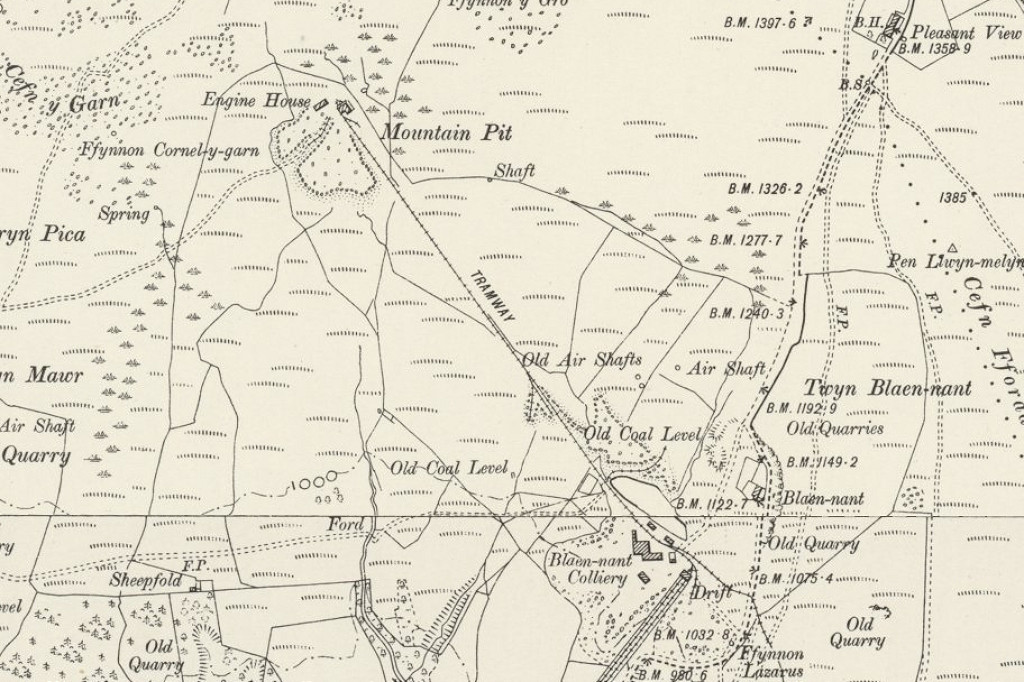 Mountain Pit, Blaen-nant, c1901 |
|
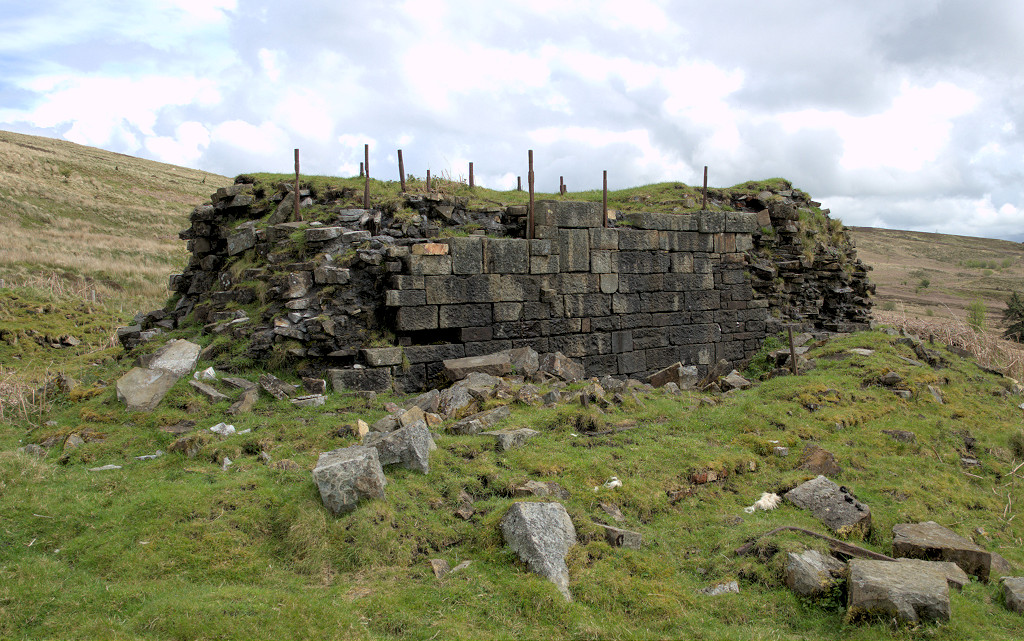 Mountain Pit, Blaen-nant |
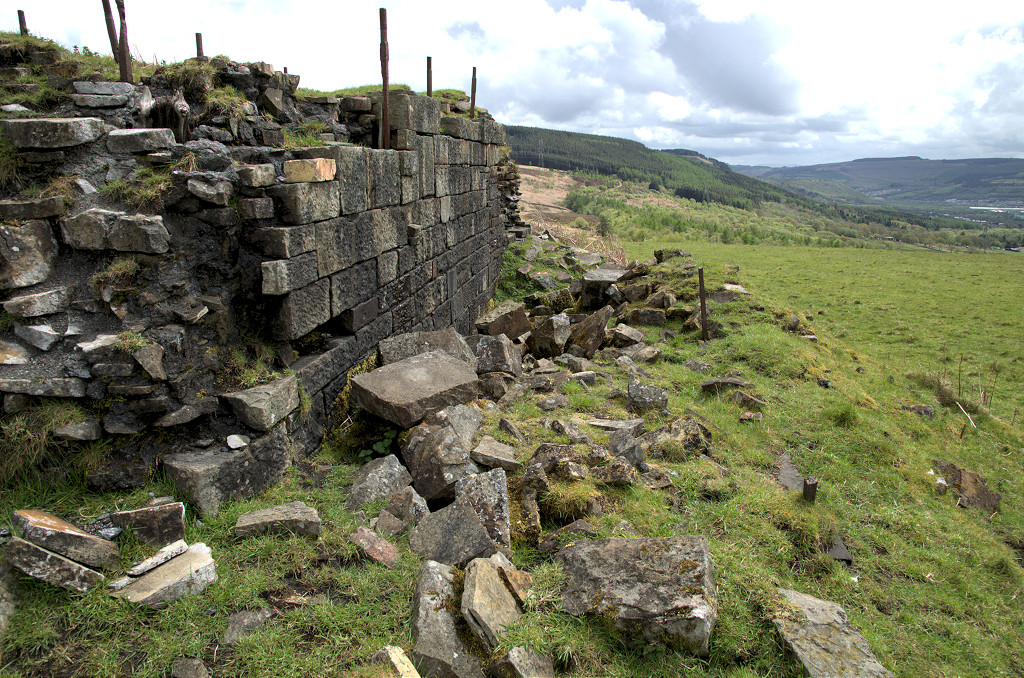 Mountain Pit, Blaen-nant |
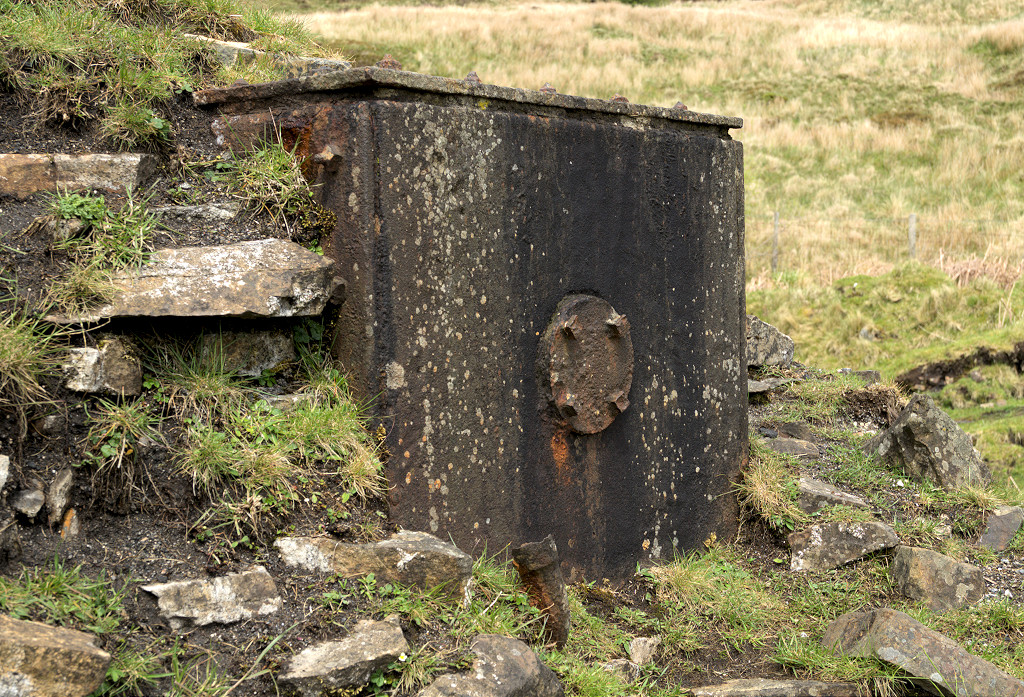
 Mountain Pit, Blaen-nant |
 Mountain Pit, Blaen-nant |
 Mountain Pit, Blaen-nant |
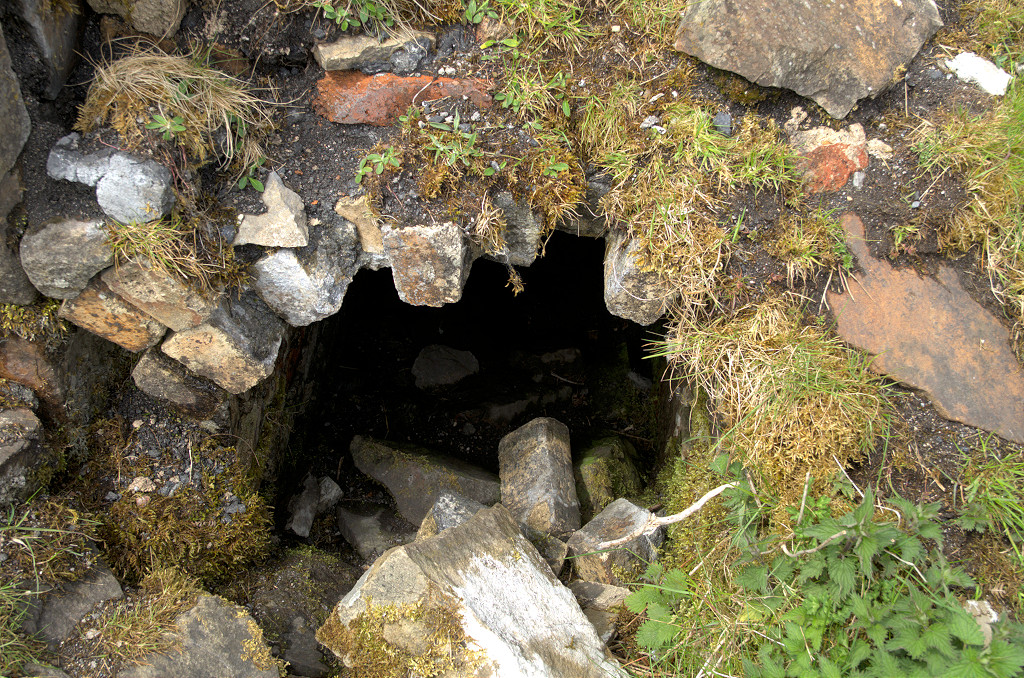 Mountain Pit, Blaen-nant |
 Mountain Pit, Blaen-nant |
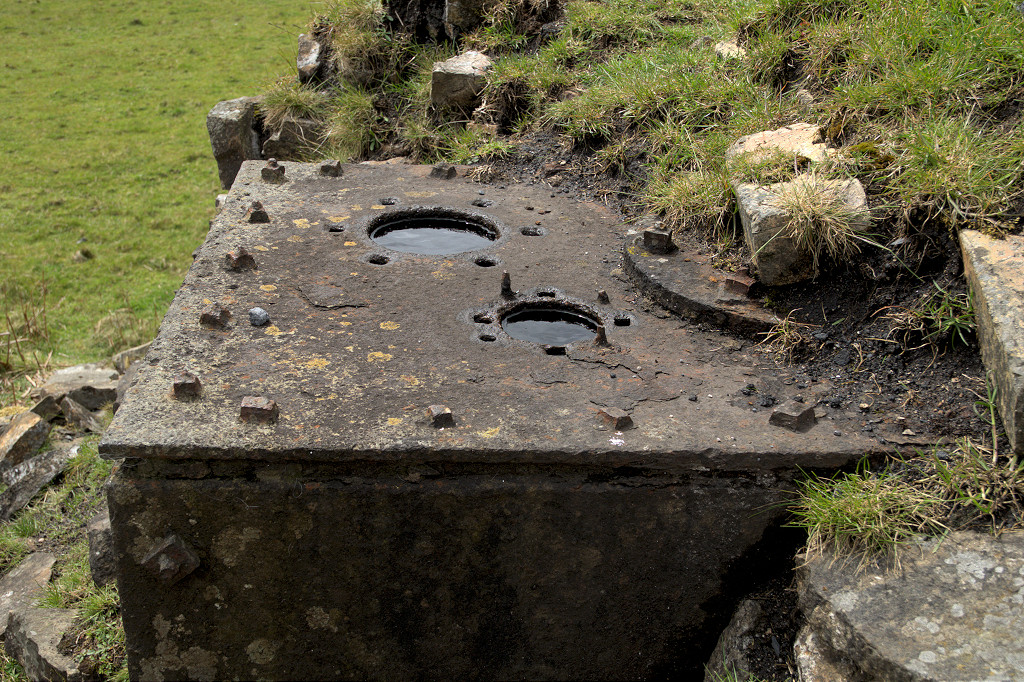 Mountain Pit, Blaen-nant |
 Mountain Pit, Blaen-nant |
 Mountain Pit, Blaen-nant |
 Mountain Pit, Blaen-nant |
 Mountain Pit, Blaen-nant |
 Mountain Pit, Blaen-nant |
 Mountain Pit, Blaen-nant |
 Mountain Pit, Blaen-nant |
 Mountain Pit, Blaen-nant |
 Mountain Pit, Blaen-nant |
 Mountain Pit, Blaen-nant |
 Mountain Pit, Blaen-nant |
 Mountain Pit, Blaen-nant |
 Mountain Pit, Blaen-nant |
 Mountain Pit, Blaen-nant |
 Mountain Pit, Blaen-nant |
 Mountain Pit, Blaen-nant |
 Mountain Pit, Blaen-nant |
 Mountain Pit, Blaen-nant |
 Mountain Pit, Blaen-nant |
 Mountain Pit, Blaen-nant |
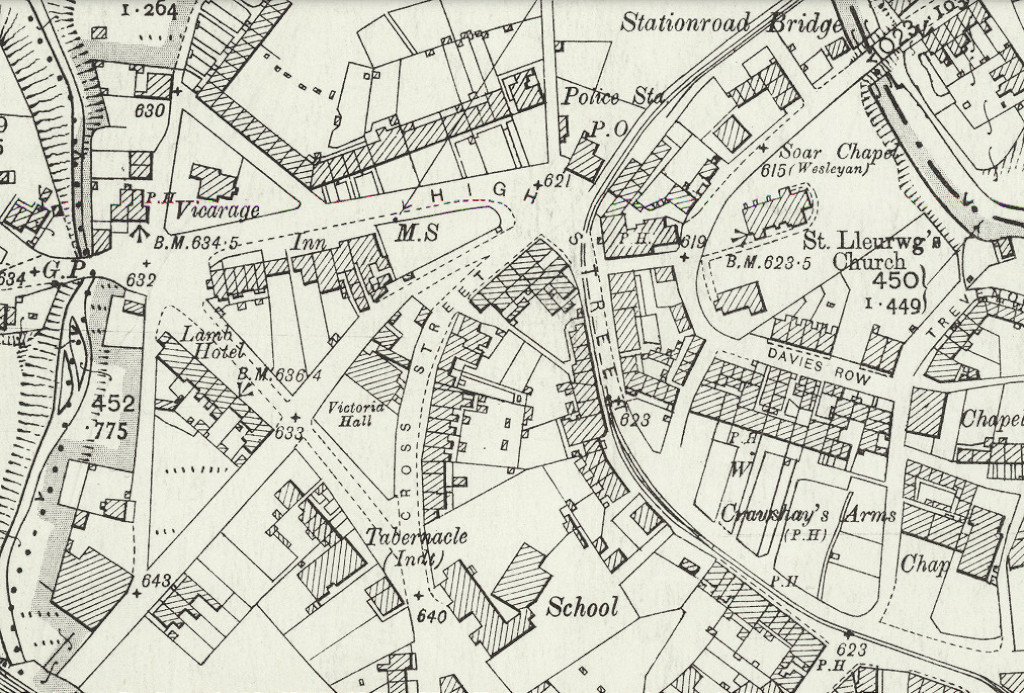 Cross Street, Hirwaun, 1897 |
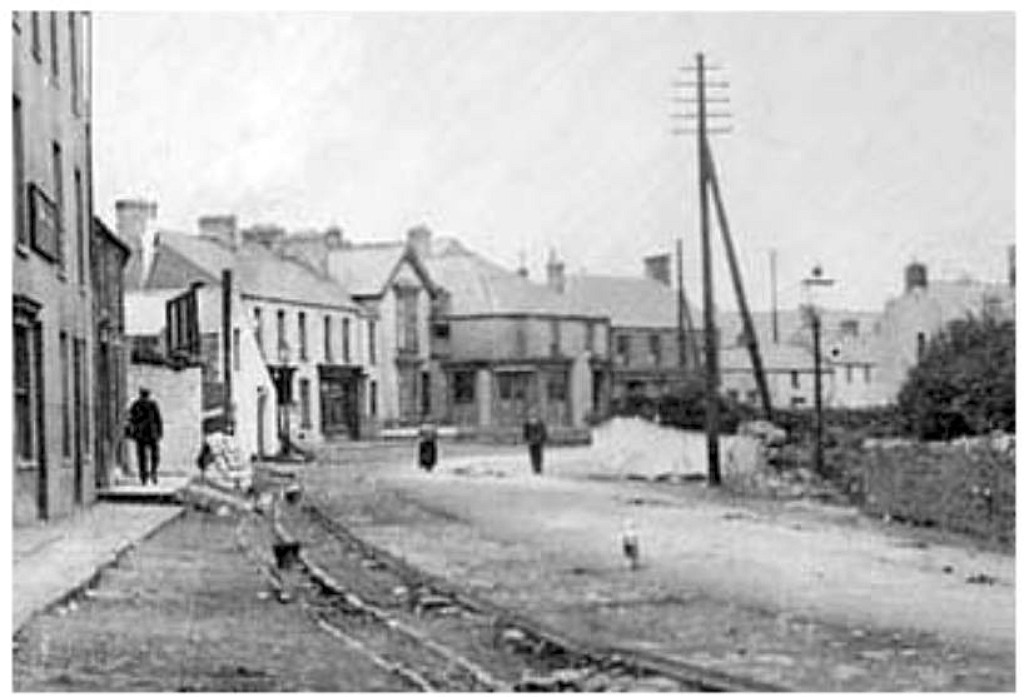 Cross Street, Hirwaun, c1897 |
 Cross Street, Hirwaun, c1897 |
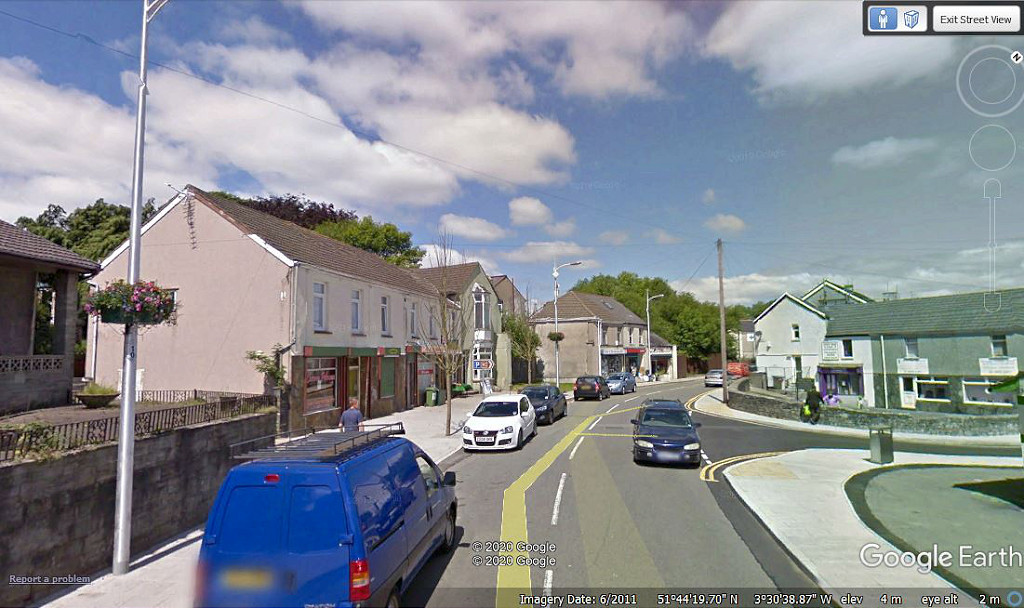 Cross Street, Hirwaun, 2019 |
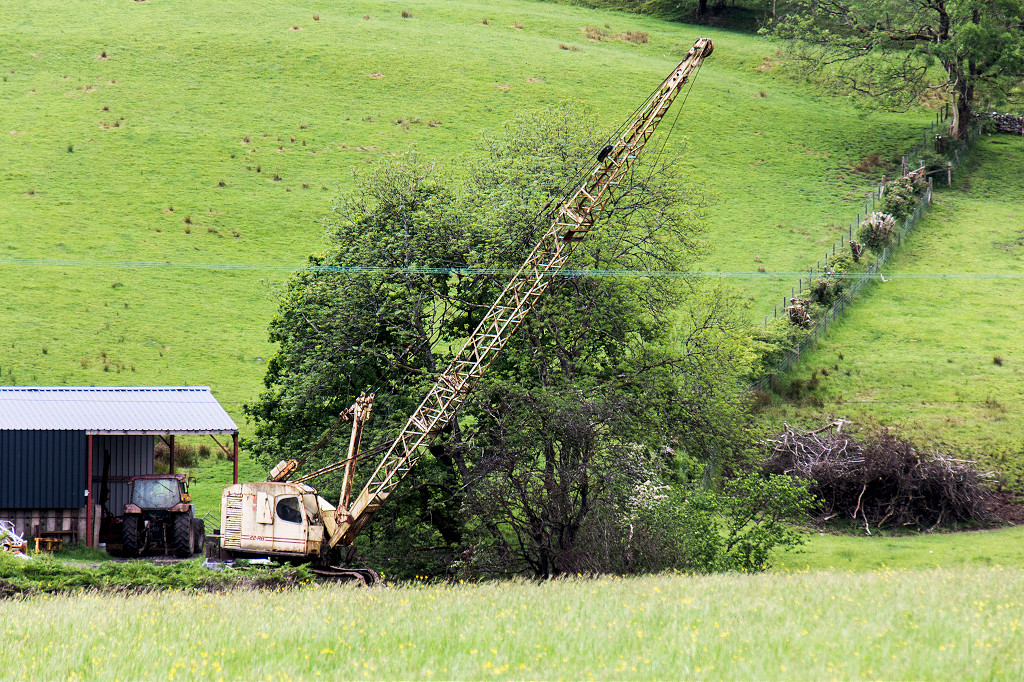 RB-22 crane at Pantcefnfford |
 Fingerpost by St Cadwgs church |
 Penderyn Quarry |
 Penderyn Quarry |
 Tramway to Tor-y-Foel Quarry |
 Tor-y-Foel Quarry |
 Cadair Fawr limekiln |
Industrial WalesCollieries, Ironworks, Quarries, Railways, Canals, Tramroads, Tunnels, Culverts and so much more....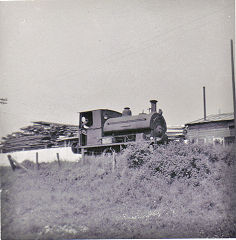
|
Brickworks of WalesBricks are 'History with a label' so here's the story of the Brickworks of Wales - photos, maps and the products themselves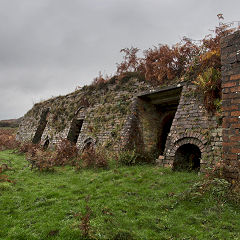
|
Around the WorldMy travels around the UK and the Whole Wide World in search of industries, railways, trams and mines to name a few.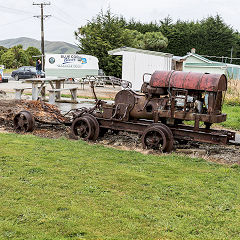
|
Boundary Stones and MilepostsBoundary Stones, Mileposts and other markers in simple alphabetical order of their initials, name or site.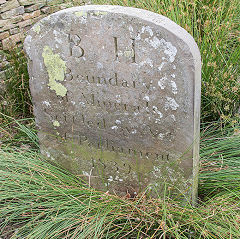
|
Ships and ShippingShips around the World in simple alphabetical order of their name (or apparent area if I can't read the name).
|
The Site Map and IndexA full list of all the pages of the whole website in just one place, so you should find exactly what you are looking for.
|
About the SiteThe background and technical details about the site, plus a contact page and links to other sites - and a warning !!
|
Contact MeSomething to add? A great photo? Something wrong? or need to know more about things? Just drop me a line here.
|
Further ReadingYou can find lots of local and other very helpful websites, books, magazines and Facebook groups all listed here.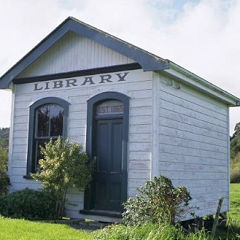
|