
Industrial Wales - Monmouthshire
Merthyr, Tredegar and Abergavenny Railway
across the Heads of the Valleys
Search the site here
|
|
Industrial Wales - Monmouthshire
Merthyr, Tredegar and Abergavenny Railway
across the Heads of the Valleys
|
Search the site here
|
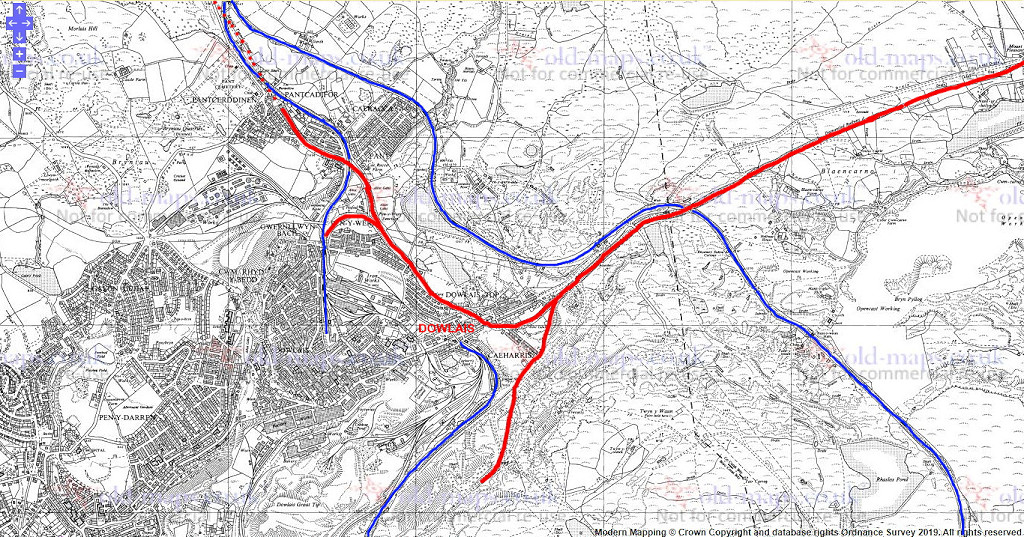 The MTAR at Dowlais |
 The MTAR at Rhynmey Bridge |
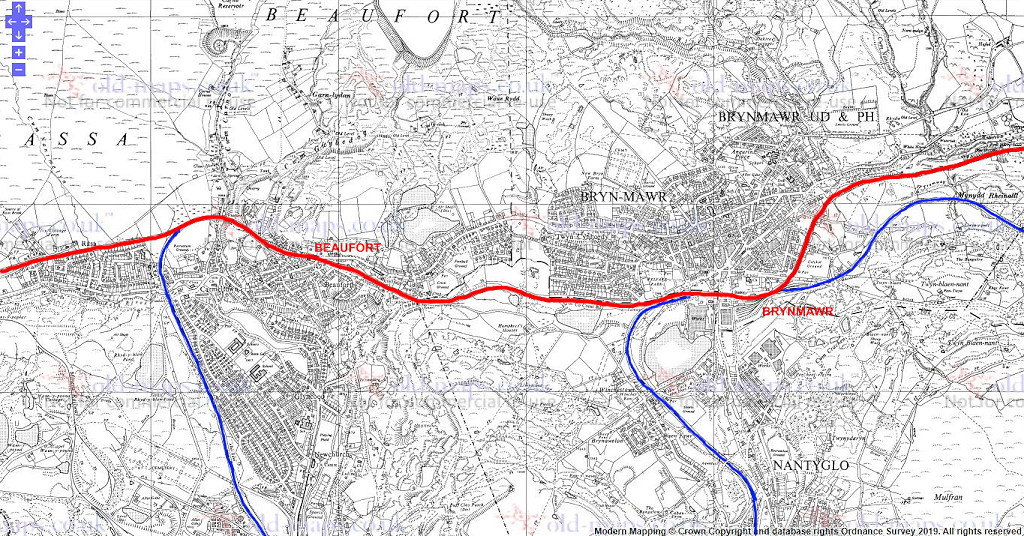 The MTAR at Brynmawr |
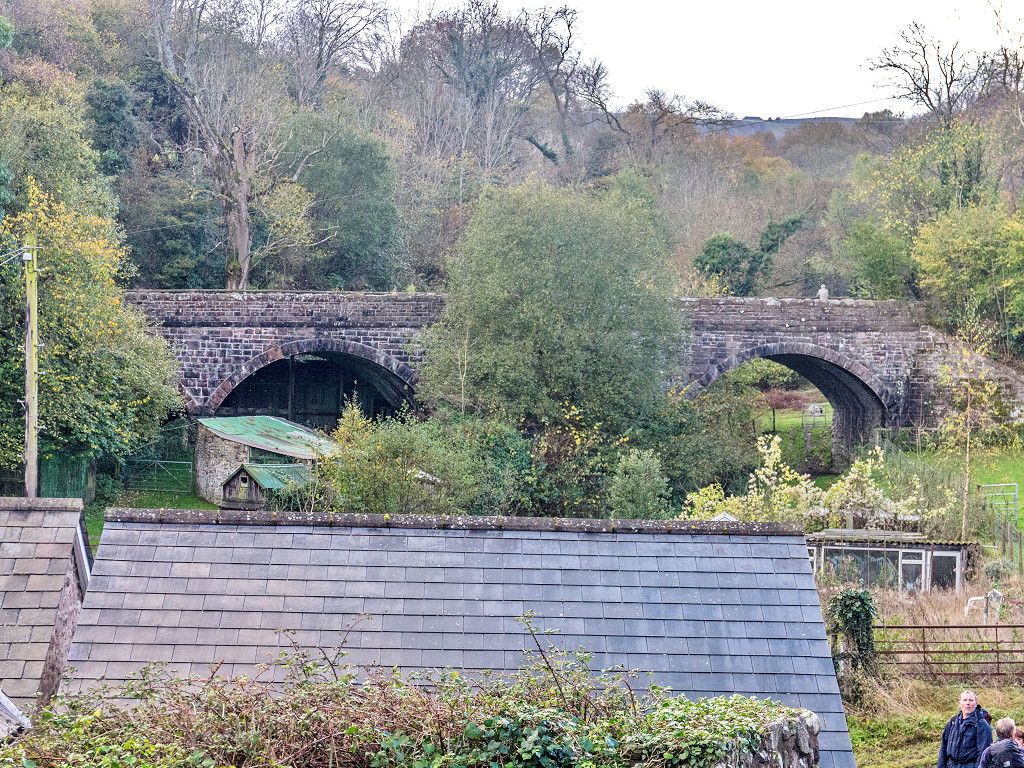
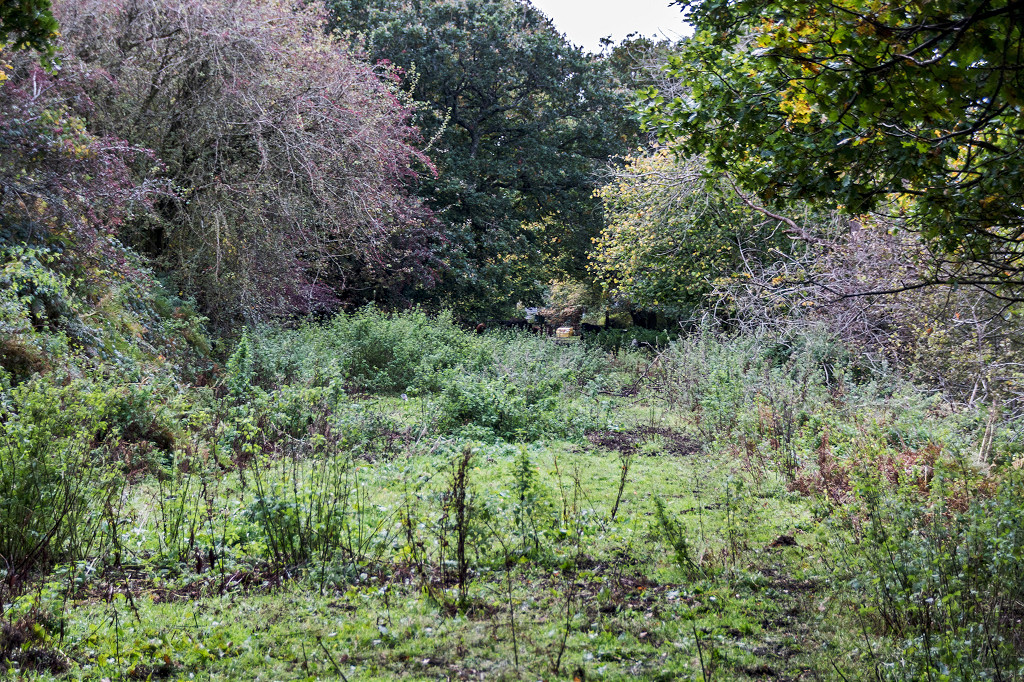
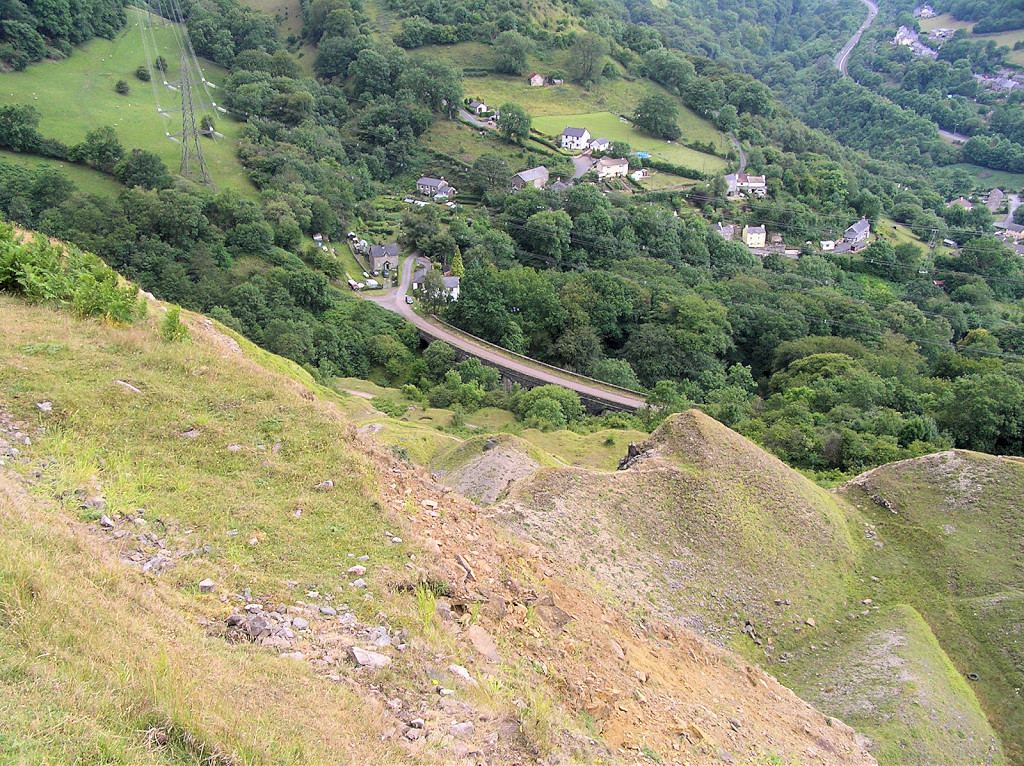
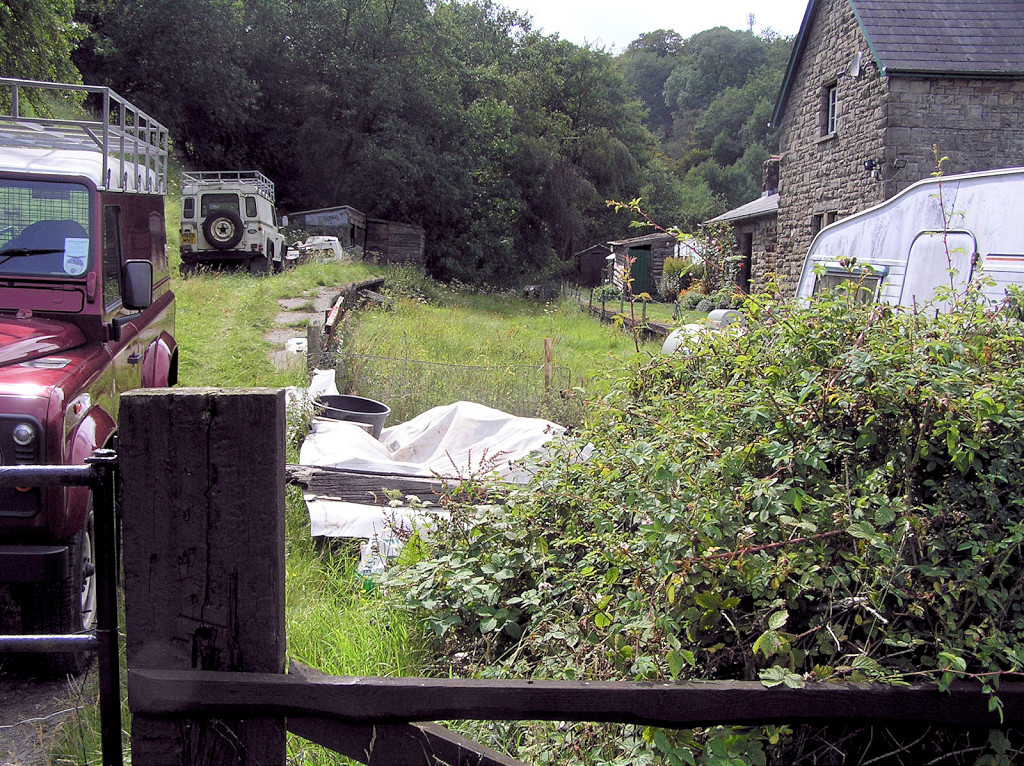
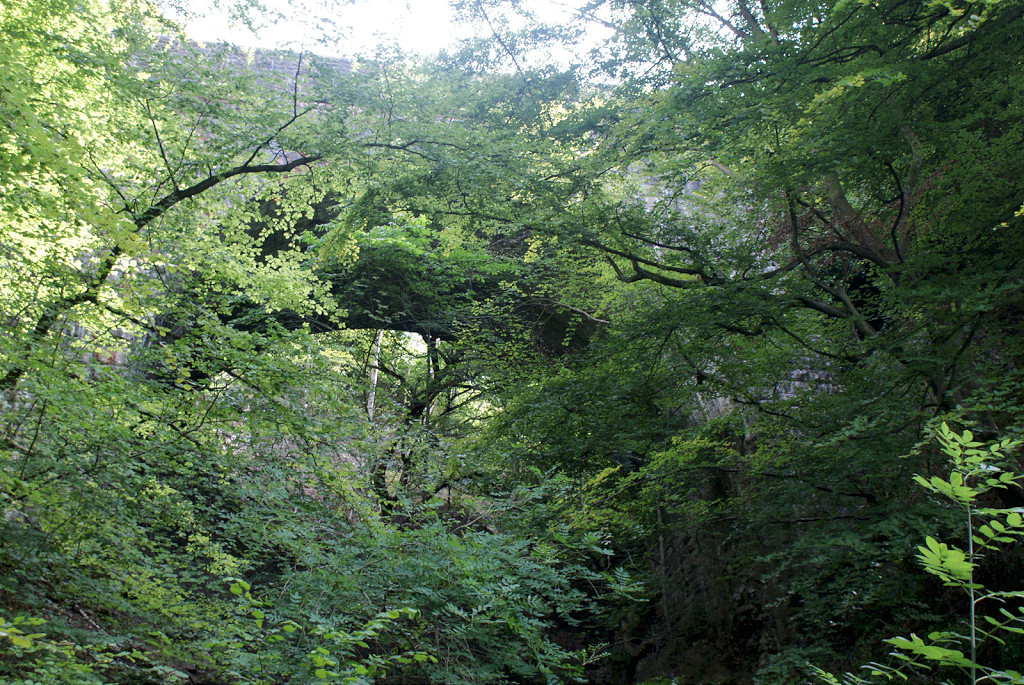
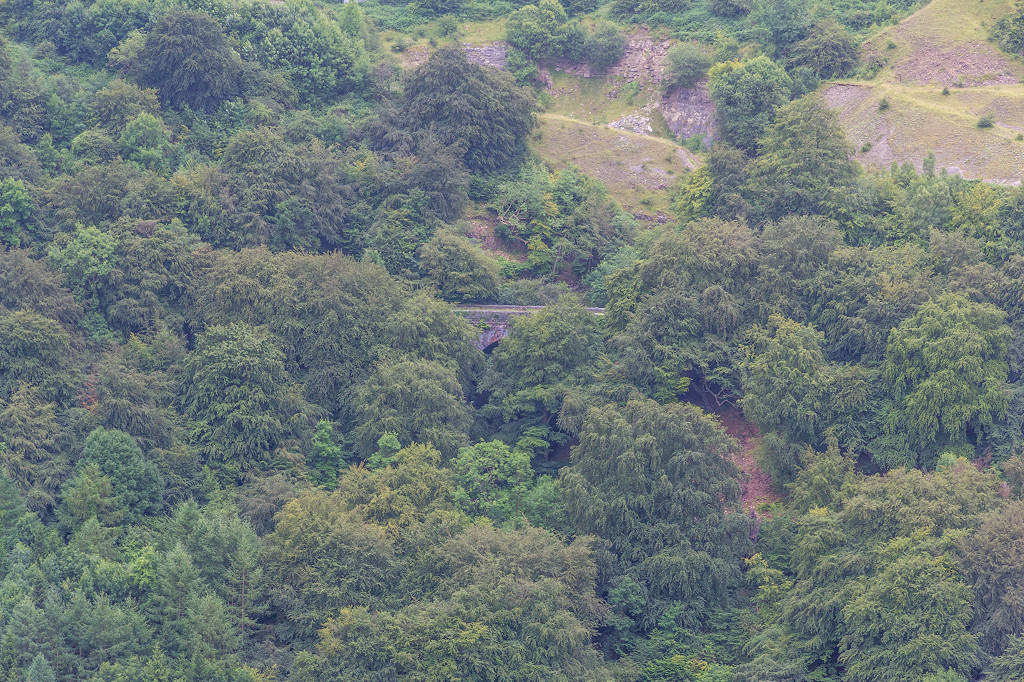
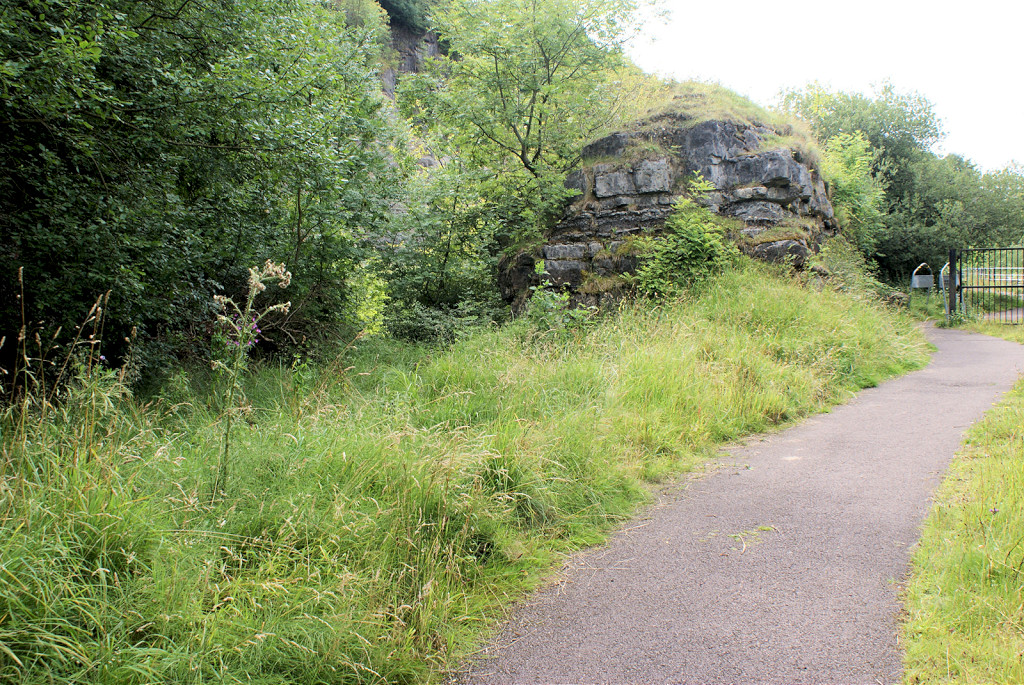
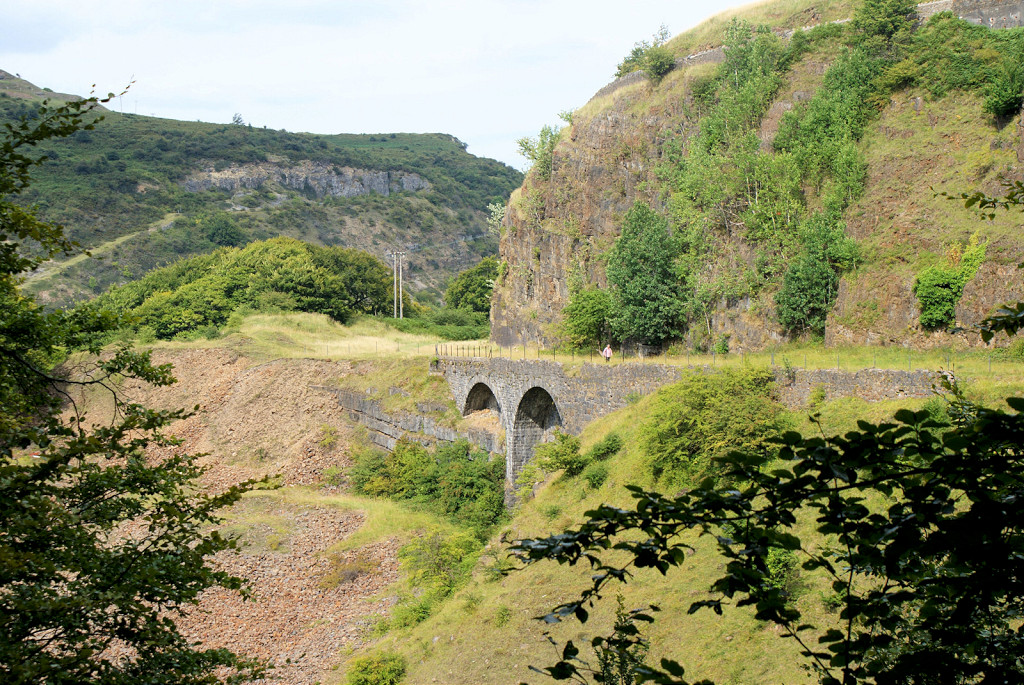
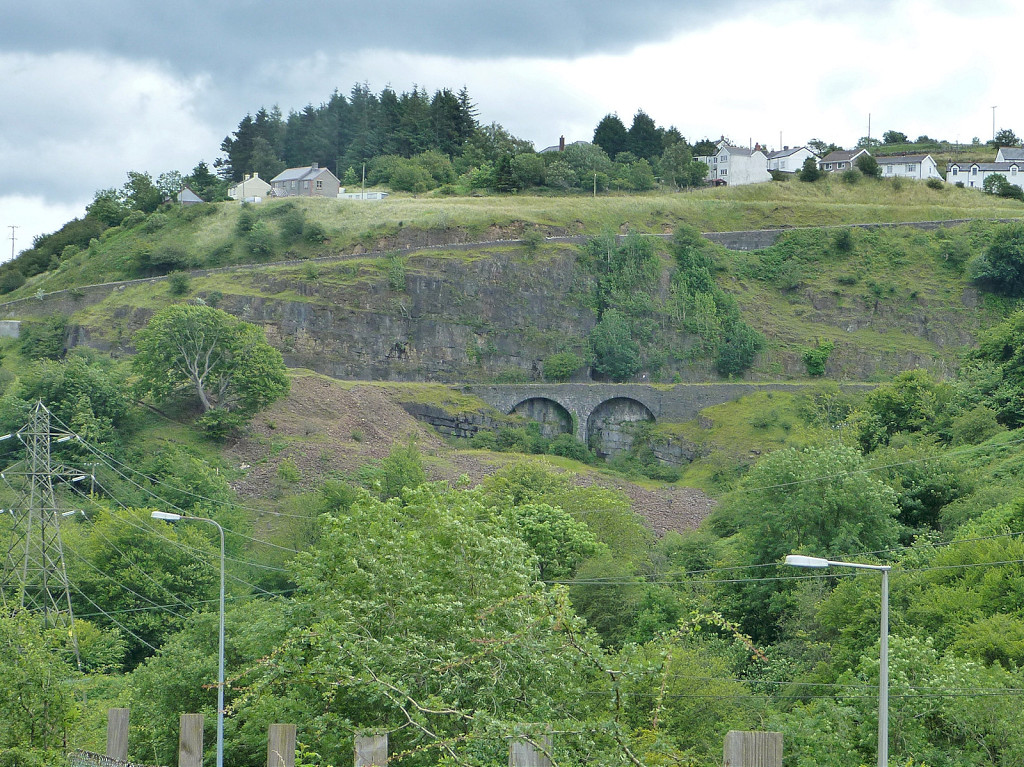
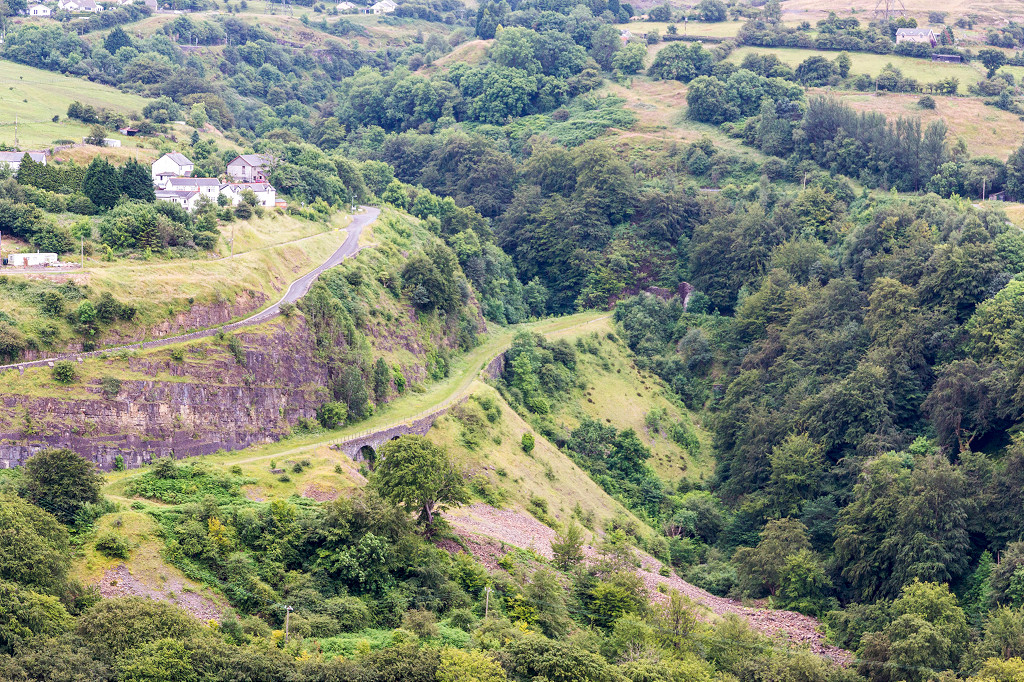
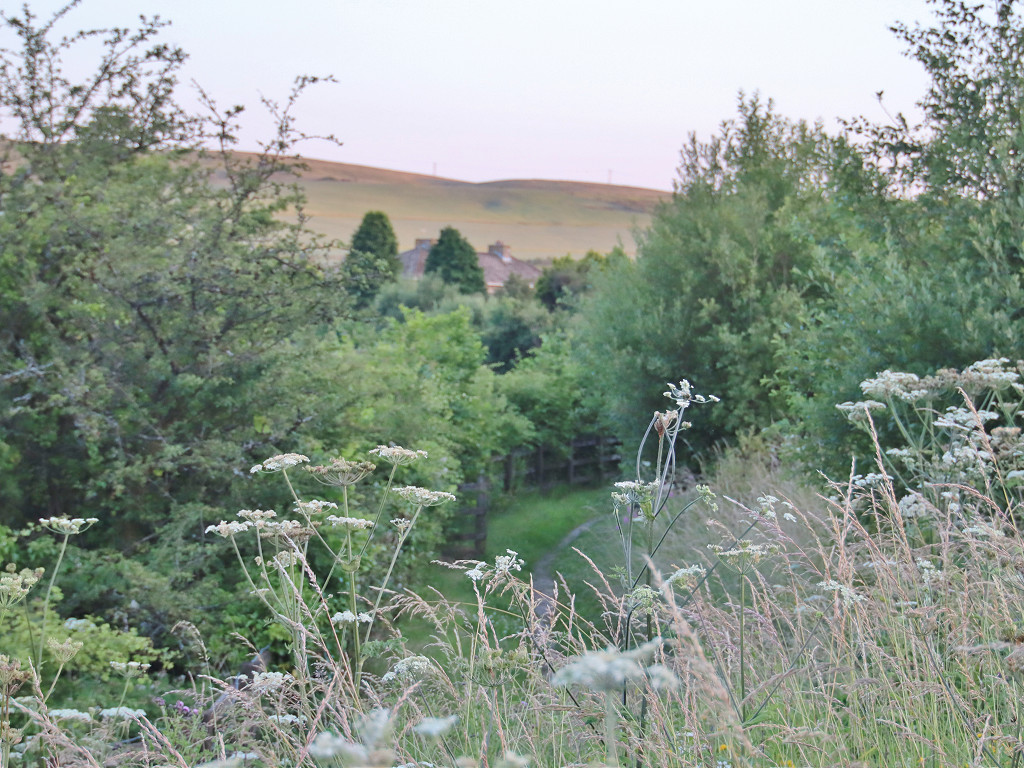
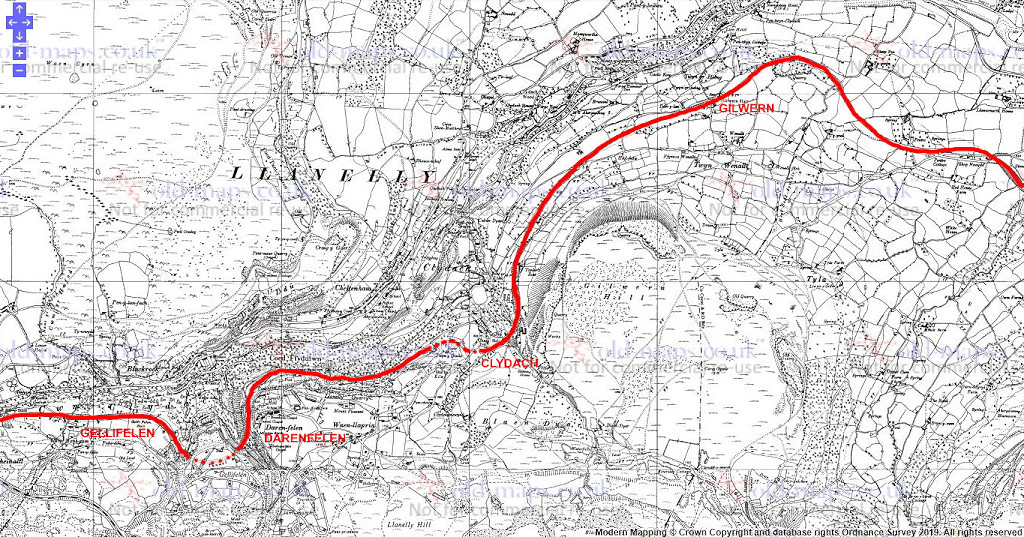 The MTAR in the Clydach Gorge |
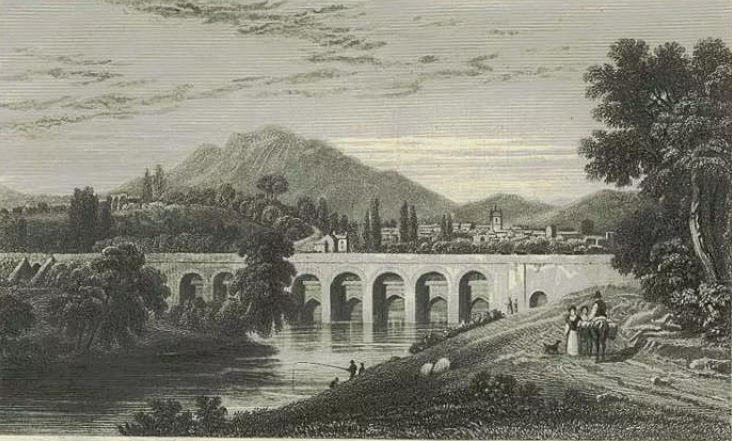
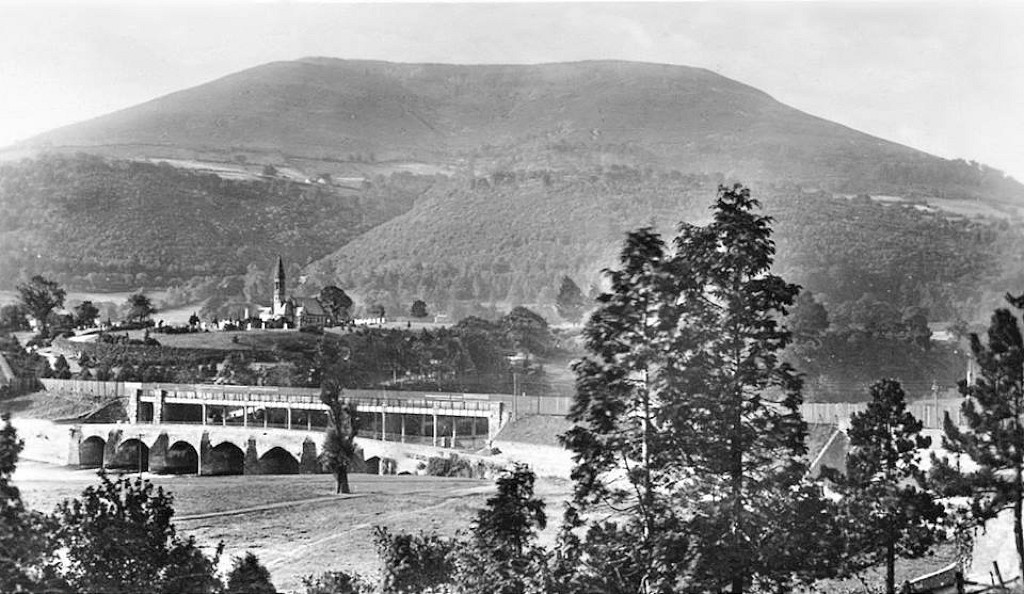
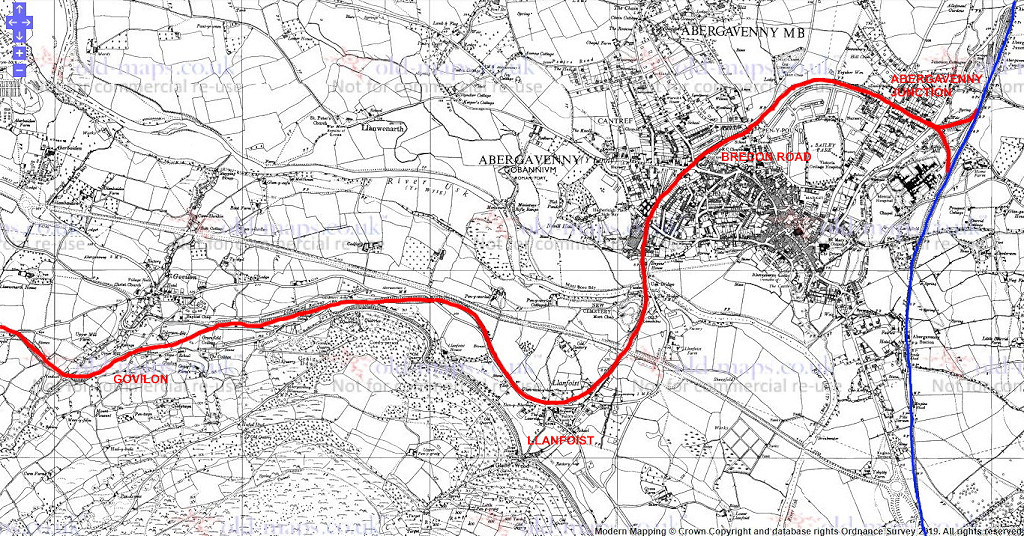 The MTAR at Abergavenny |
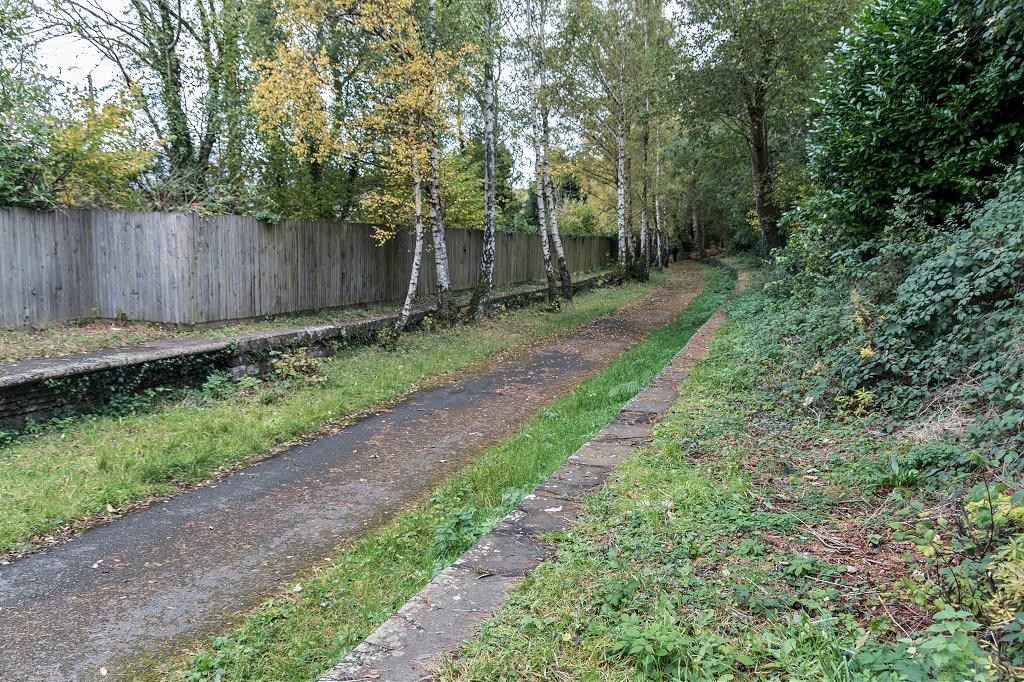
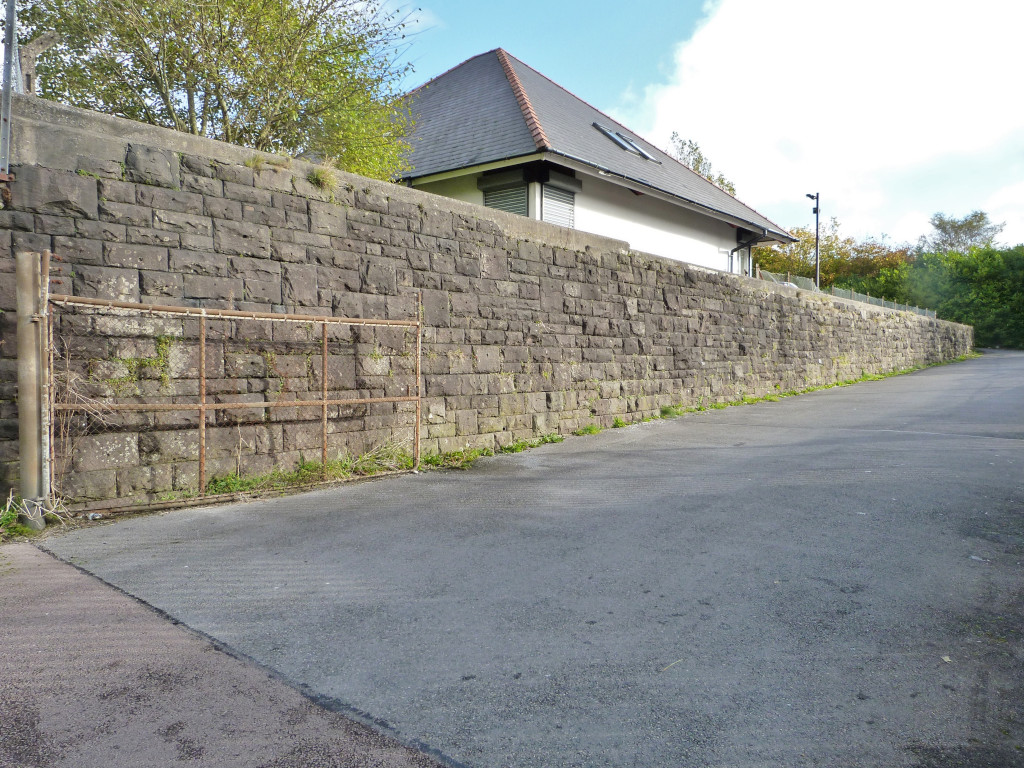
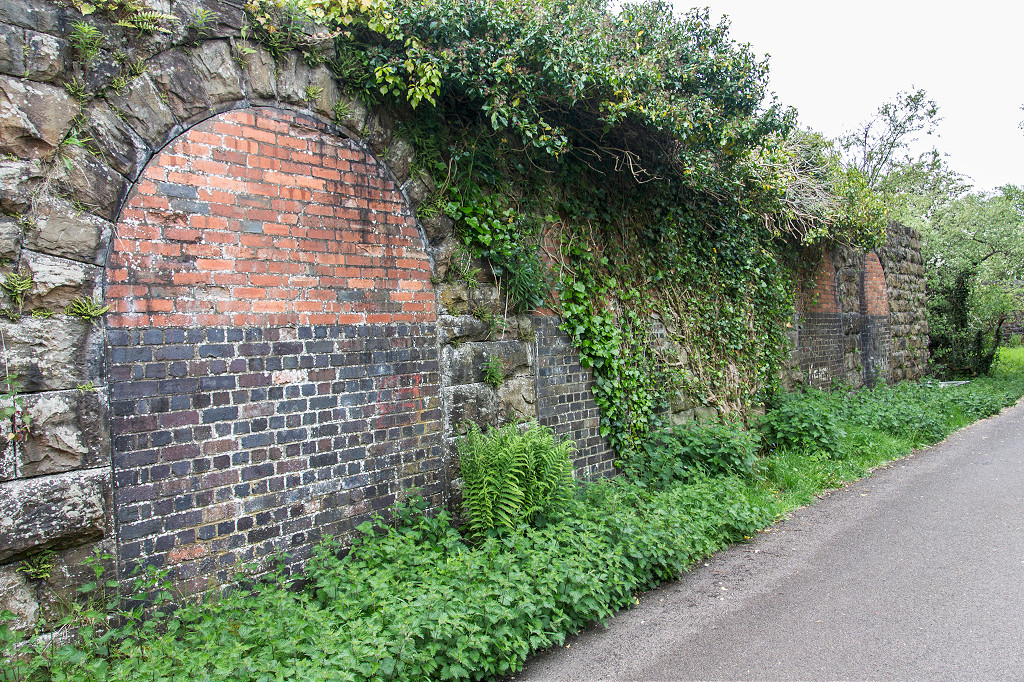
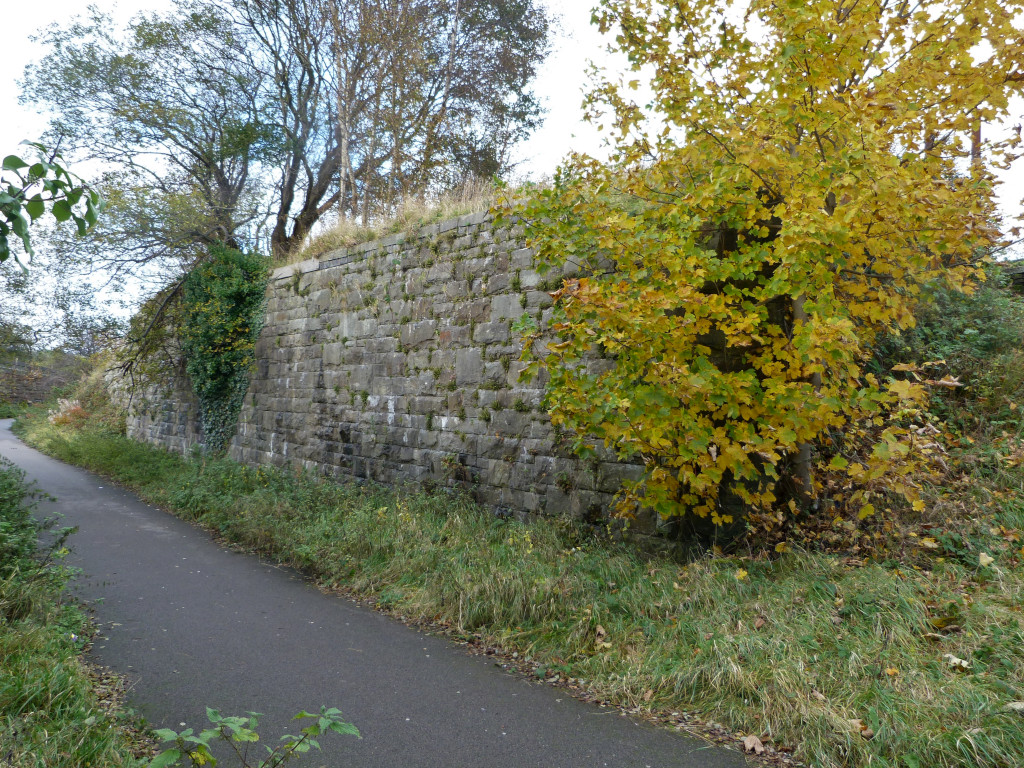
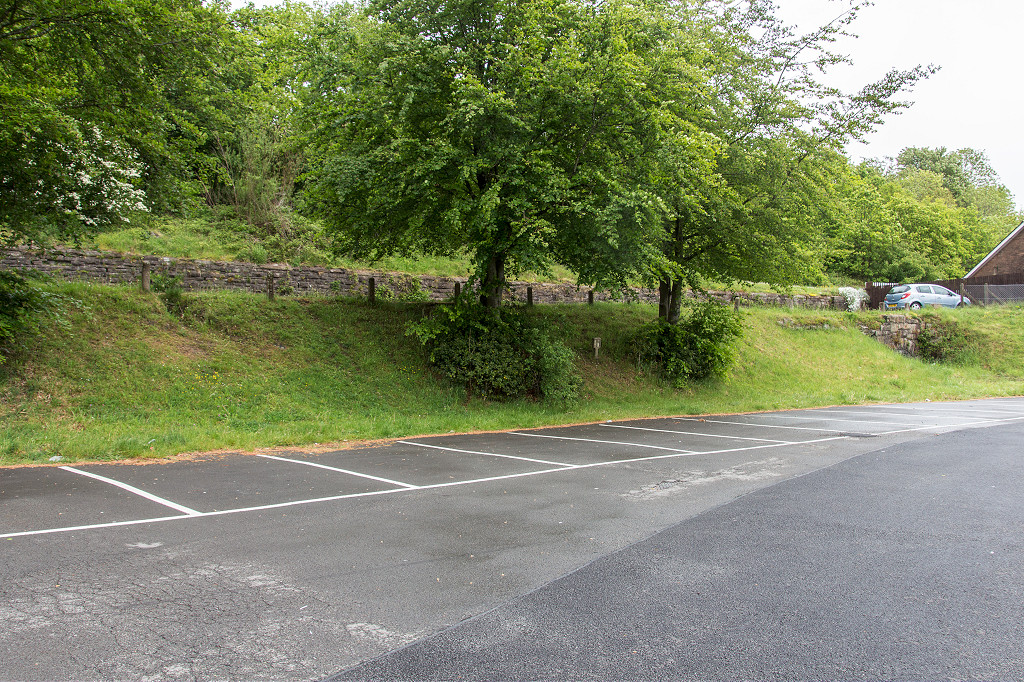
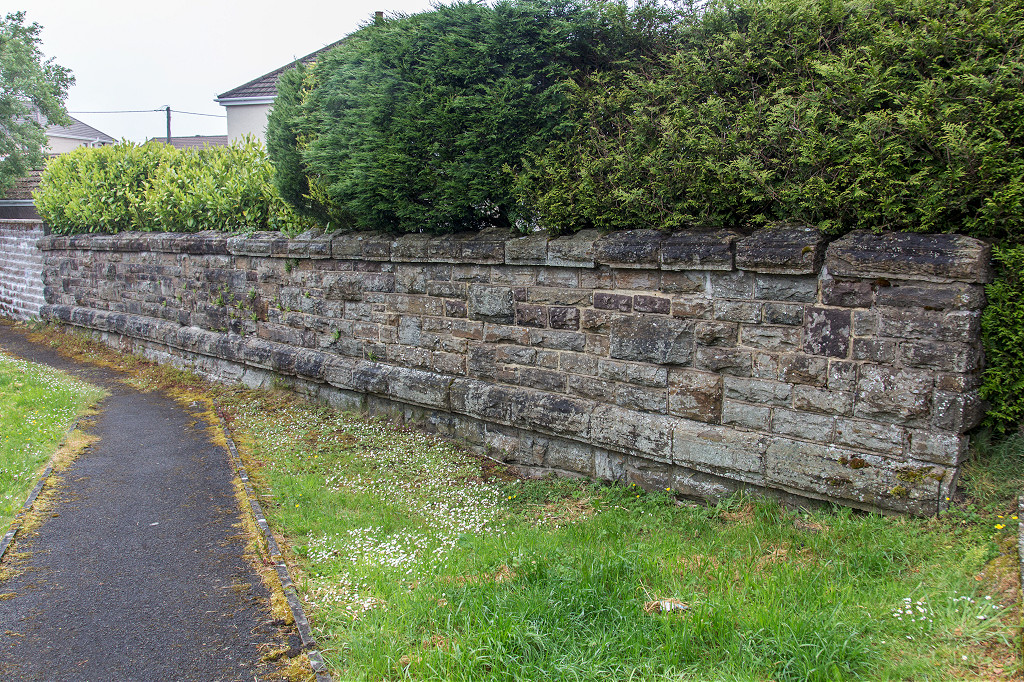
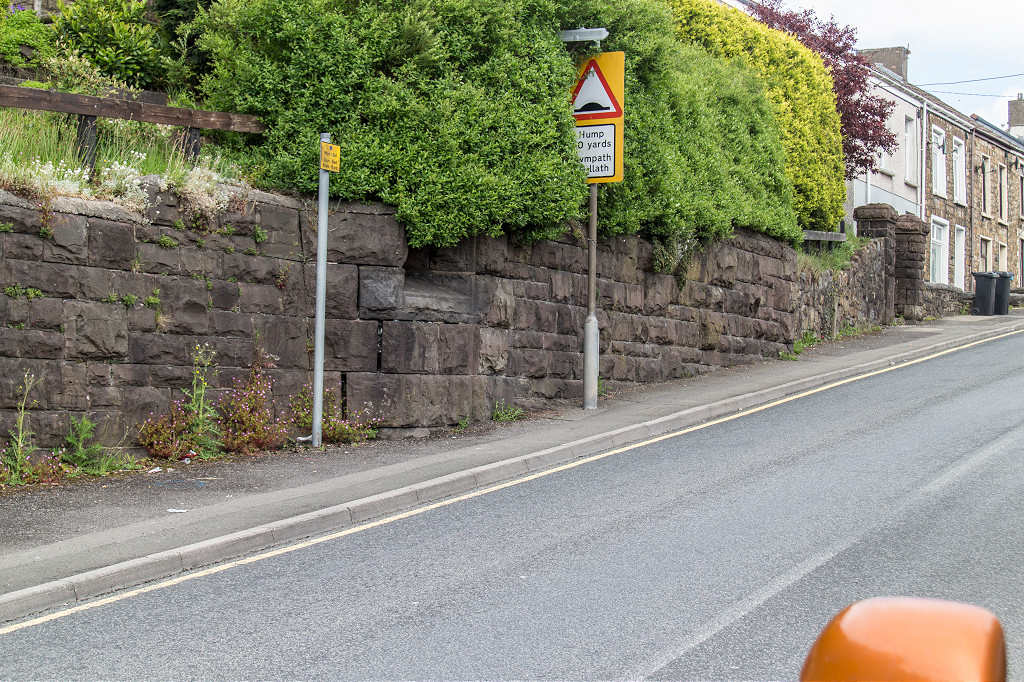
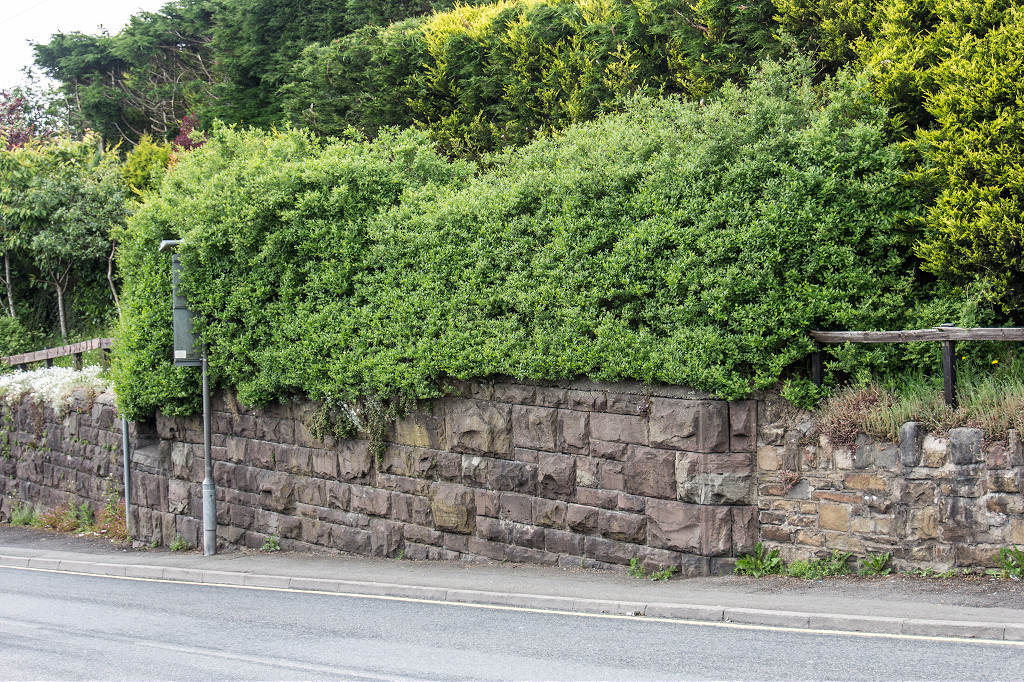
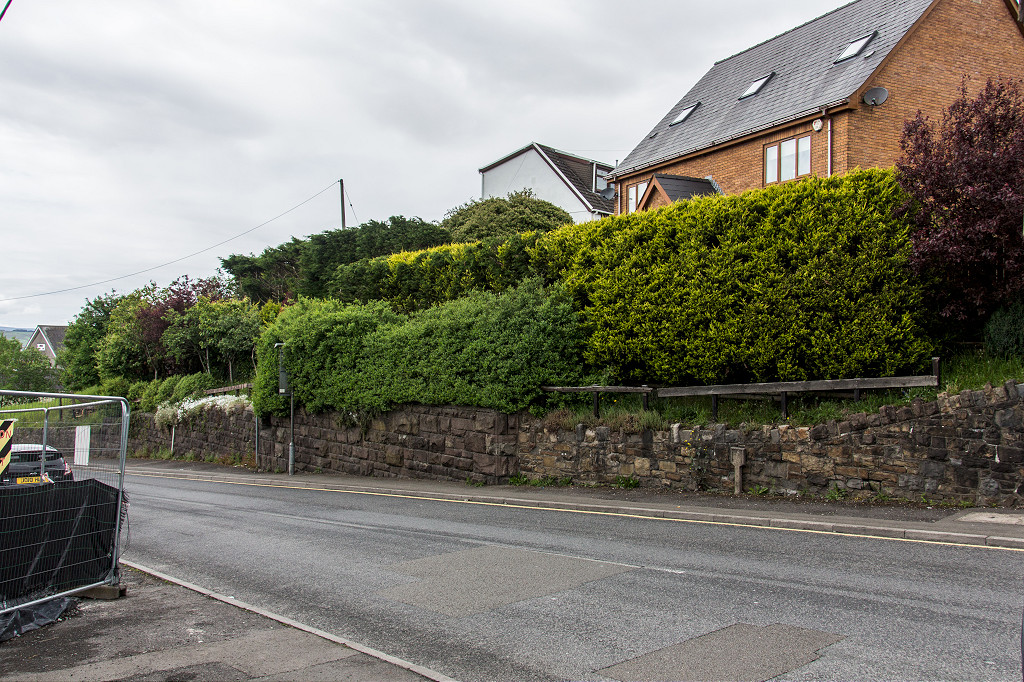
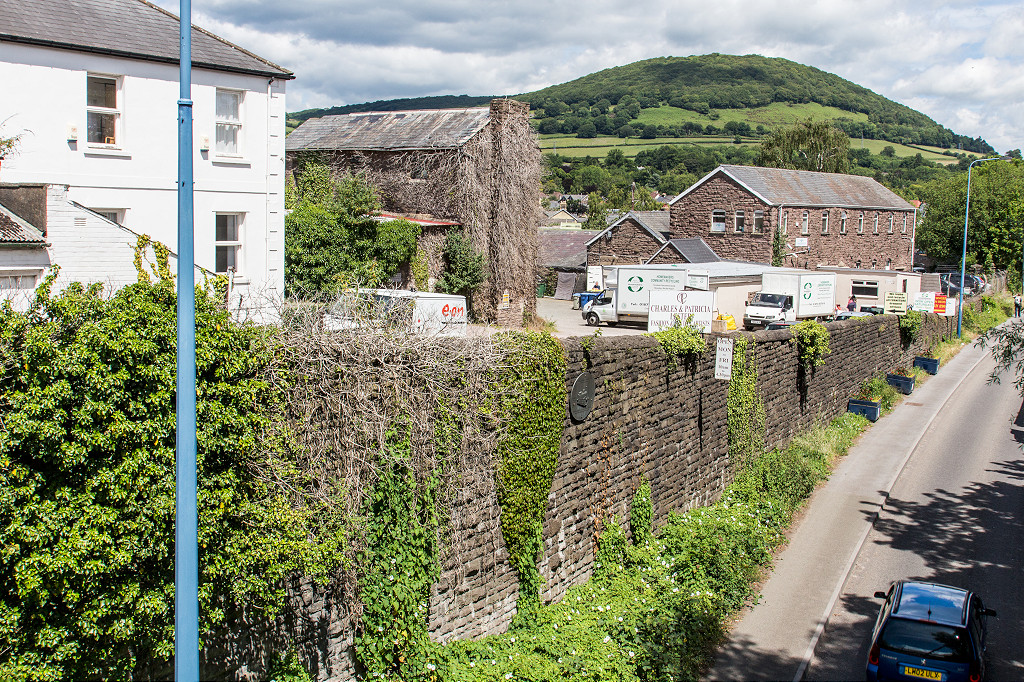 Retaining wall, Union Street |
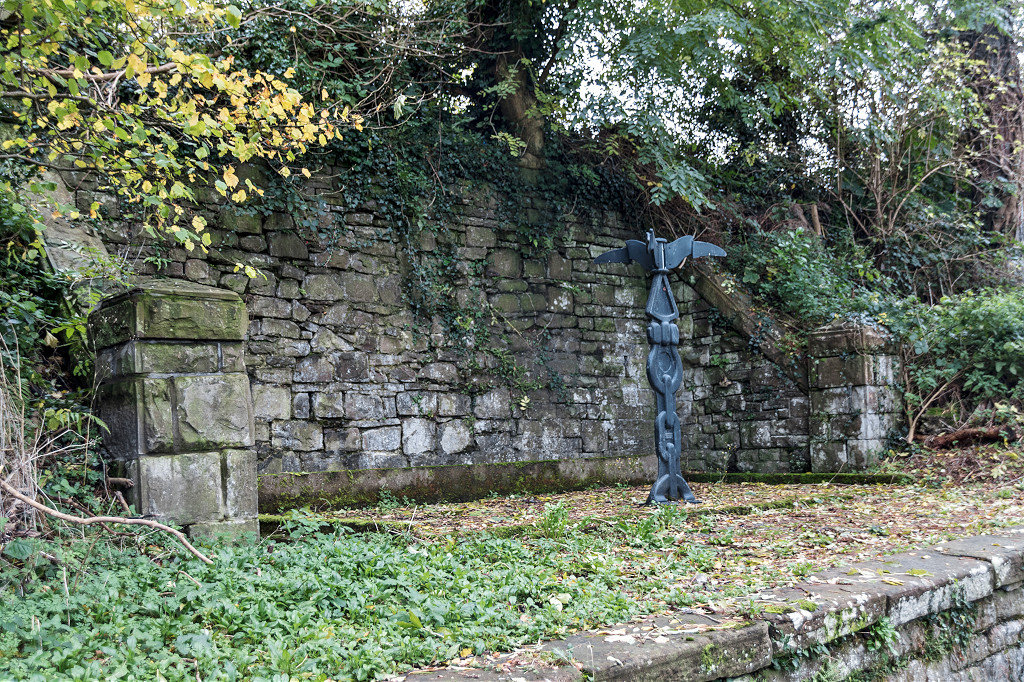
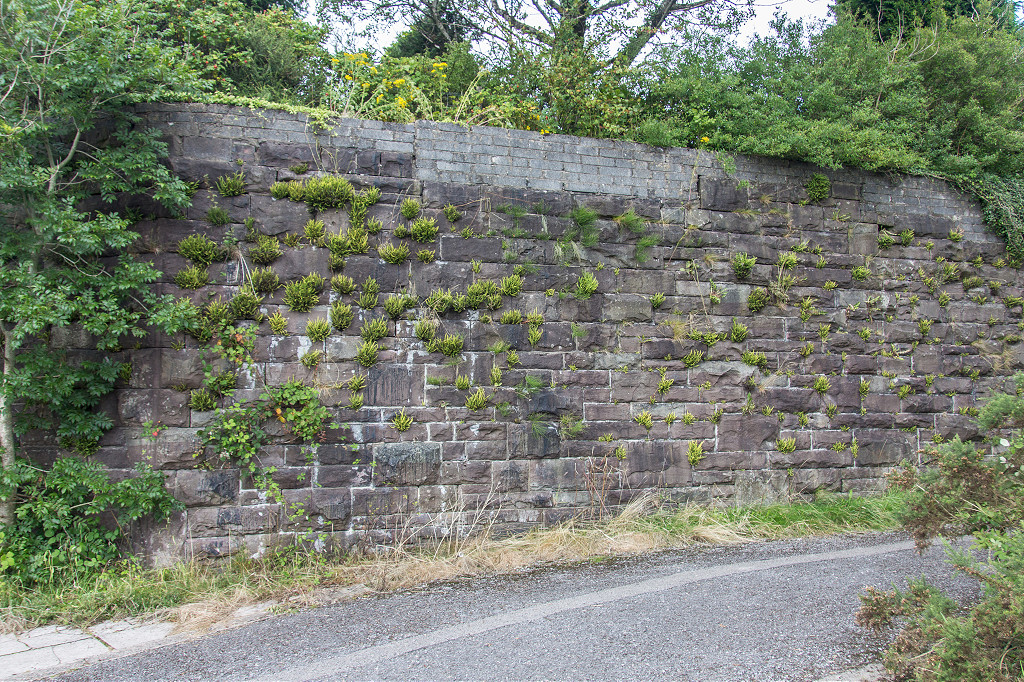
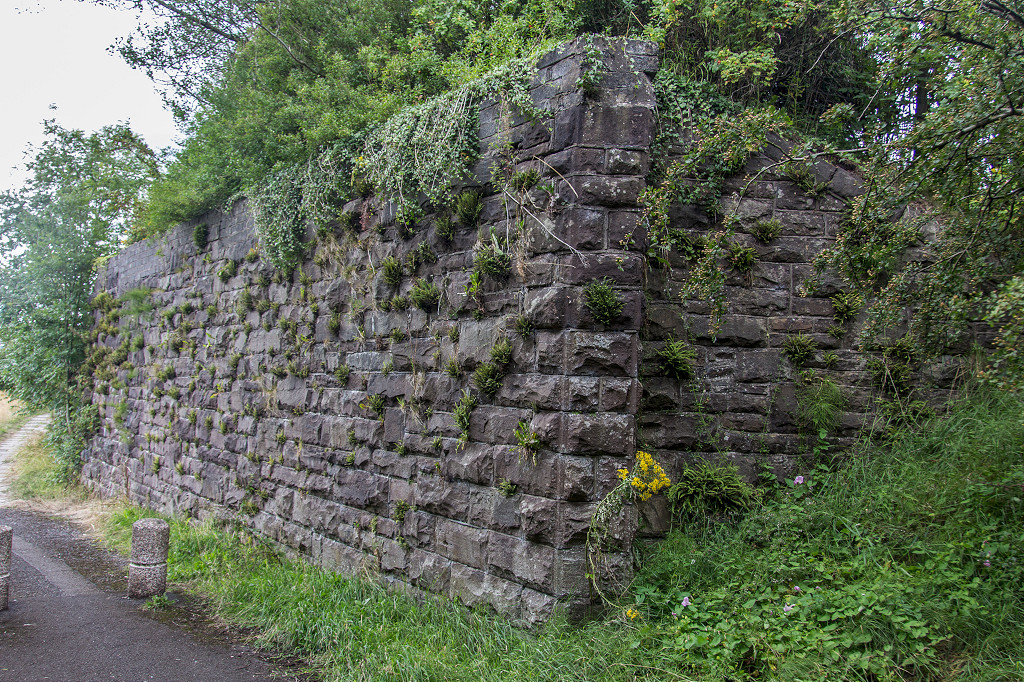
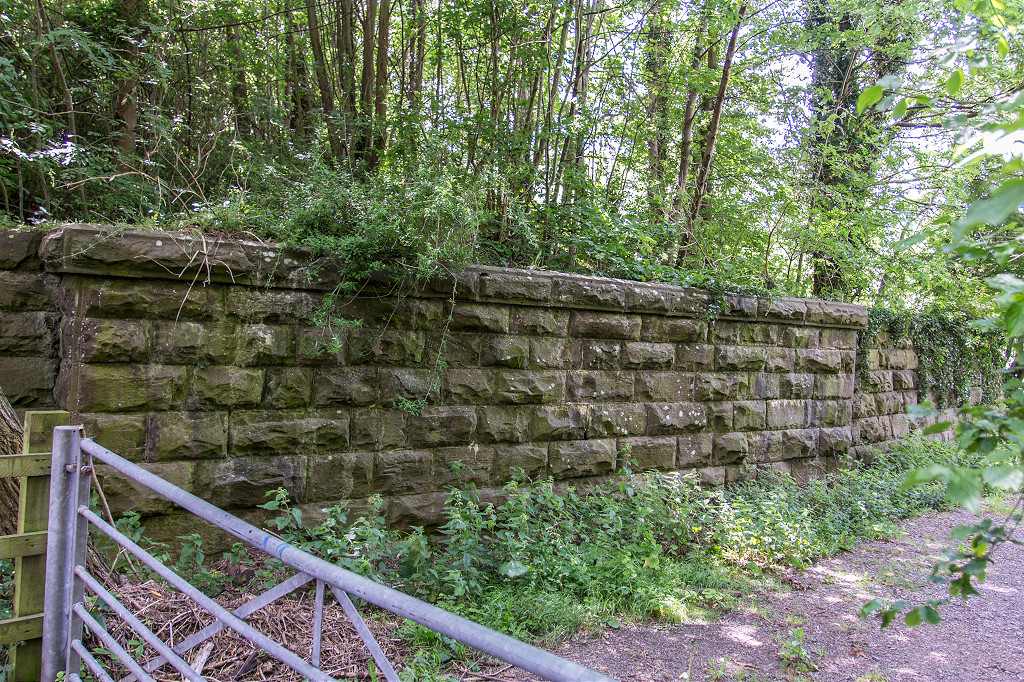 River Usk bridge abutments |
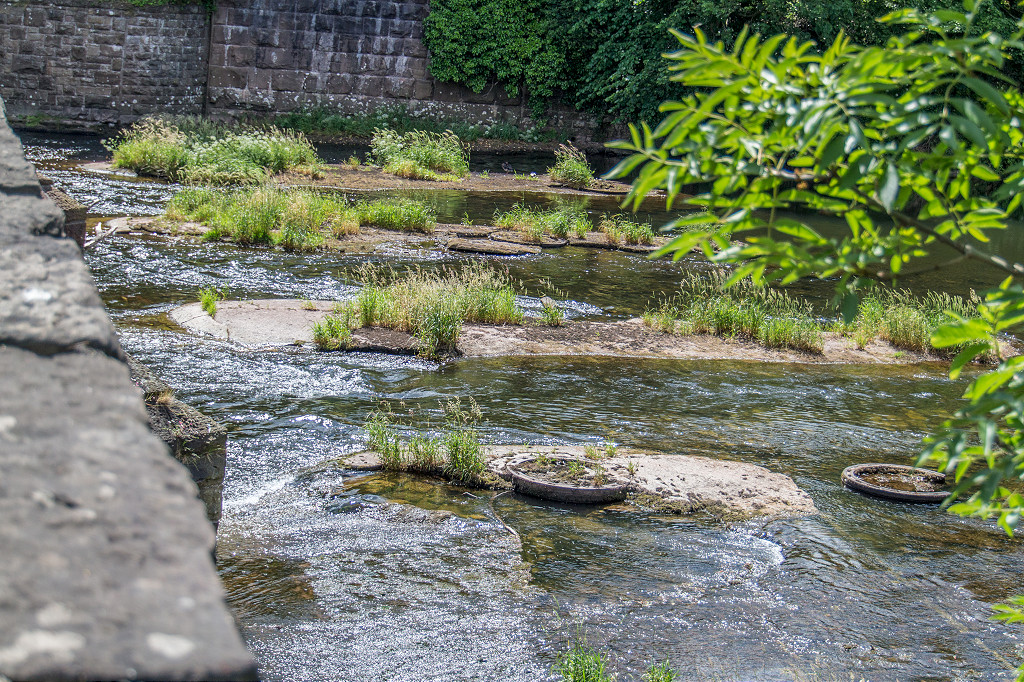 Bridge over River Usk |
 Bridge over River Usk |
 Abergavenny Tramroad, c1830 |
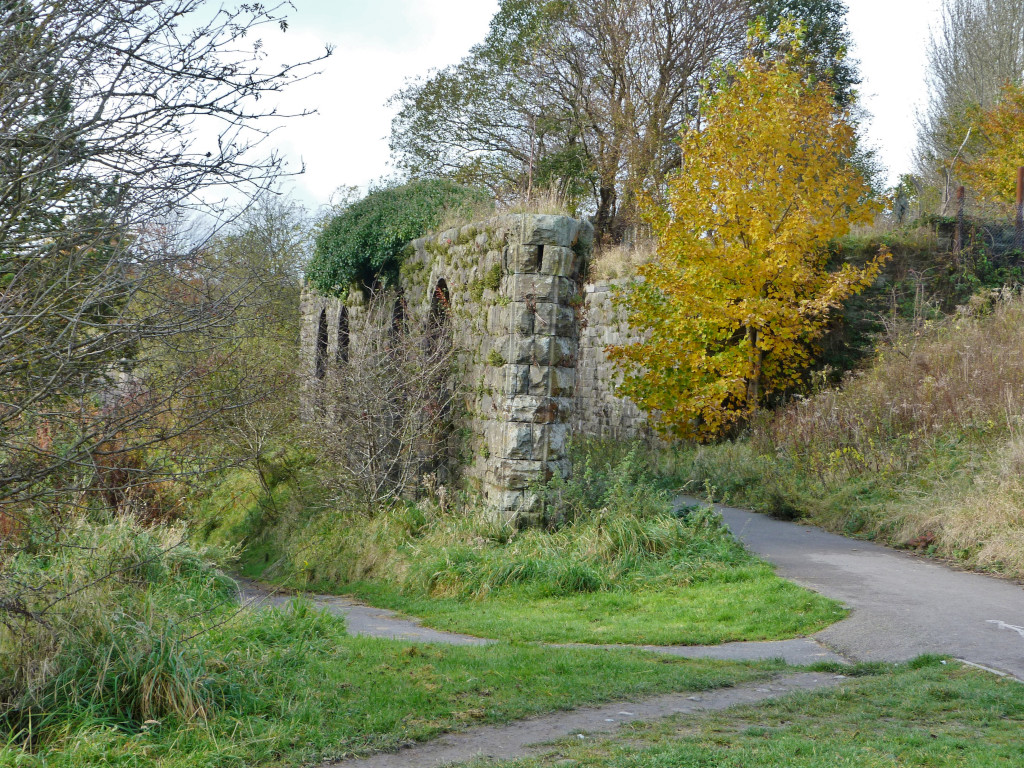
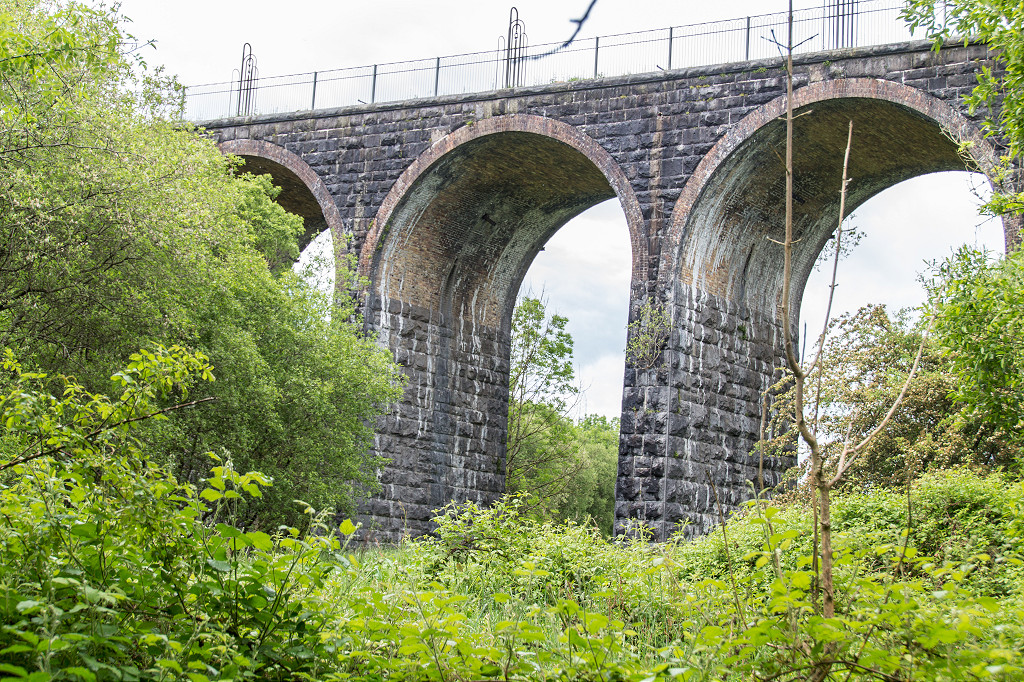
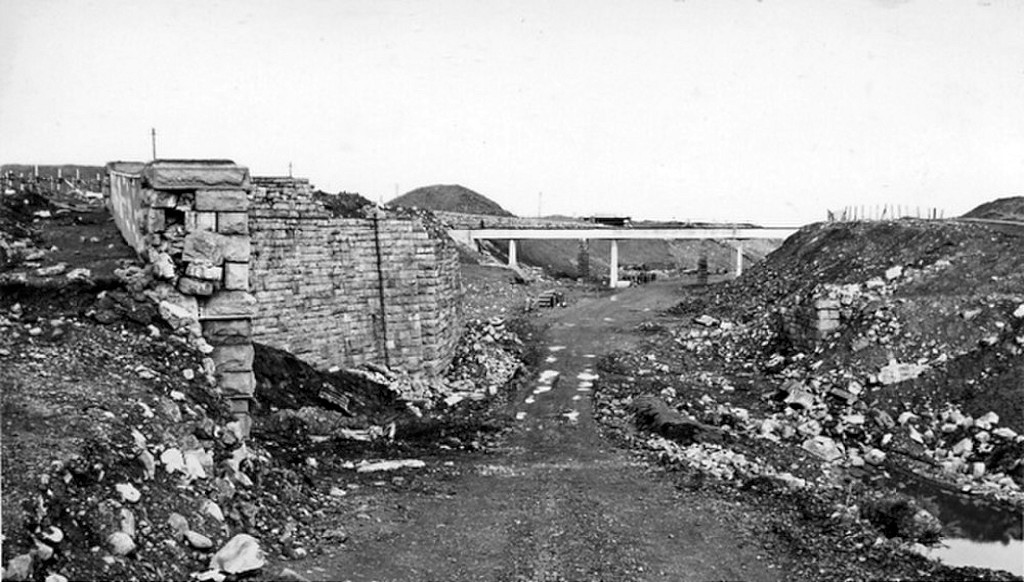
 Viaduct over the River Usk |
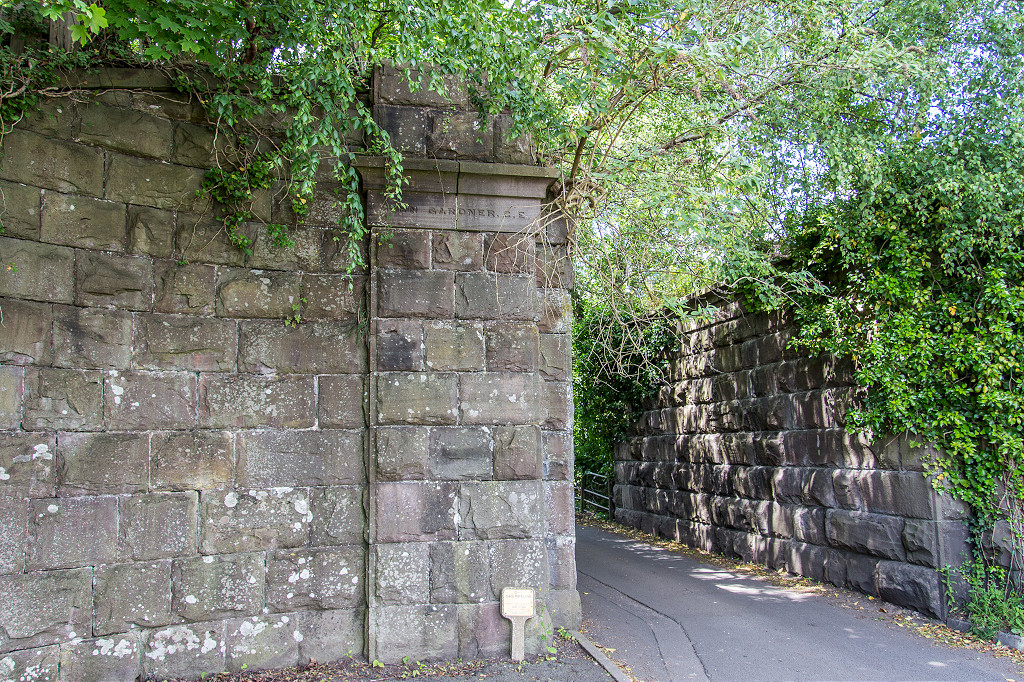
 Bridge abutments, Llanfoist |
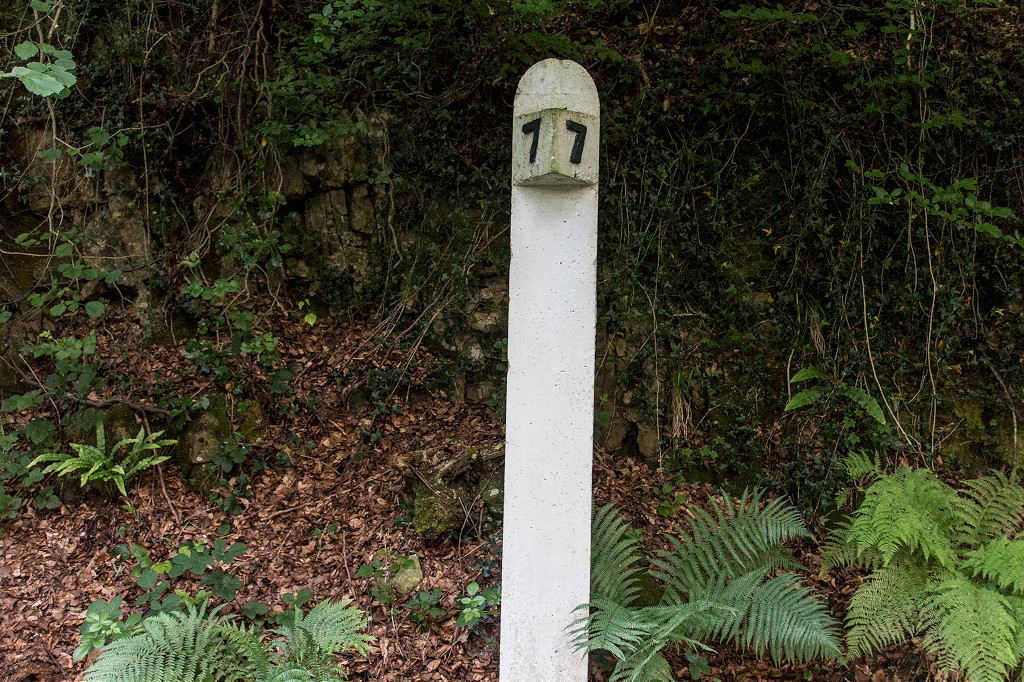
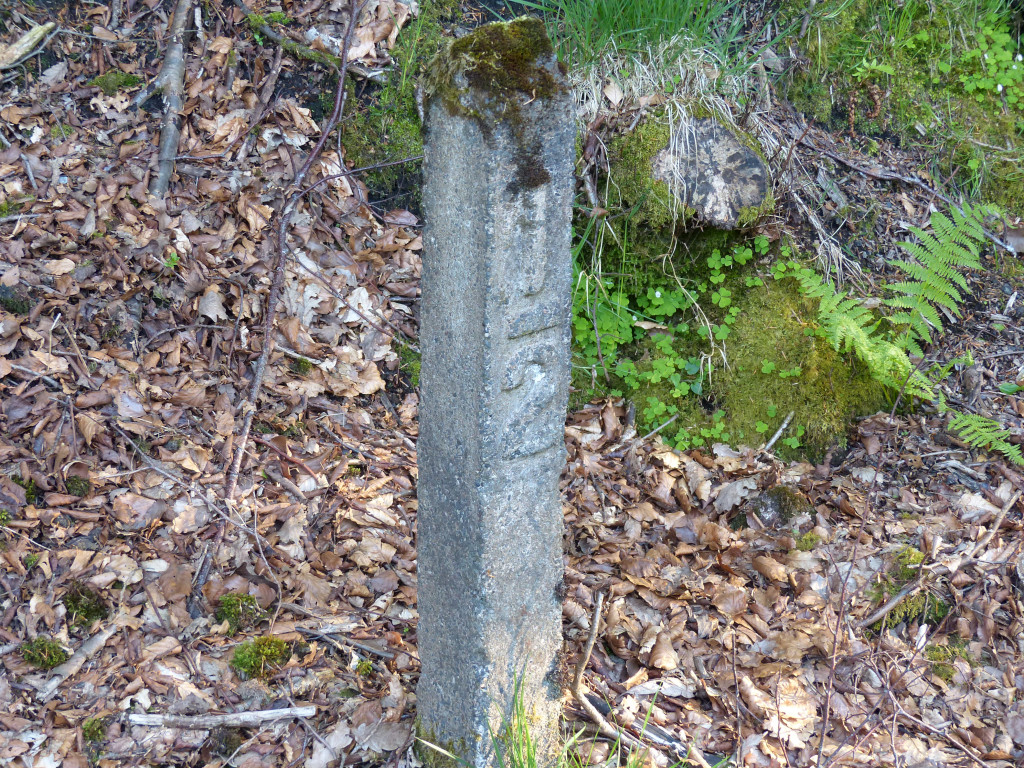
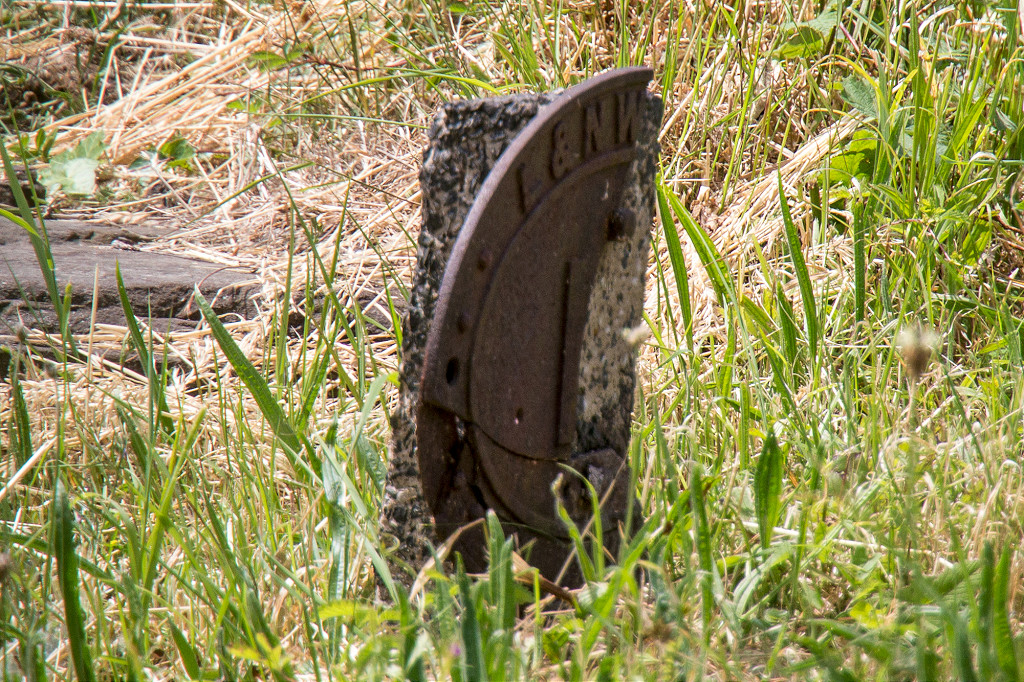 LNWR milepost, The Cutting |
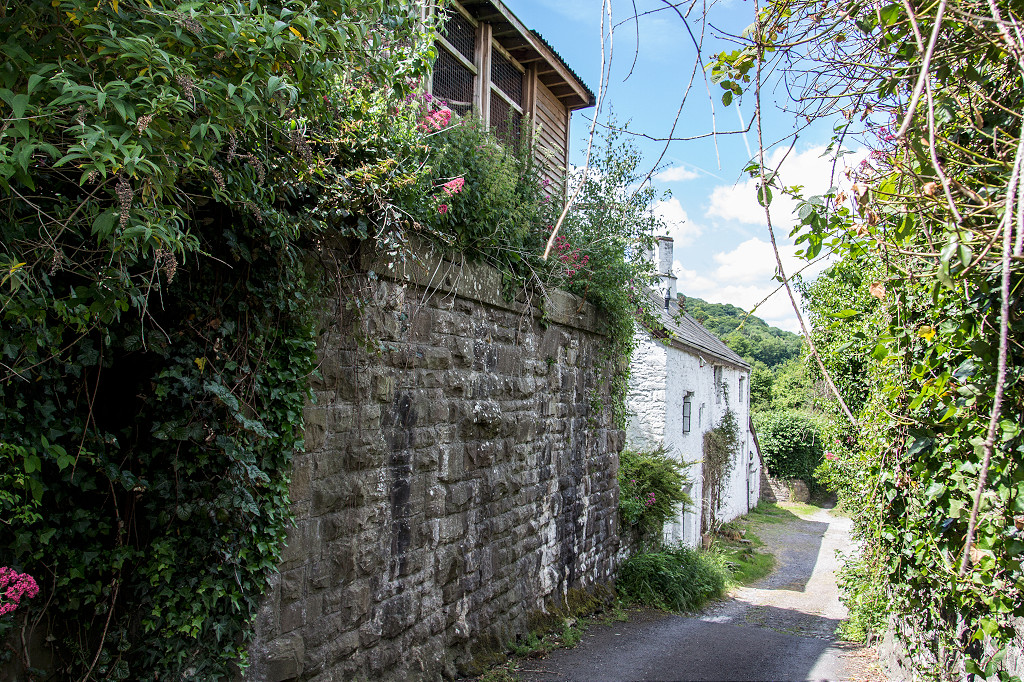
 Abergavenny Tramroad, Llanfoist |
 B4246 bridge, Llanfoist |
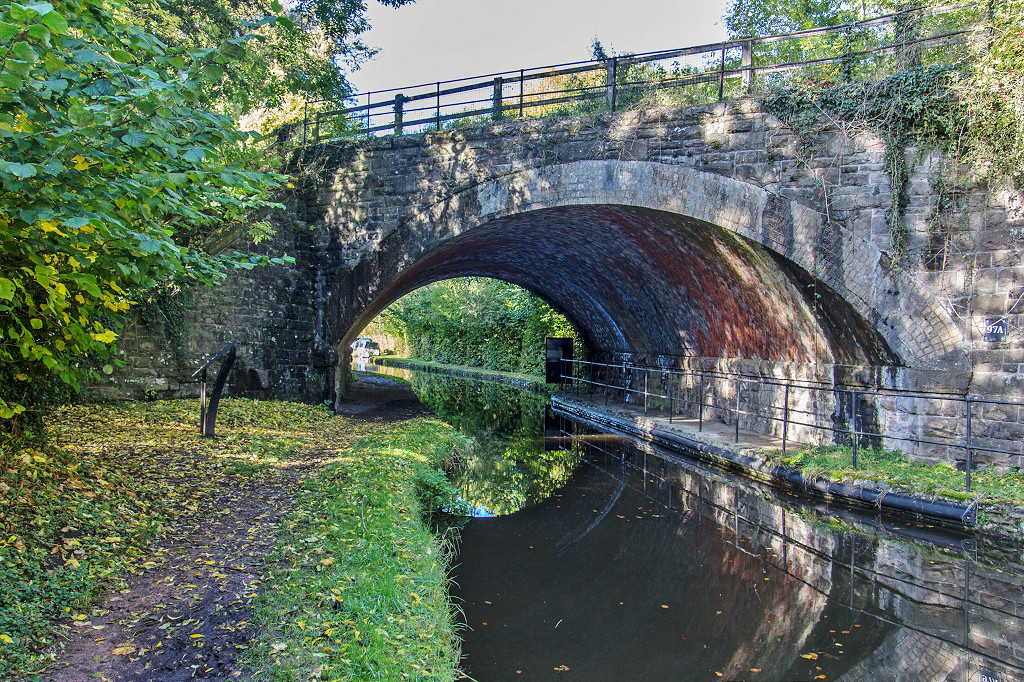 Brdge over the canal |
 Brdge over the canal |
 Bridge over canal, Govilon |
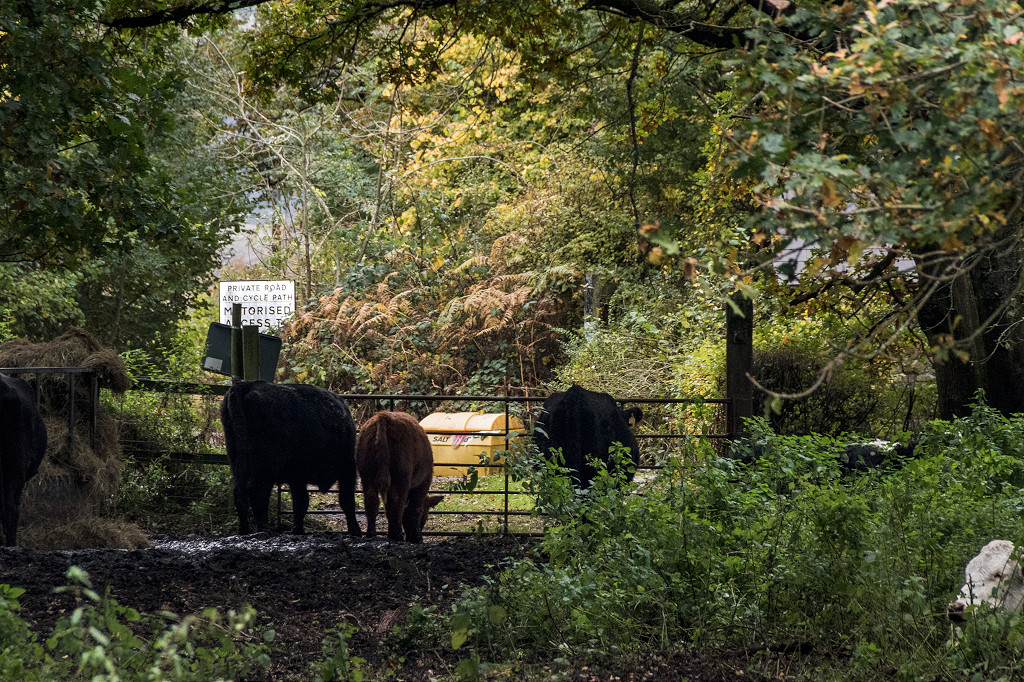
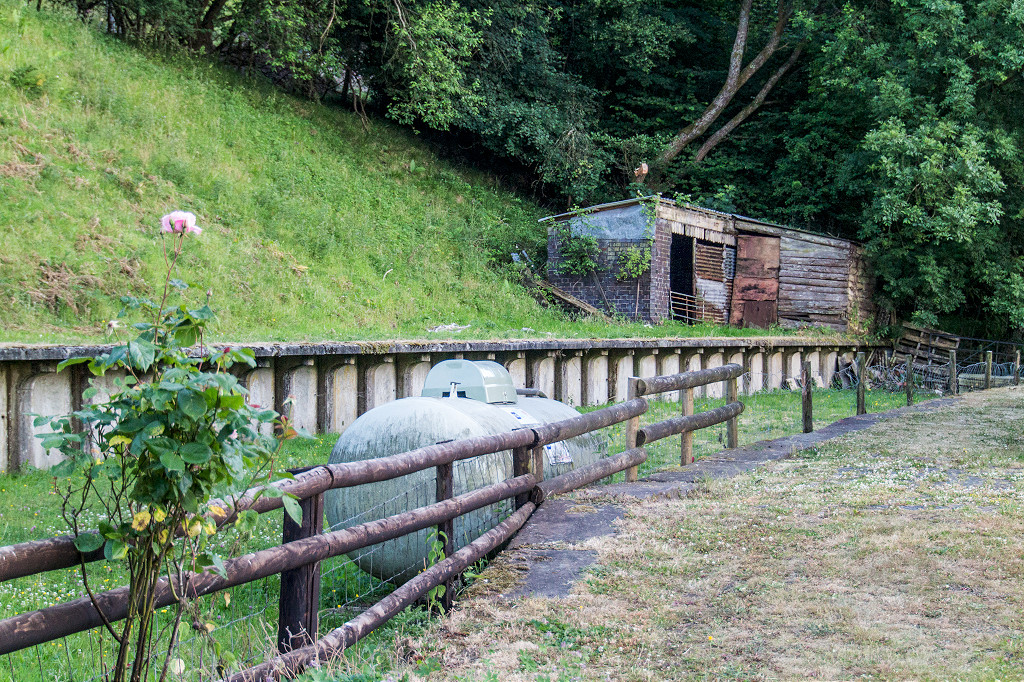
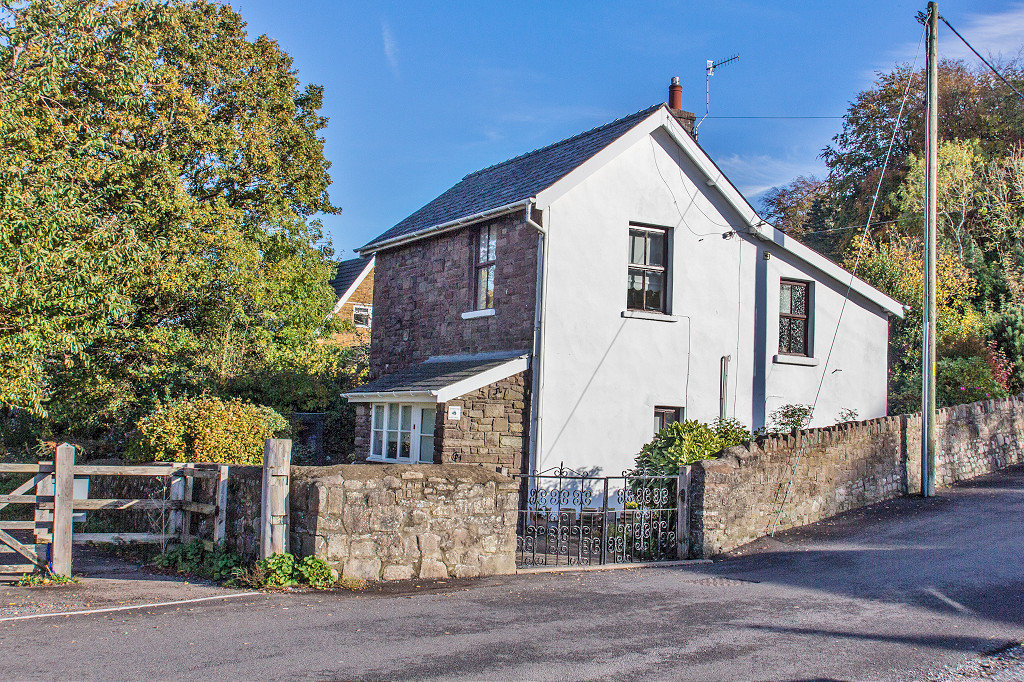 Govilon crossing keepers cottage |
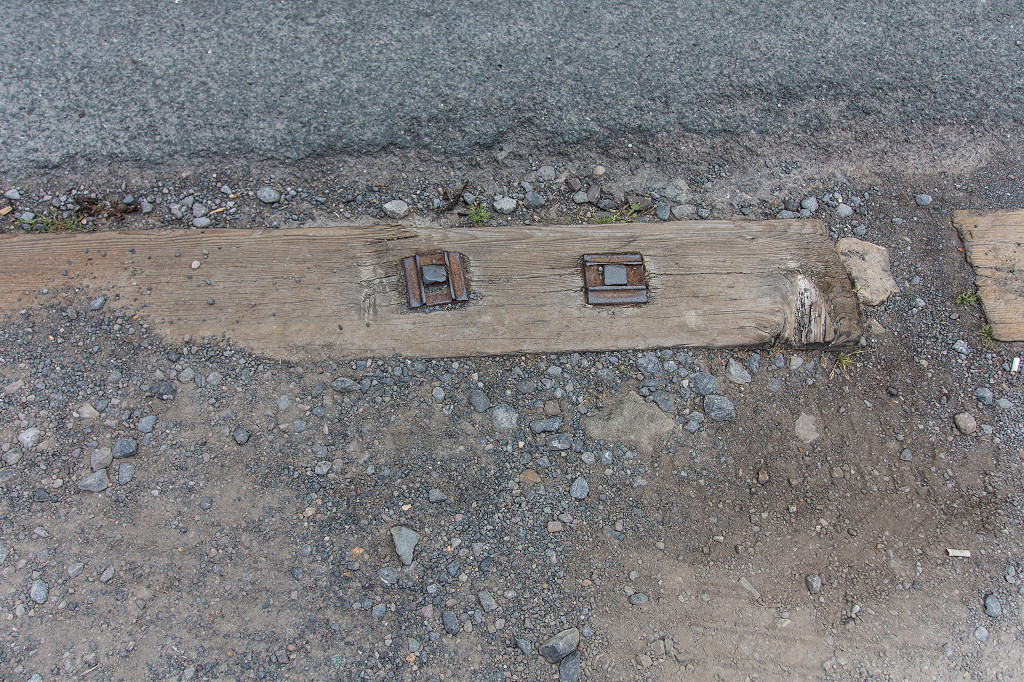 Level crossing sleeper, Govilon |
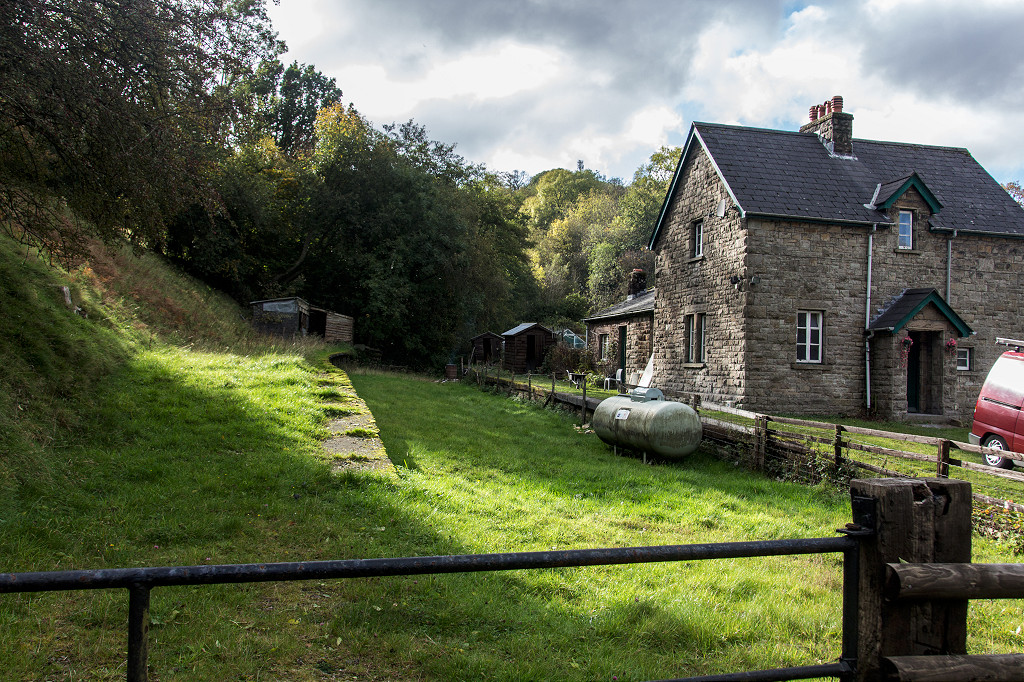
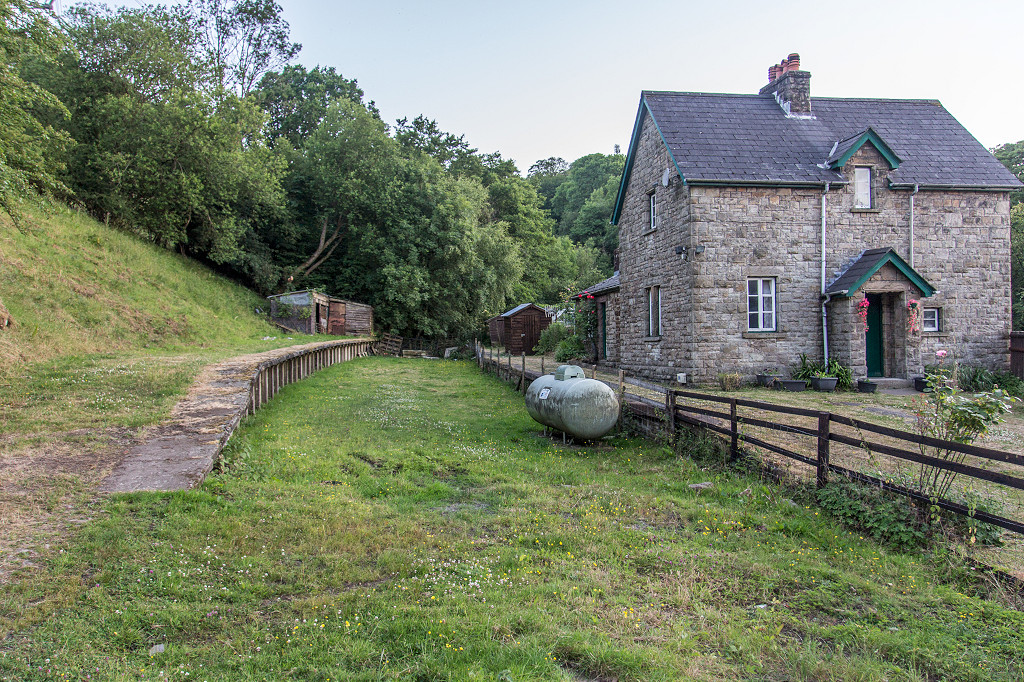
 Govilon Station |
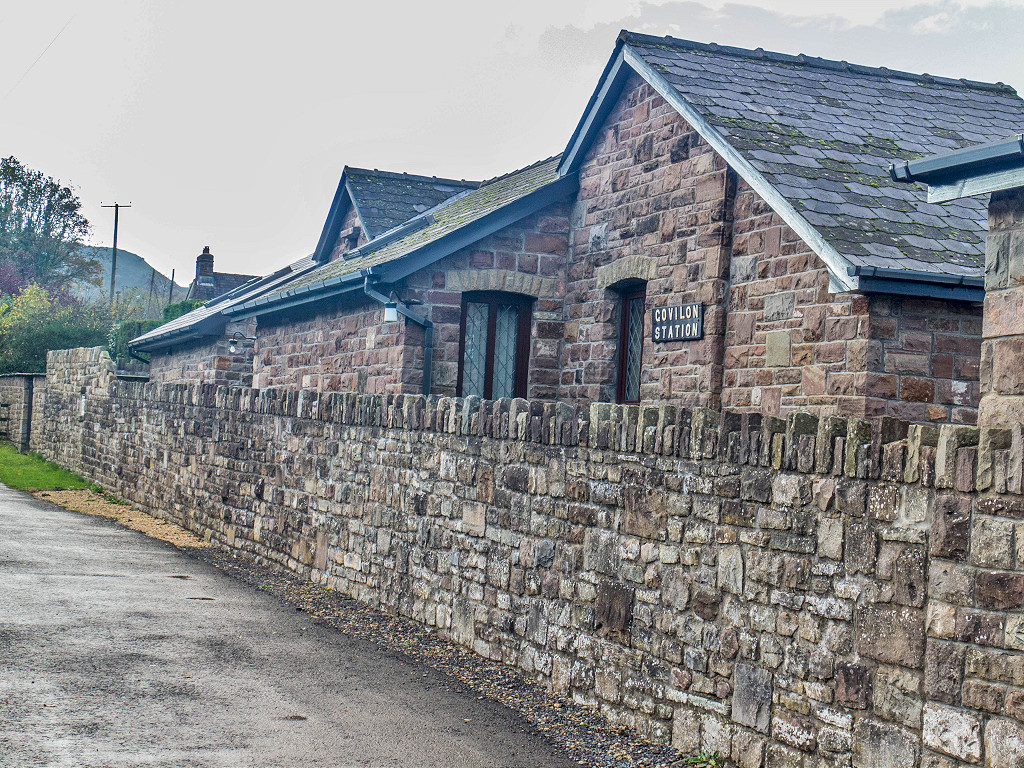 Govilon Station |
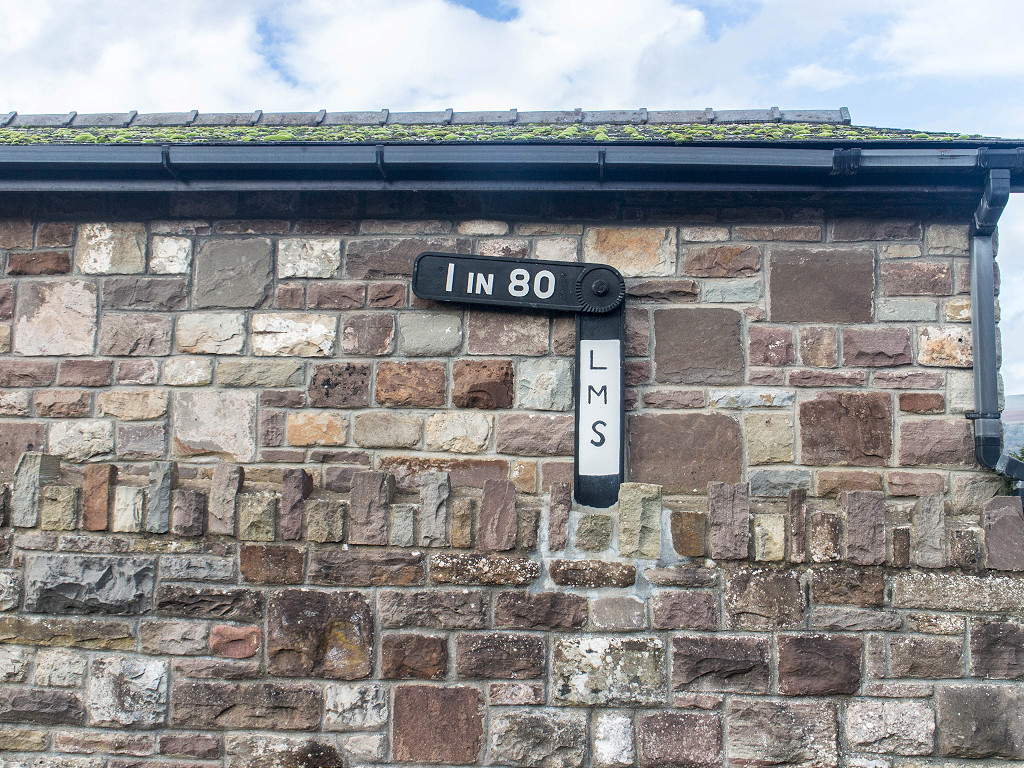
 LMS noticeboard, Govilon Station |
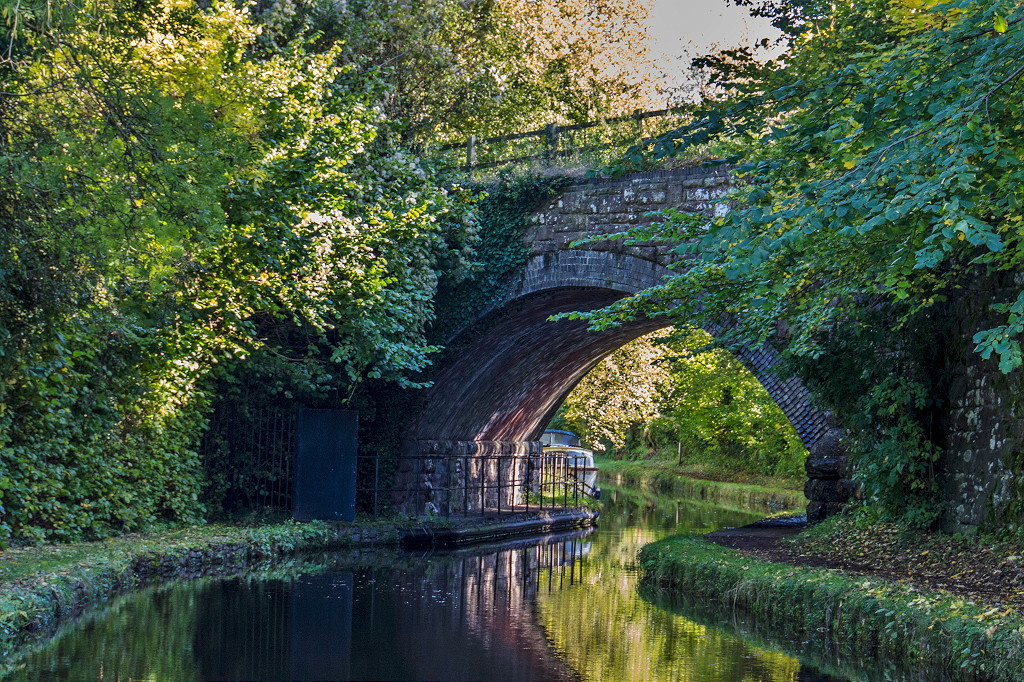
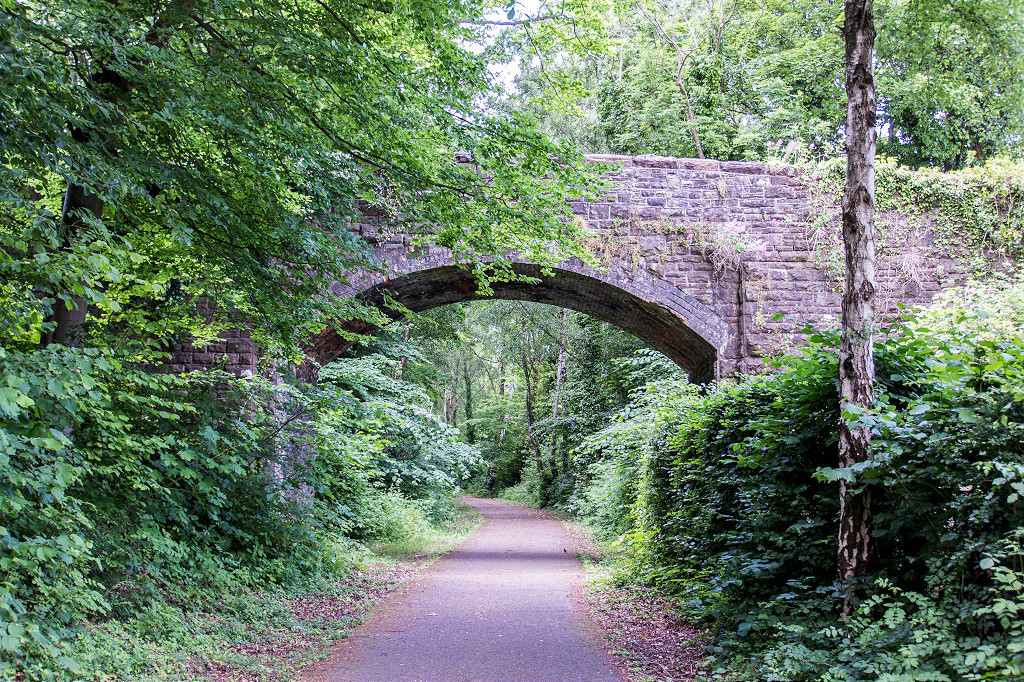
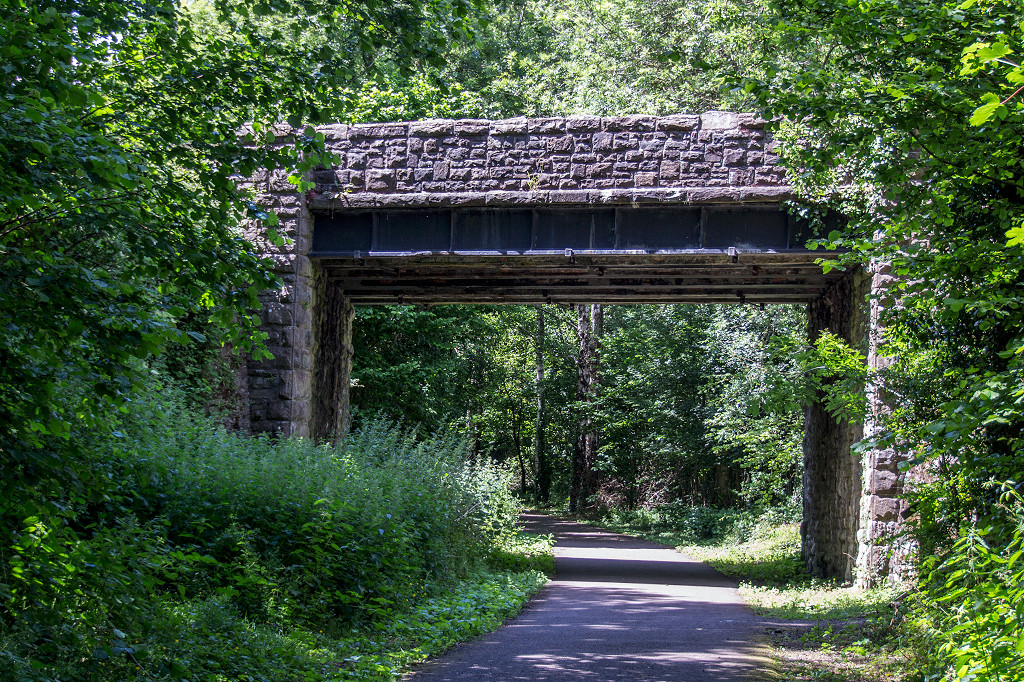
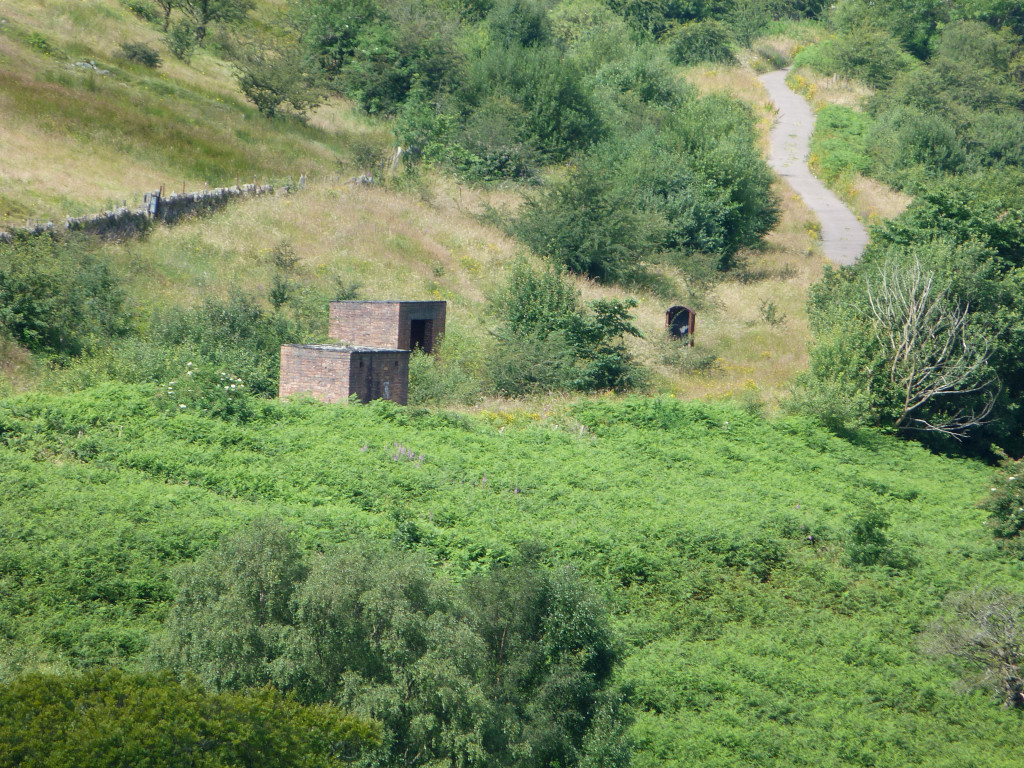
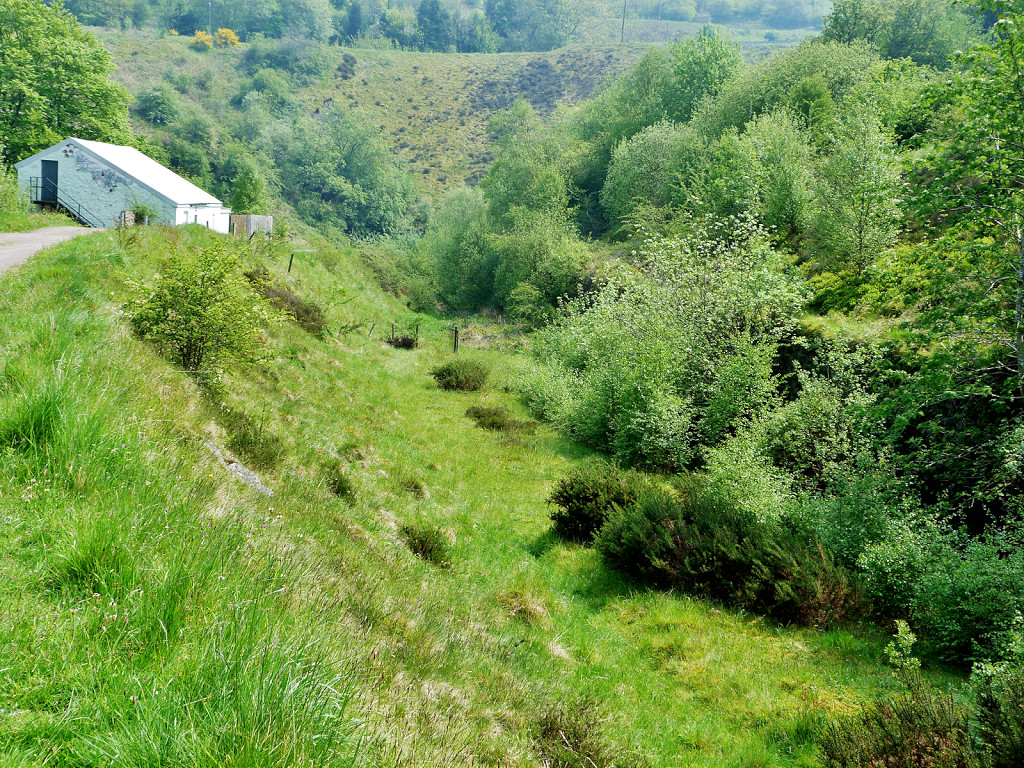
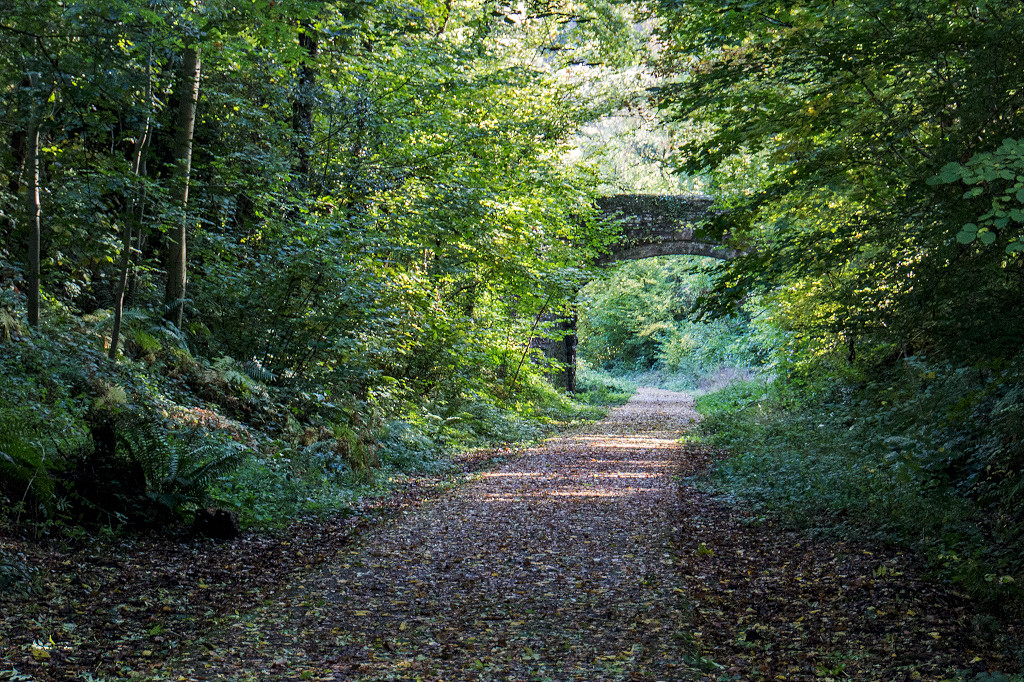 Bridges near Govilon |
 Bridges near Govilon |
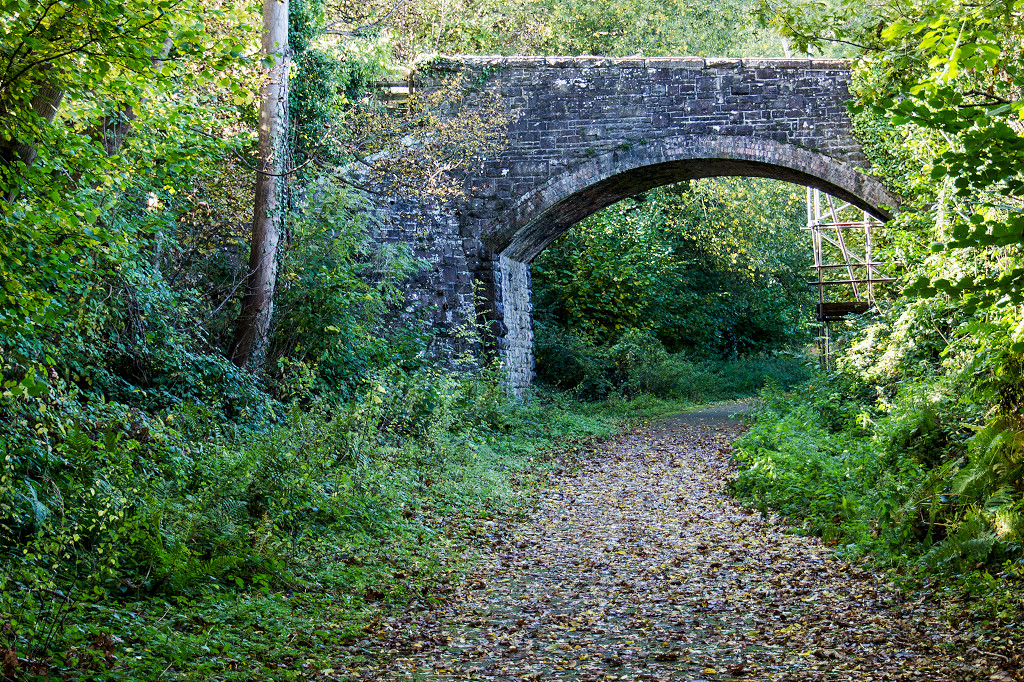 Bridges near Govilon |
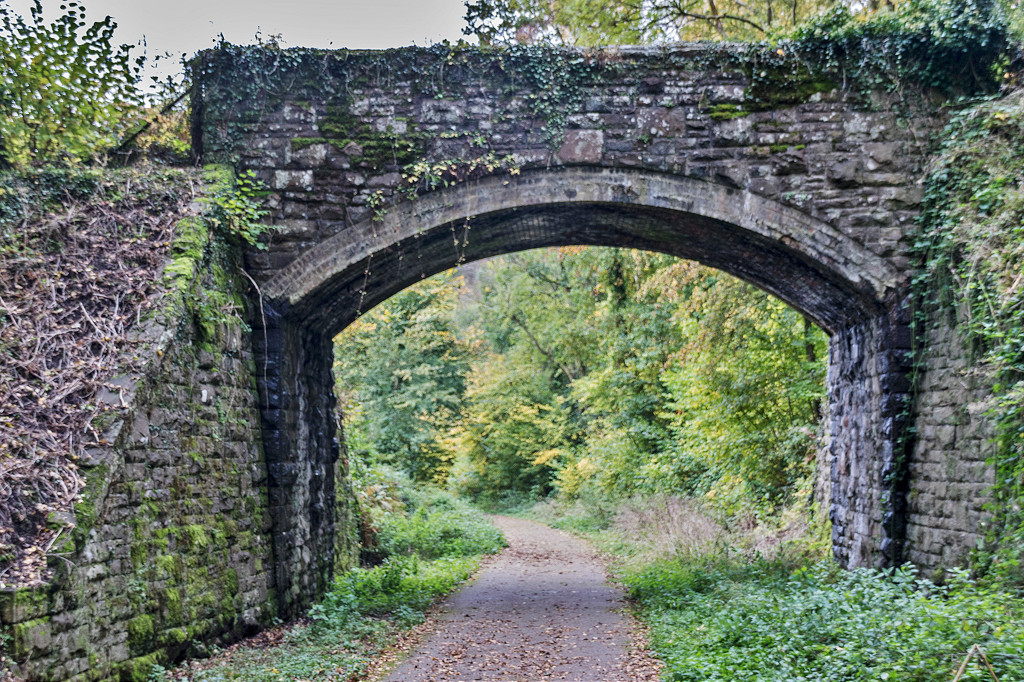 Bridges near Govilon |
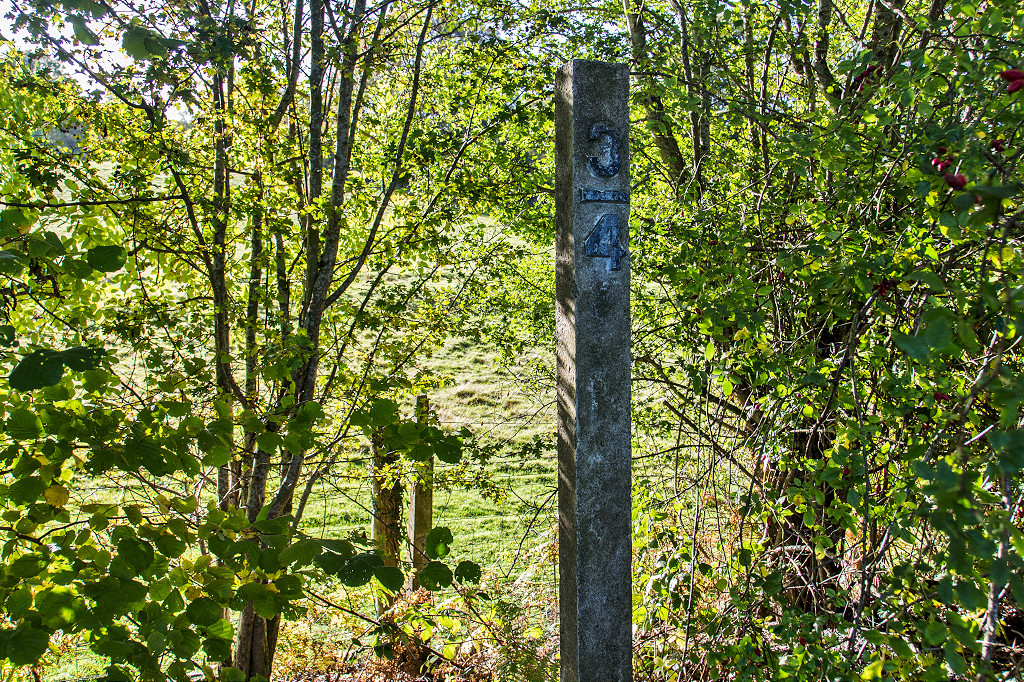
 4 mile post neat Wilden |
 Wilden lower bridge |
 Wilden lower bridge |
 Wilden Viaduct, Govilon |
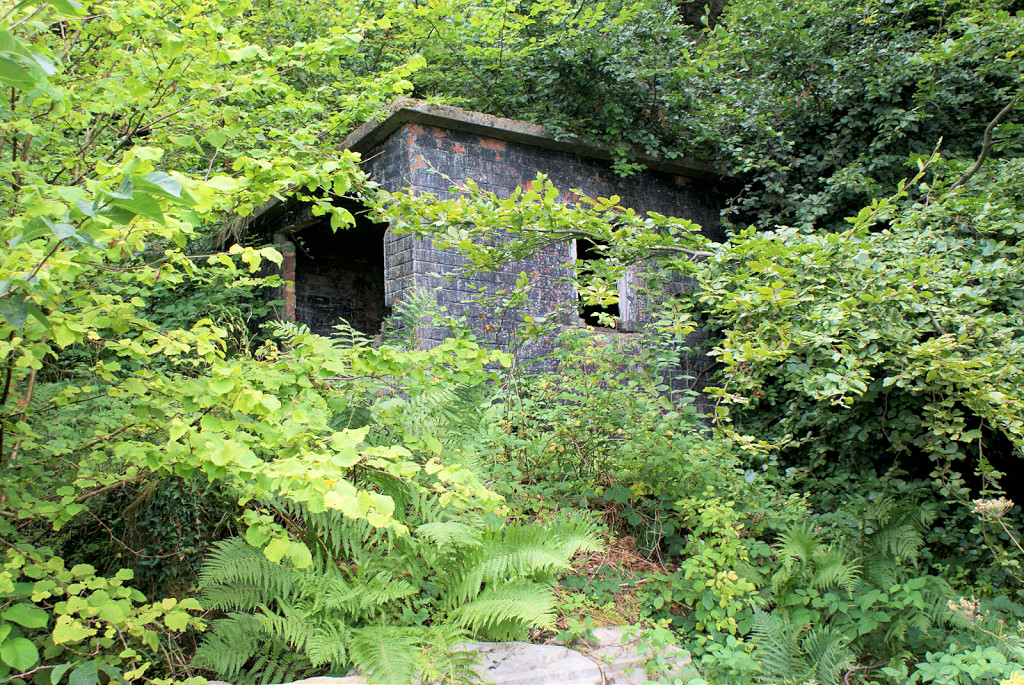
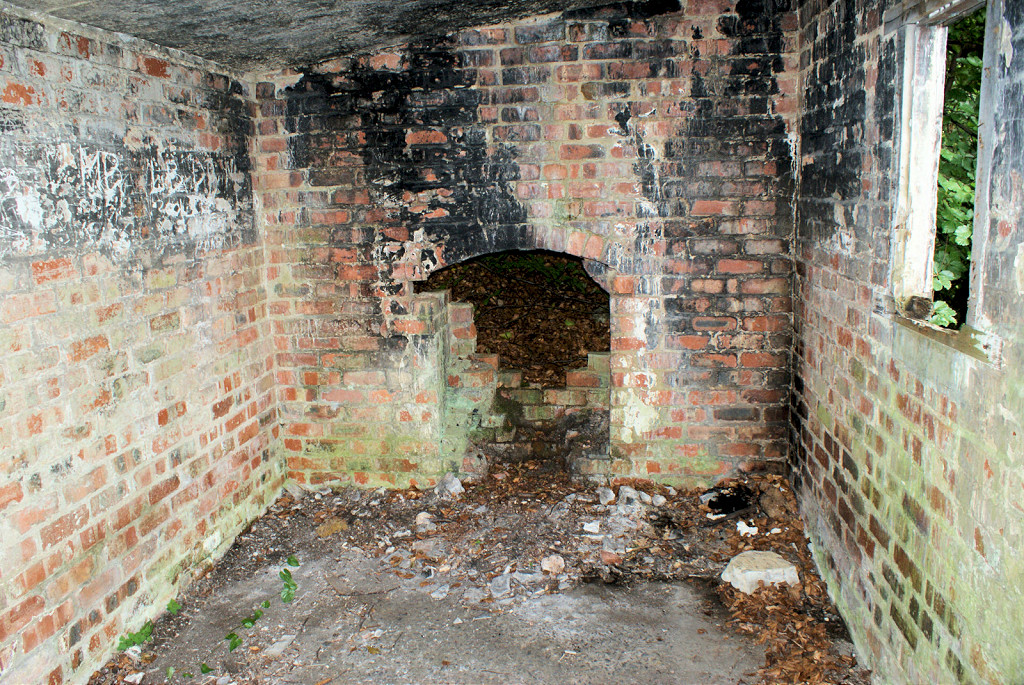
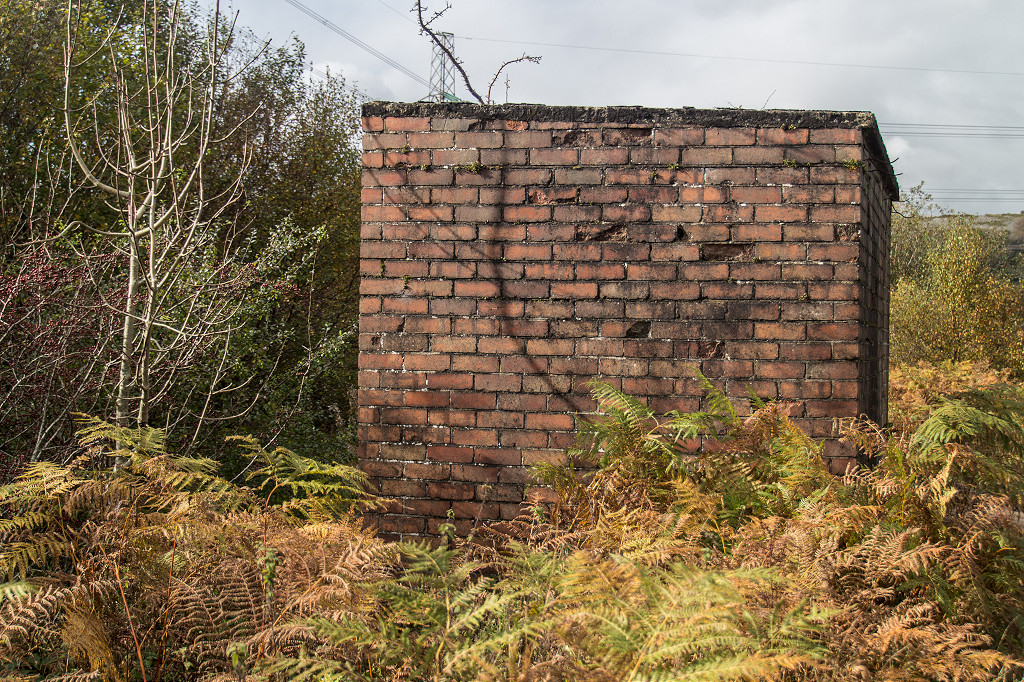
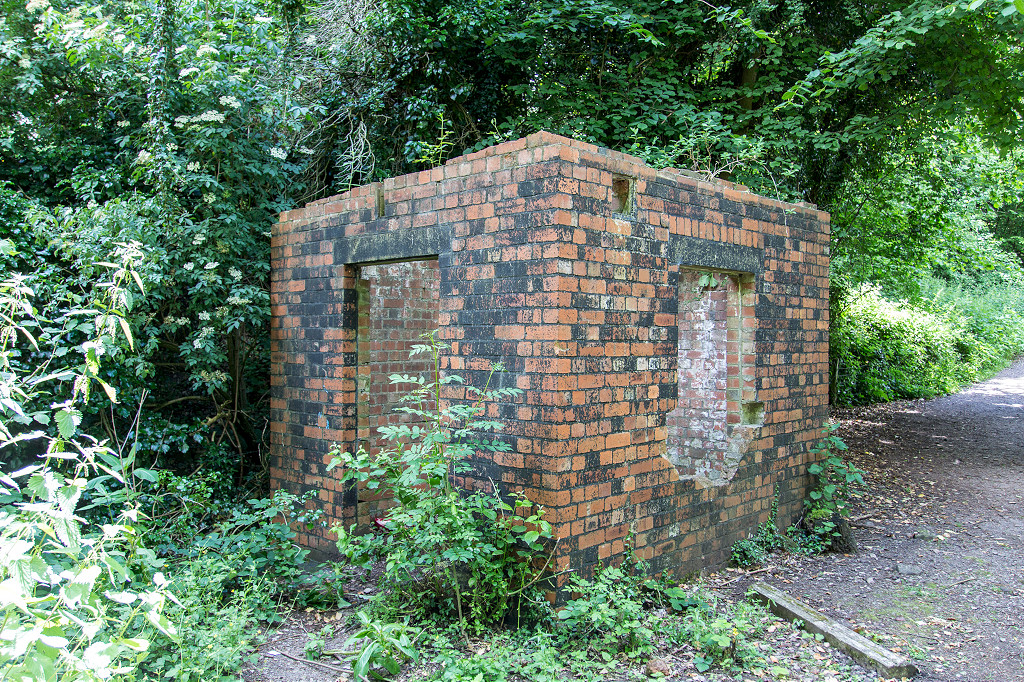 Permanent Way hut |
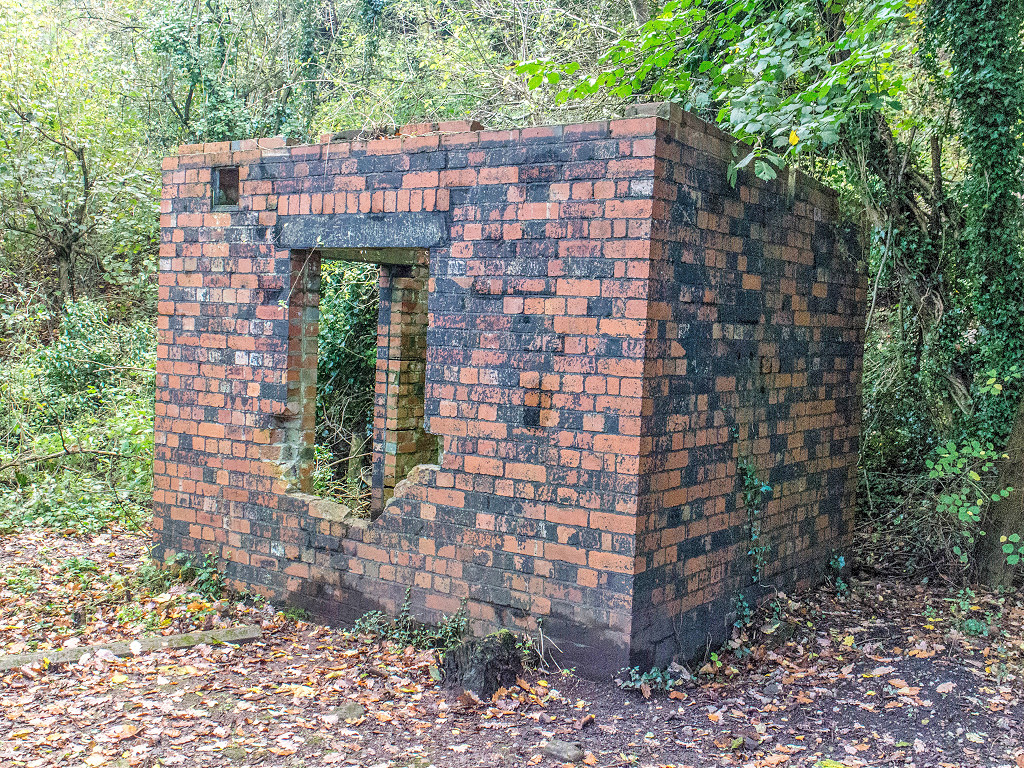 Permanent Way hut |
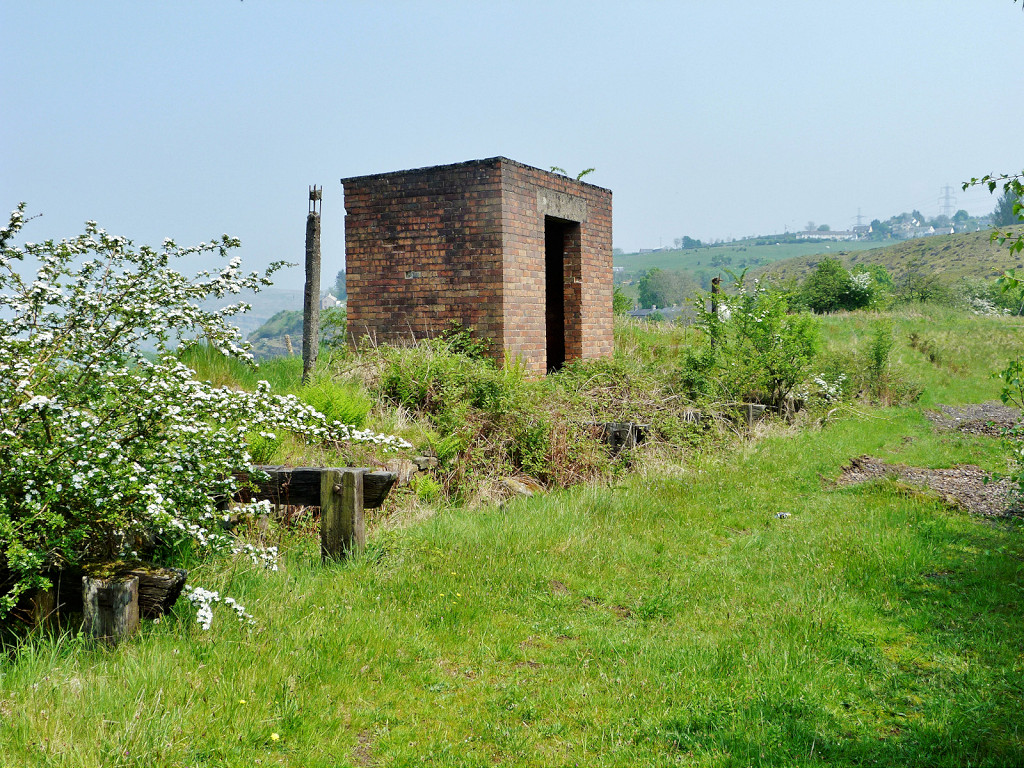
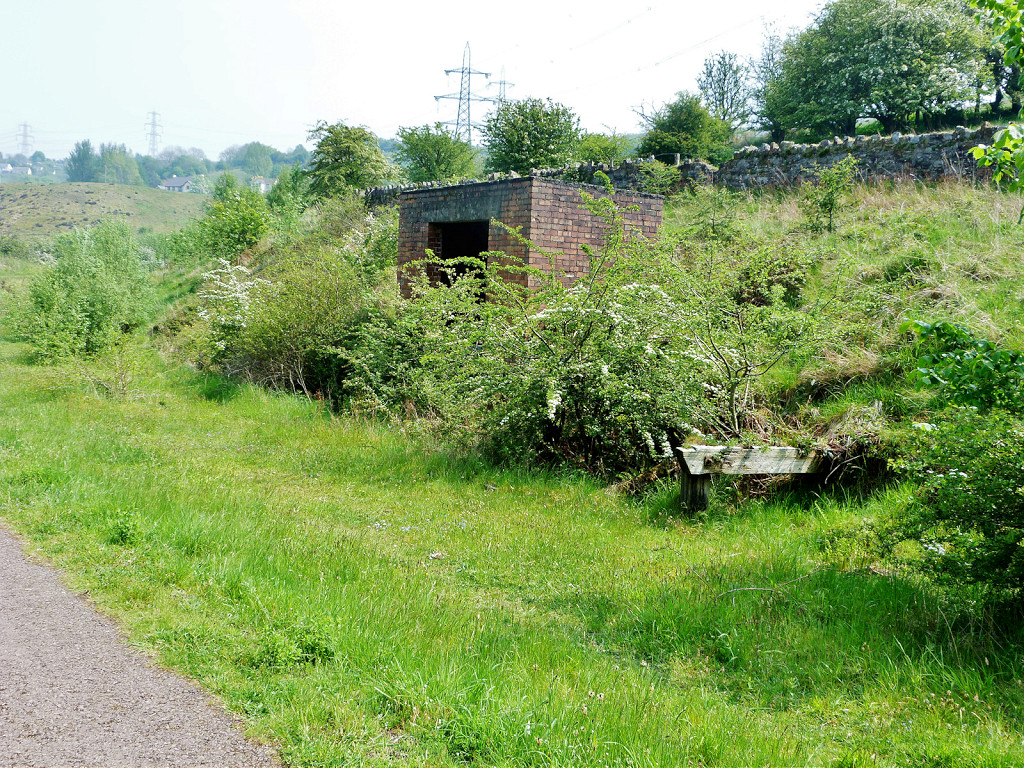
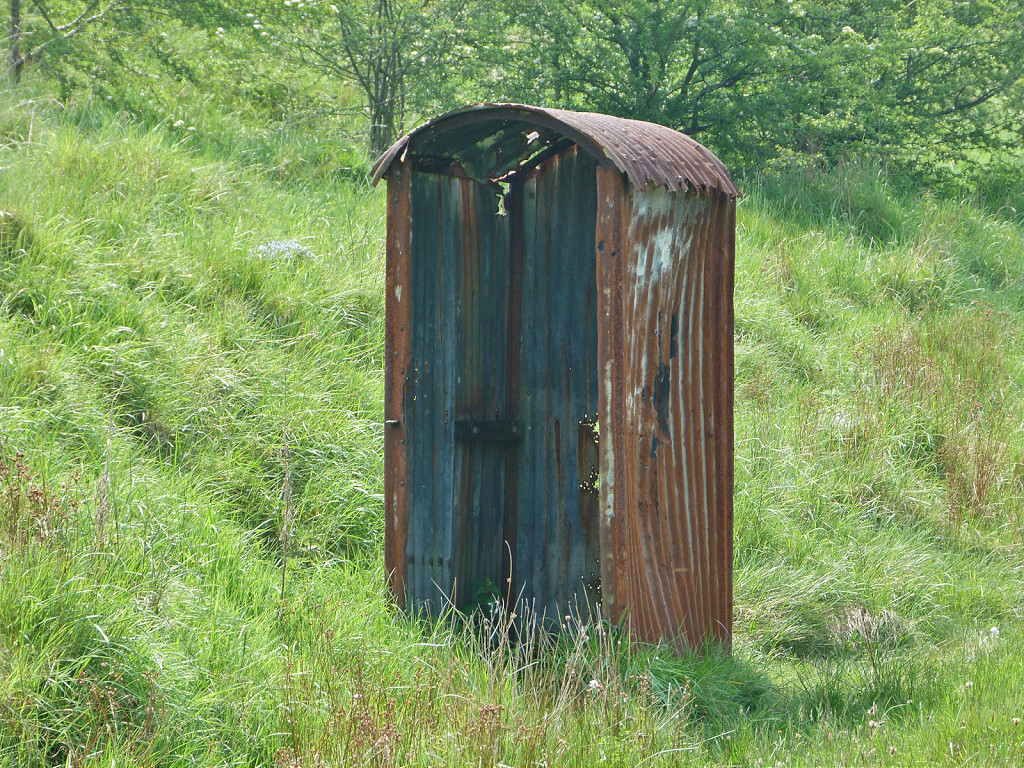
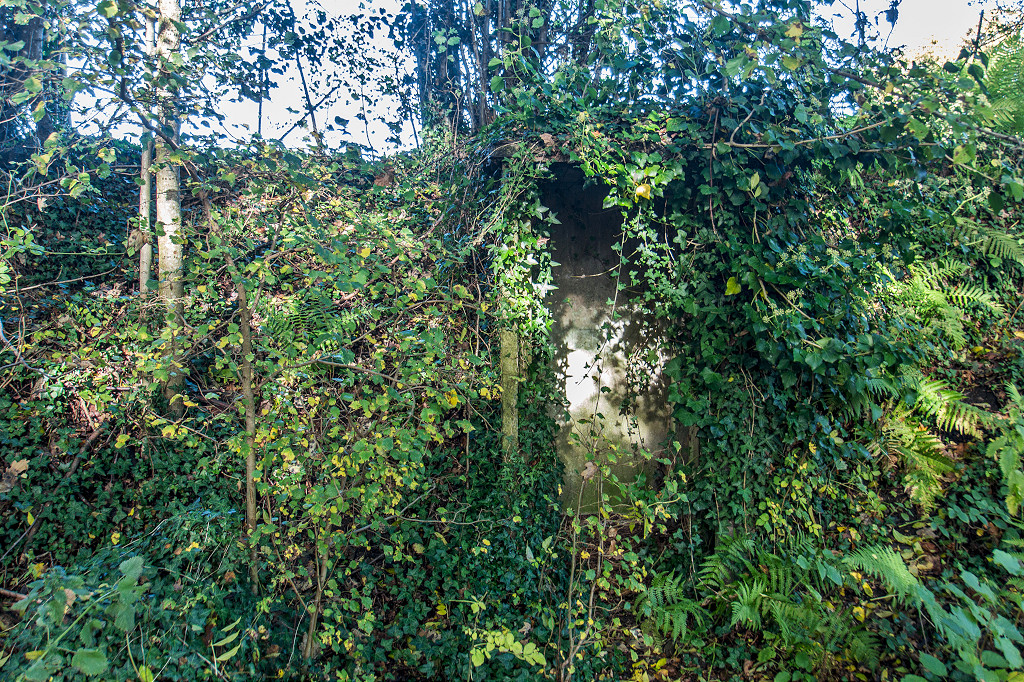 'Thunderbox' near Govilon |
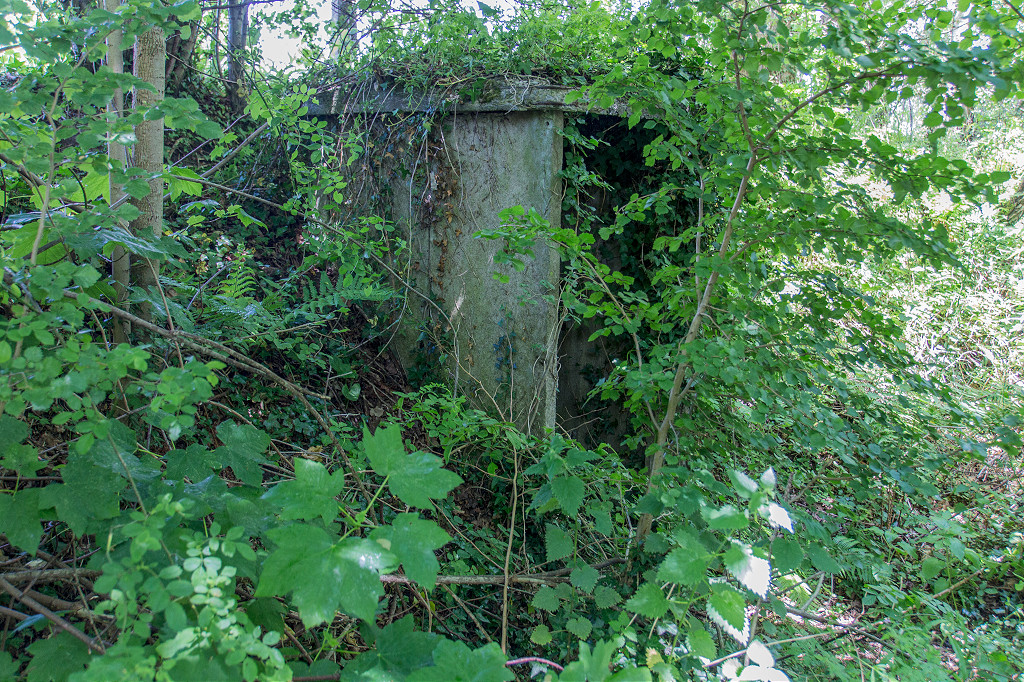 Twyn Allwys Lane 'Thunderbox' |
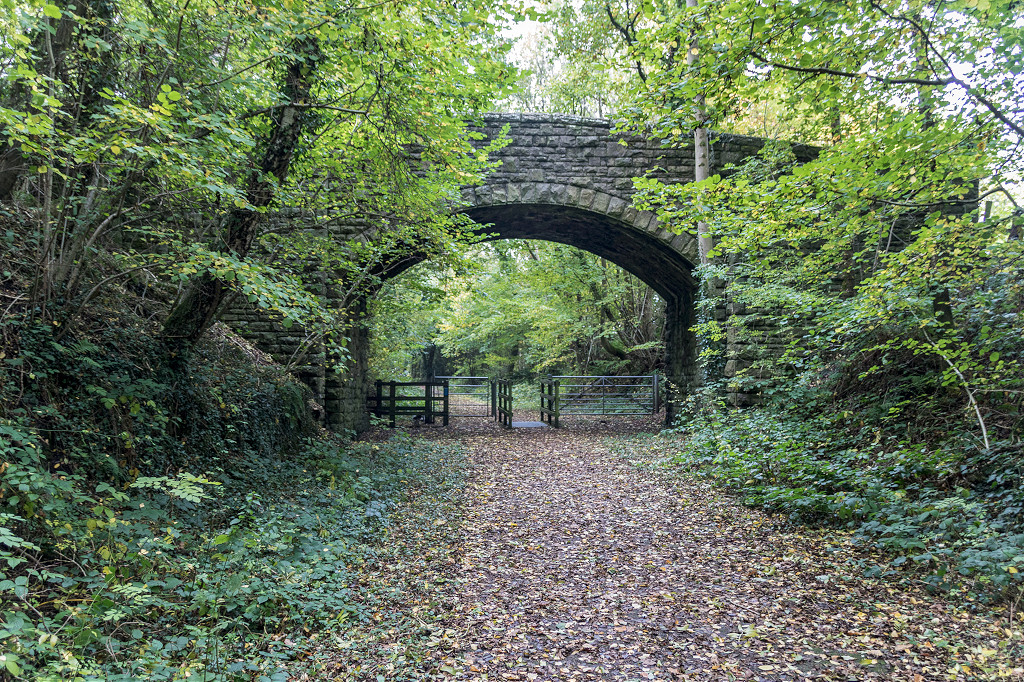
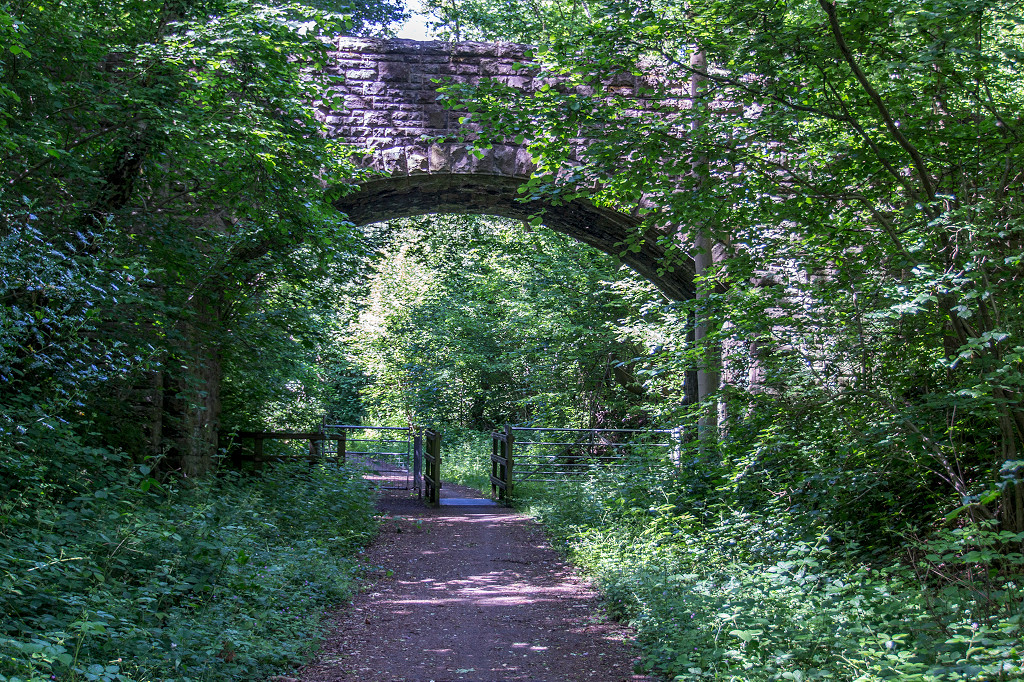
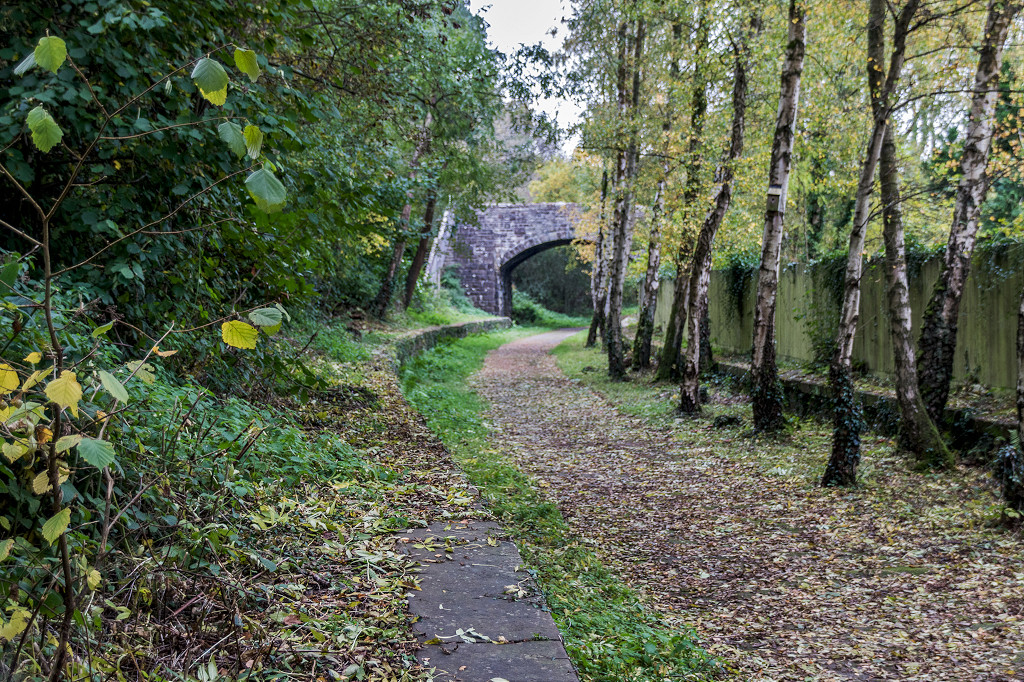
 Twyn Allwys Lane bridge |
 Twyn Allwys Lane bridge |
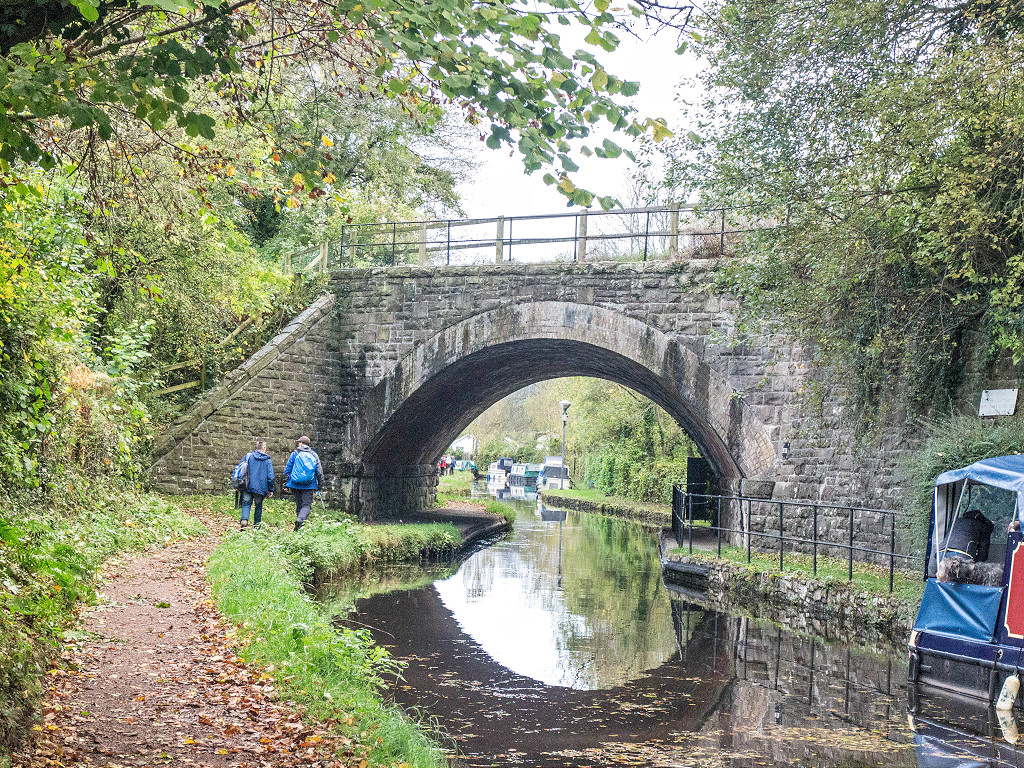
 Pentre bridge, Gilwern |
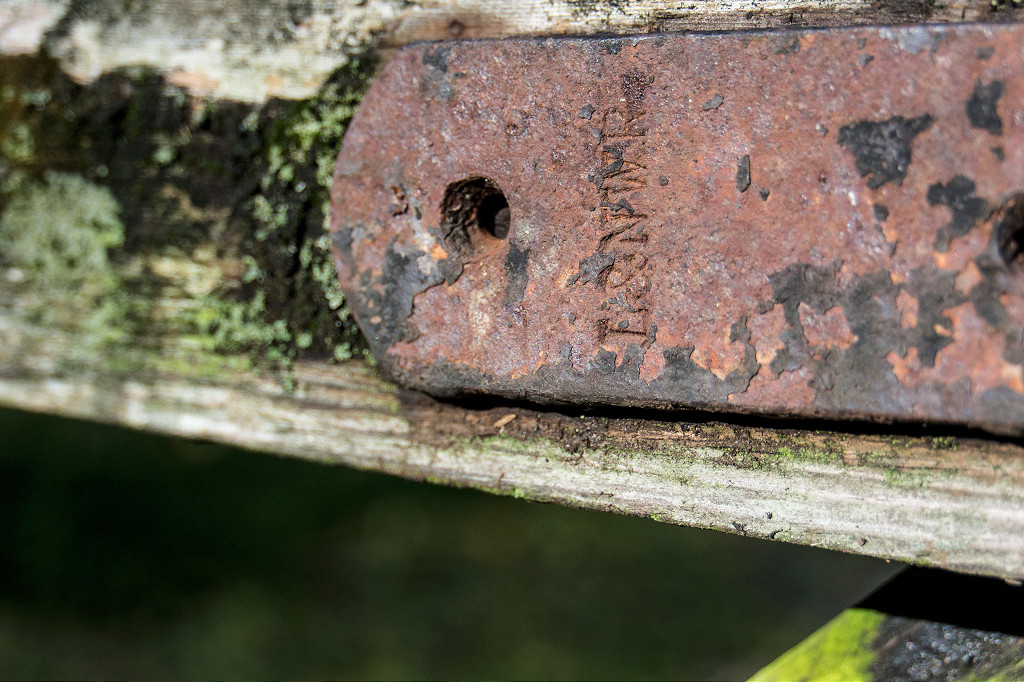 LNWR gate and fittings at Pentre |
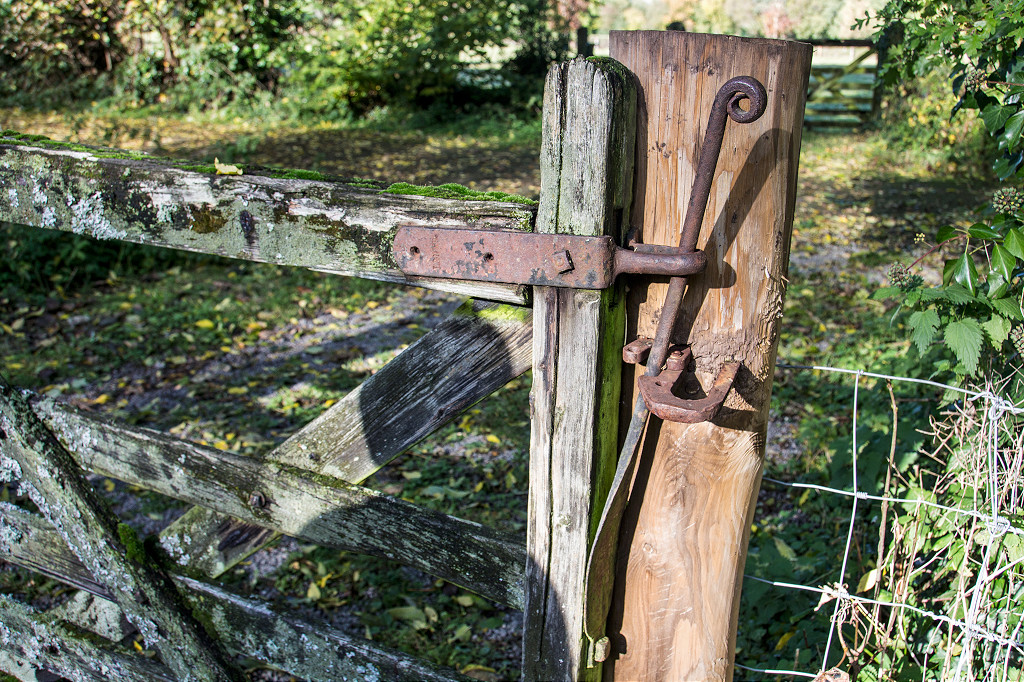 LNWR gate and fittings at Pentre |
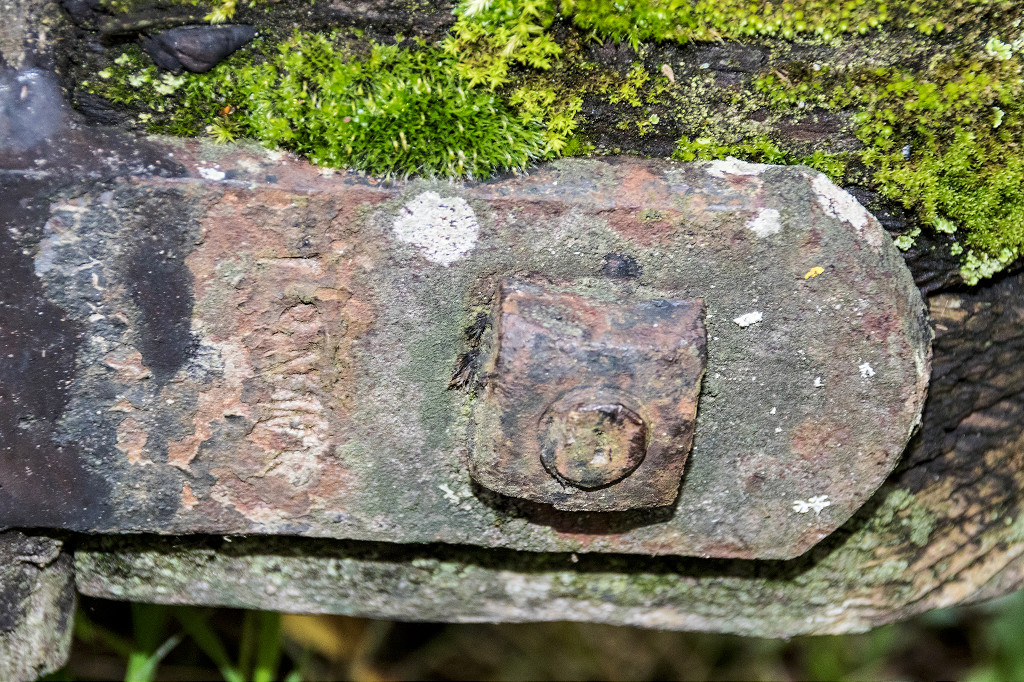 LNWR gate and fittings at Pentre |
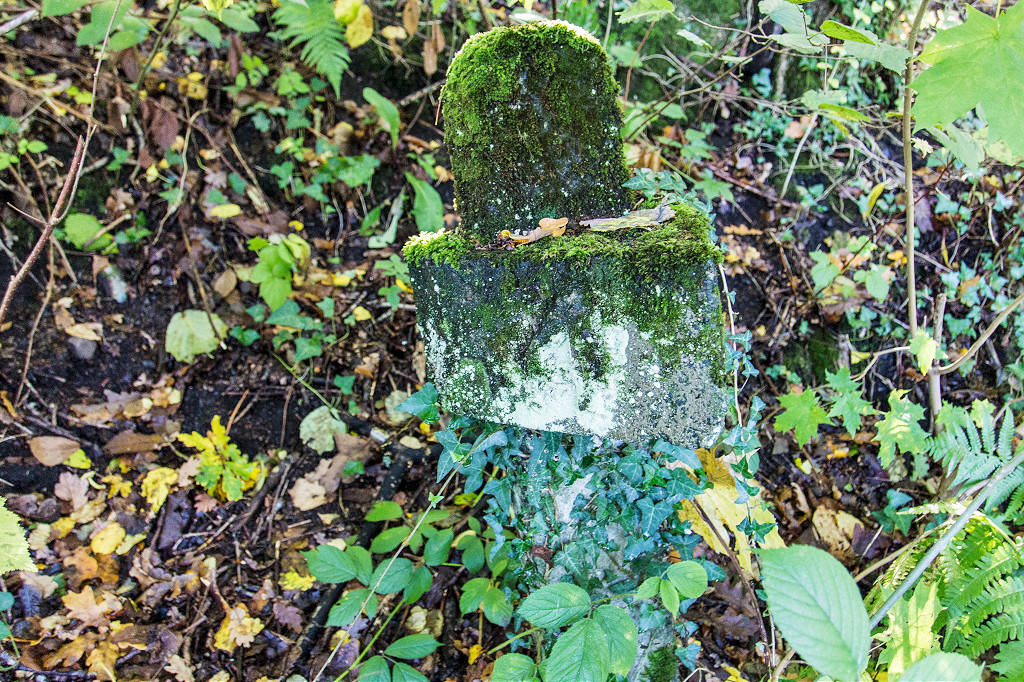
 Gradient post near Gilwern |
 3/4 milepost near Pentre |
 Ty Gwyn bridge, Gilwern |
 Ty Gwyn bridge, Gilwern |
 MTAR siding into Gilwern Quarry |
 Gilwern Station |
 Gilwern Station |
 Gilwern Station |
 Gilwern Station |
 Gilwern Station |
 Gilwern Station |
 Gilwern Station |
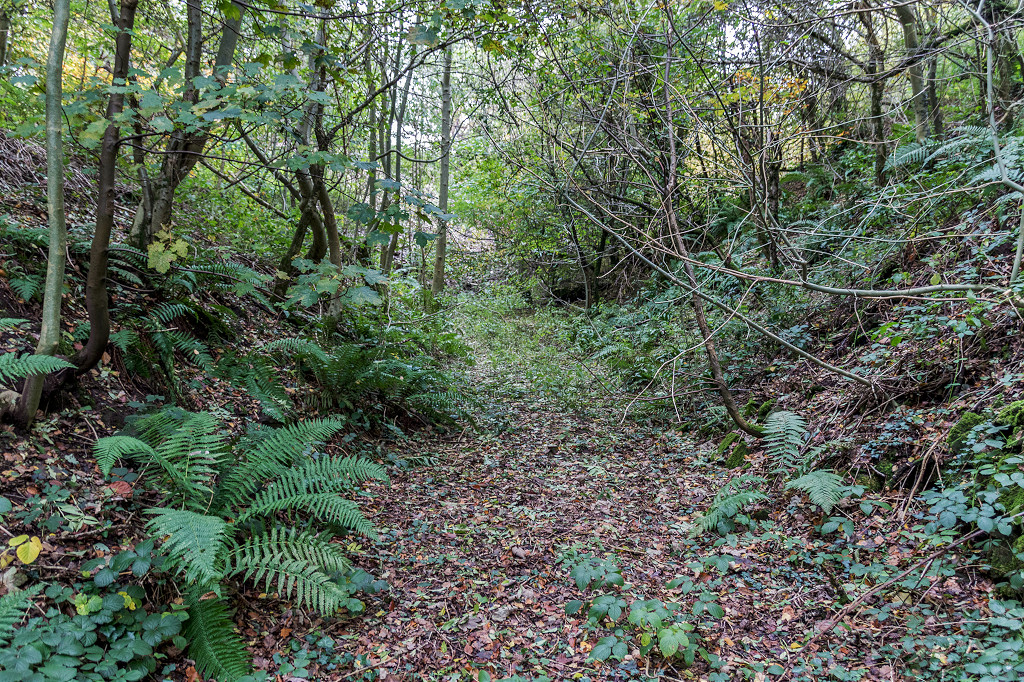
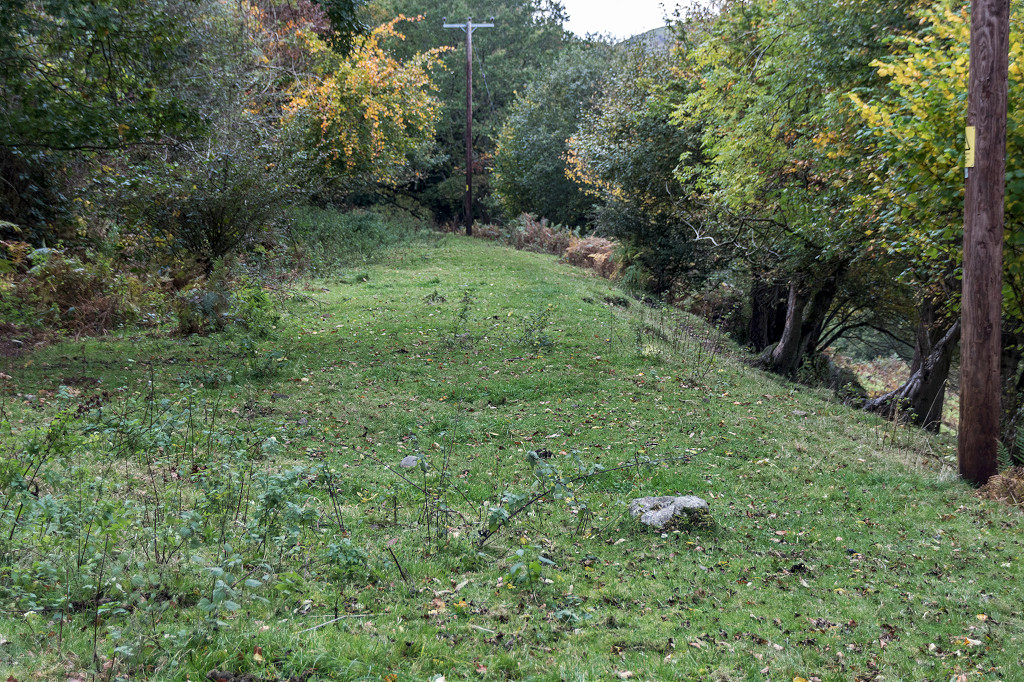
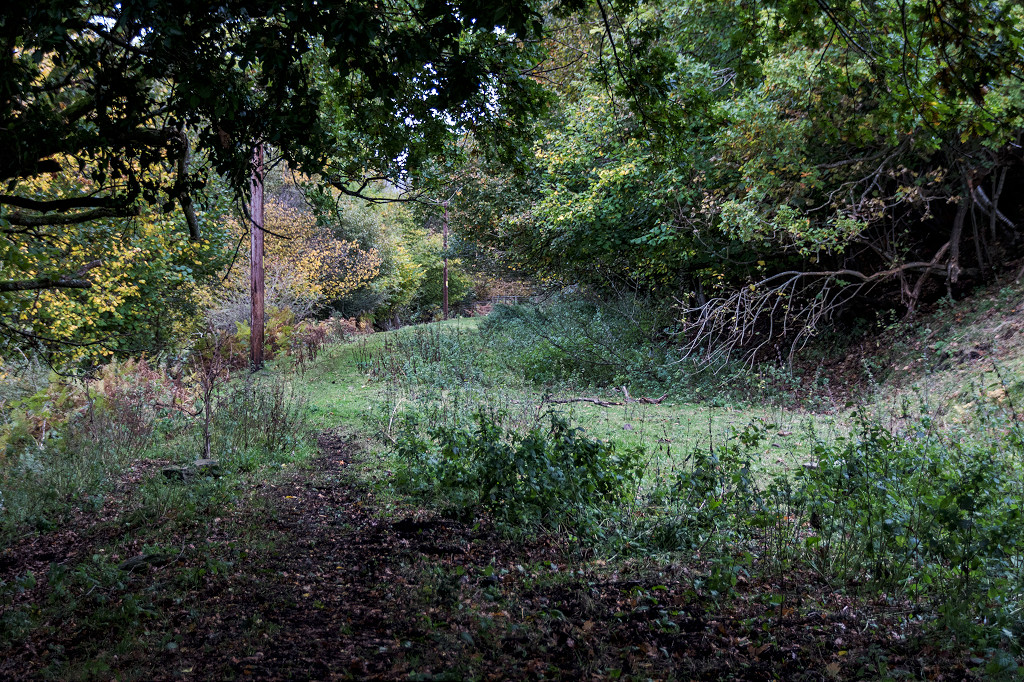
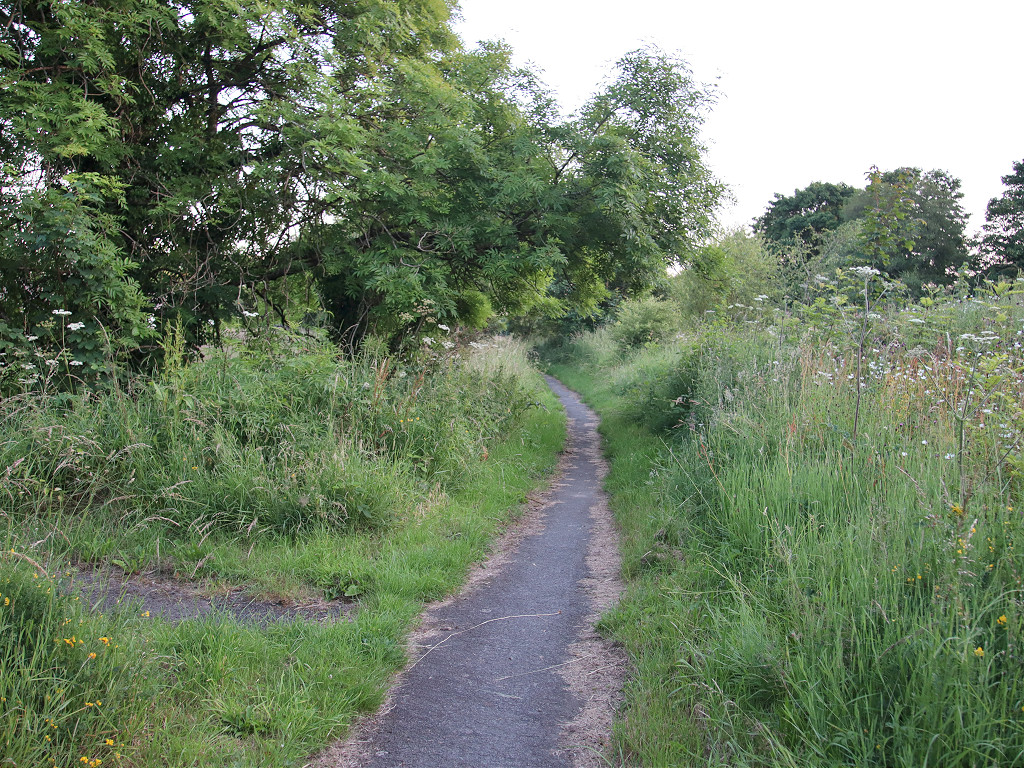
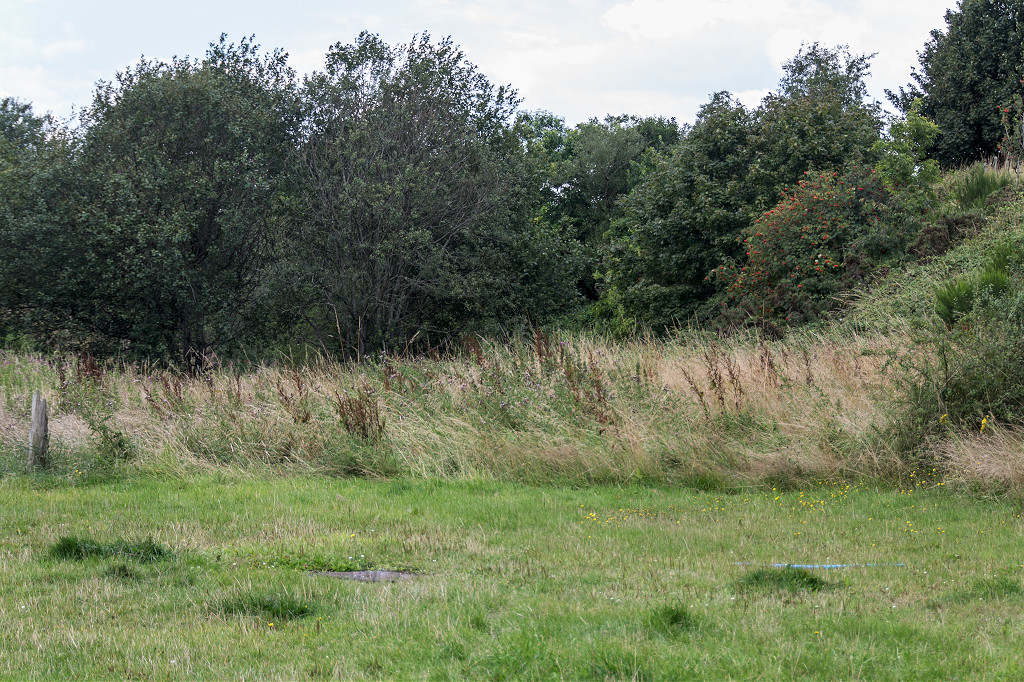
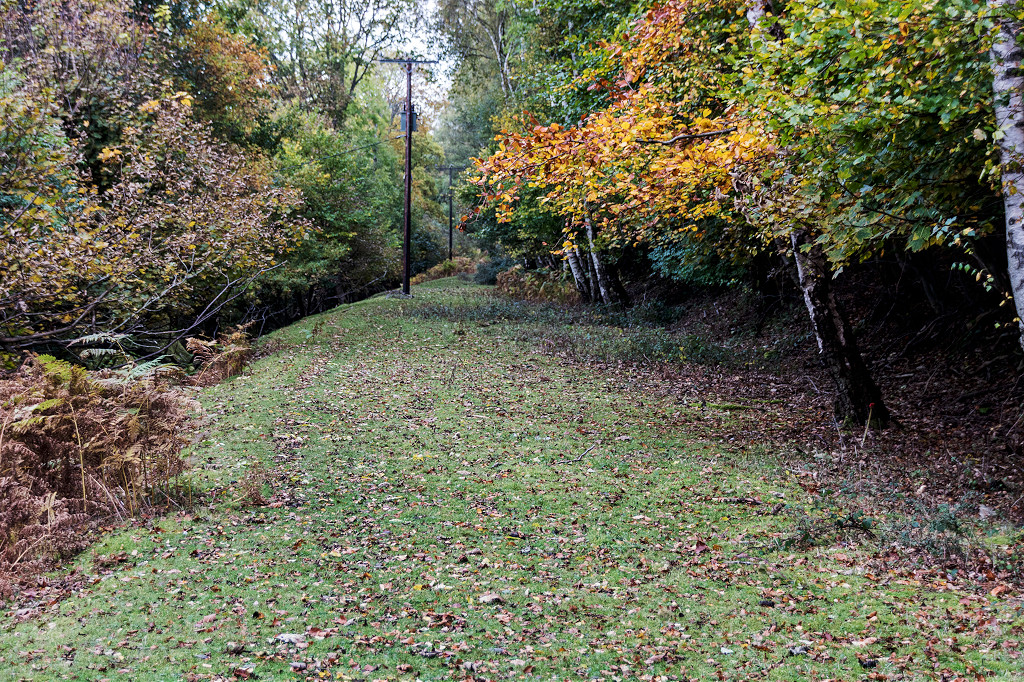 'Missing' trackbed near Gilwern |
 'Missing' trackbed near Gilwern |
 'Missing' trackbed near Gilwern |
 'Missing' trackbed near Gilwern |
 'Missing' trackbed near Gilwern |
 'Missing' trackbed near Gilwern |
 Level Crossing cottage |
 Tankers Row underbridge |
 Tankers Row water tank |
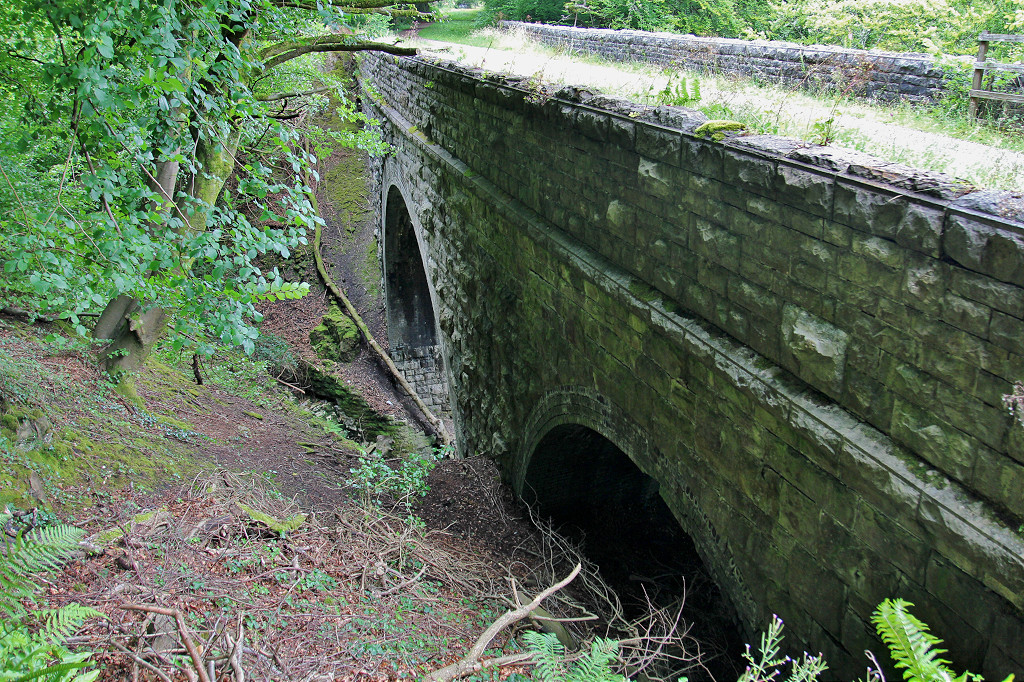
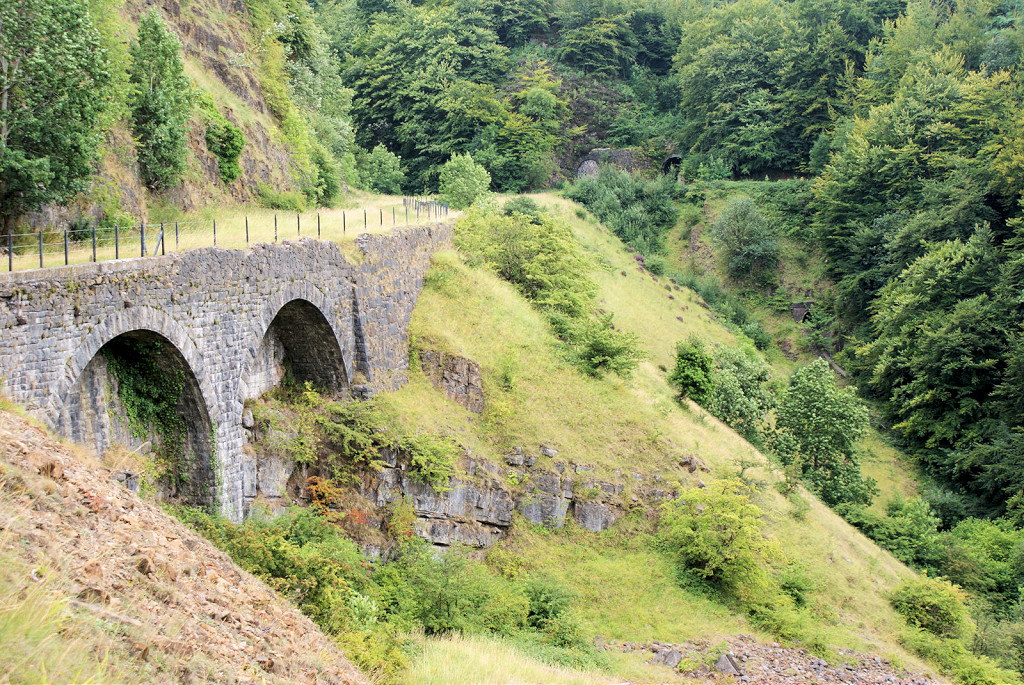
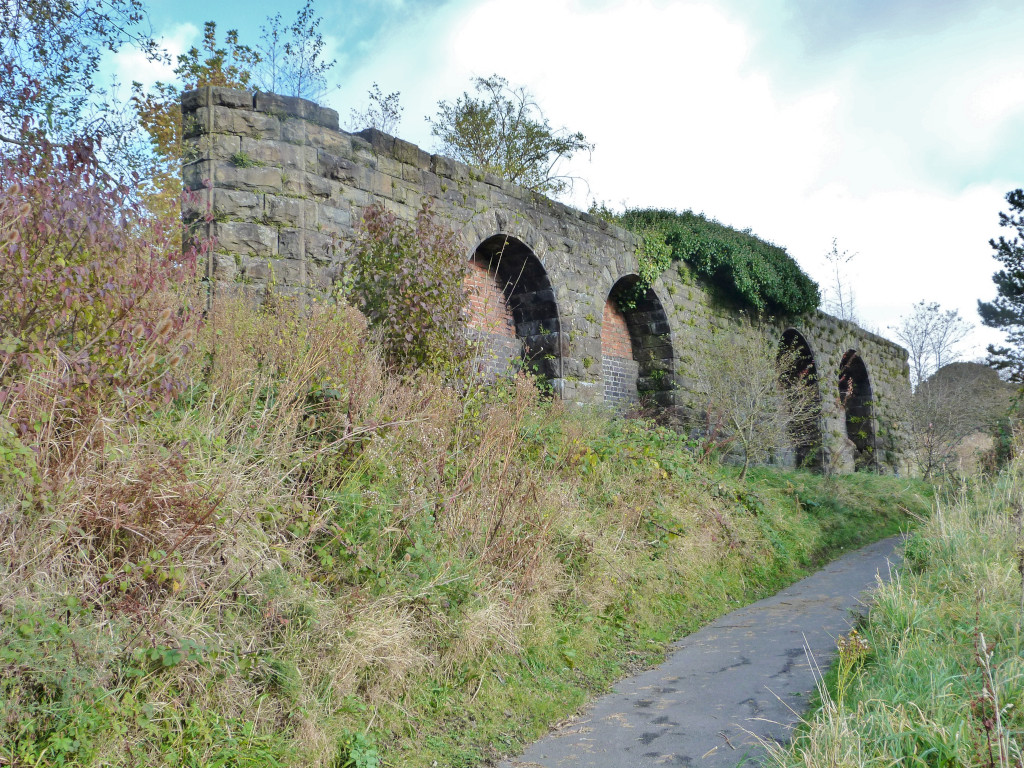
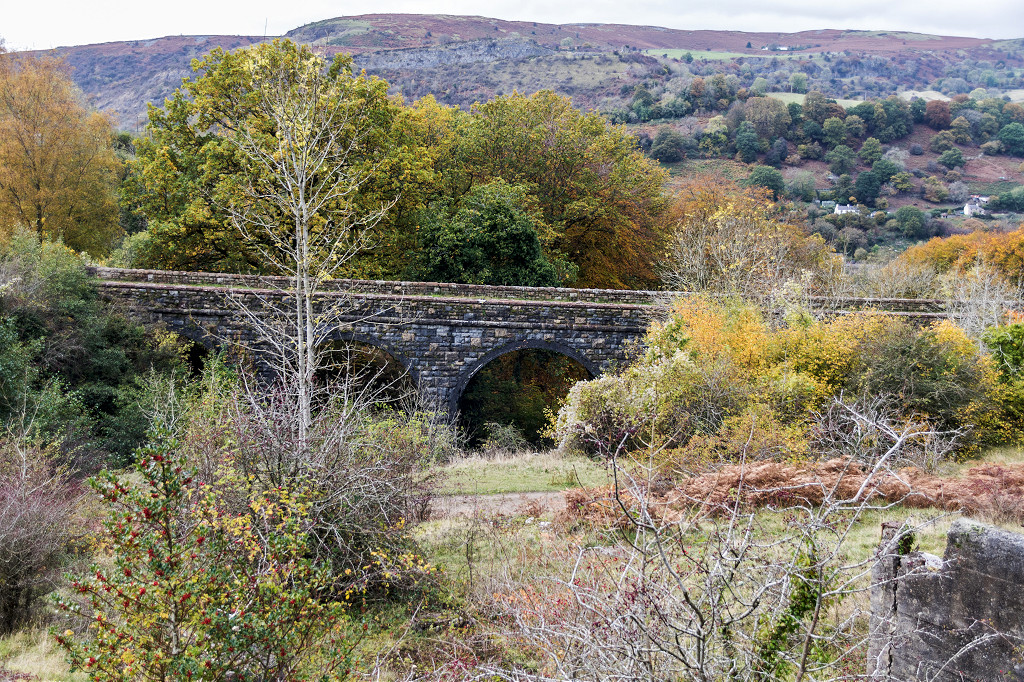 Clydach Viaduct |
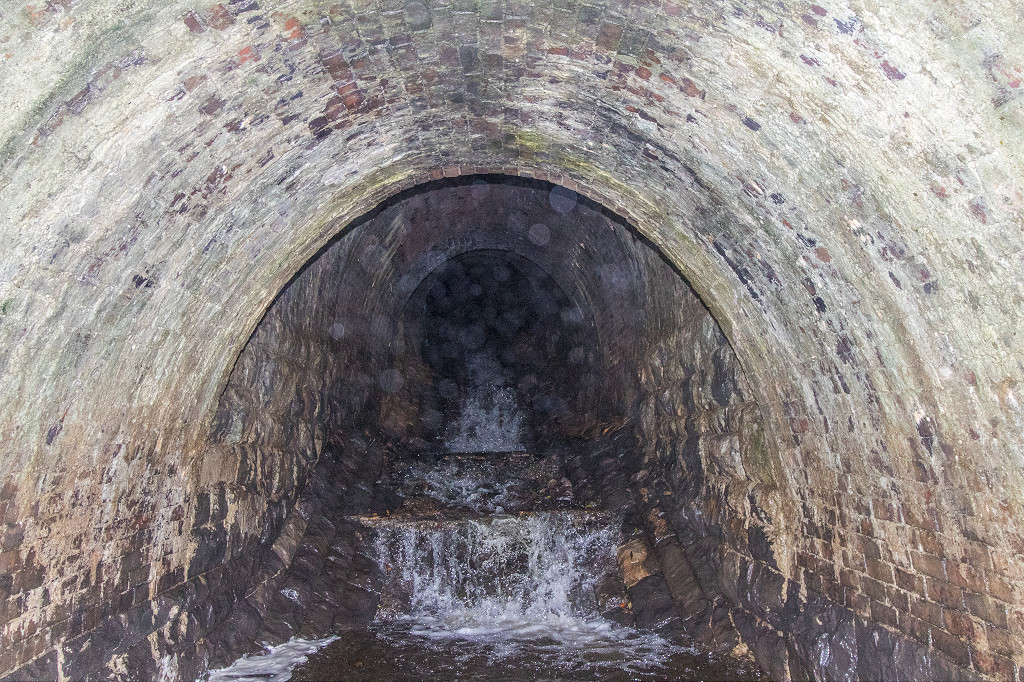
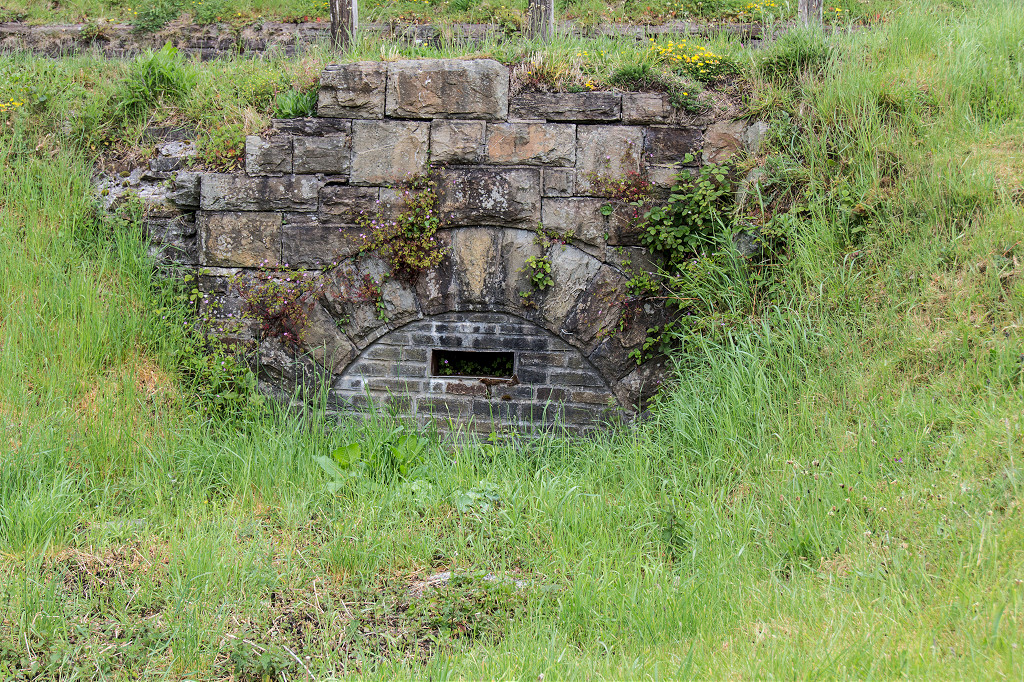
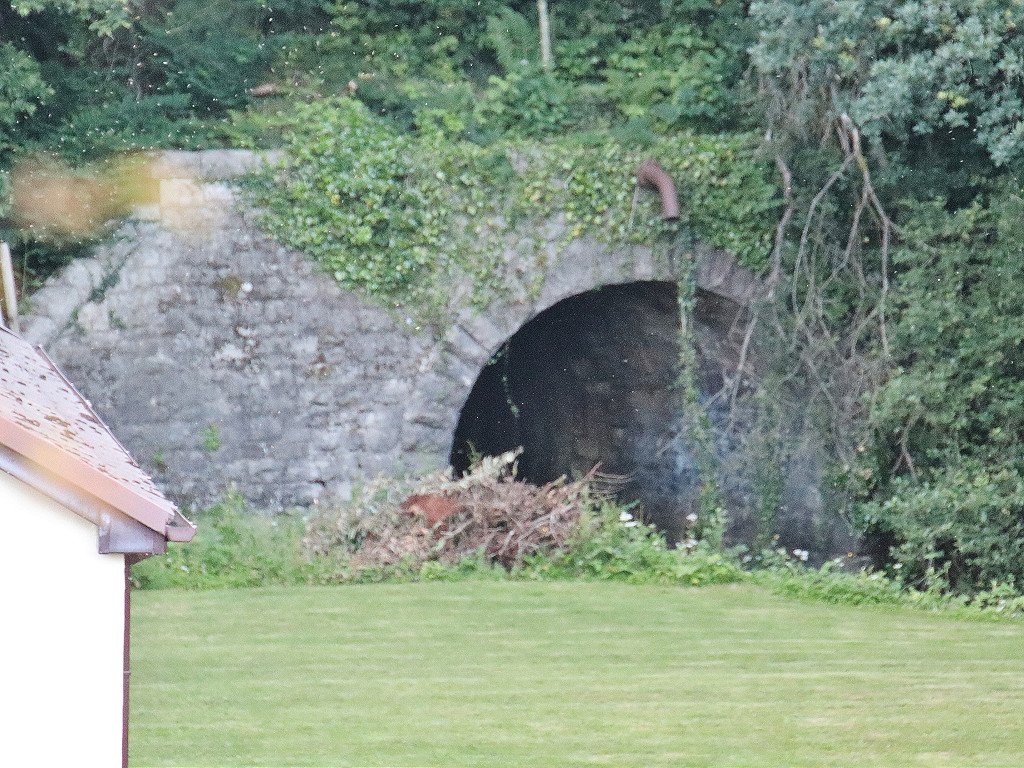
 Clydach Viaduct culvert |
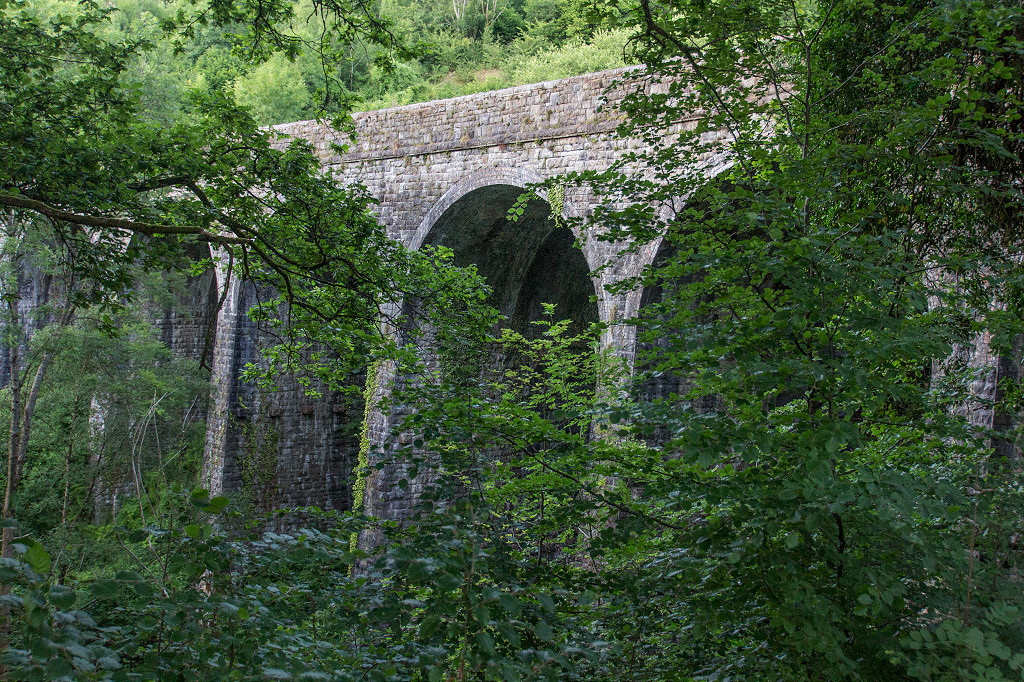 Clydach Viaduct |
 Clydach Viaduct |
 Clydach Viaduct |
 Clydach Viaduct from Tyla |
 Clydach Station |
 Clydach Station |
 Clydach Station |
 Clydach Station |
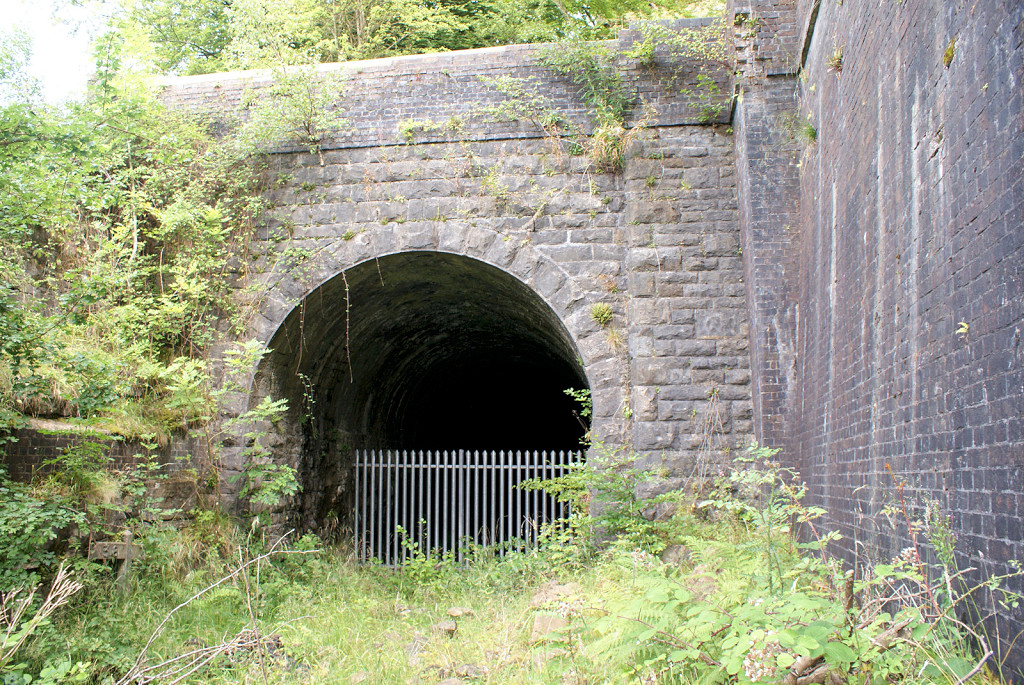
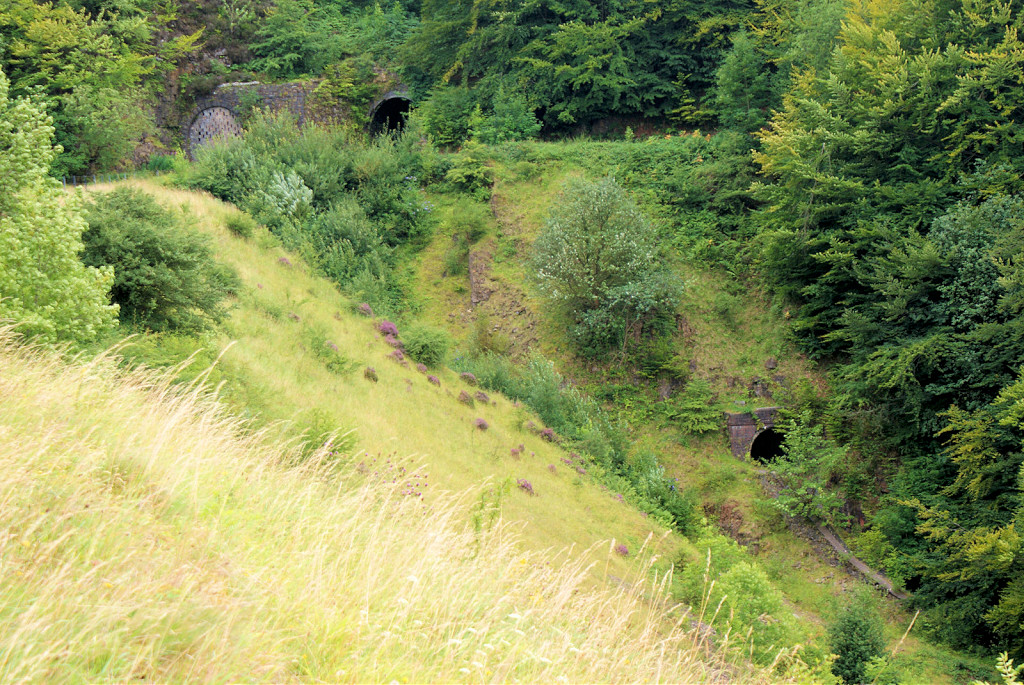
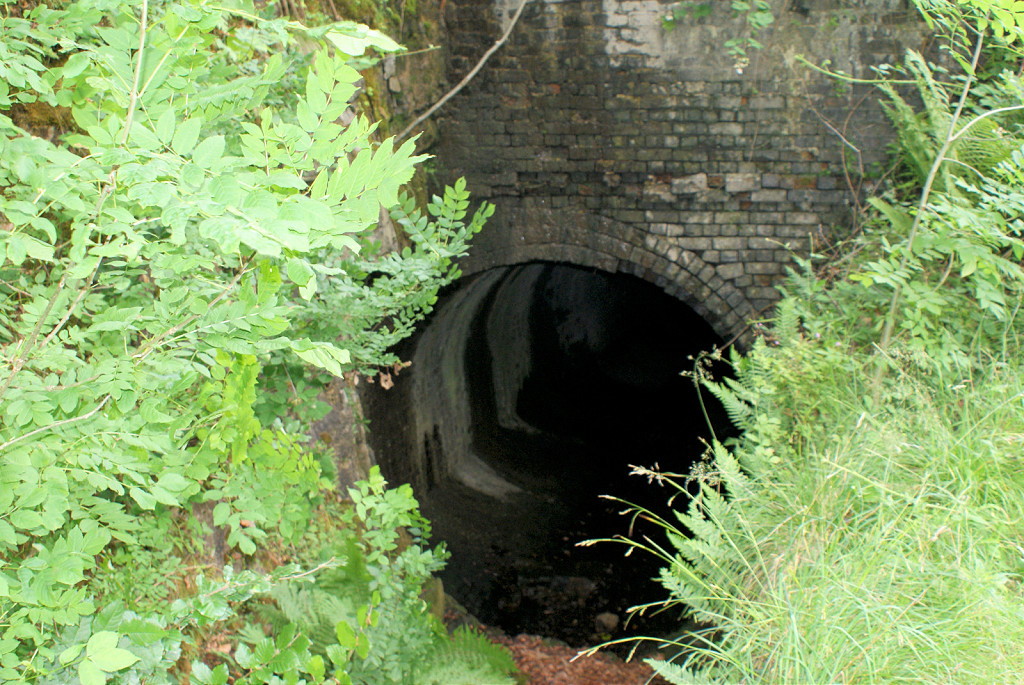
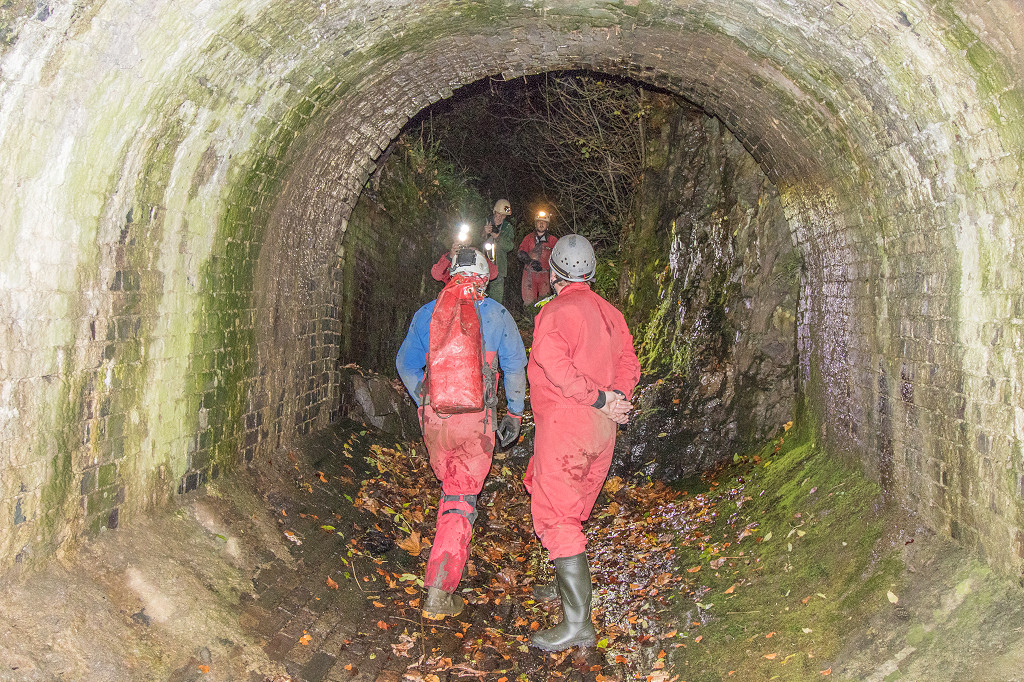
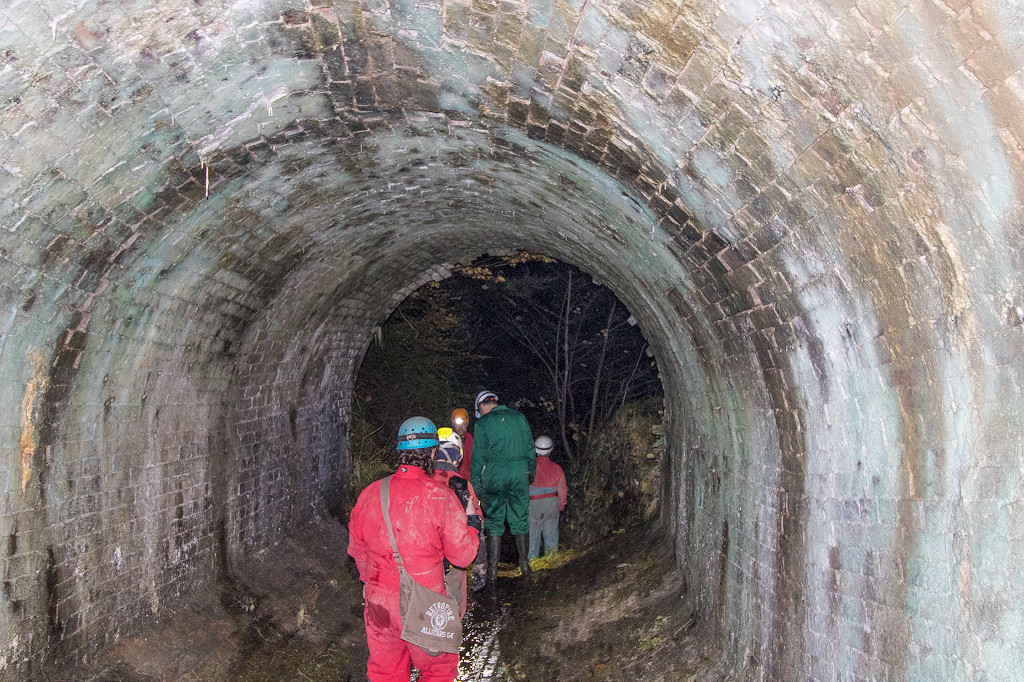
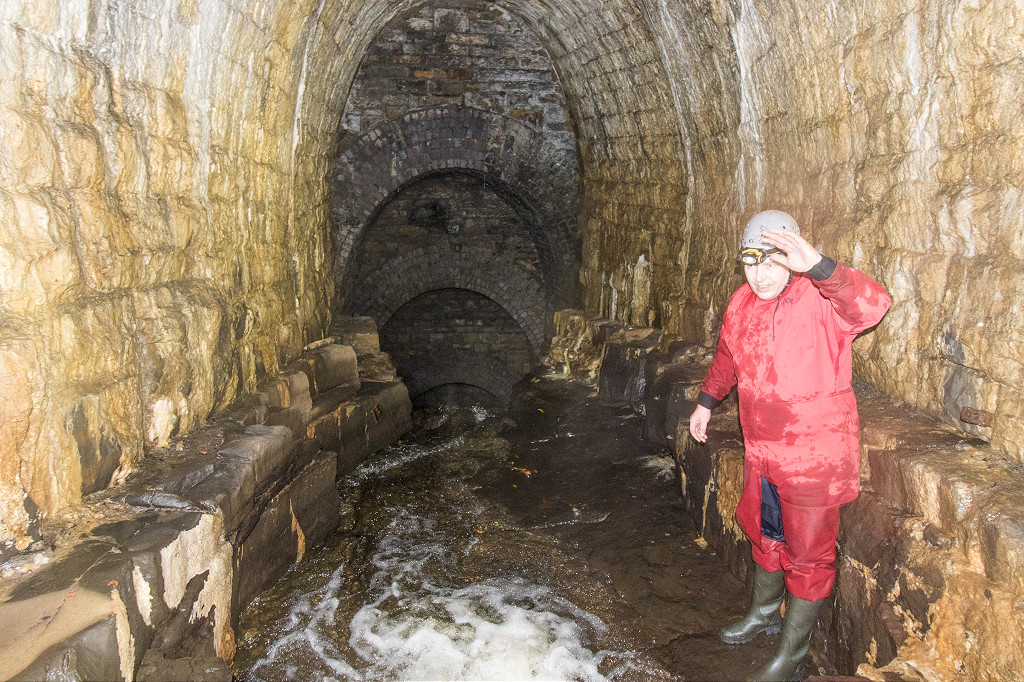
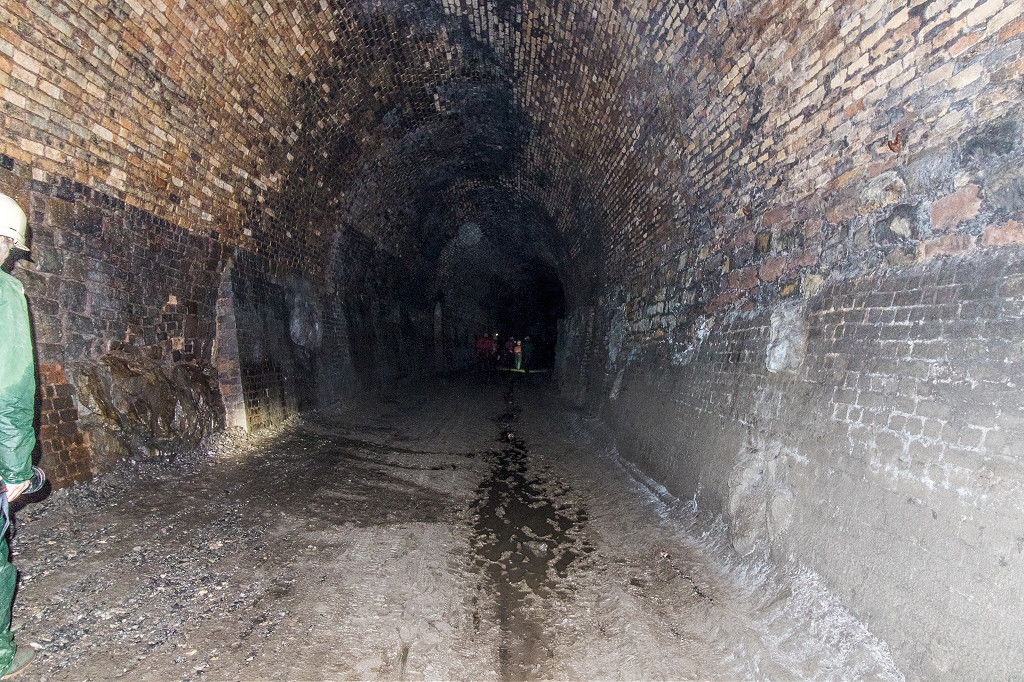
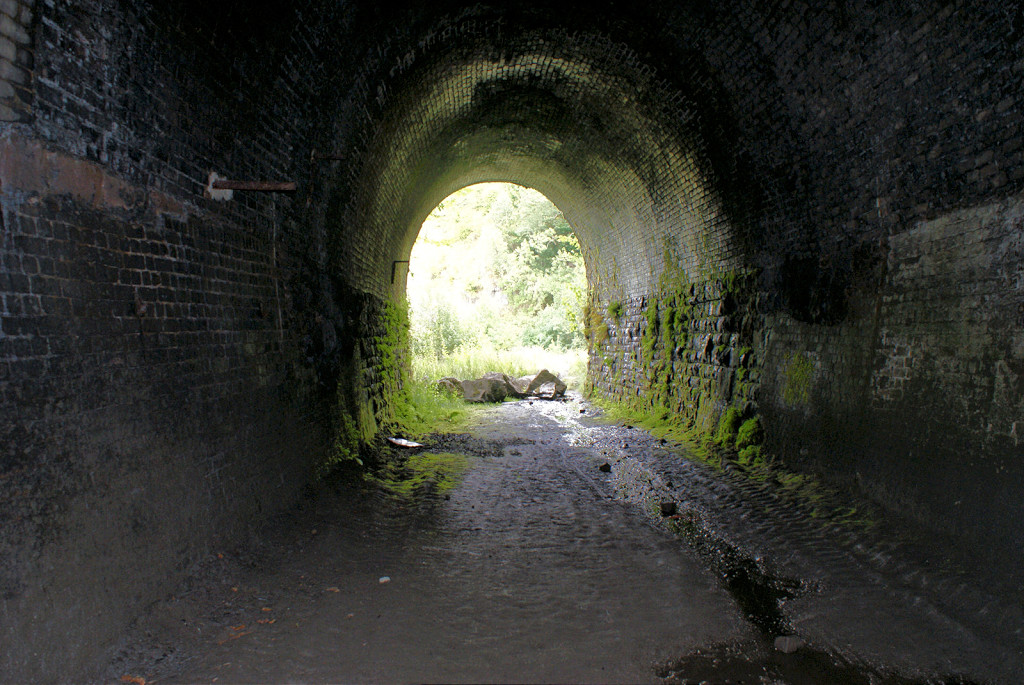
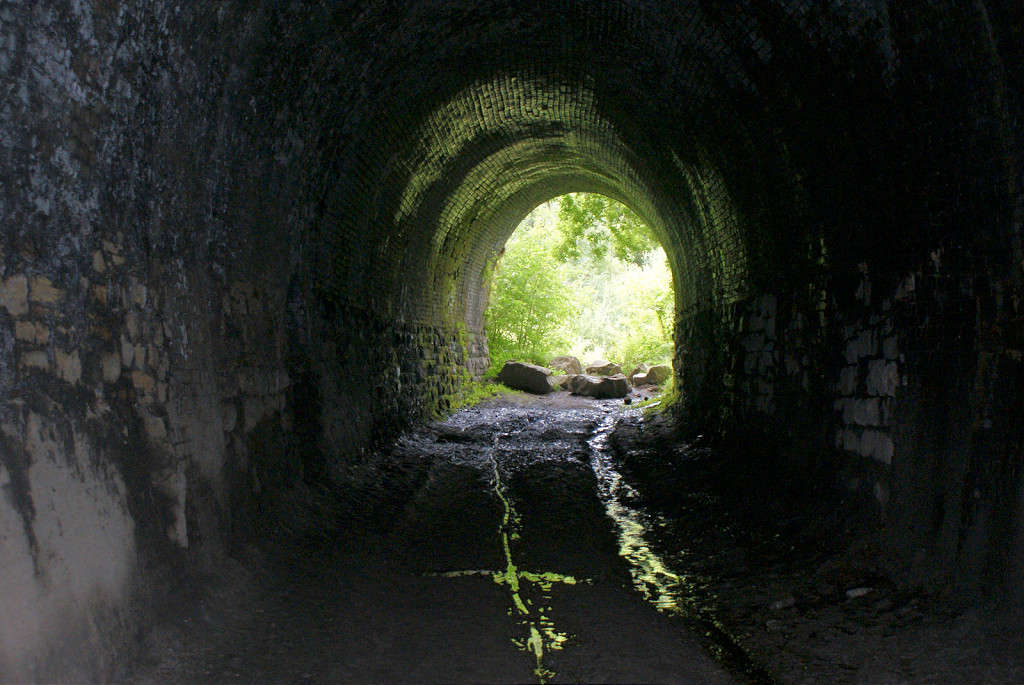
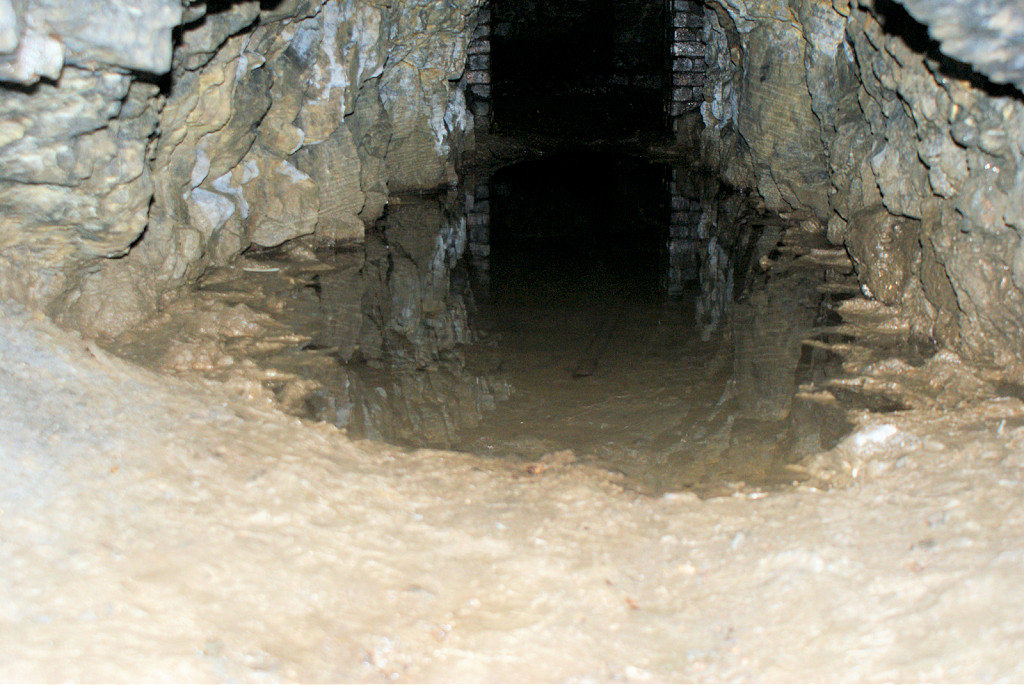
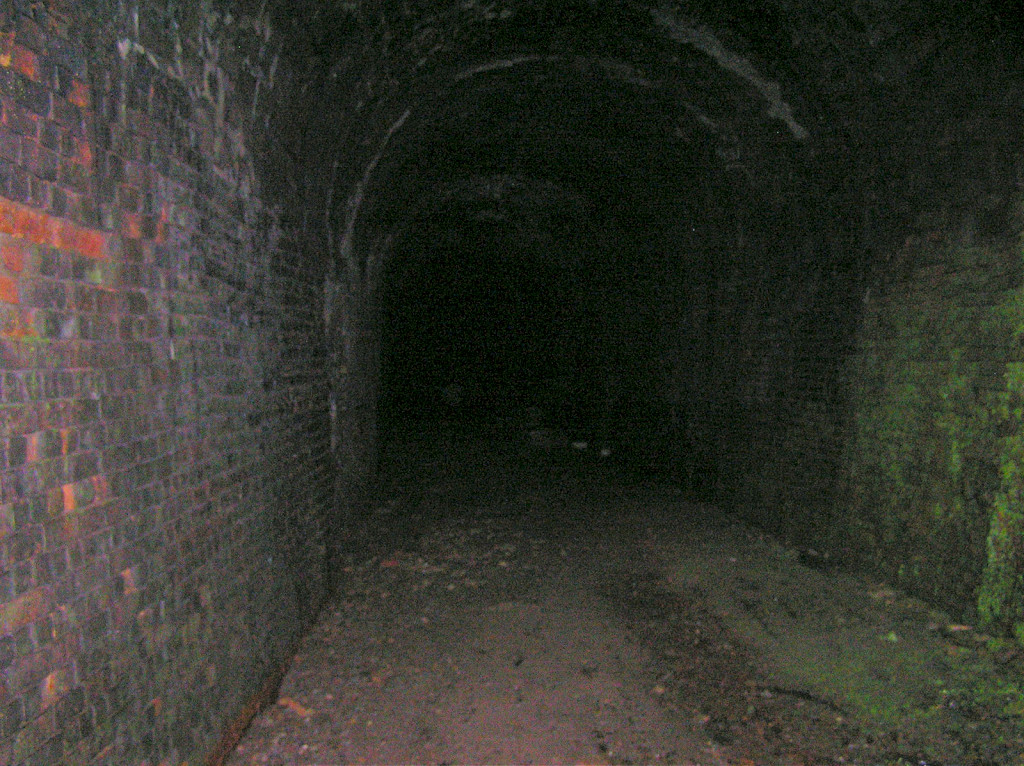
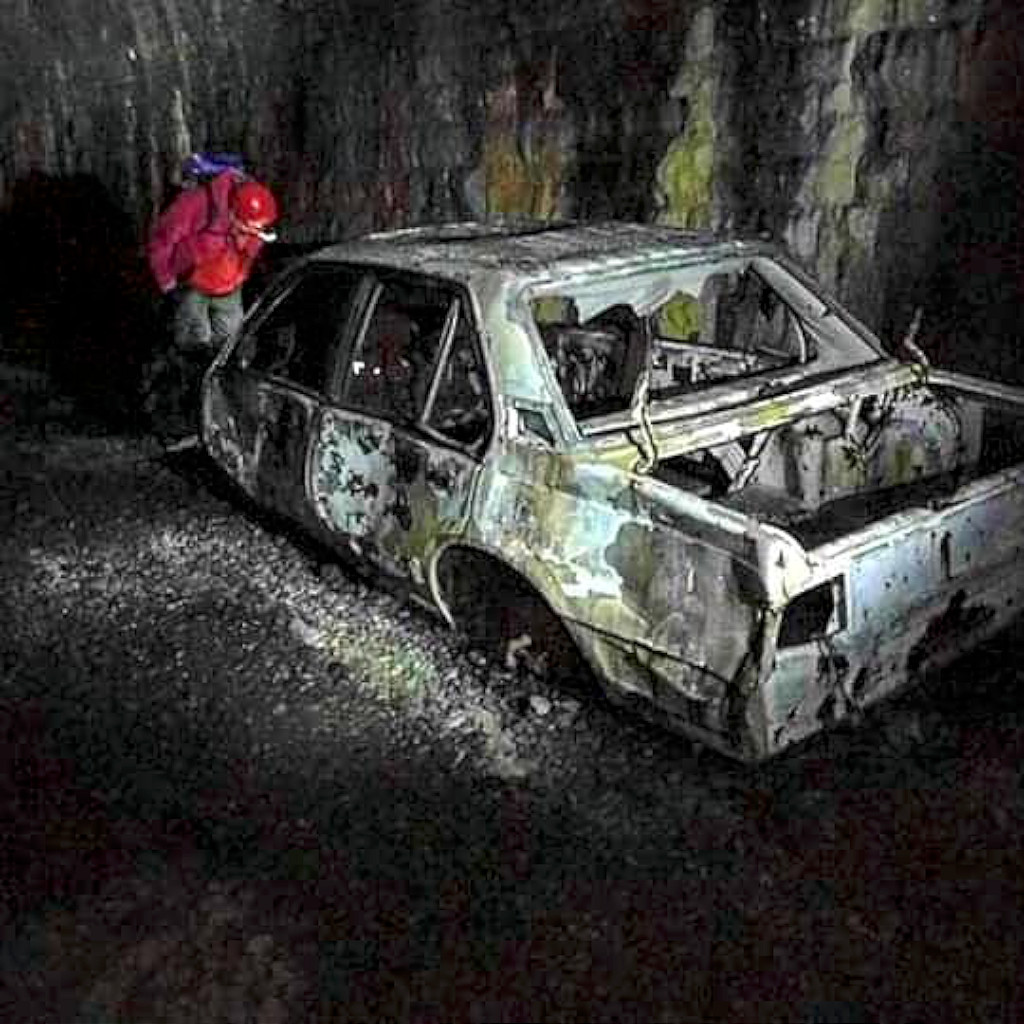
 Clydach Tunnel North bore to East |
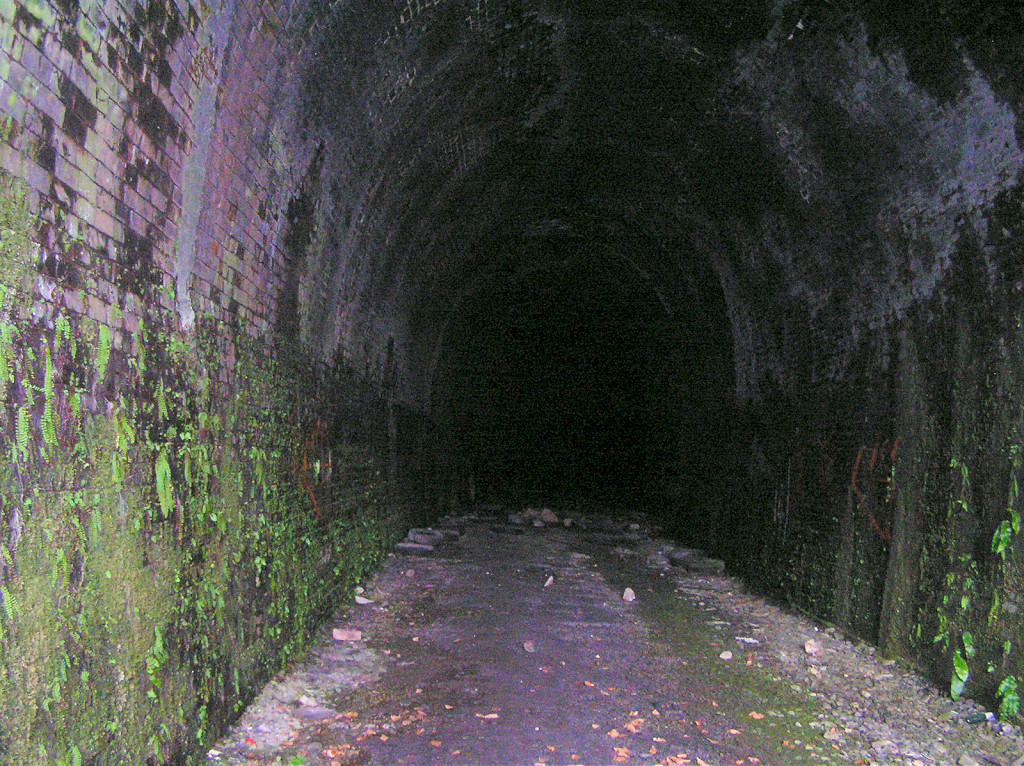 Clydach Tunnel North bore to East |
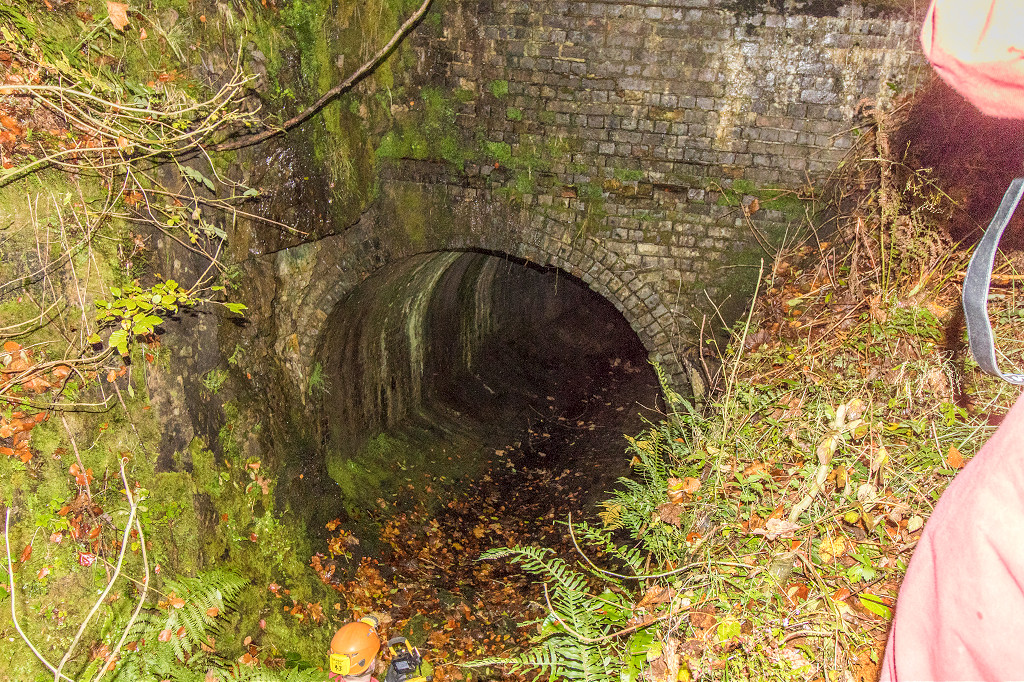
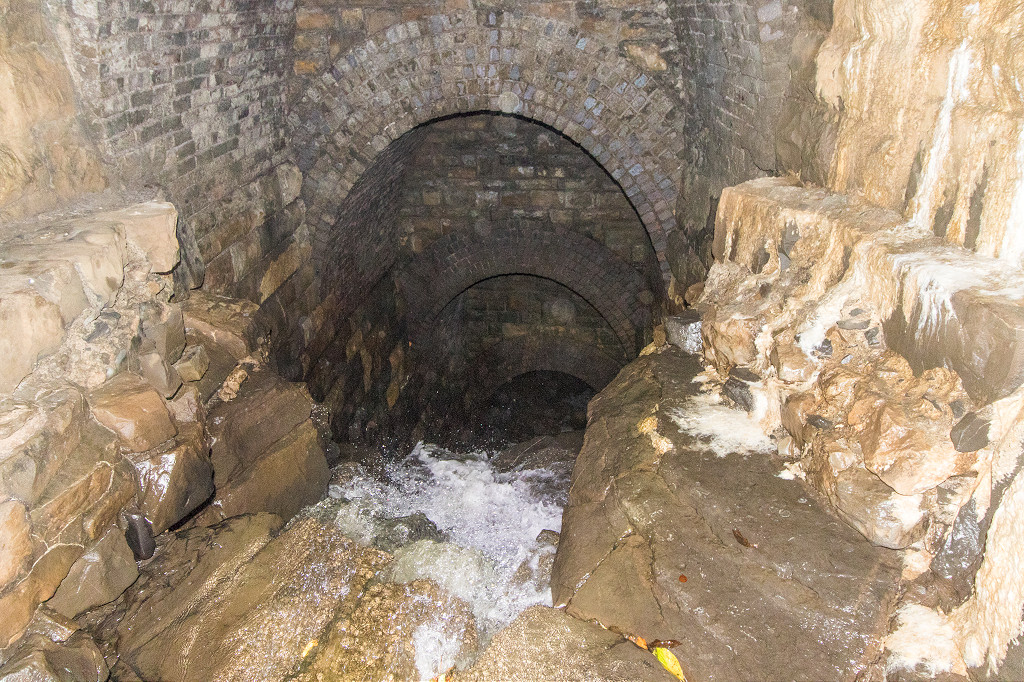
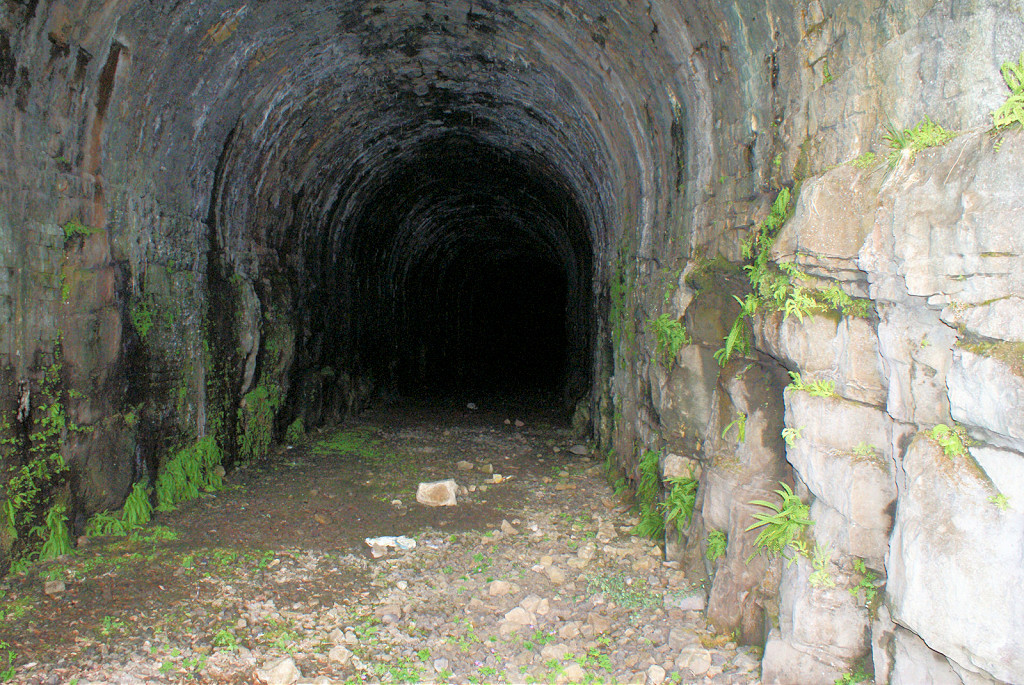 Clydach Tunnel South bore to East |
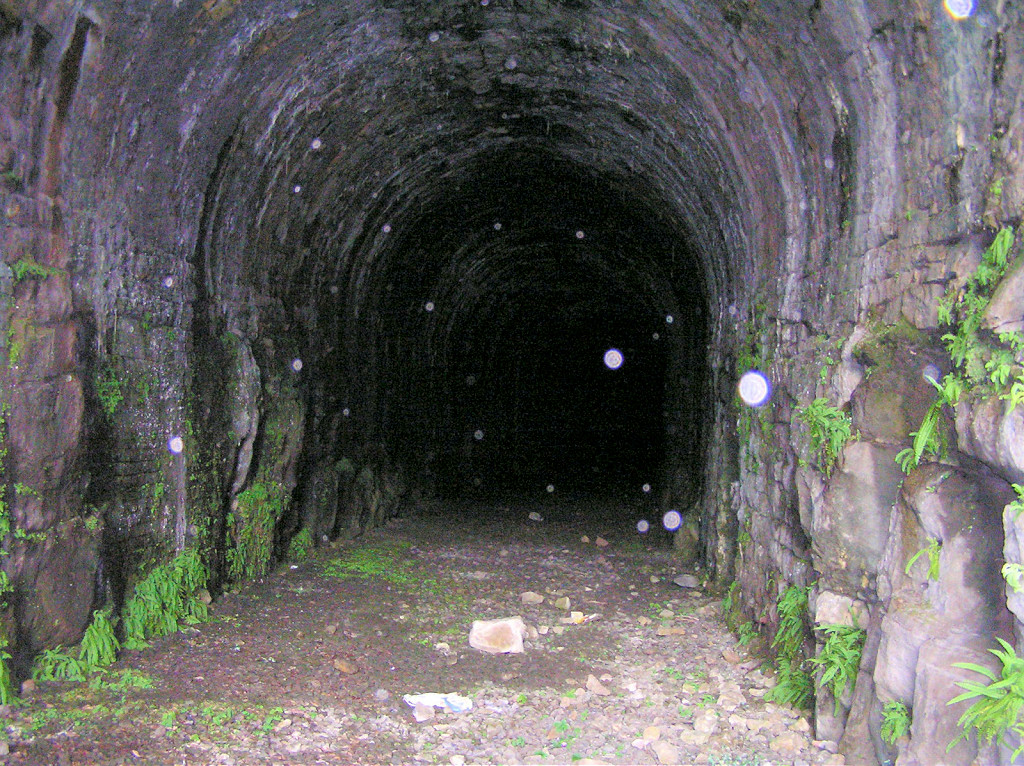 Clydach Tunnel South bore to East |
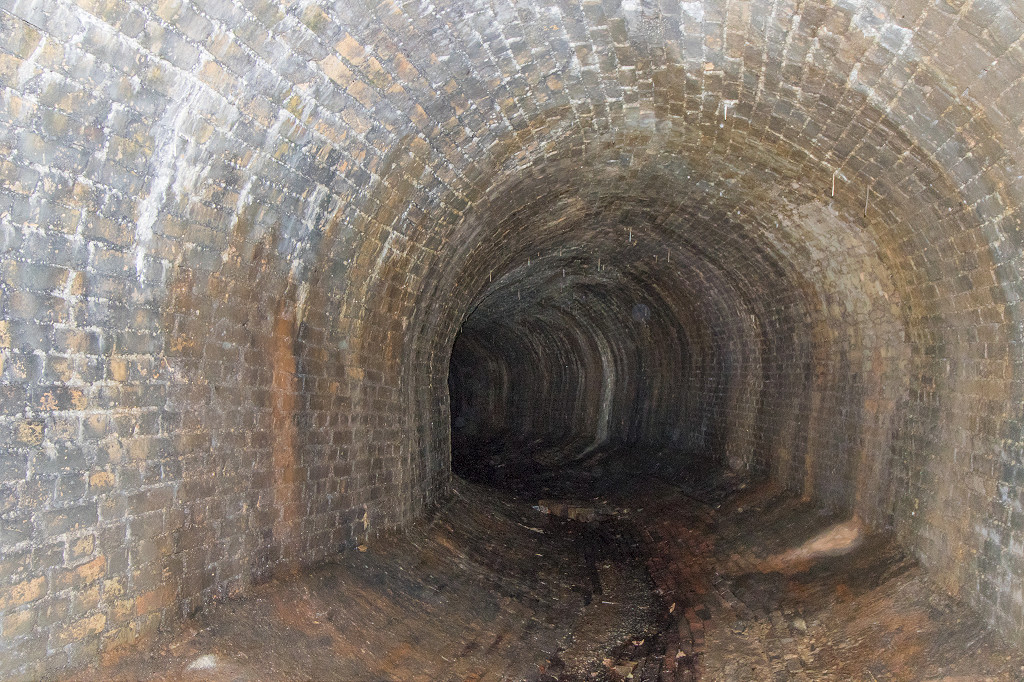
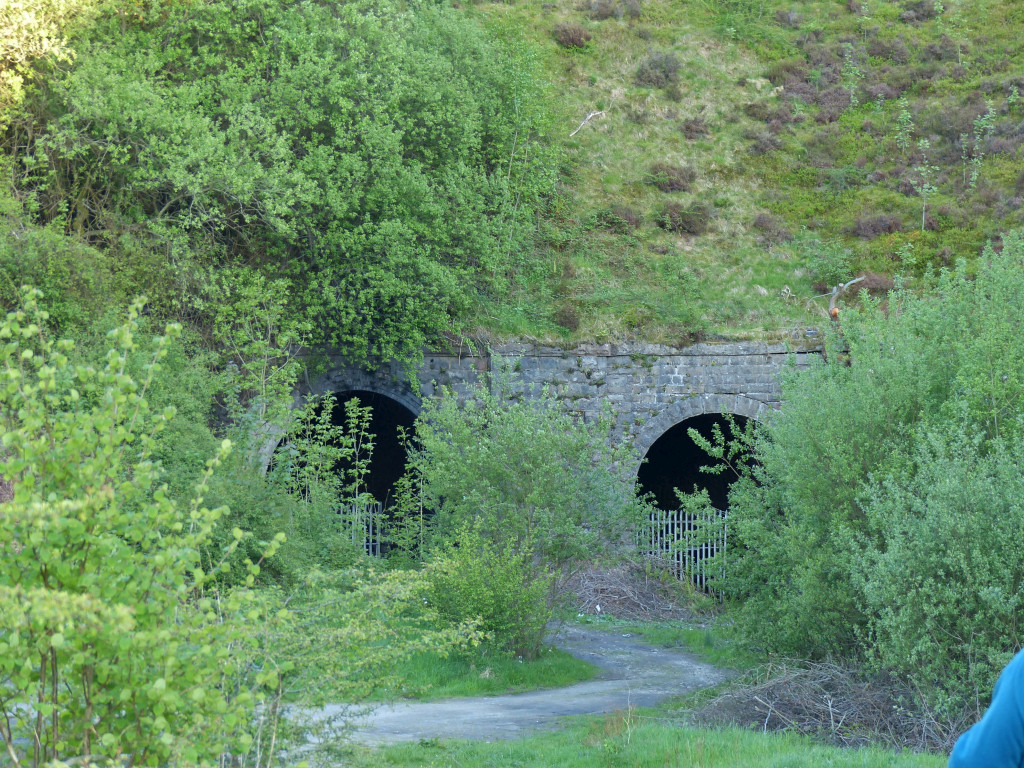
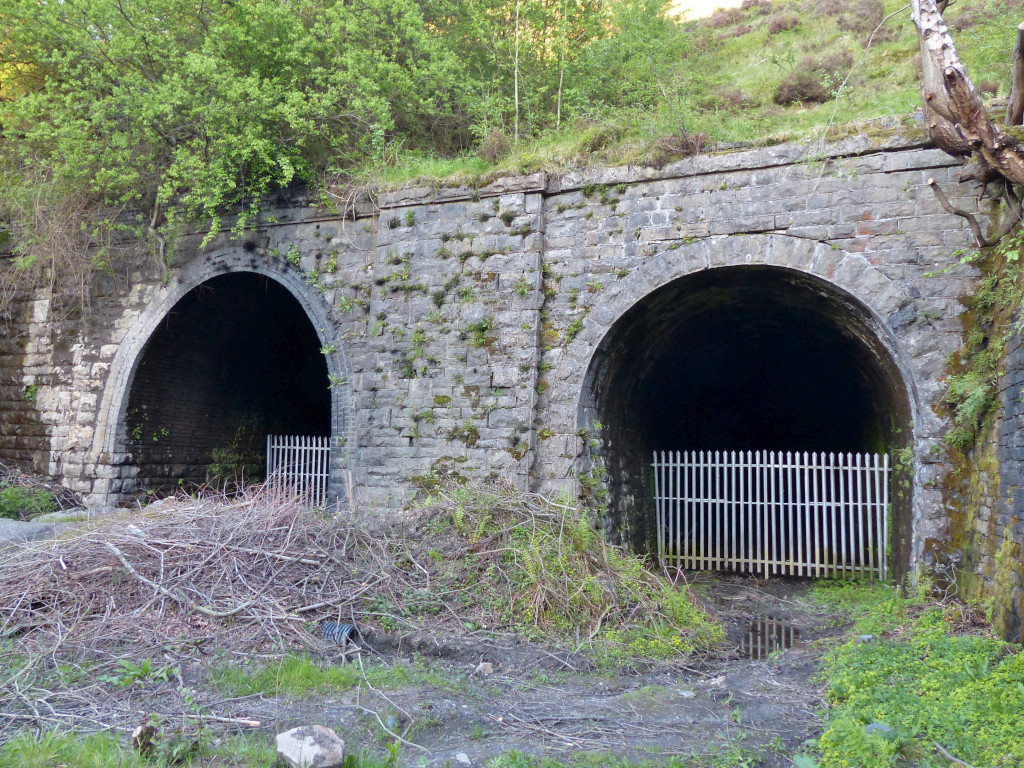
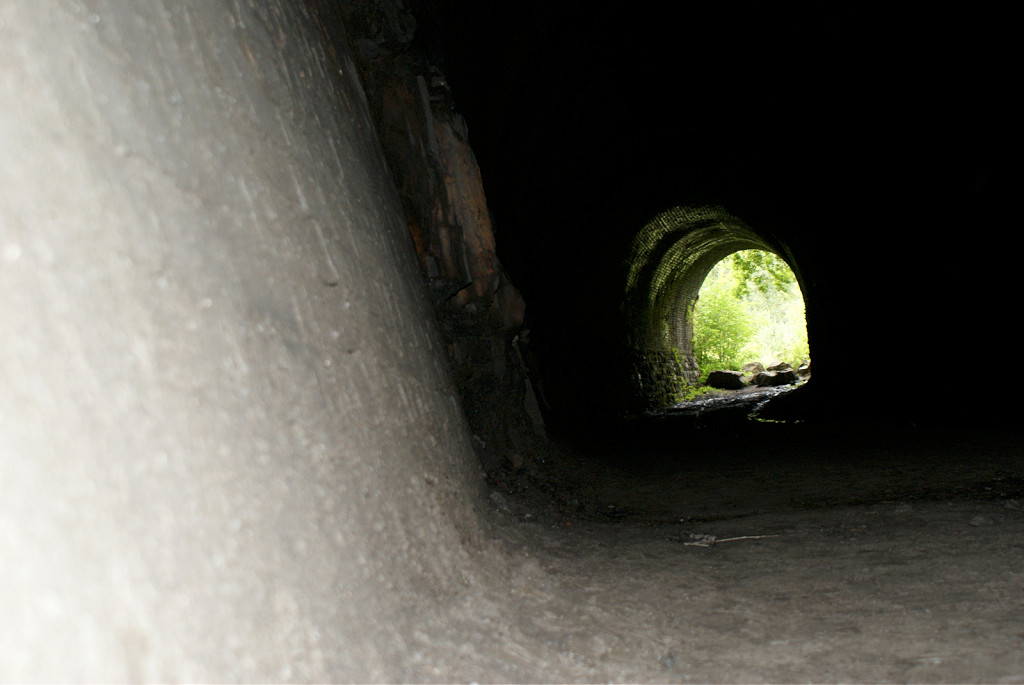
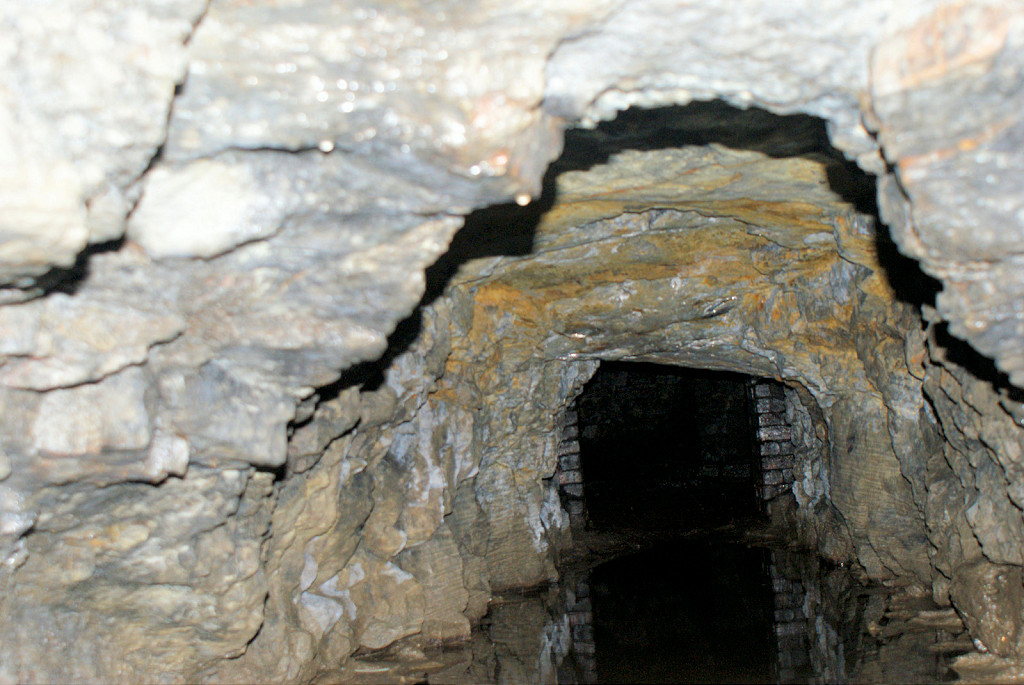
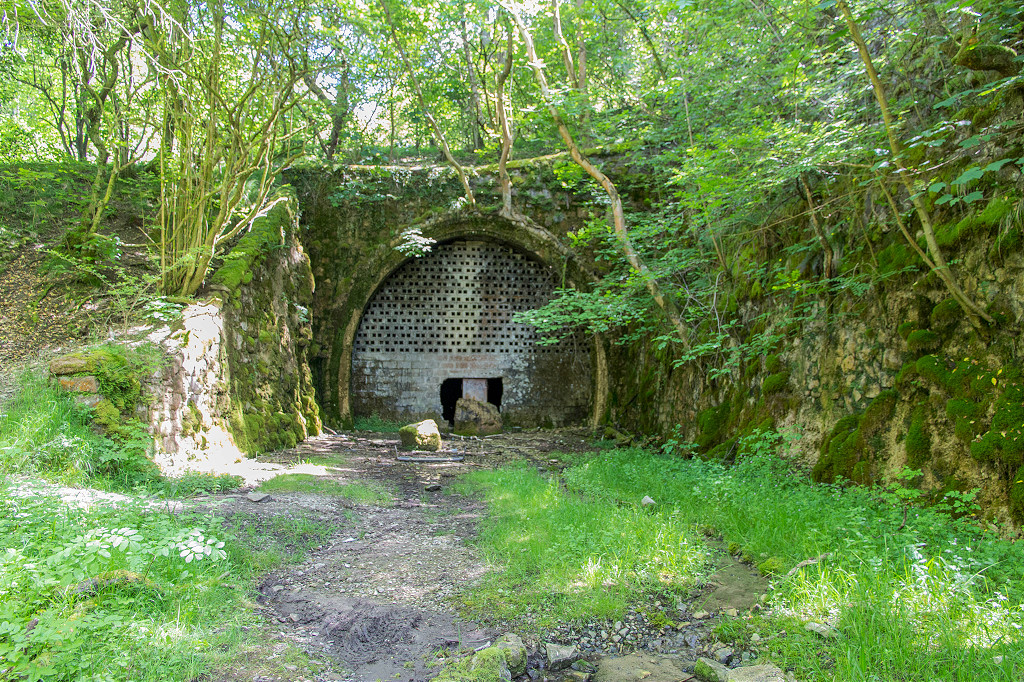
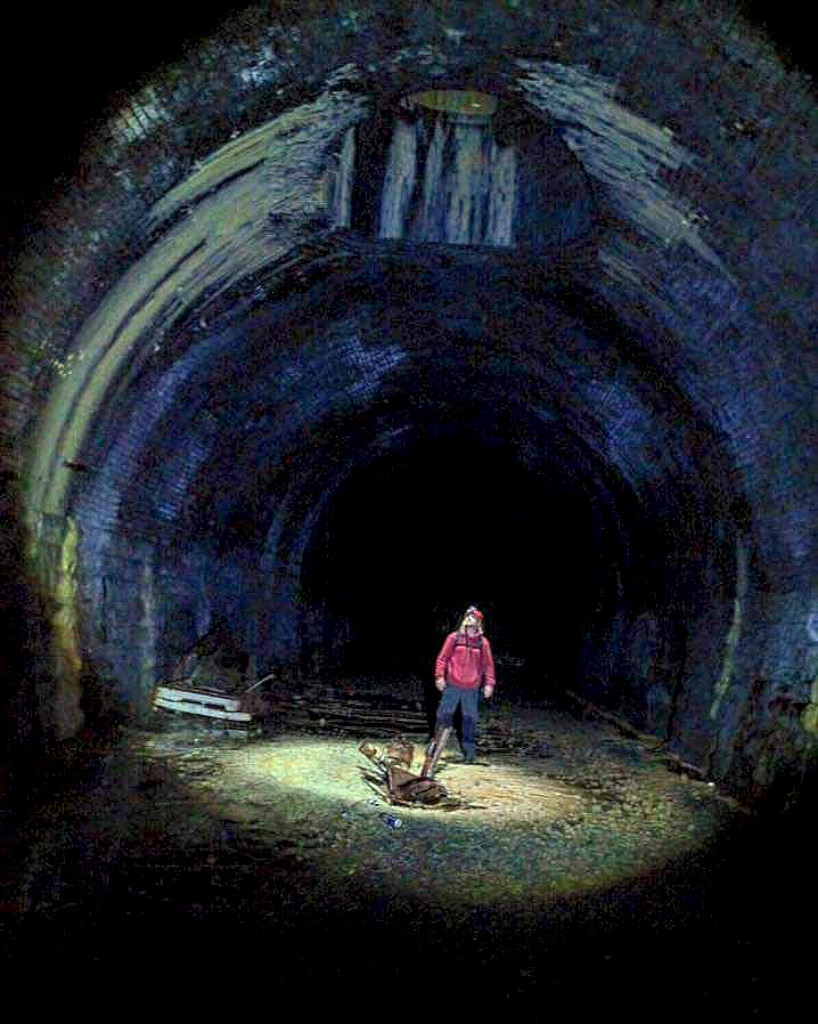
 Tunnel West portal, North bore |
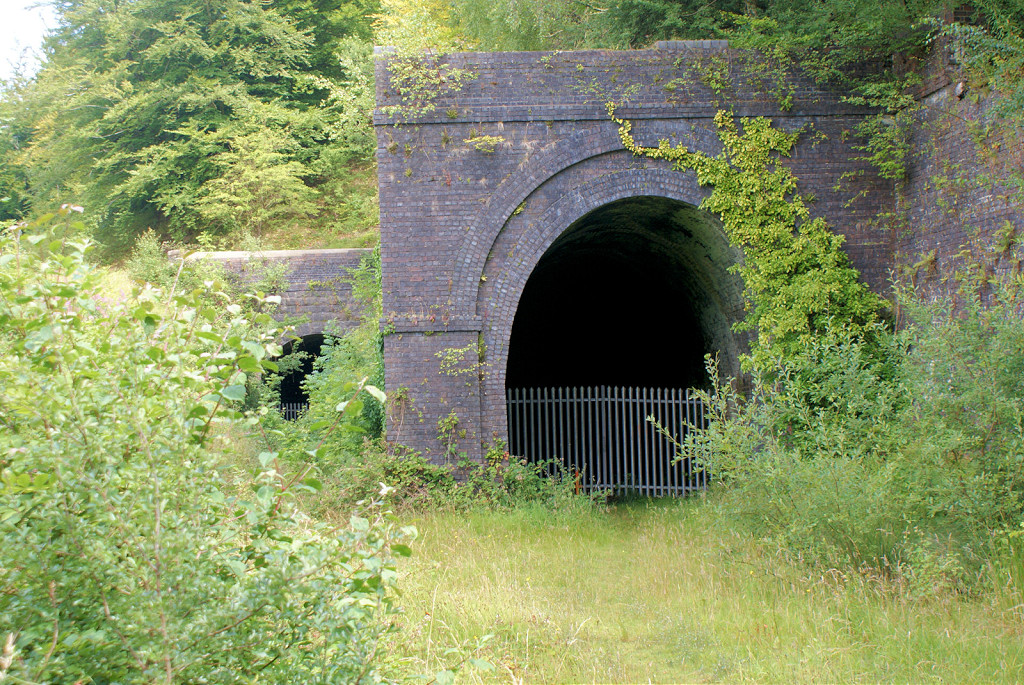 Tunnel West portal, South bore |
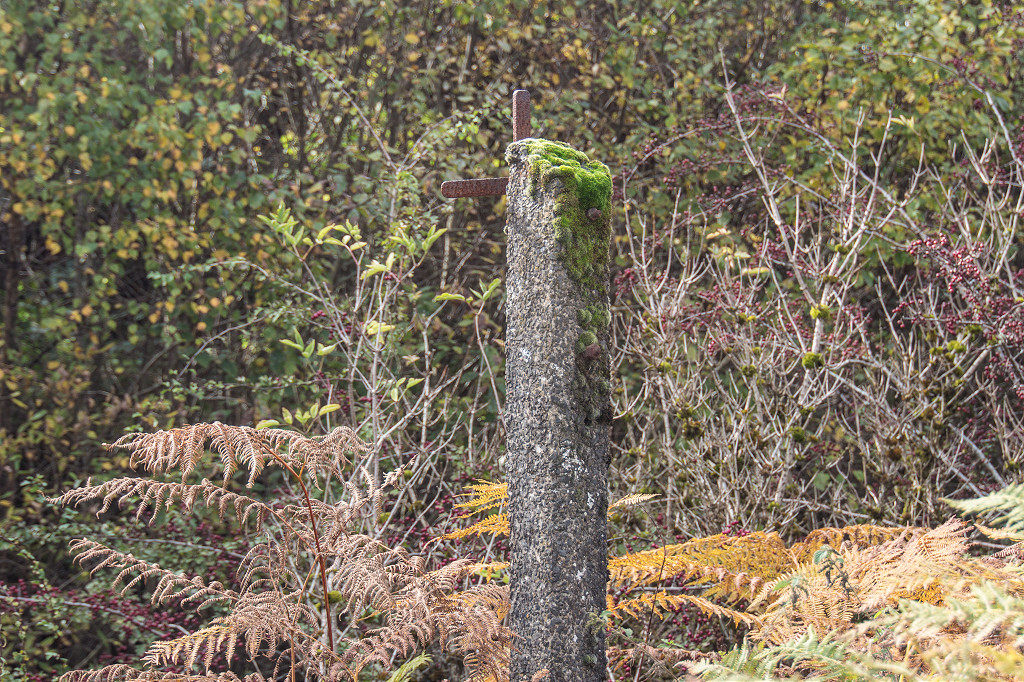
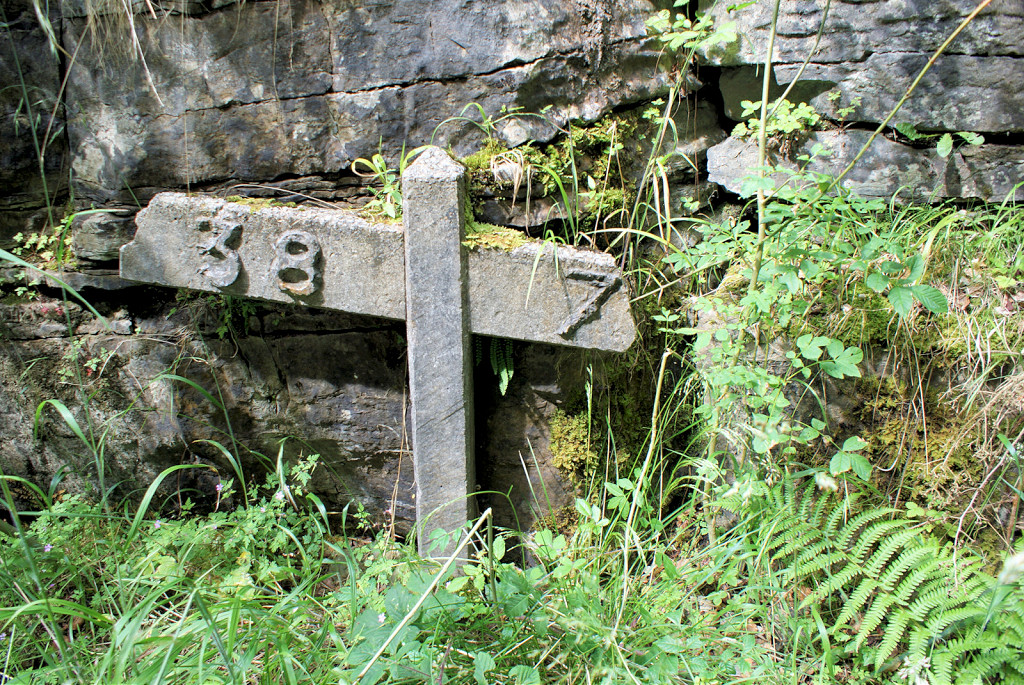 Clydach Tunnel gradient post |
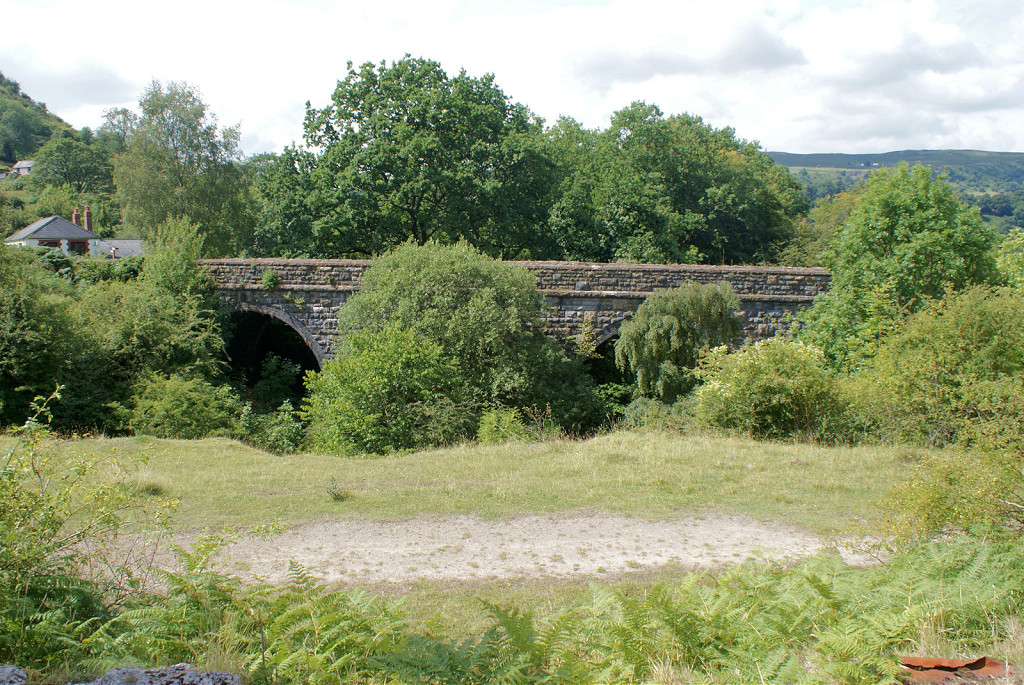
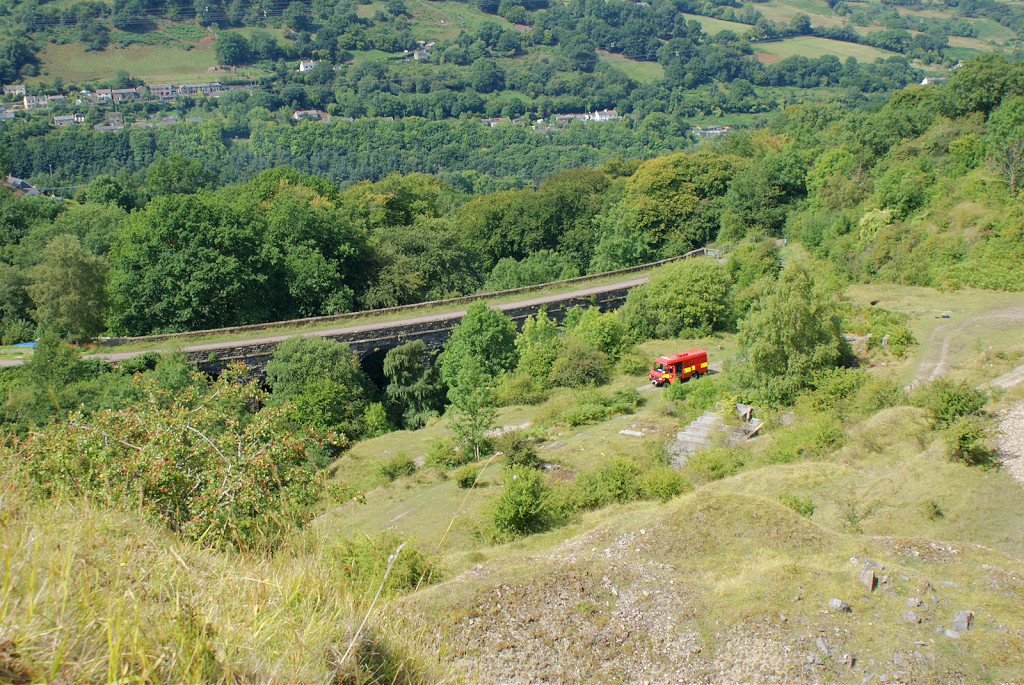
 Sychnant Viaduct |
 Sychnant Viaduct |
 Sychnant Viaduct |
 Building at Sychnant Viaduct |
 Building at Sychnant Viaduct |
 Quarry junction milepost |
 Llanelly Quarry siding junction |
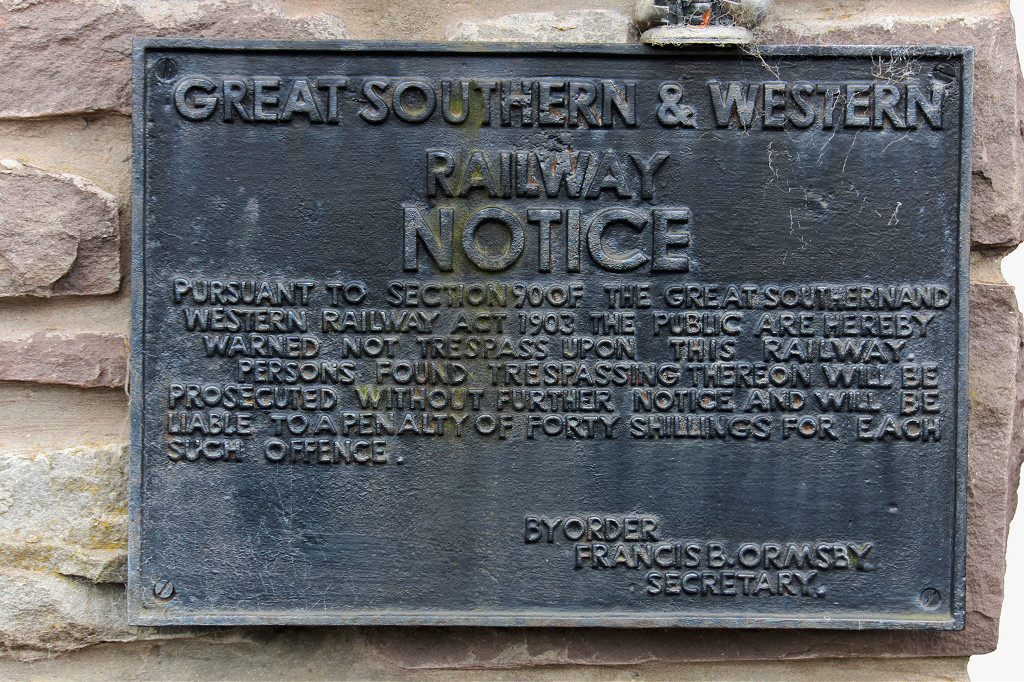 GS & WR notice board, Llanelly Hill |
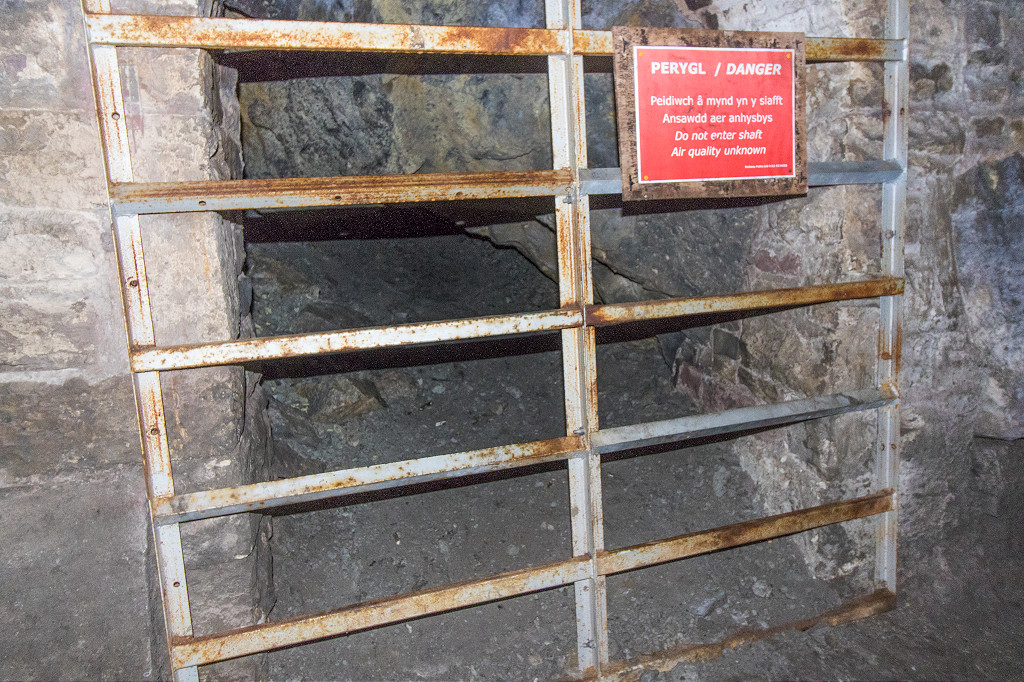
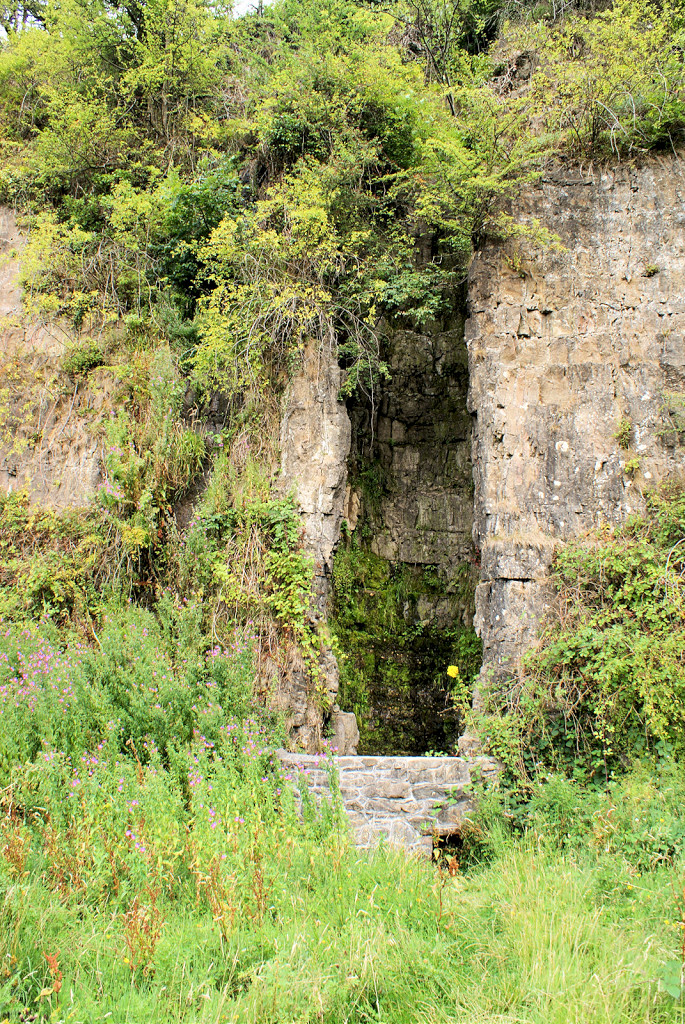 Darenfelen drainage shaft |
 Trackbed at Darenfelen |
 Trackbed at Darenfelen |
 Trackbed at Darenfelen |
 Trackbed at Darenfelen |
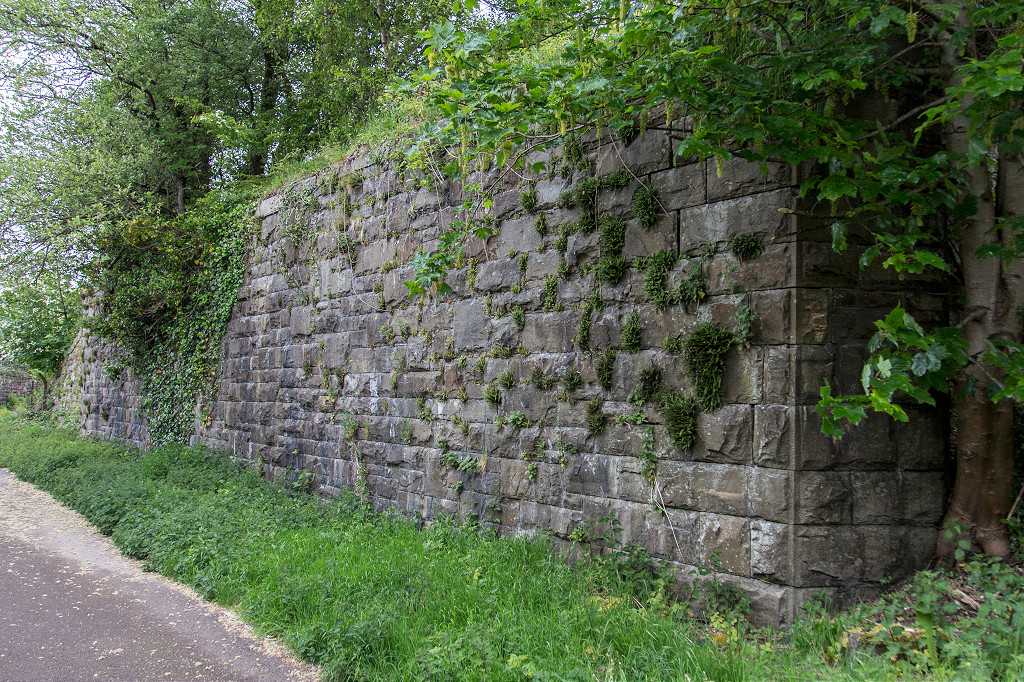
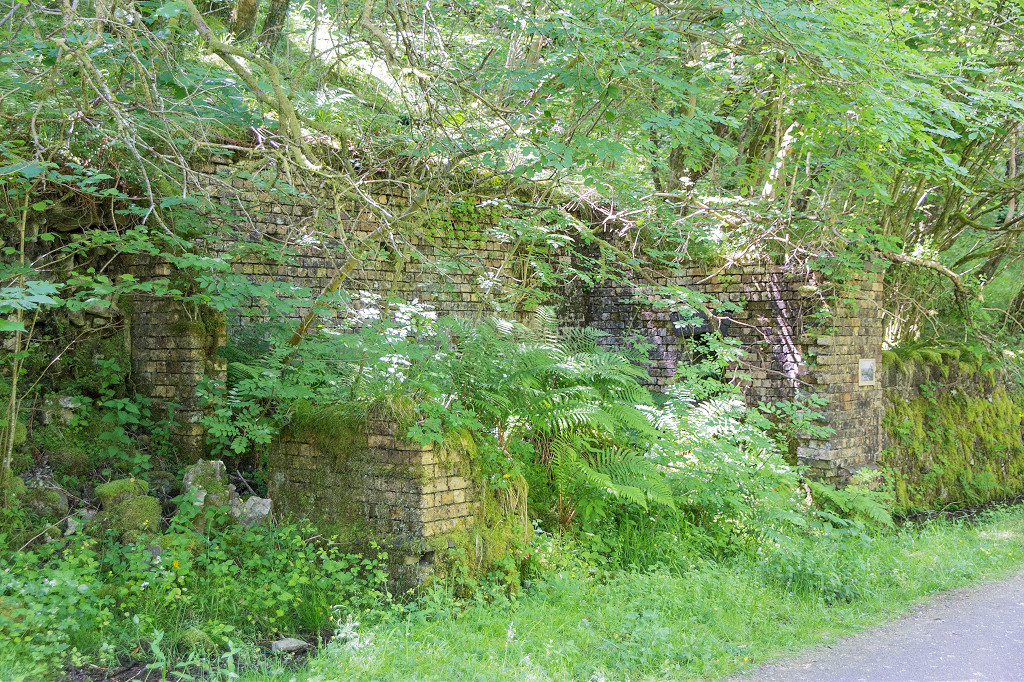
 Trackbed retaining arch |
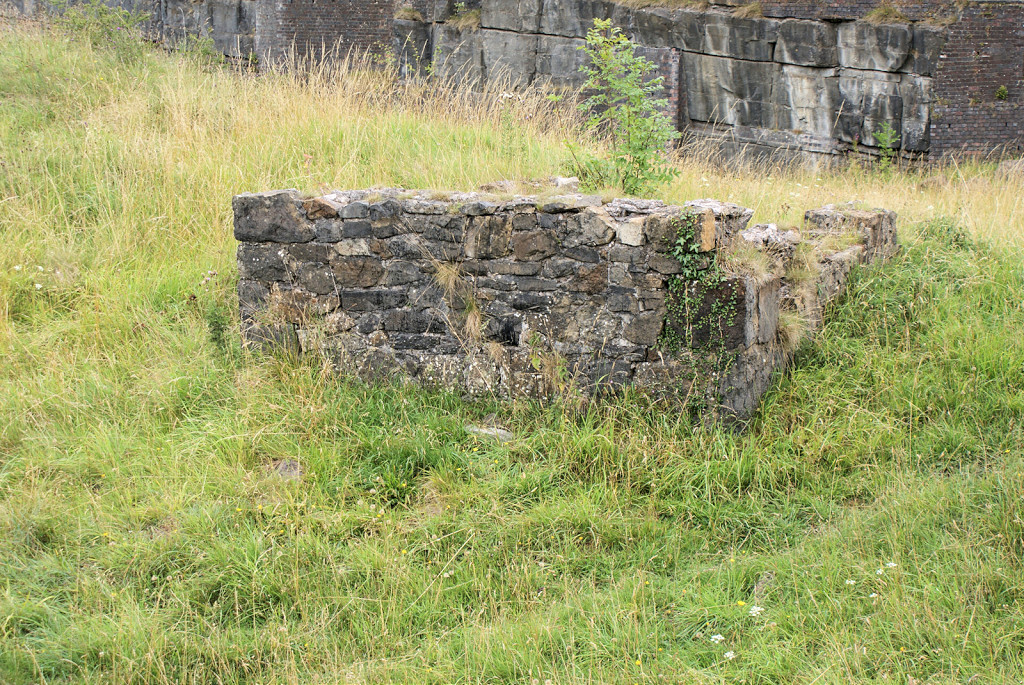 Building foundation |
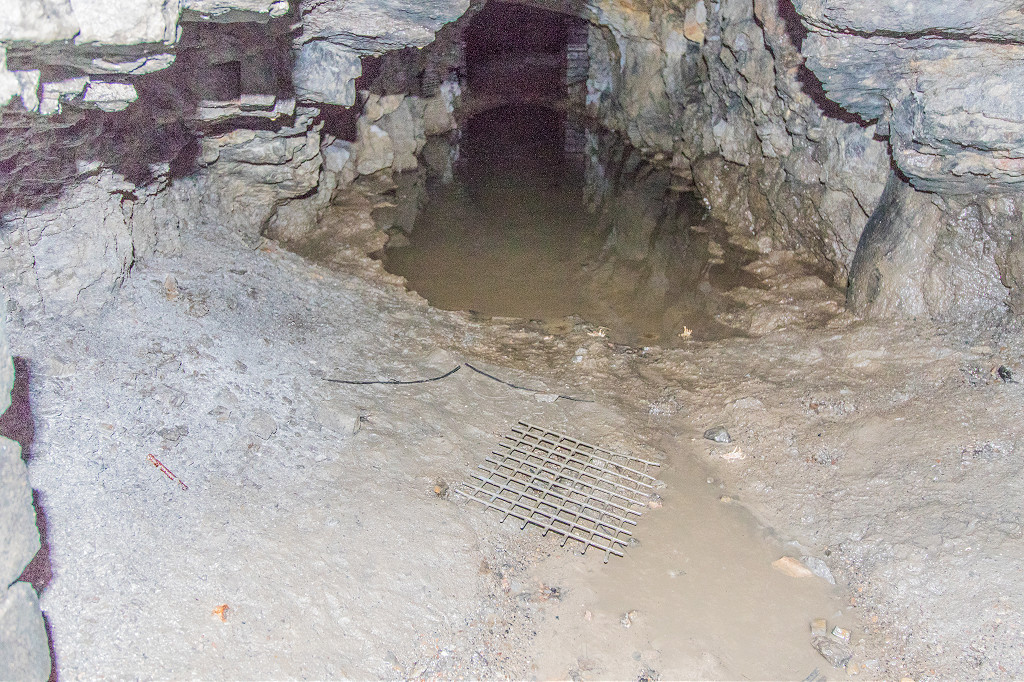
 Gellifelen Tunnel approach |
 Gellifelen portals and culvert |
 Trackbed at Darenfelen |
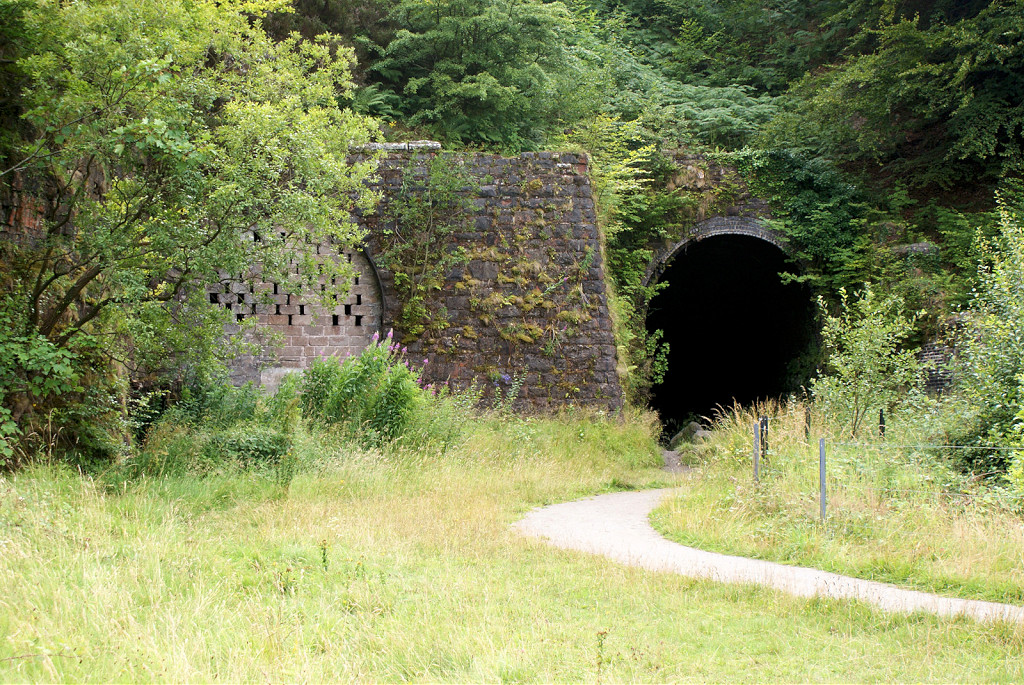 Gellifelen Tunnel, Eastern portals |
 Gellifelen Tunnel, Eastern portals |
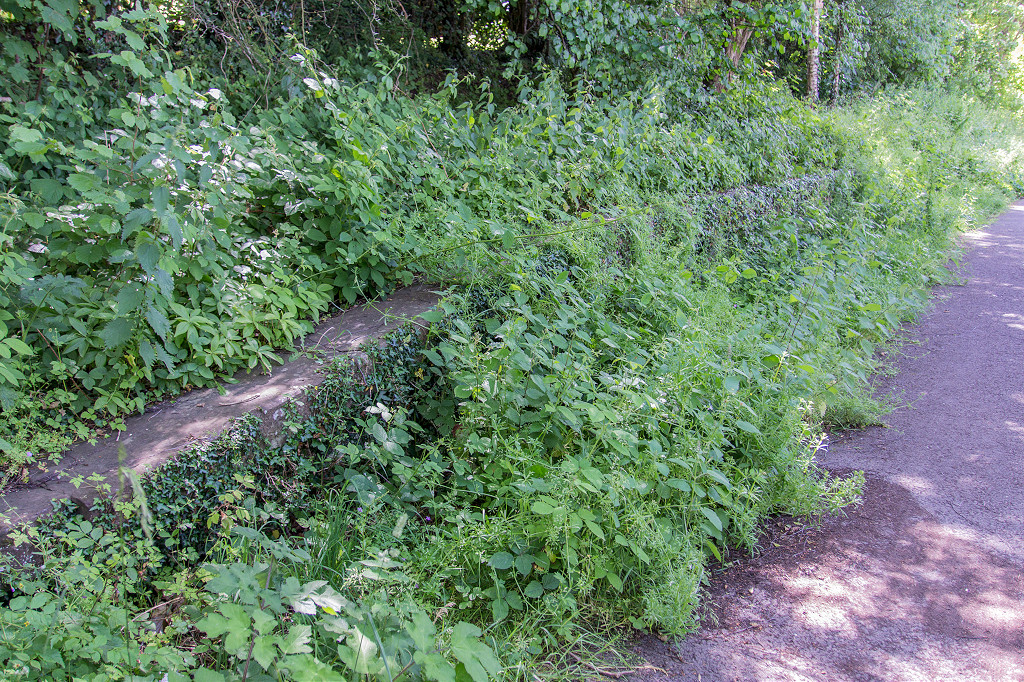
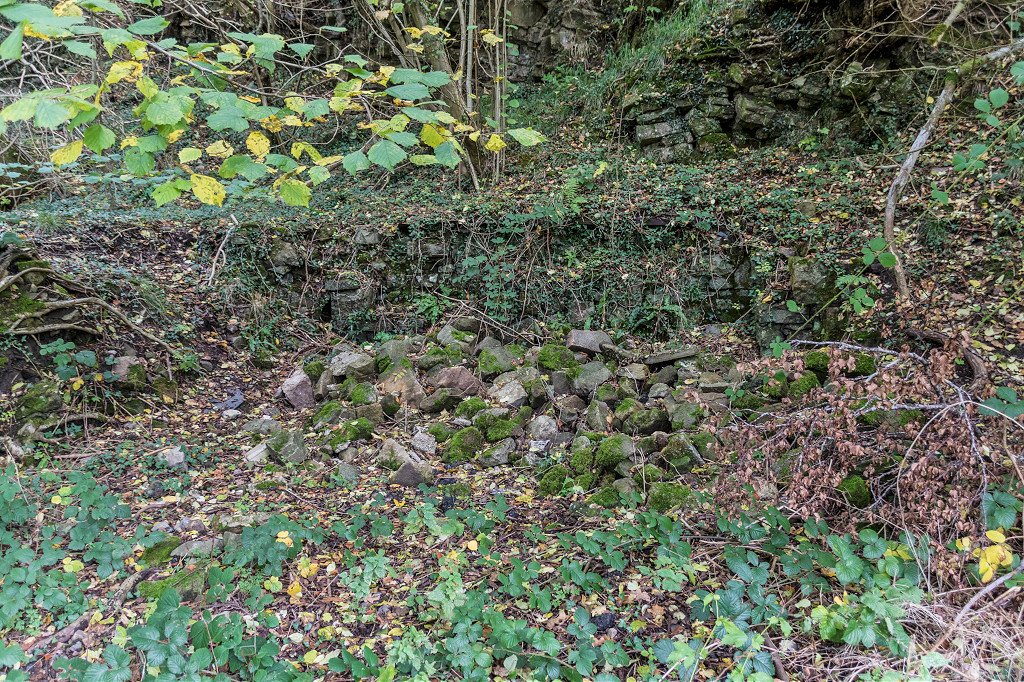
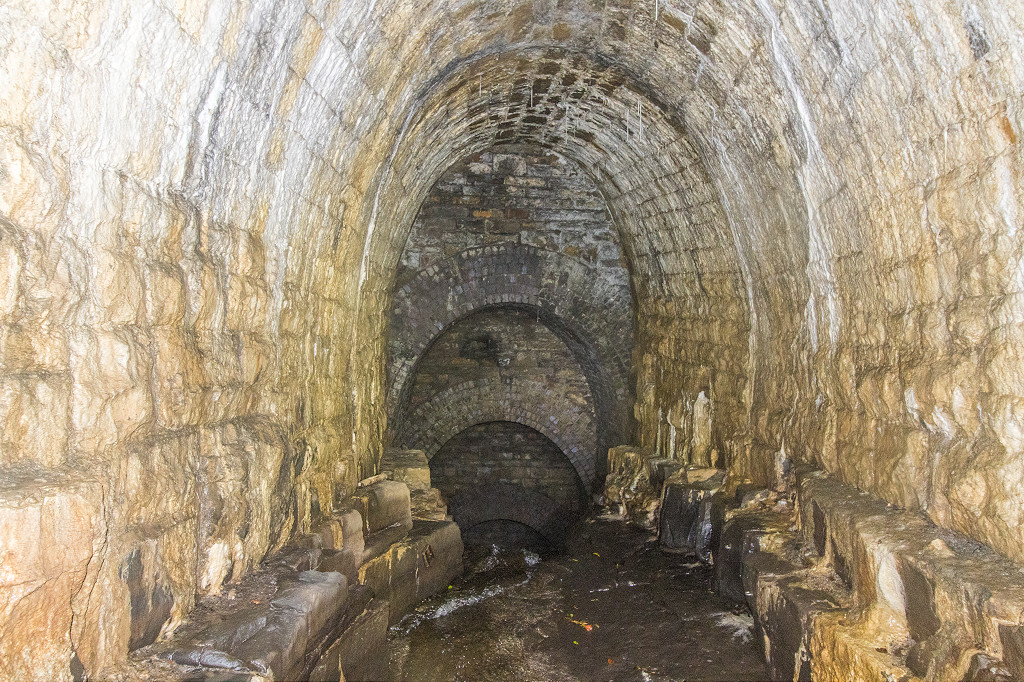
 Darenfelen 'dry' culvert |
 Darenfelen 'dry' culvert |
 Darenfelen 'dry' culvert |
 Darenfelen 'dry' culvert |
 Darenfelen 'dry' culvert |
 Darenfelen 'dry' culvert |
 Darenfelen 'dry' culvert |
 Darenfelen 'dry' culvert |
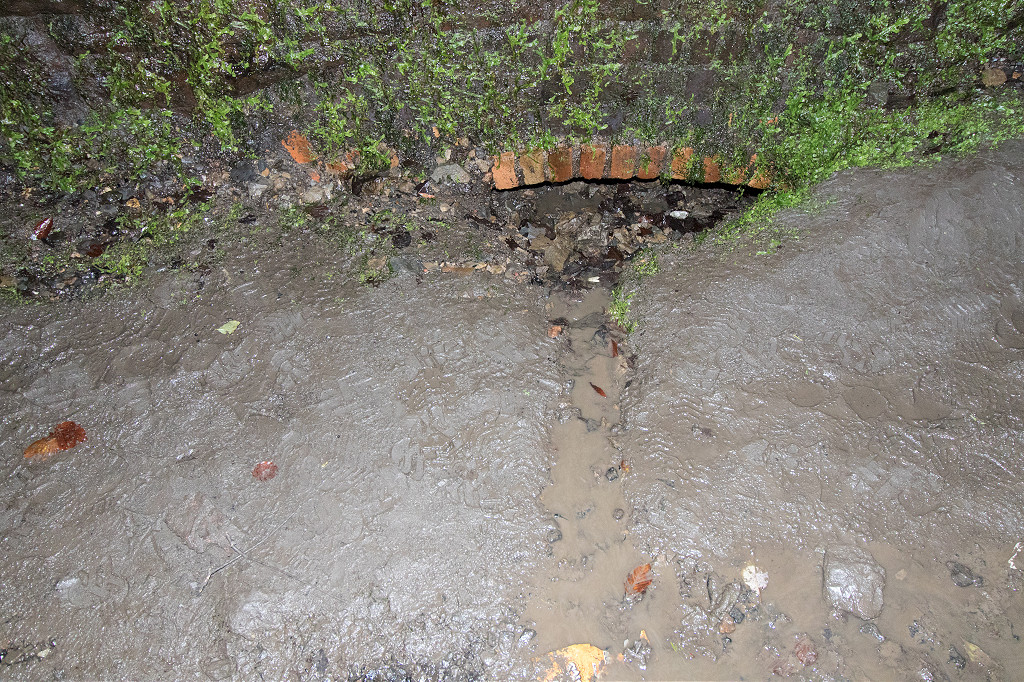
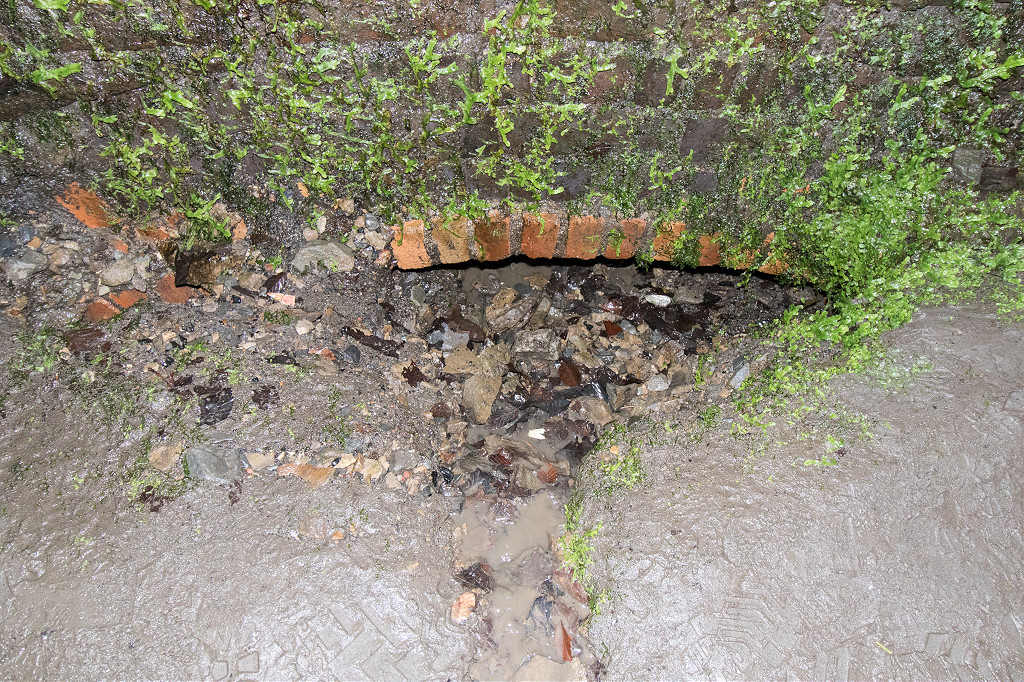
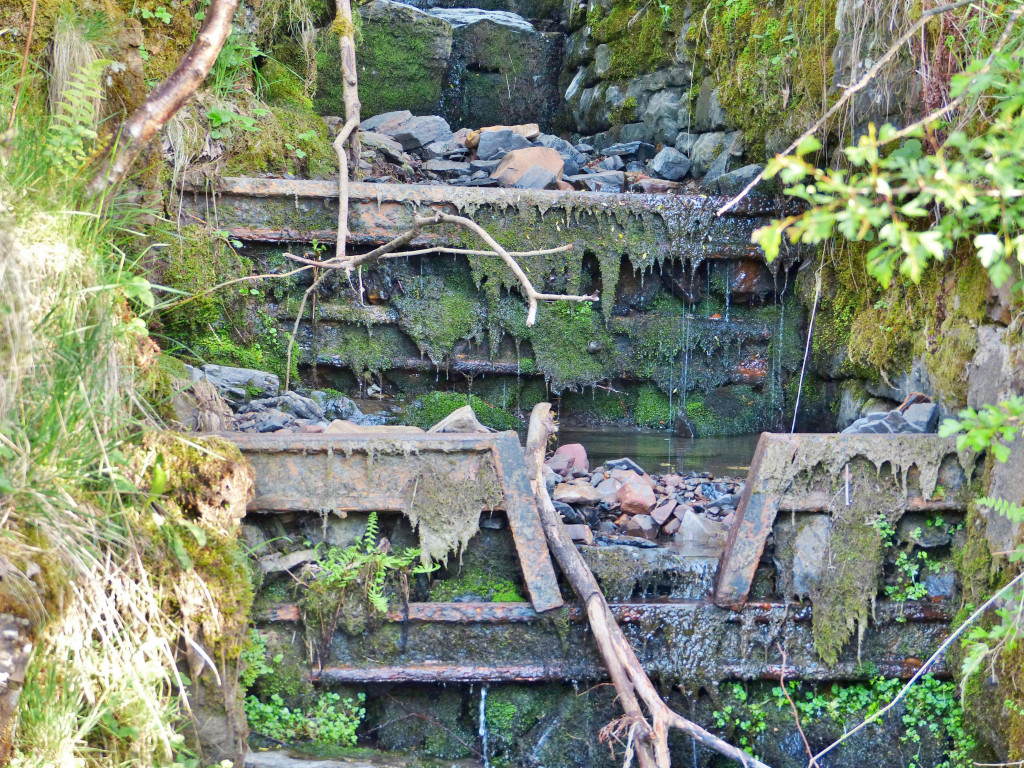
 Nant Llammarch culvert |
 Nant Llammarch culvert |
 Nant Llammarch culvert |
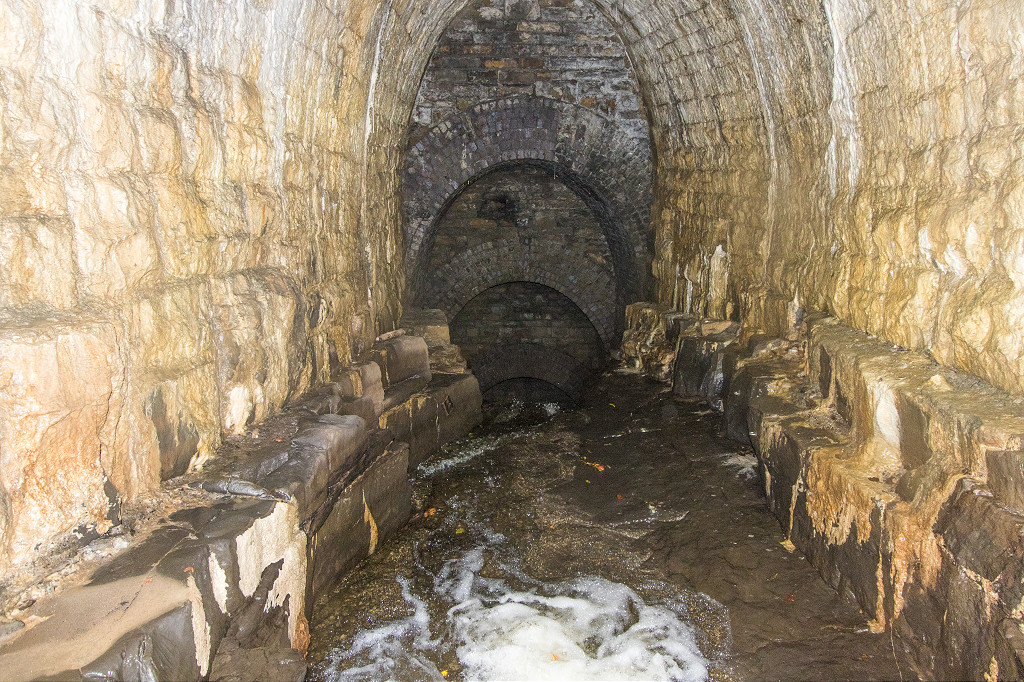 Nant Llammarch culvert |
 Nant Llammarch culvert |
 Nant Llammarch culvert |
 Nant Llammarch culvert tramplate |
 Culvert tramroad sill |
 Tunnel, West portal, South bore |
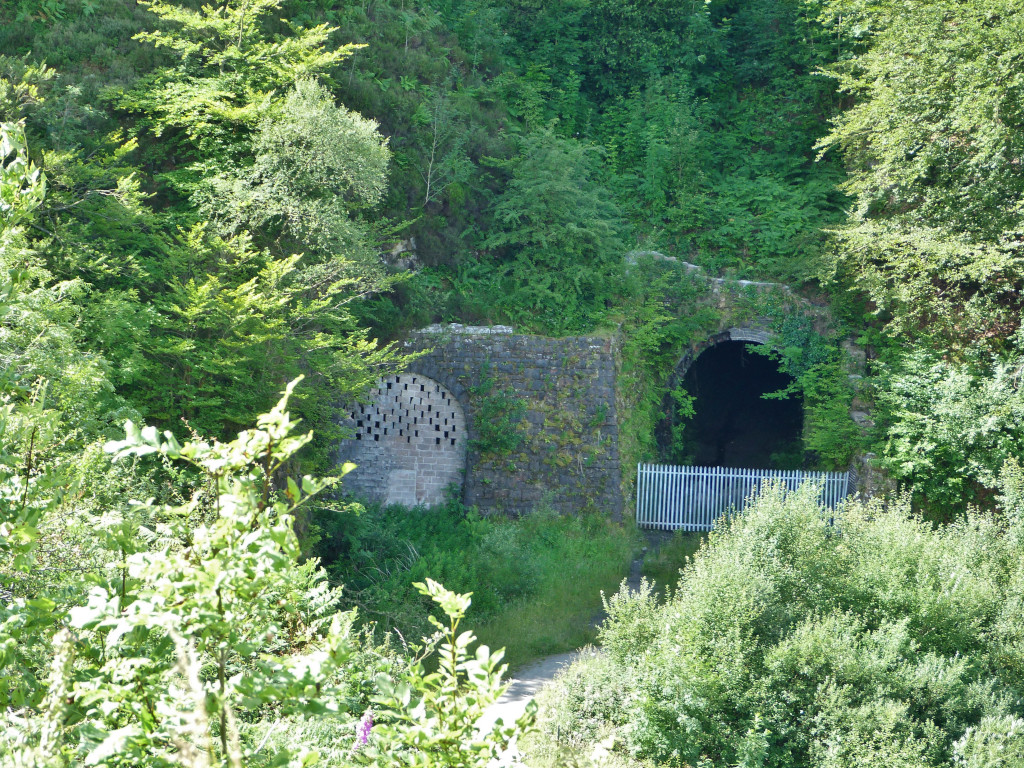
 Gellifelen Tunnel, West portals |
 Gellifelen Tunnel, West portals |
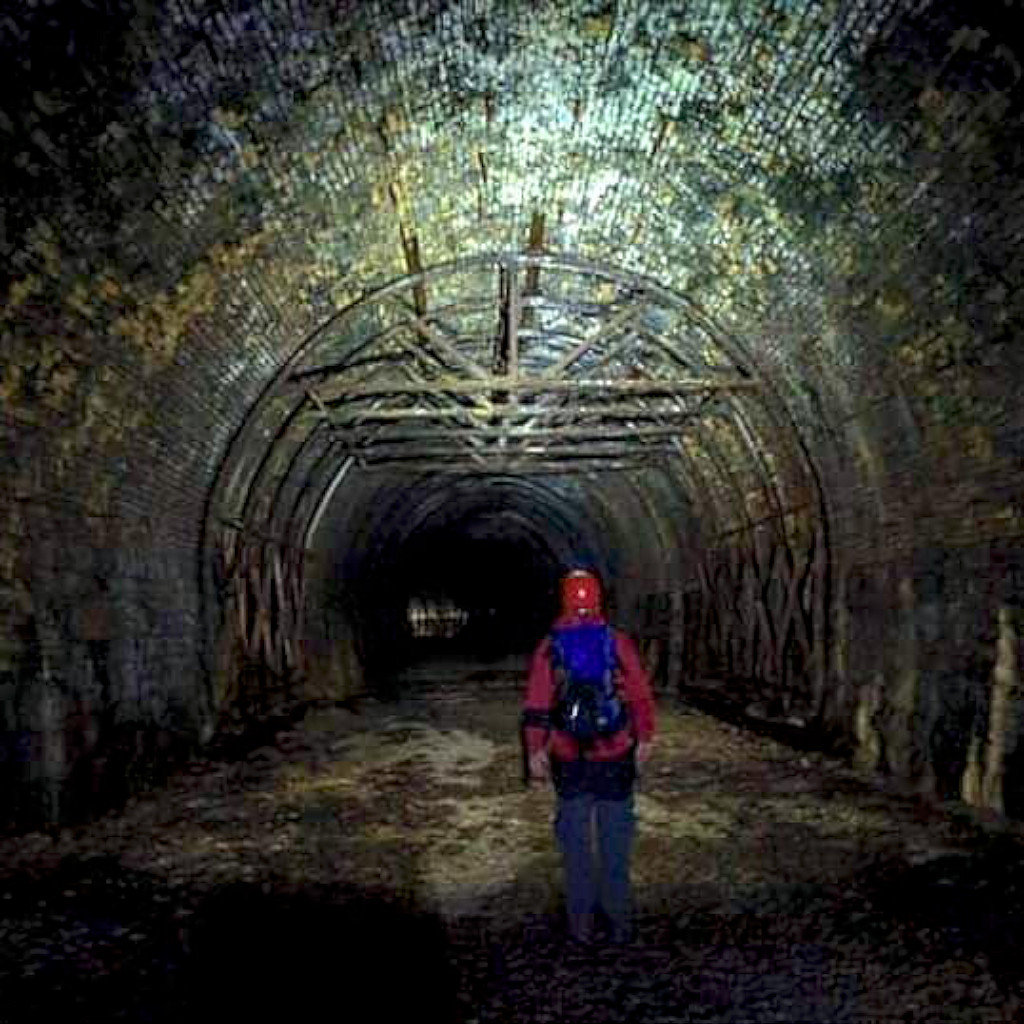
 Gellifelen tunnel North bore |
 Gellifelen tunnel North bore |
 Gellifelen tunnel North bore |
 Gellifelen tunnel North bore |
 Gellifelen tunnel North bore |
 Gellifelen tunnel North bore |
 Gellifelen tunnel North bore |
 Tunnel, East portal, North bore |
 Tunnel, West portal, North bore |
 Tunnel, West portal, North bore |
 Tunnel, North bore crosscut |
 Tunnel, North bore crosscut |
 Tunnel, South bore to East |
 Gellifelen Halt lamp post |
 Gellifelen Halt |
 Gellifelen halt |
 Gellifelen Halt Eastbound |
 Gellifelen Halt Westbound |
 Gellifelen Halt Westbound |
 Gellifelen Halt tin hut |
 Trackbed at Gellifelen Halt |
 Trackbed at Gellifelen Halt |
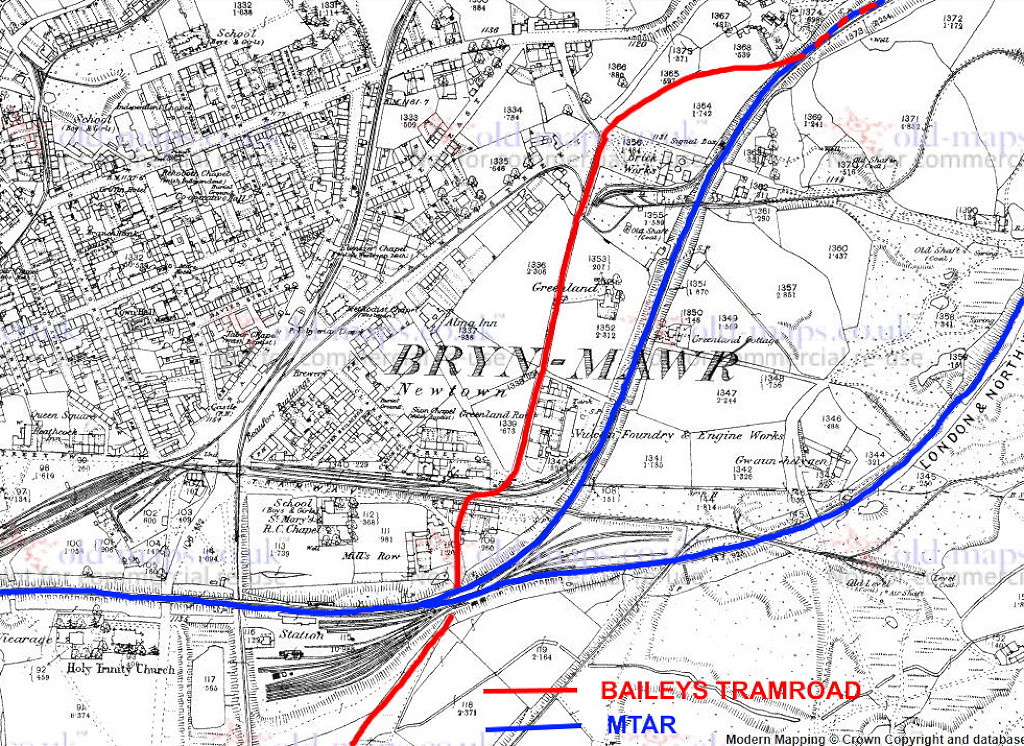
 Baileys Tramroad and the MTAR |
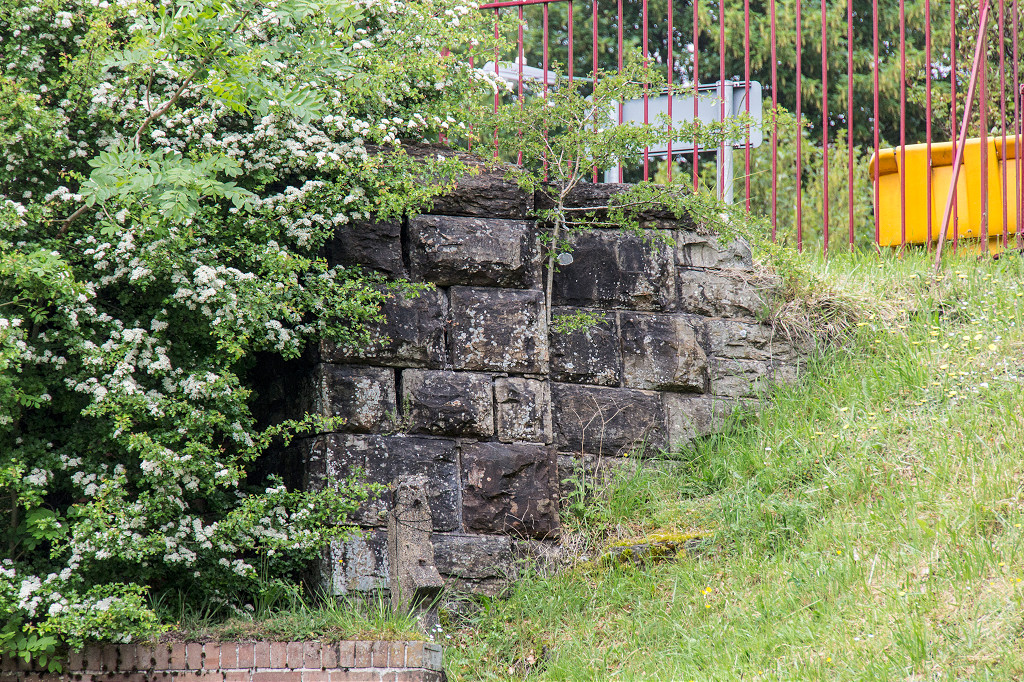
 Bridge abutment |
 An unusual trackside culvert |
 1/2 mile marker post |
 The MTAR in Brynmawr |
 The MTAR in Brynmawr |
||
 Retaining wall under Platform 4 |
 Western Valley Junction, MTAR |
 Western Valley Junction, MTAR |
 Western Valley Junction, MTAR |
 Western Valley Junction, MTAR |
 Western Valley Junction, MTAR |
 Western Valley Junction, MTAR |
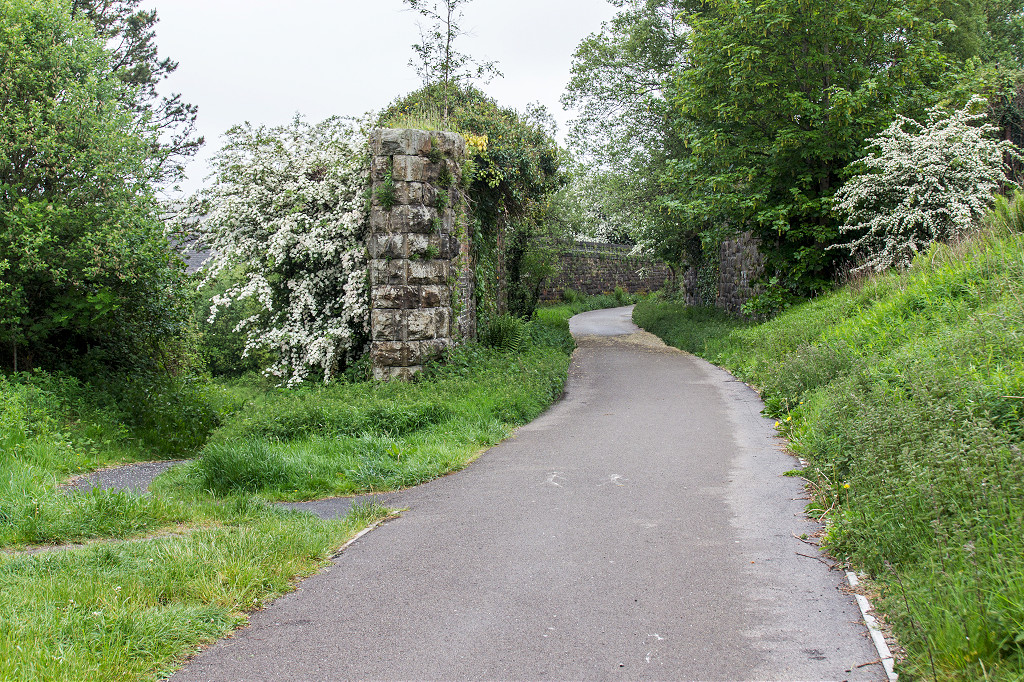
 The MTAR towards Brynmawr |
 Level to Parfitt's Pit |
 Beaufort Station road bridge |
 Beaufort MTAR trackbed |
 Beaufort tunnel portal |
 Blaen-y-Cwm Viaduct |
 Blaen-y-Cwm Viaduct |
 Blaen-y-Cwm Viaduct |
 Blaen-y-Cwm Viaduct |
 Rhymney River under the MTAR |
 The LNWR / GWR link |
 The LNWR / GWR link |
 The LNWR / GWR link |
 Dowlais Top and A465 |
 Dowlais High Street Station |
 Dowlais High Street Station |
 Dowlais High Street Station |
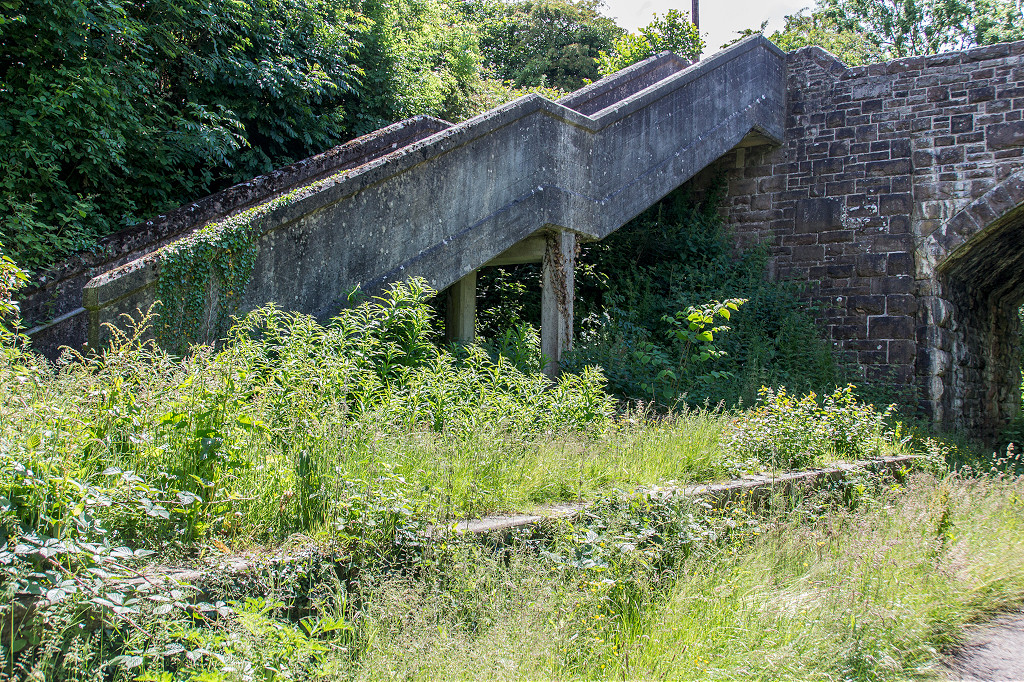
 Bridge abutments, Dowlais |
 Bridge abutments, Dowlais |
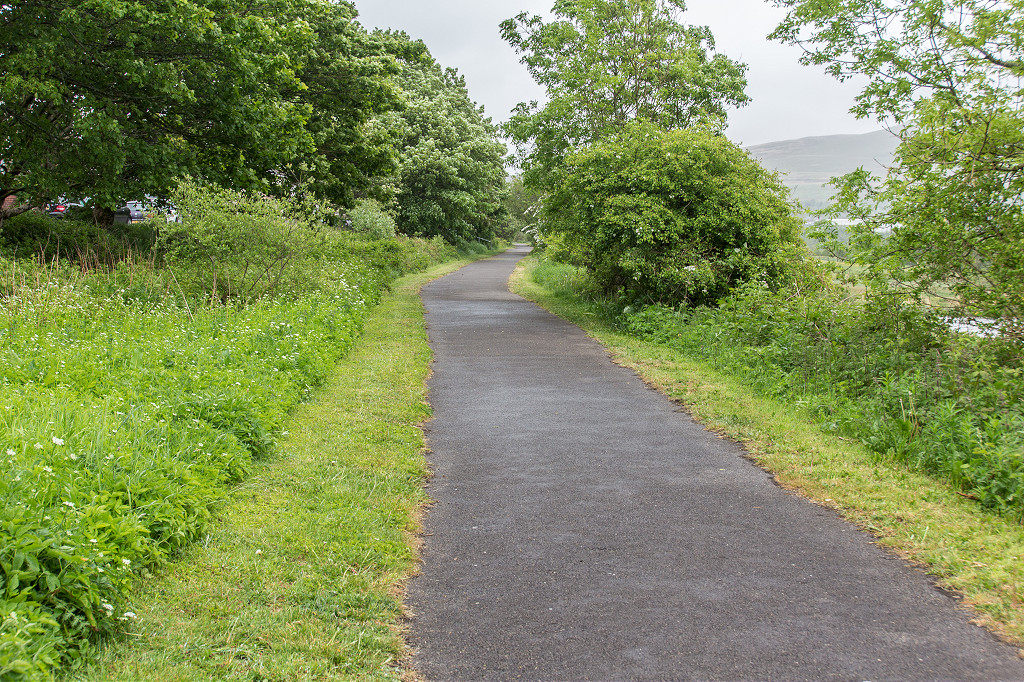
 MTAR trackbed, Pen-wern |
|
 Morlais Tunnel, Merthyr Tydvil |
 Morlais Junction signal box |
||
 Morlais Tunnel, Merthyr Tydvil |
 Morlais Tunnel, Merthyr Tydvil |
 Morlais Tunnel, Merthyr Tydvil |
 Morlais Tunnel, Merthyr Tydvil |
Industrial WalesCollieries, Ironworks, Quarries, Railways, Canals, Tramroads, Tunnels, Culverts and so much more....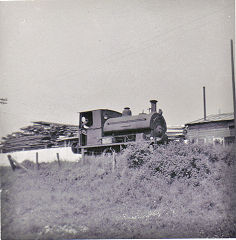
|
Brickworks of WalesBricks are 'History with a label' so here's the story of the Brickworks of Wales - photos, maps and the products themselves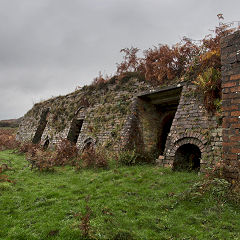
|
Around the WorldMy travels around the UK and the Whole Wide World in search of industries, railways, trams and mines to name a few.
|
Boundary Stones and MilepostsBoundary Stones, Mileposts and other markers in simple alphabetical order of their initials, name or site.
|
Ships and ShippingShips around the World in simple alphabetical order of their name (or apparent area if I can't read the name).
|
The Site Map and IndexA full list of all the pages of the whole website in just one place, so you should find exactly what you are looking for.
|
About the SiteThe background and technical details about the site, plus a contact page and links to other sites - and a warning !!
|
Contact MeSomething to add? A great photo? Something wrong? or need to know more about things? Just drop me a line here.
|
Further ReadingYou can find lots of local and other very helpful websites, books, magazines and Facebook groups all listed here.
|