Around the World - The British Isles
The Forest of Dean - North West
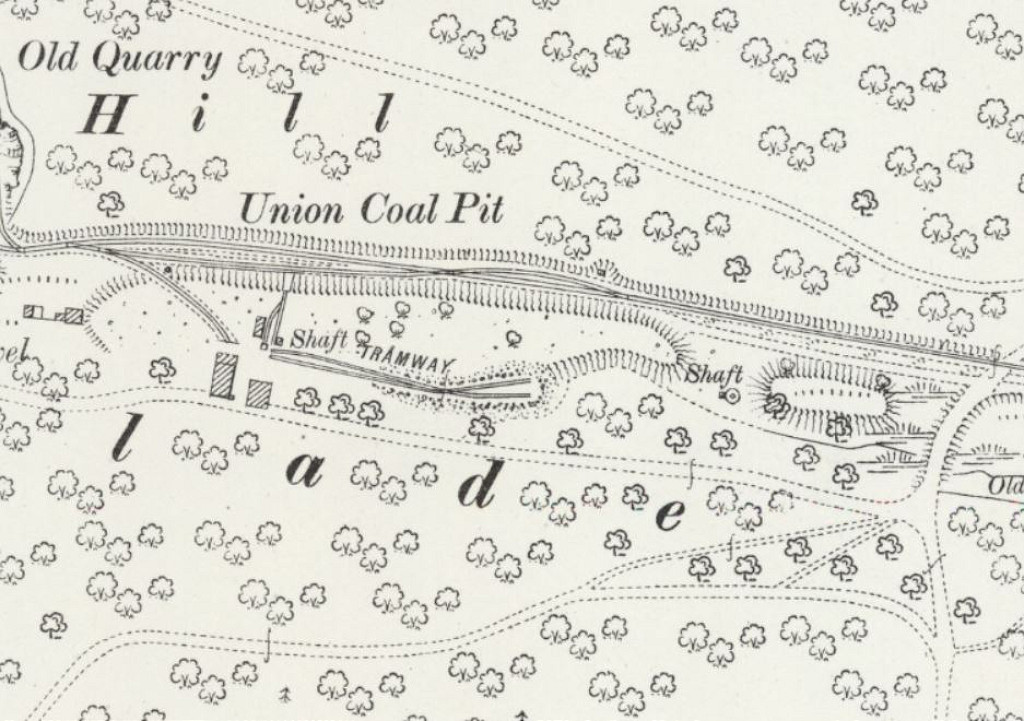
Collieries, iron mines, railways and tramroads around Coleford
Search the site here
|
|
Around the World - The British Isles
The Forest of Dean - North West
Collieries, iron mines, railways and tramroads around Coleford
|
Search the site here
|
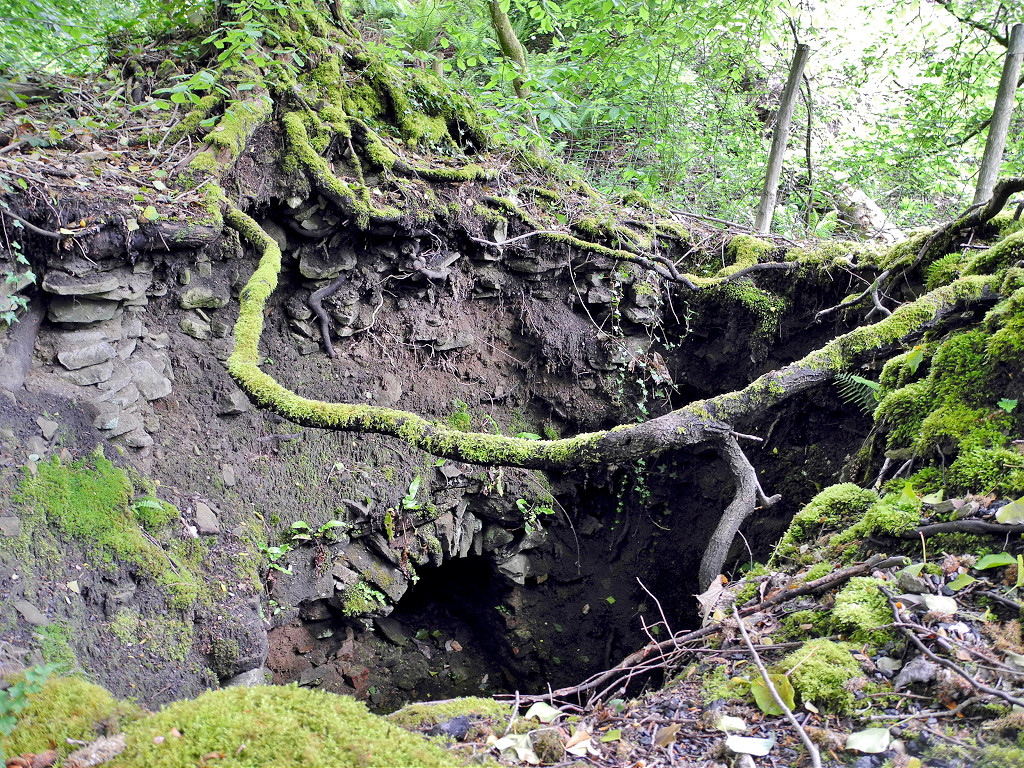
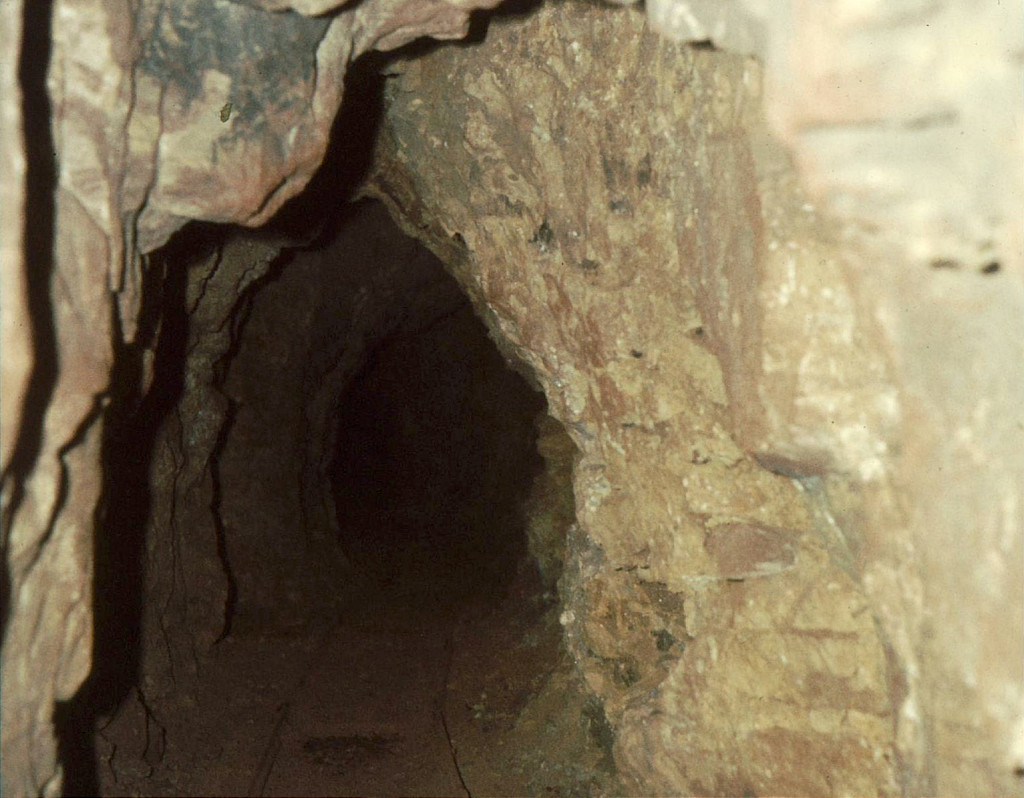
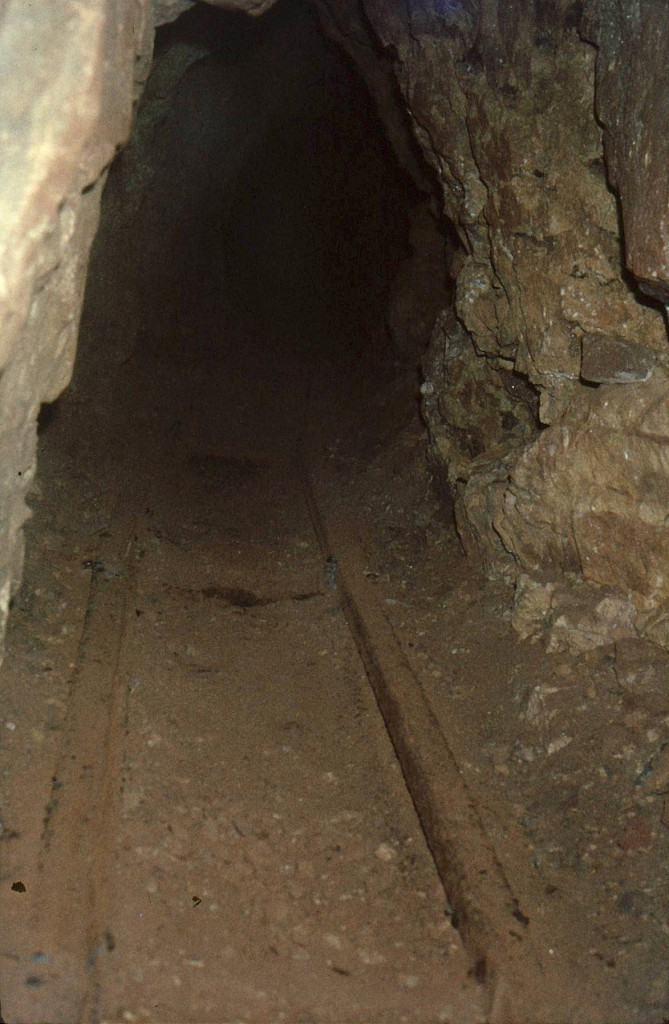
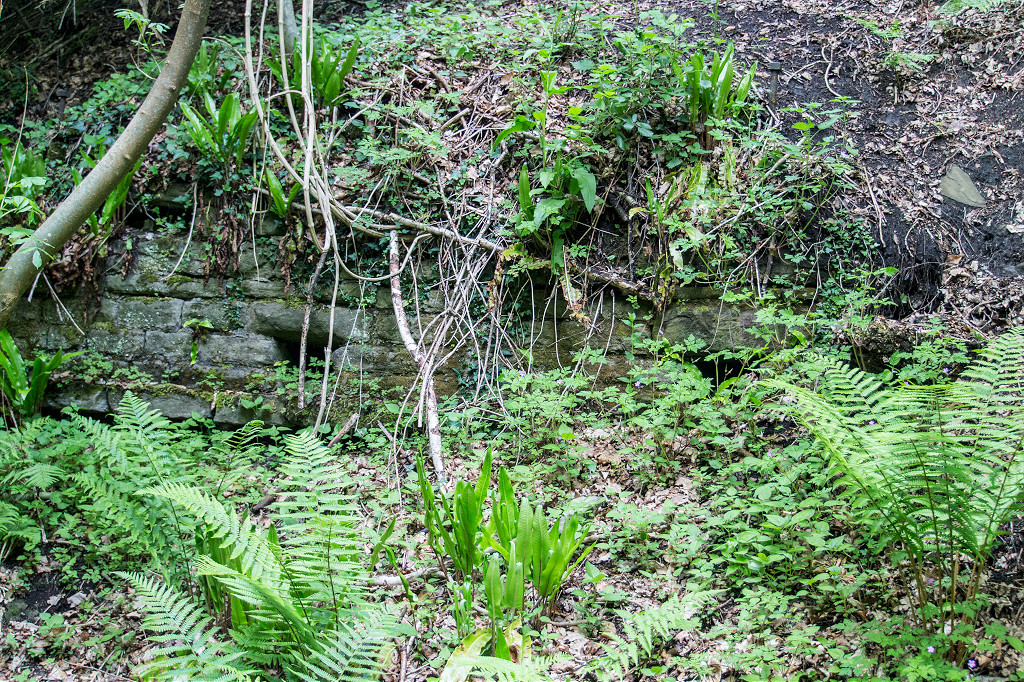
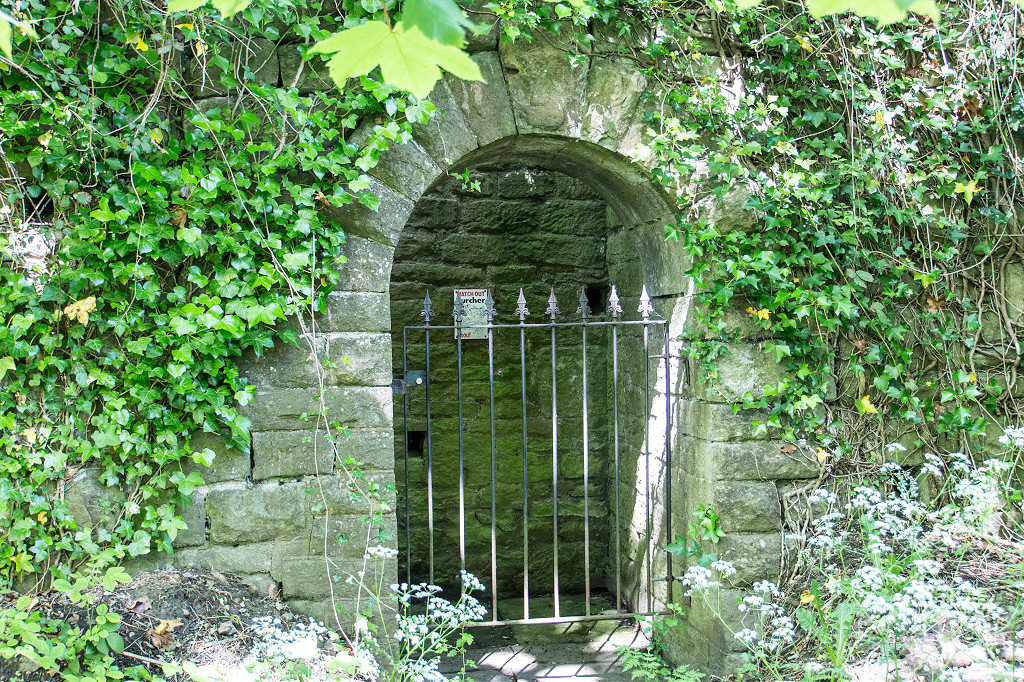
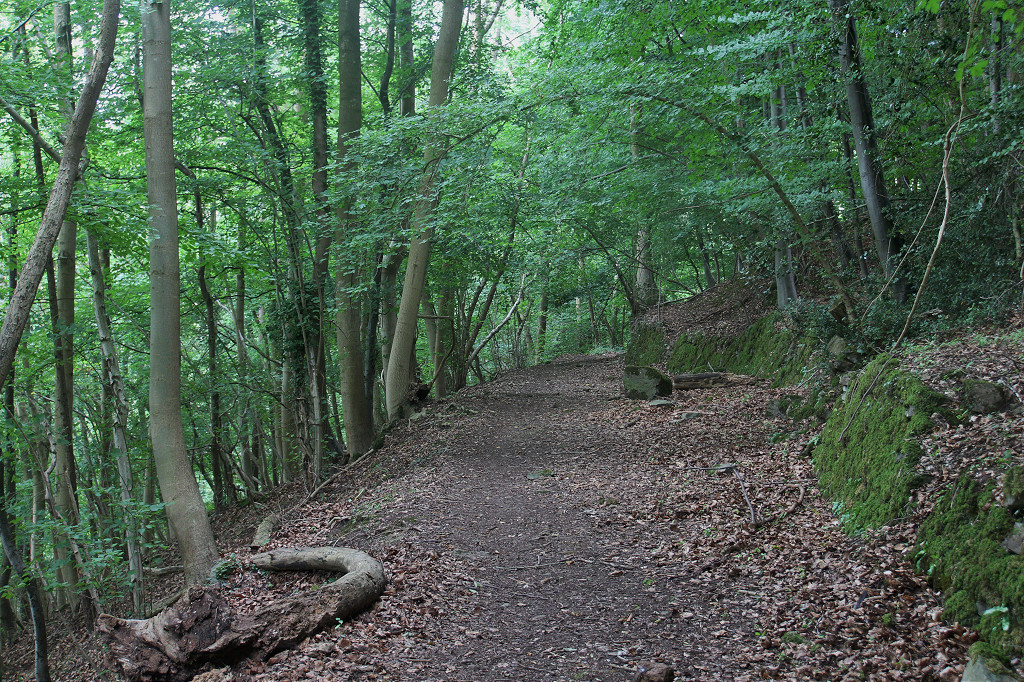
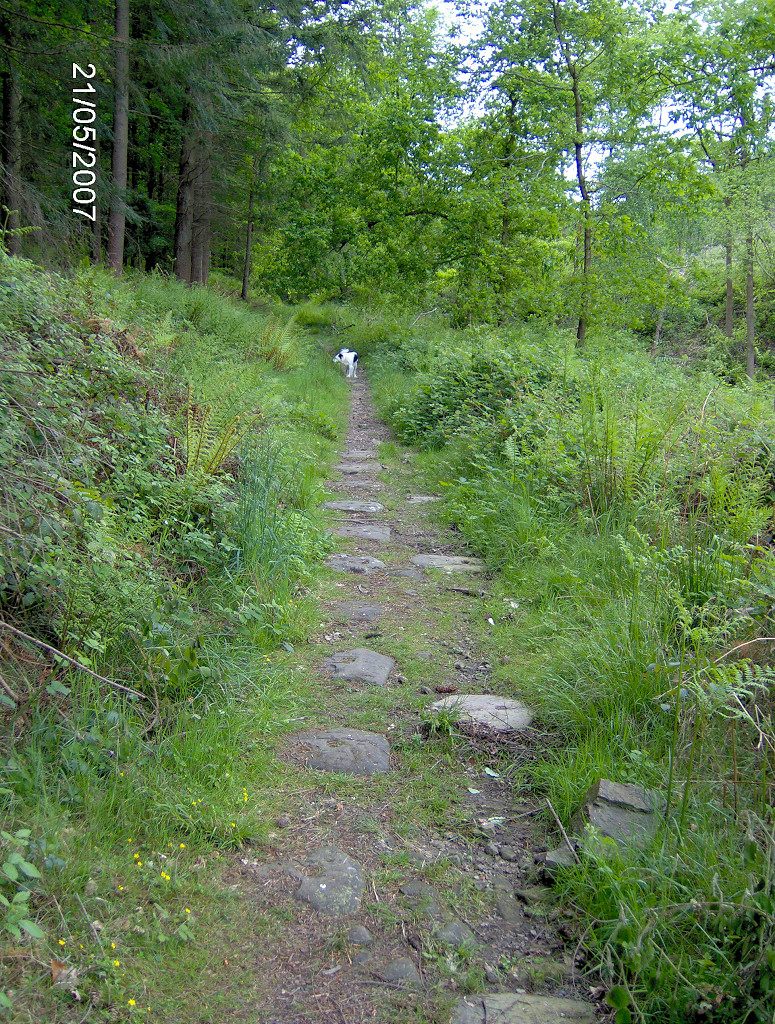
 Bracelands Cottage level |
 Bracelands Cottage level |
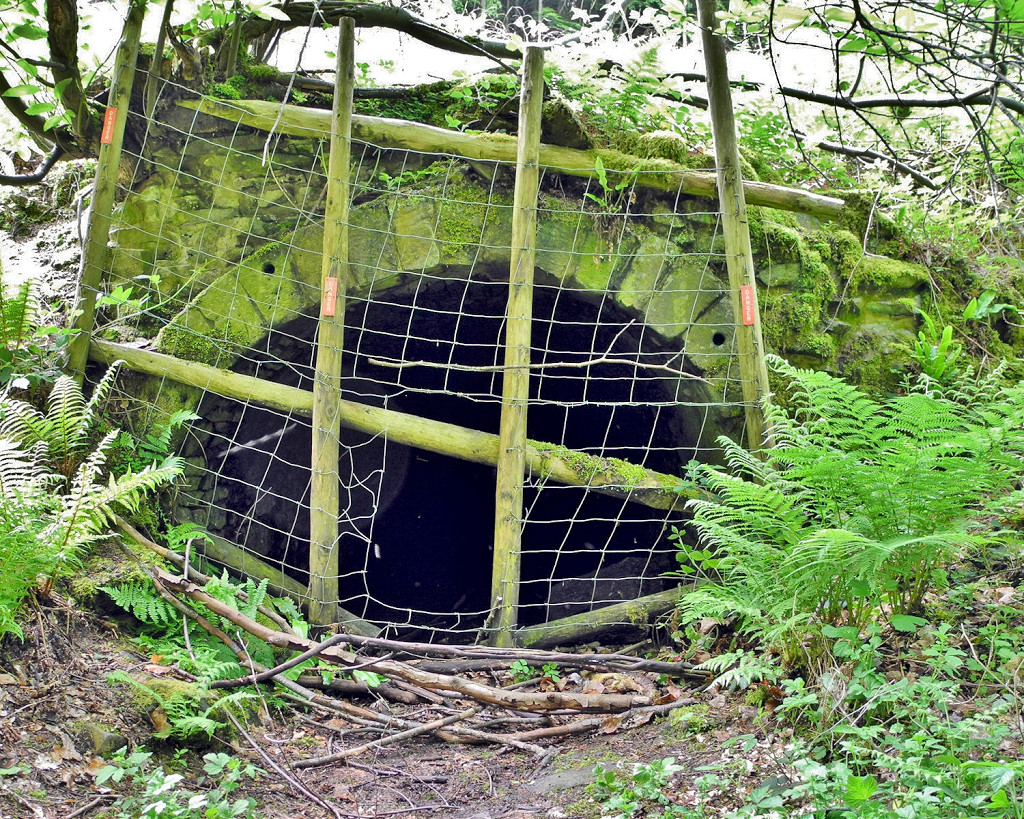
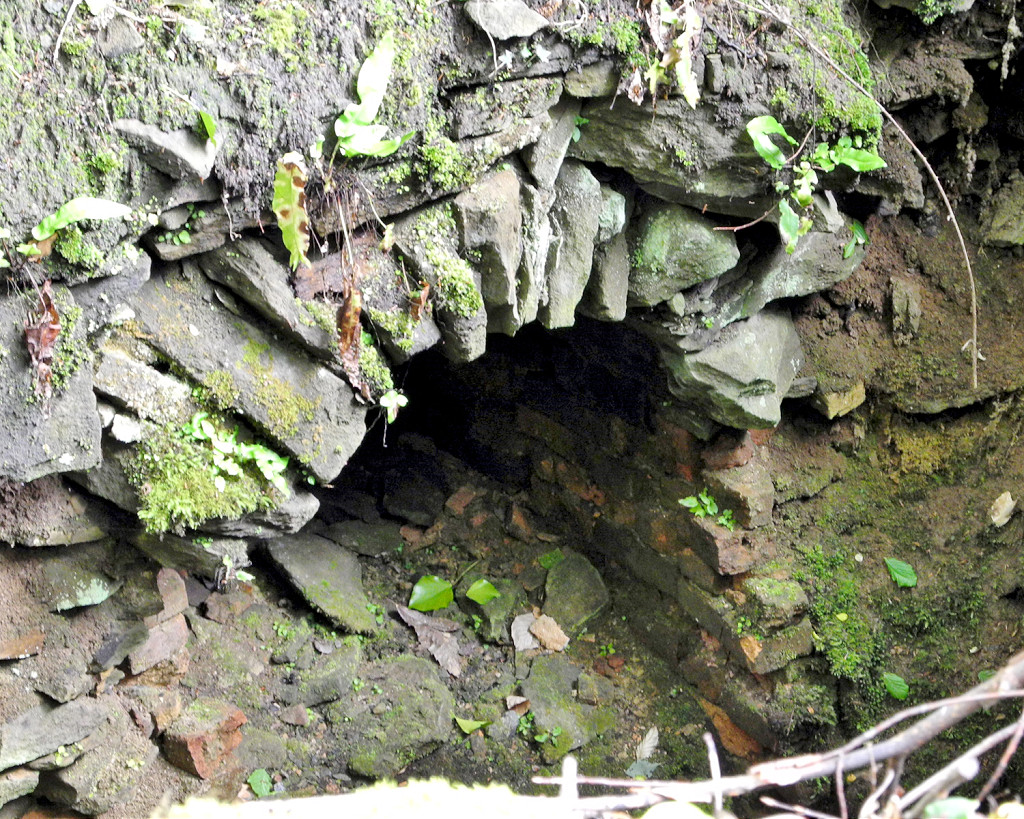
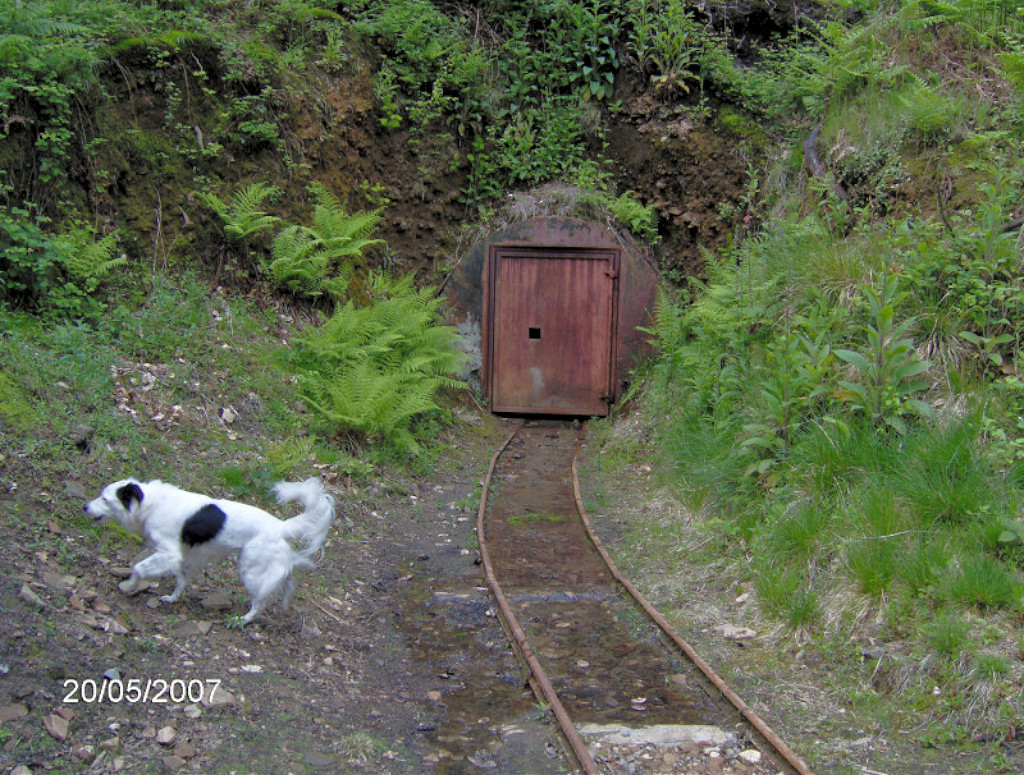
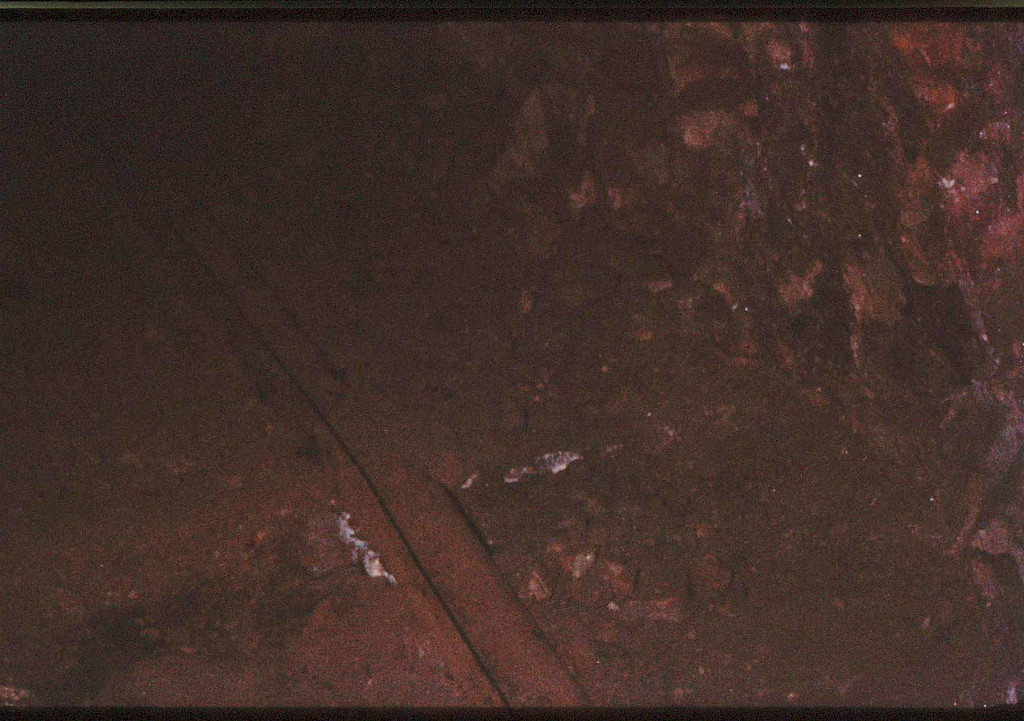
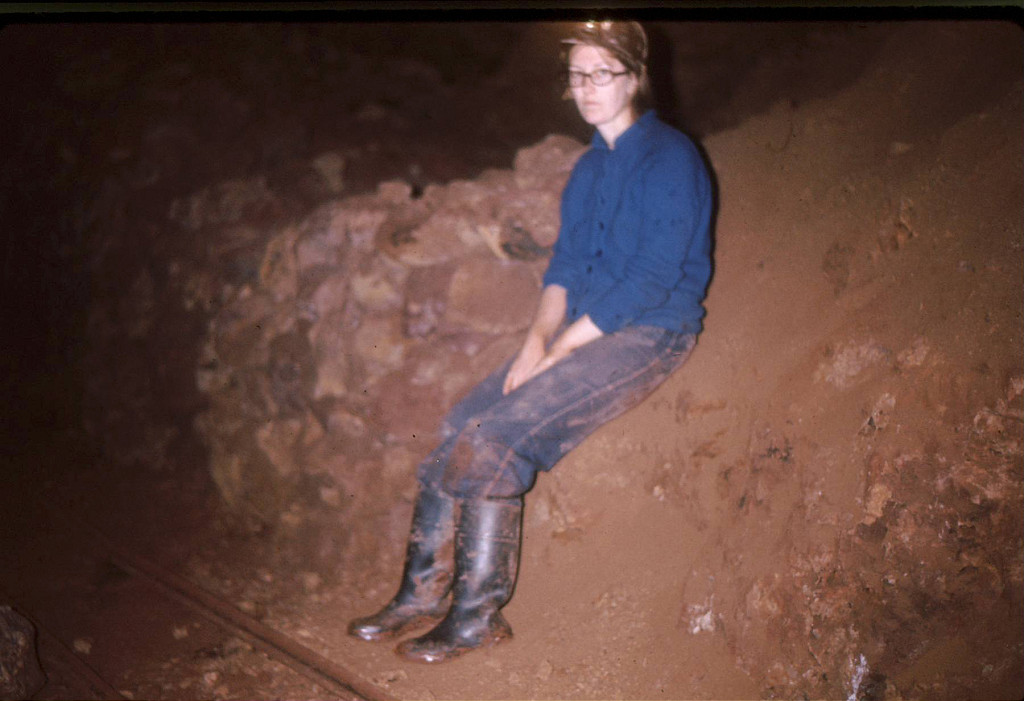
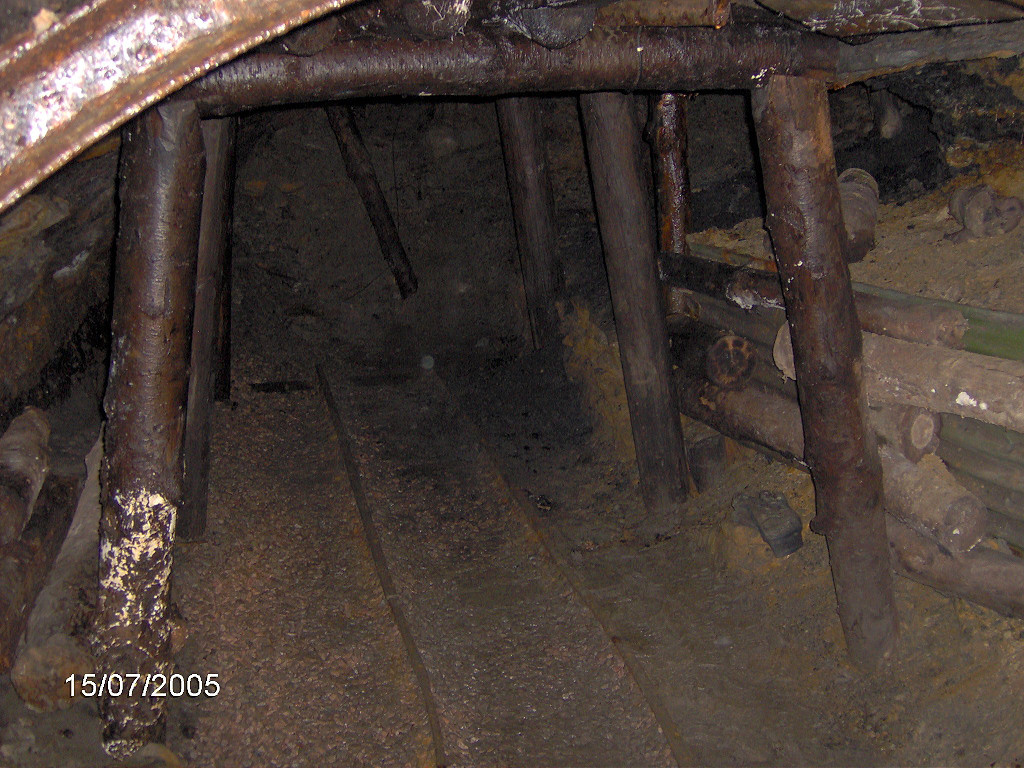
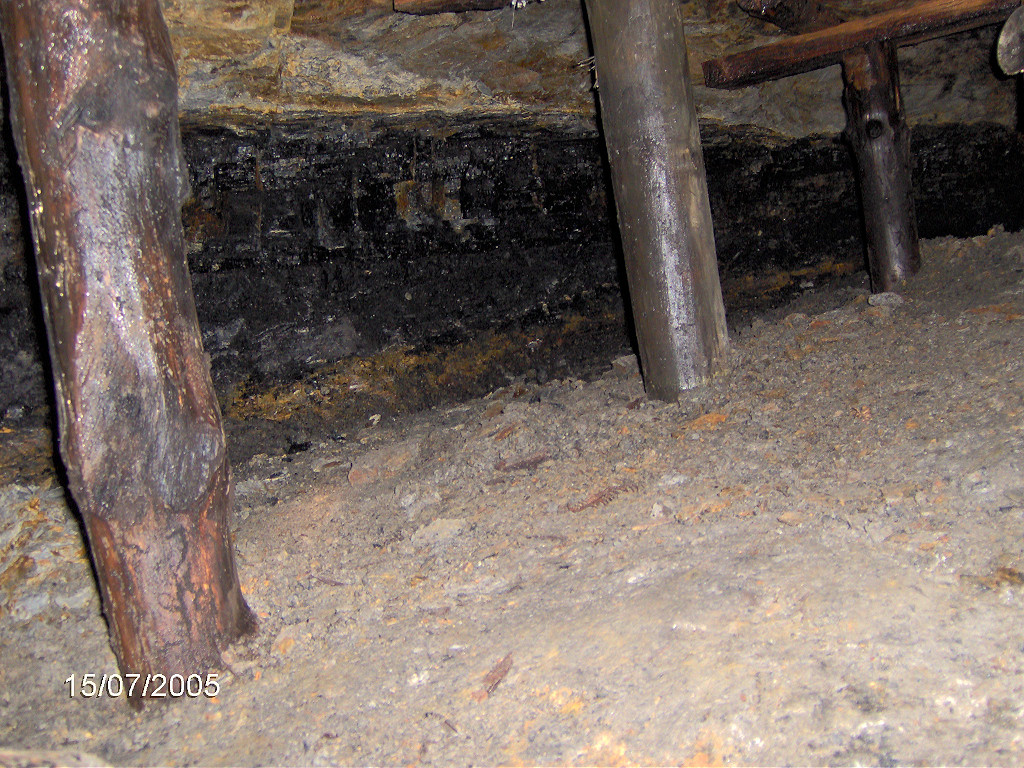
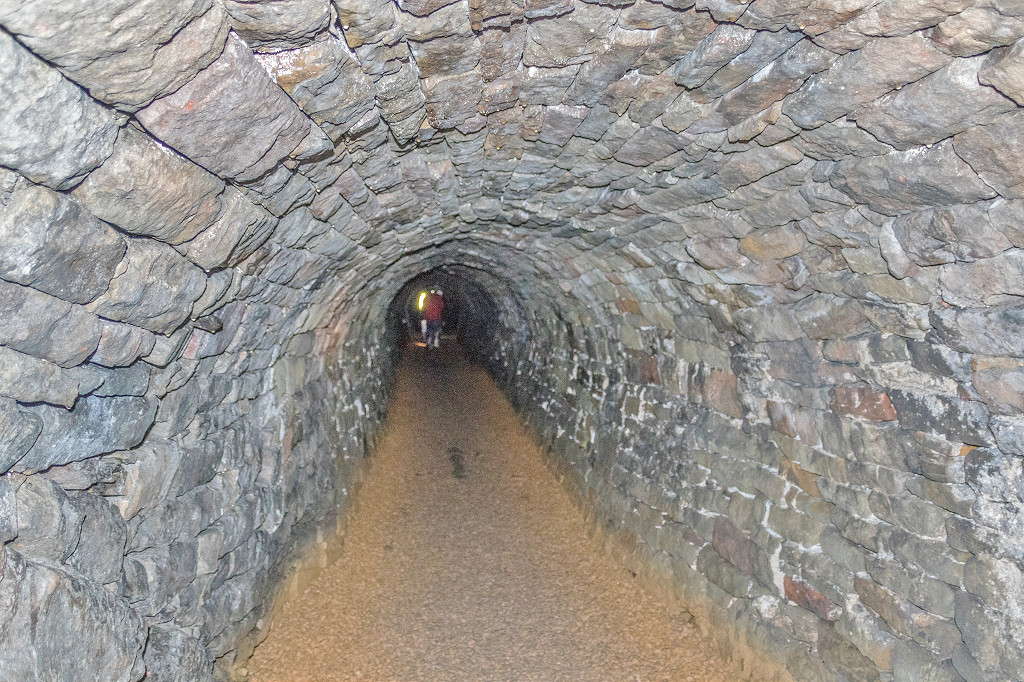
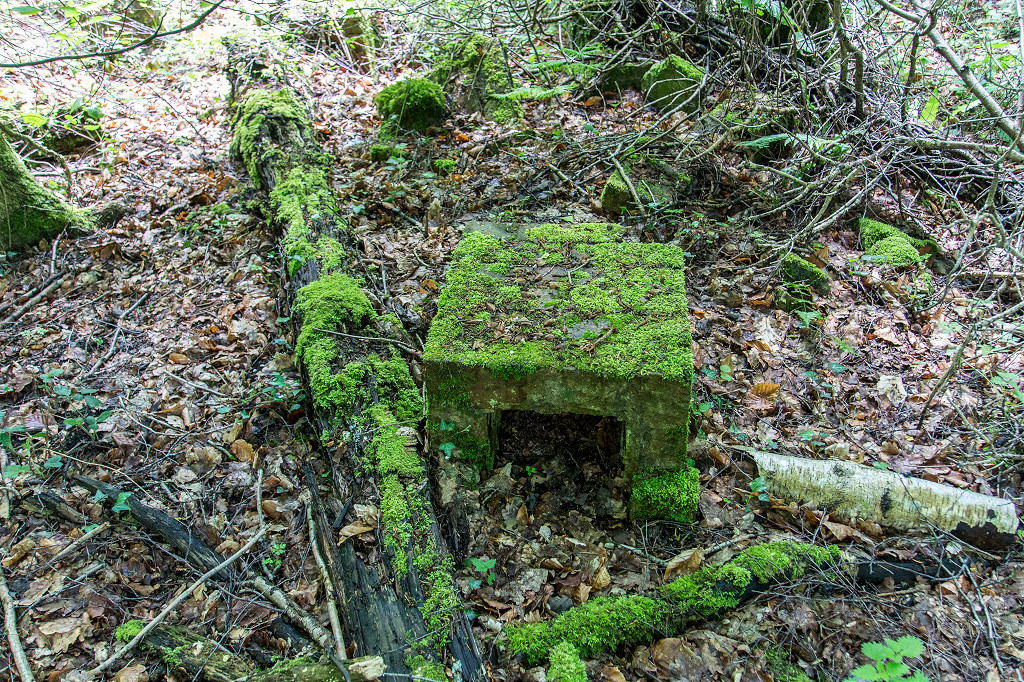
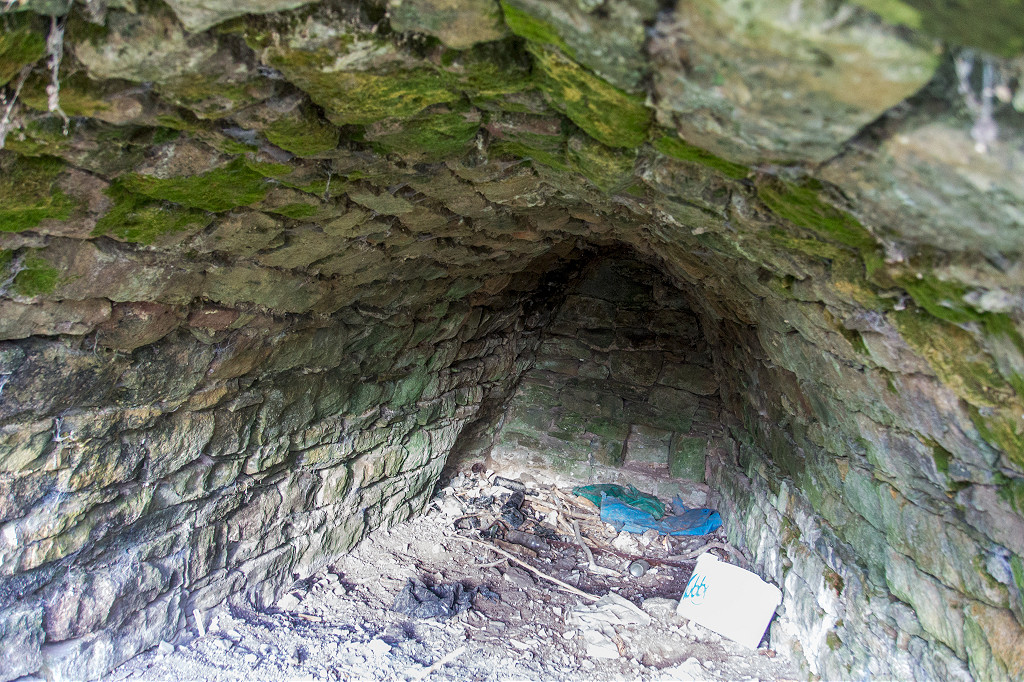
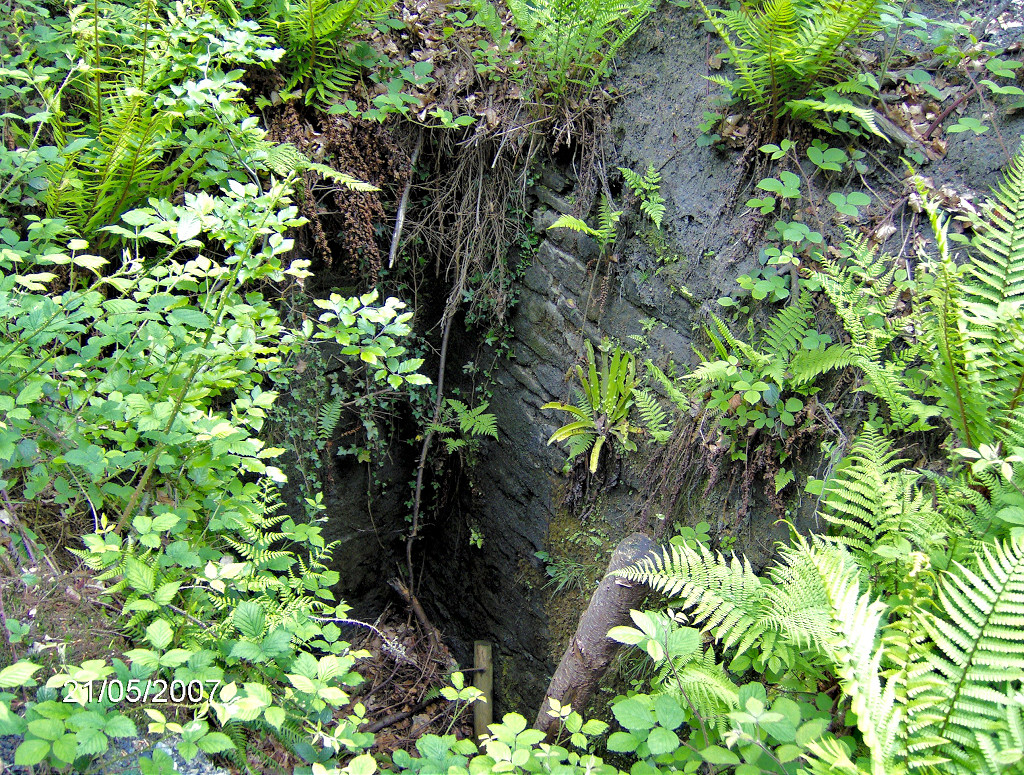
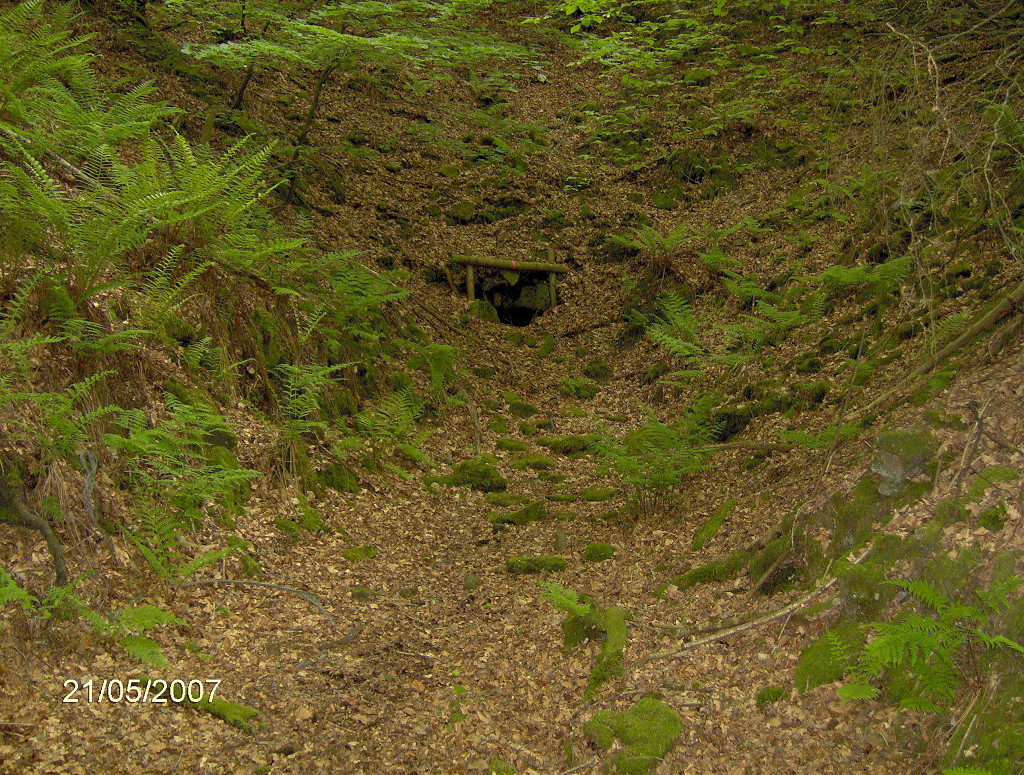
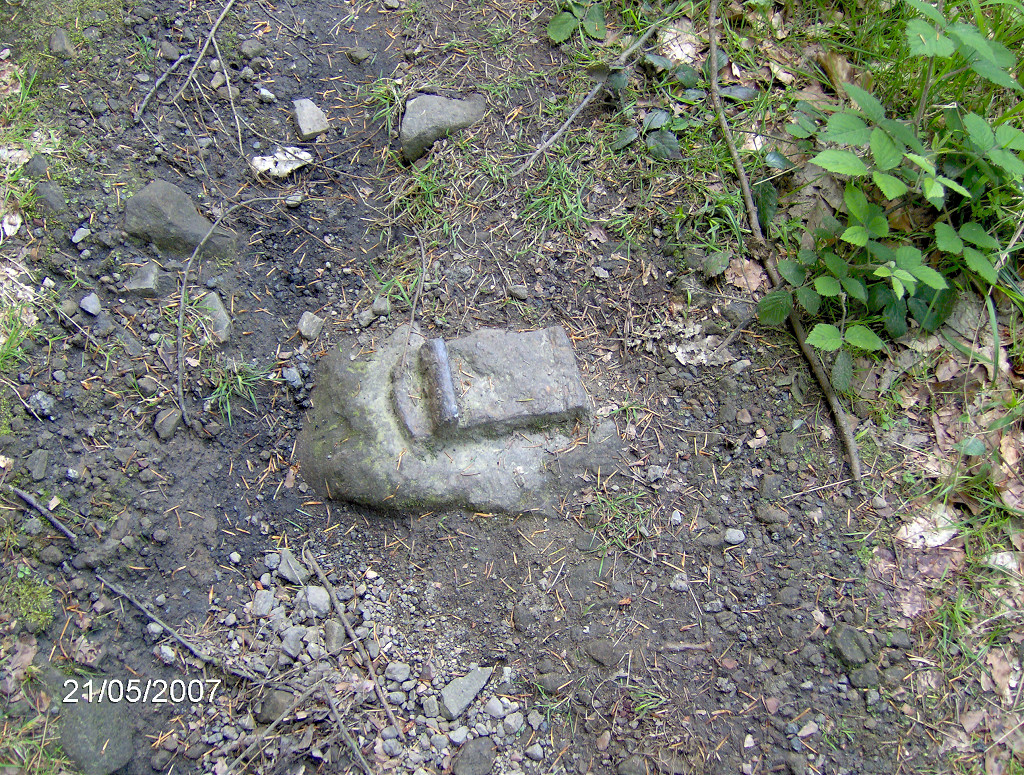
 Bracelands old level |
 Bracelands old level |
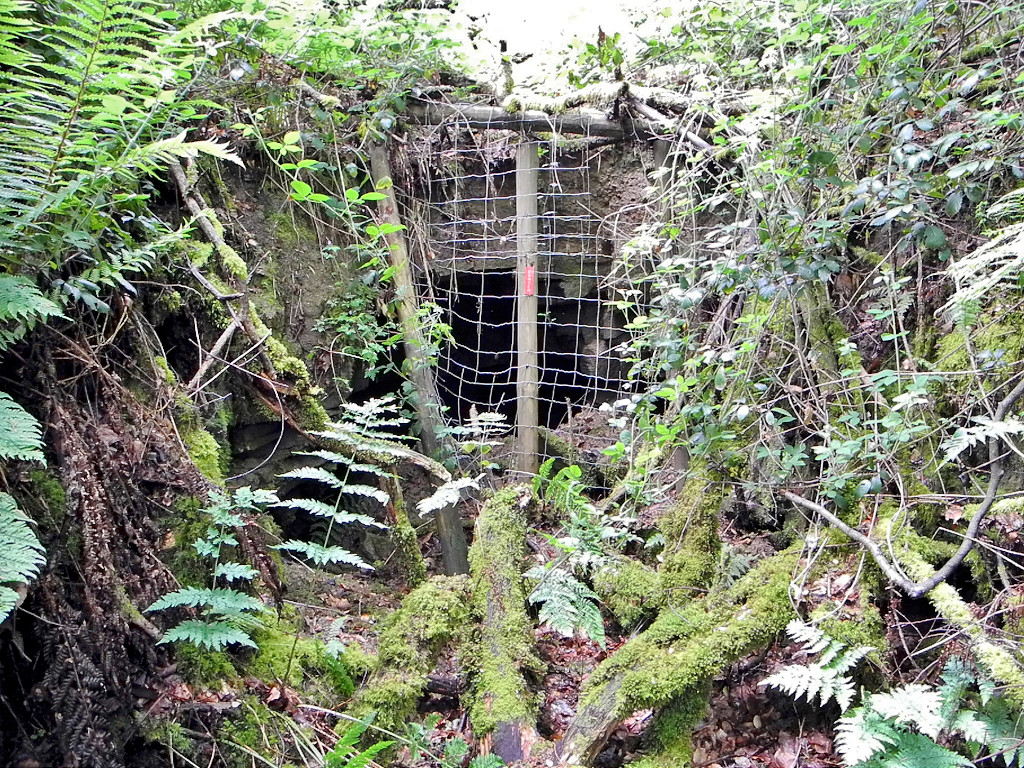
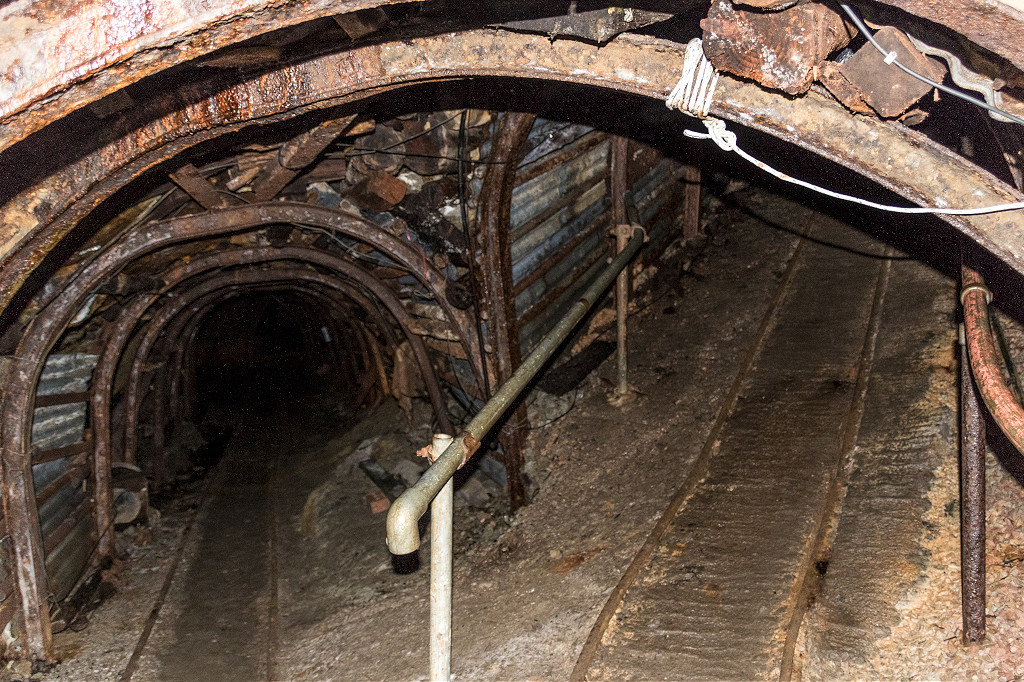
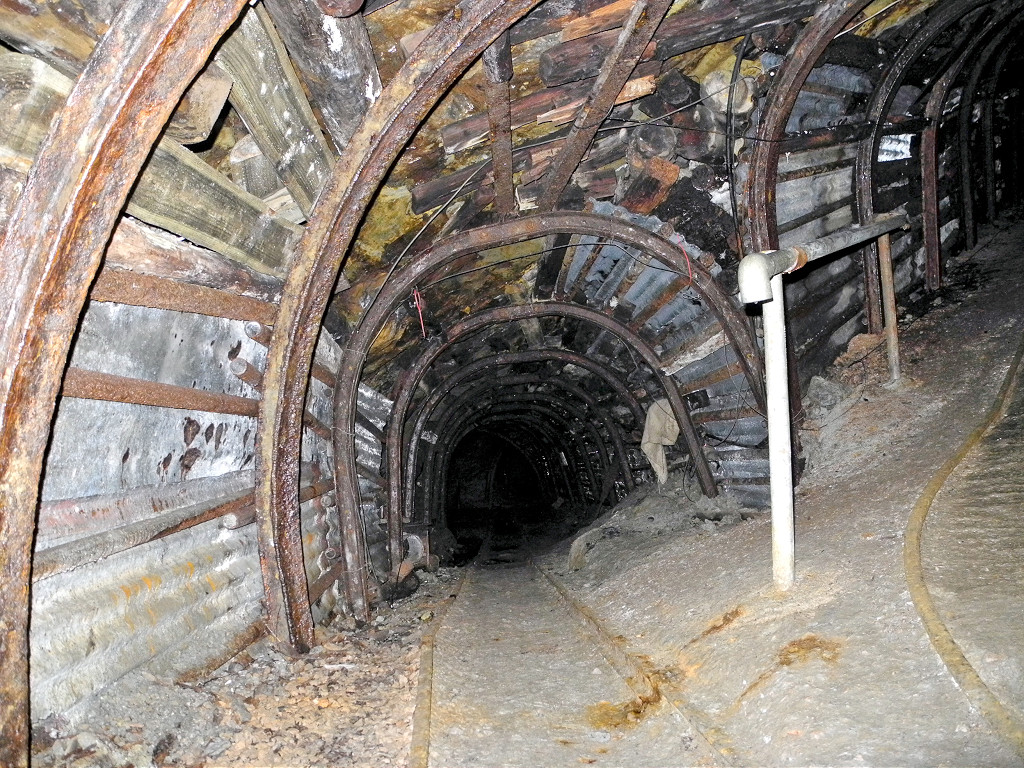
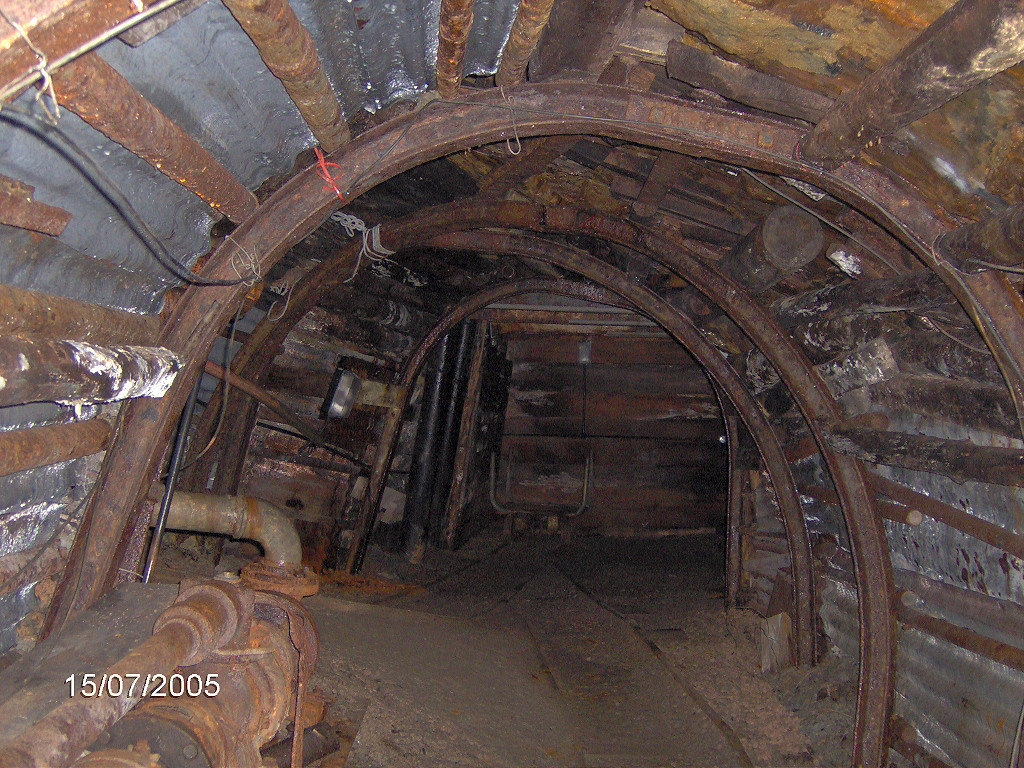
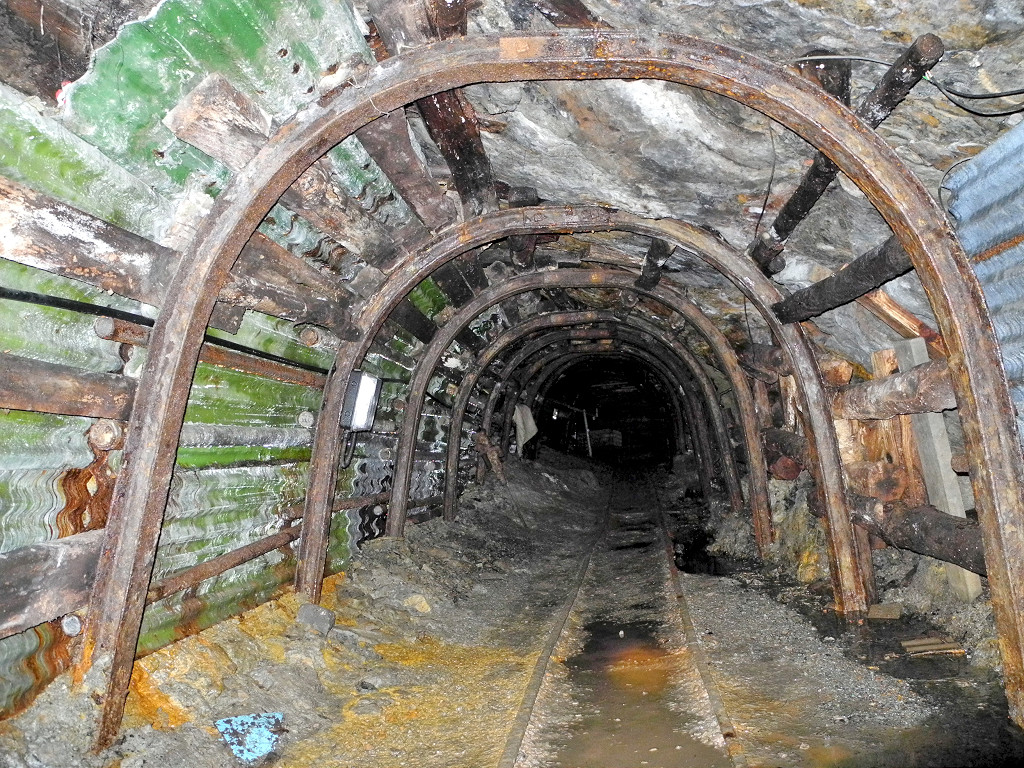
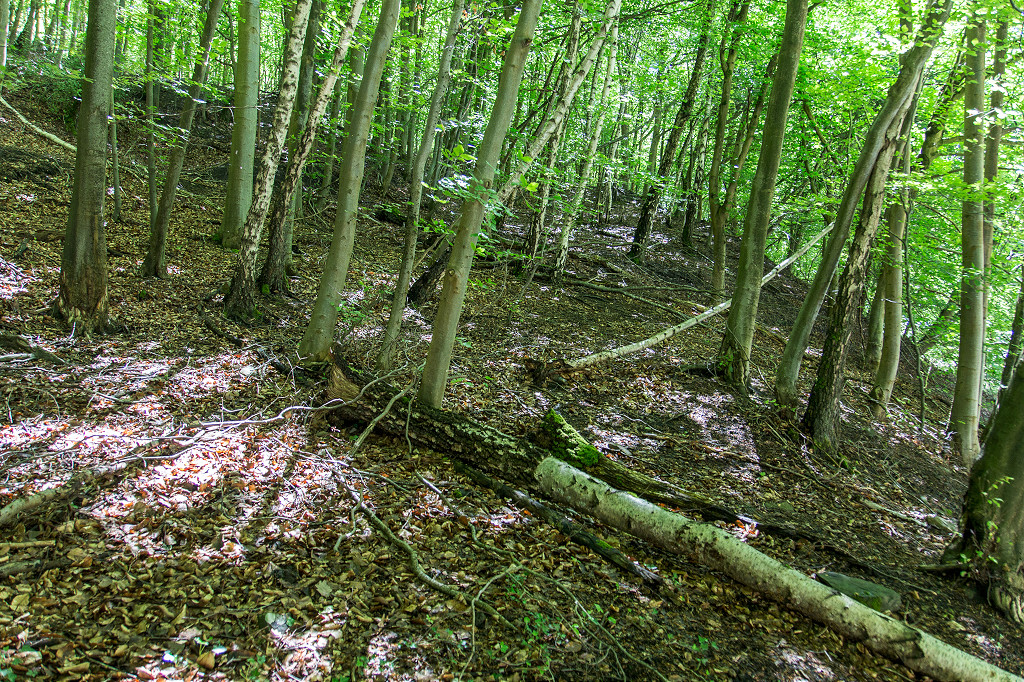
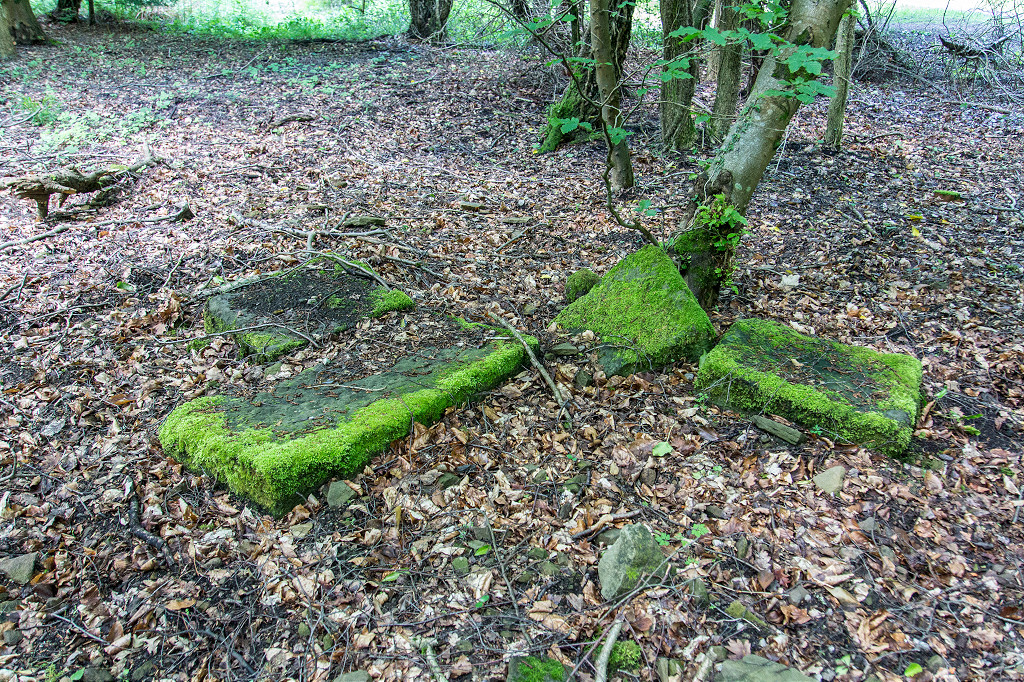
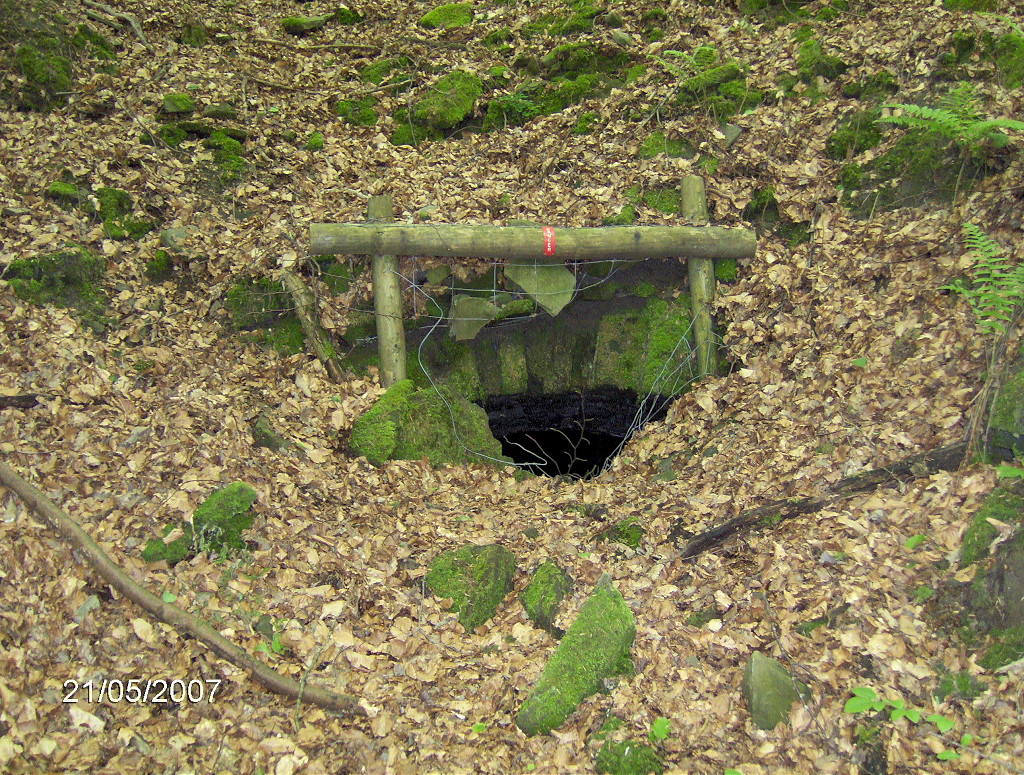
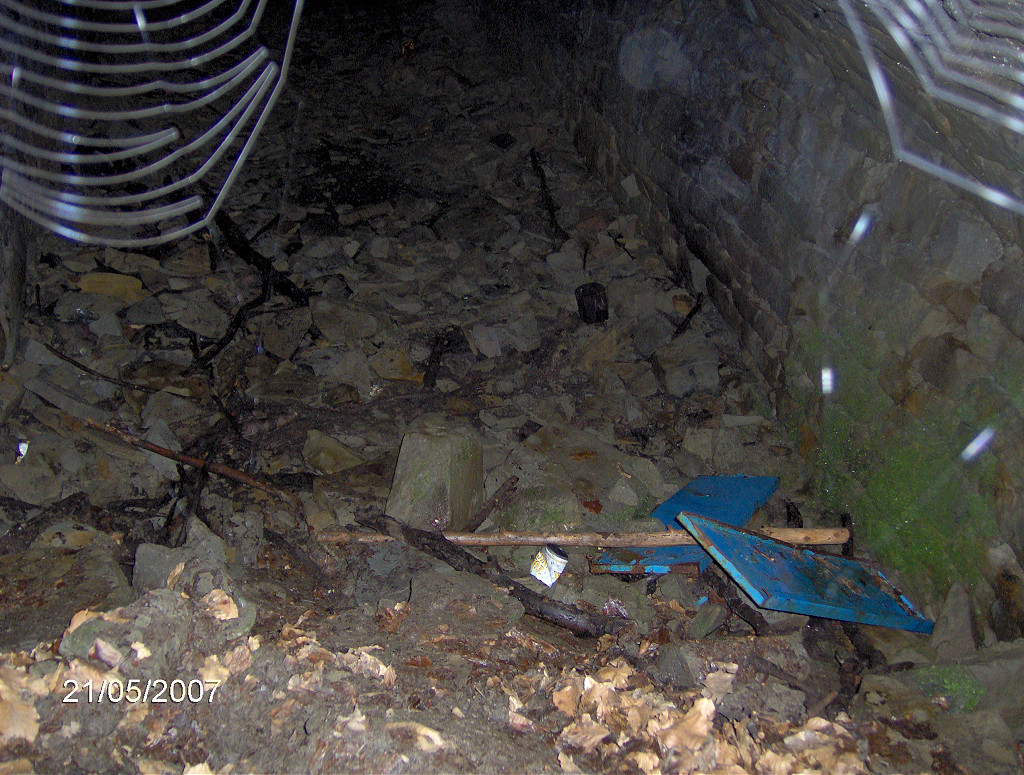
 Mailscot Colliery |
 Mailscot Colliery |
 Mailscot Colliery |
 Mailscot Colliery |
 Mailscot Colliery |
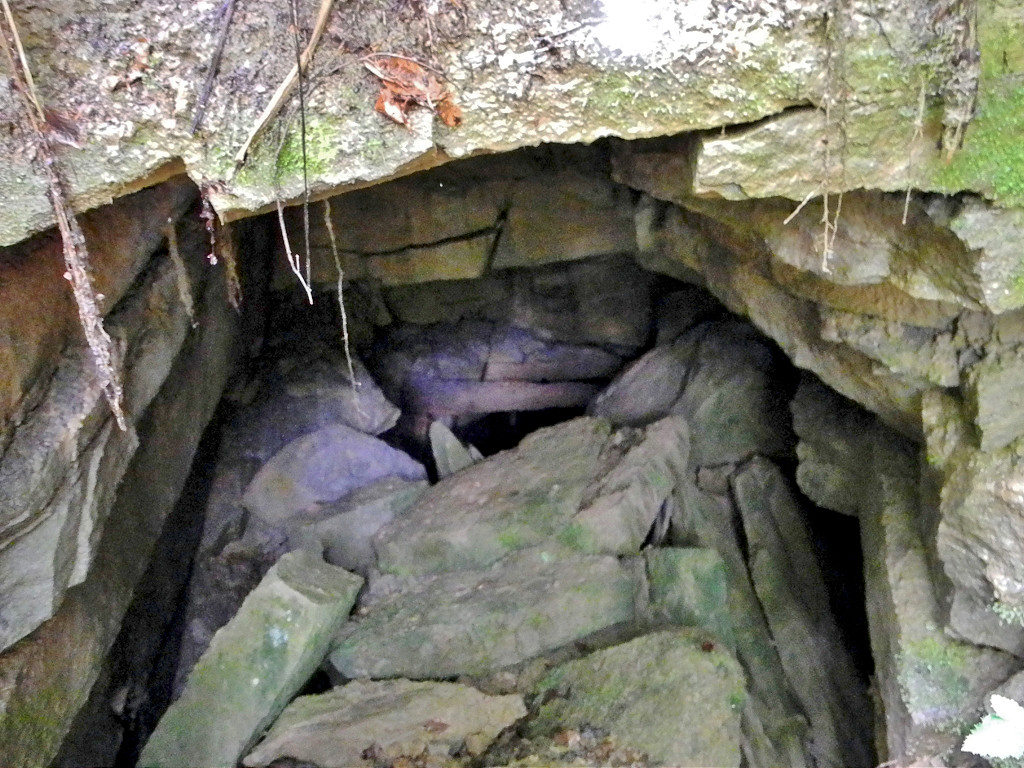
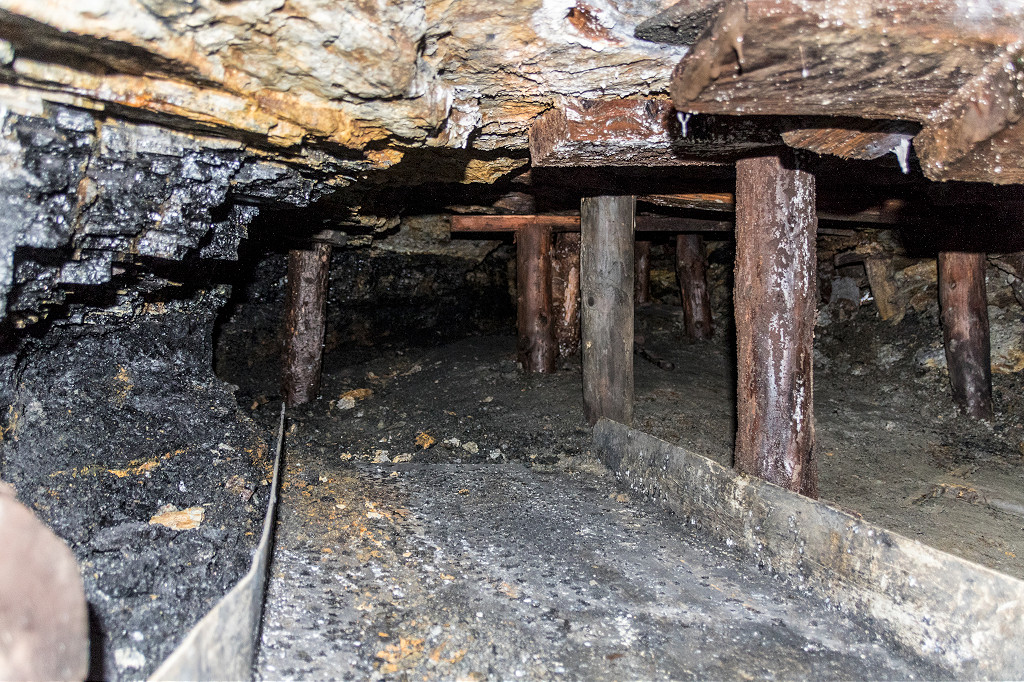
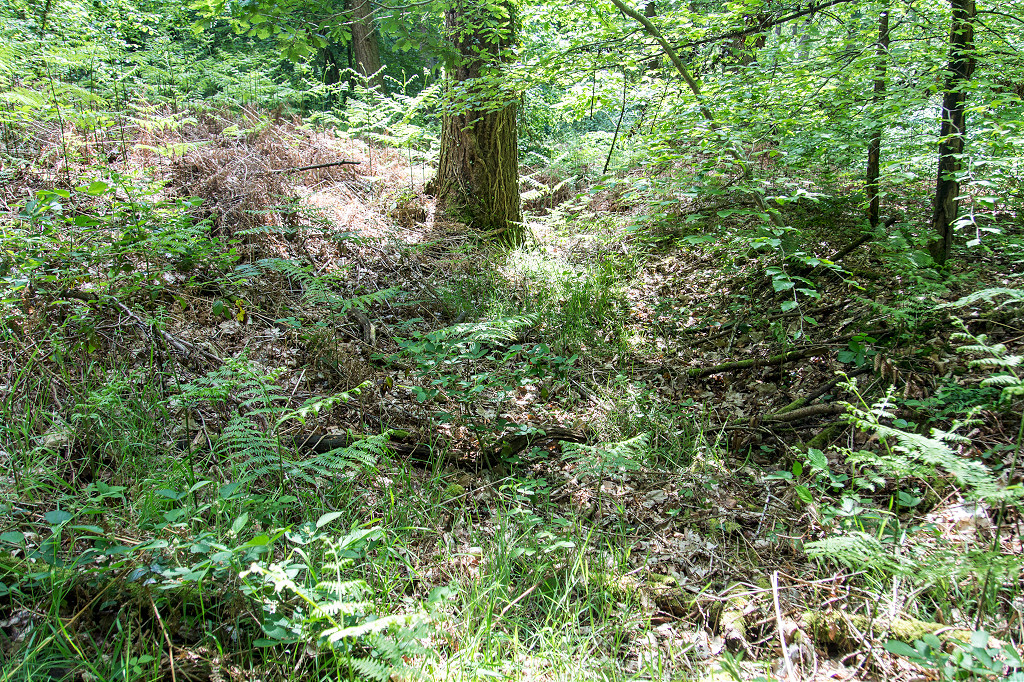
 Bridewell Colliery |
 Bridewell Colliery |
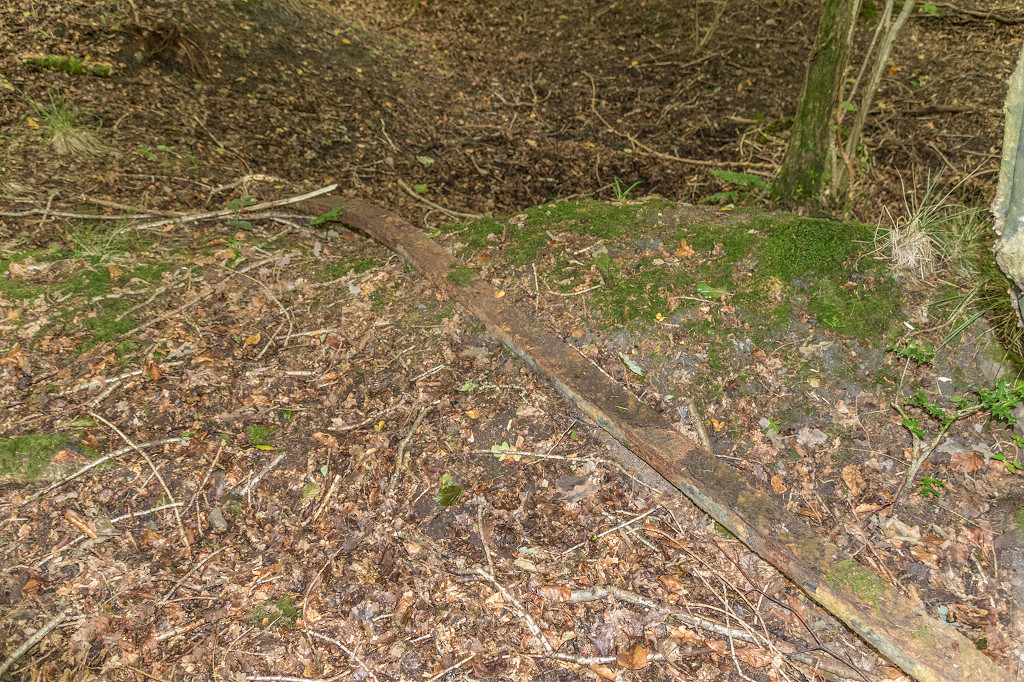
 Union Pit, 1900 |
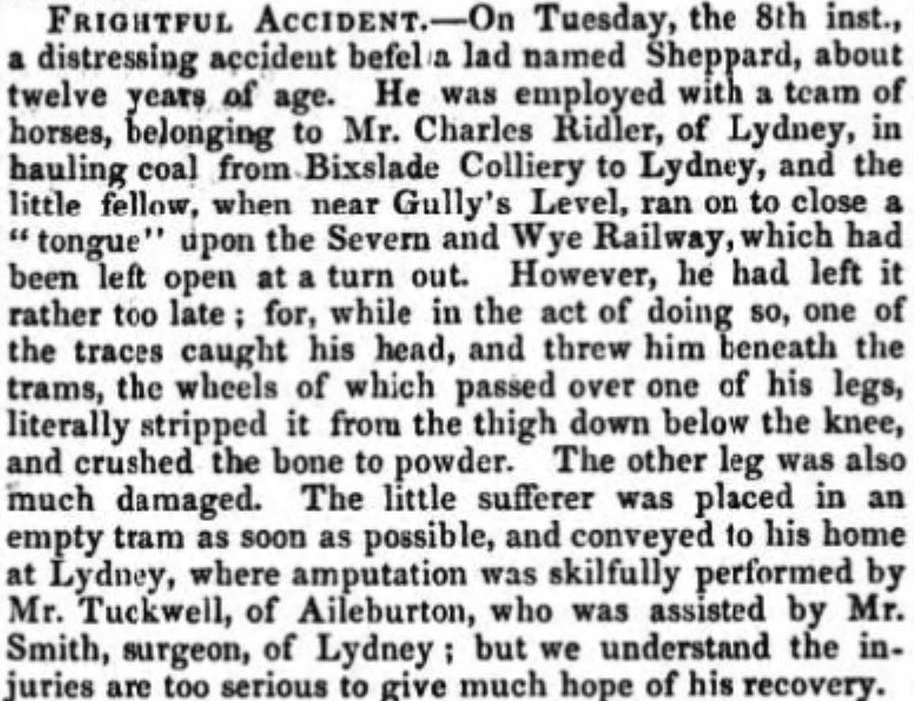 A 'Frightful Accident' in 1854 |
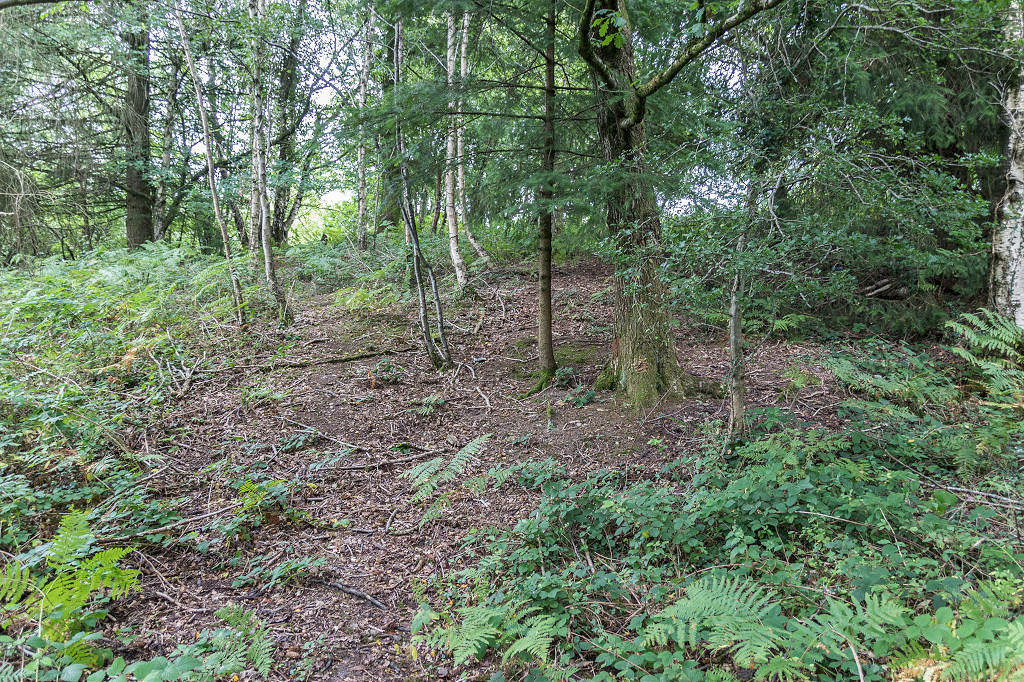
 Union Colliery memorial, Bixslade |
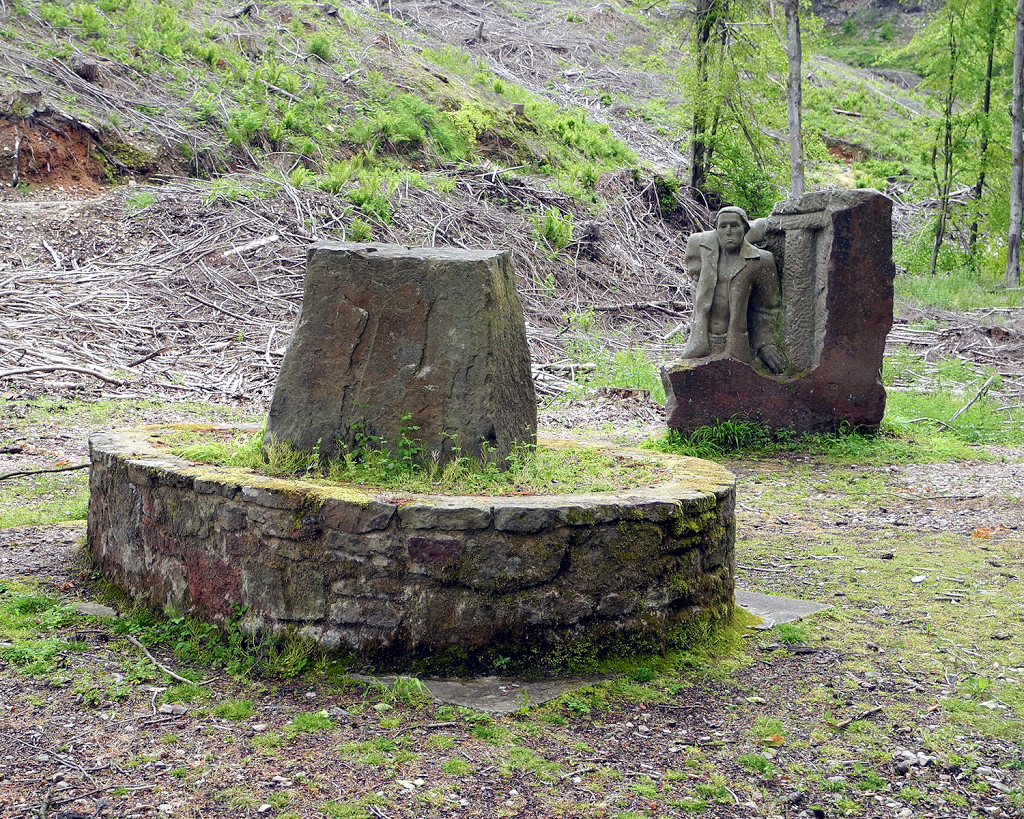 Union Colliery memorial, Bixslade |
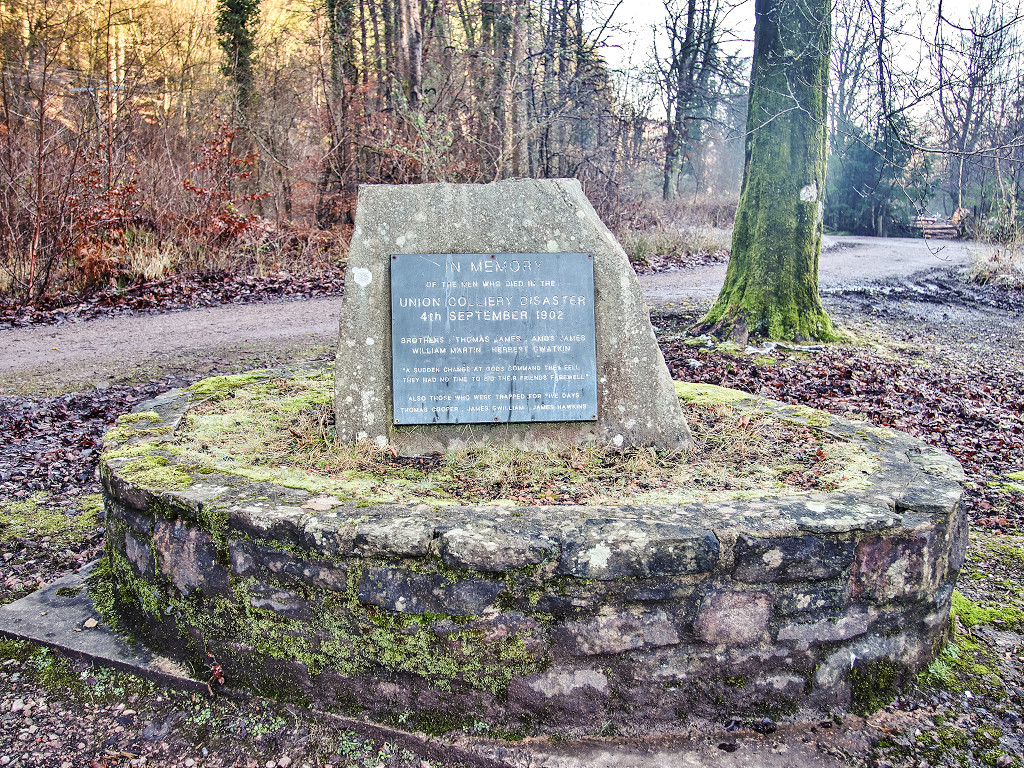 Union Colliery memorial, Bixslade |
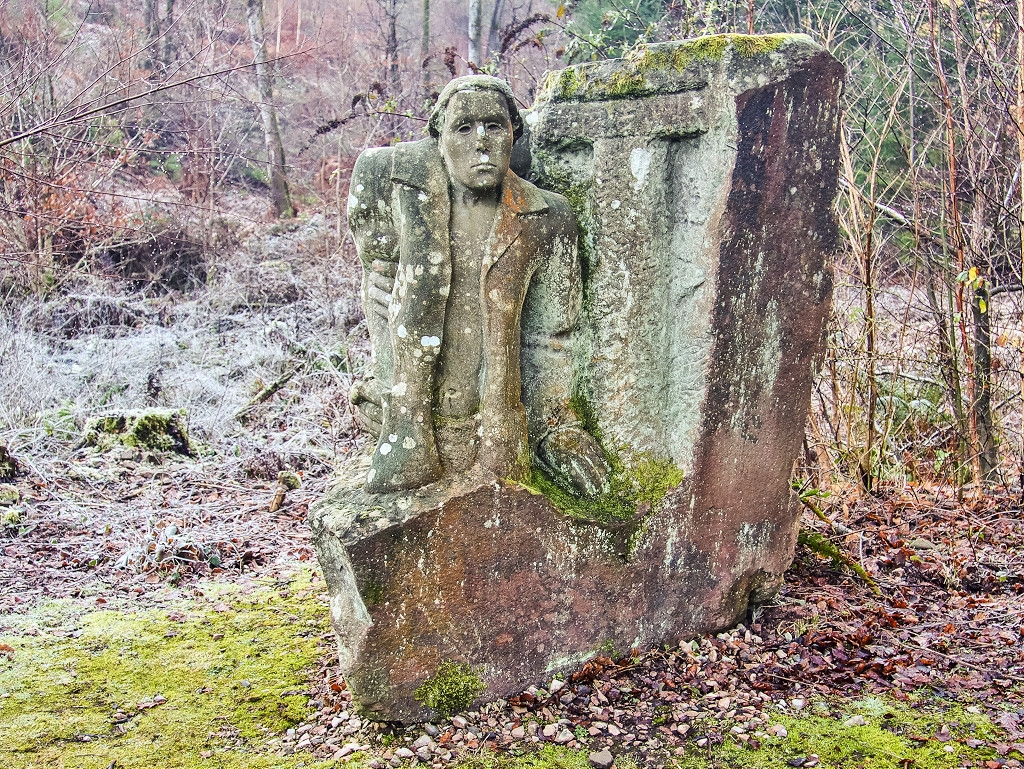 Union Colliery memorial, Bixslade |
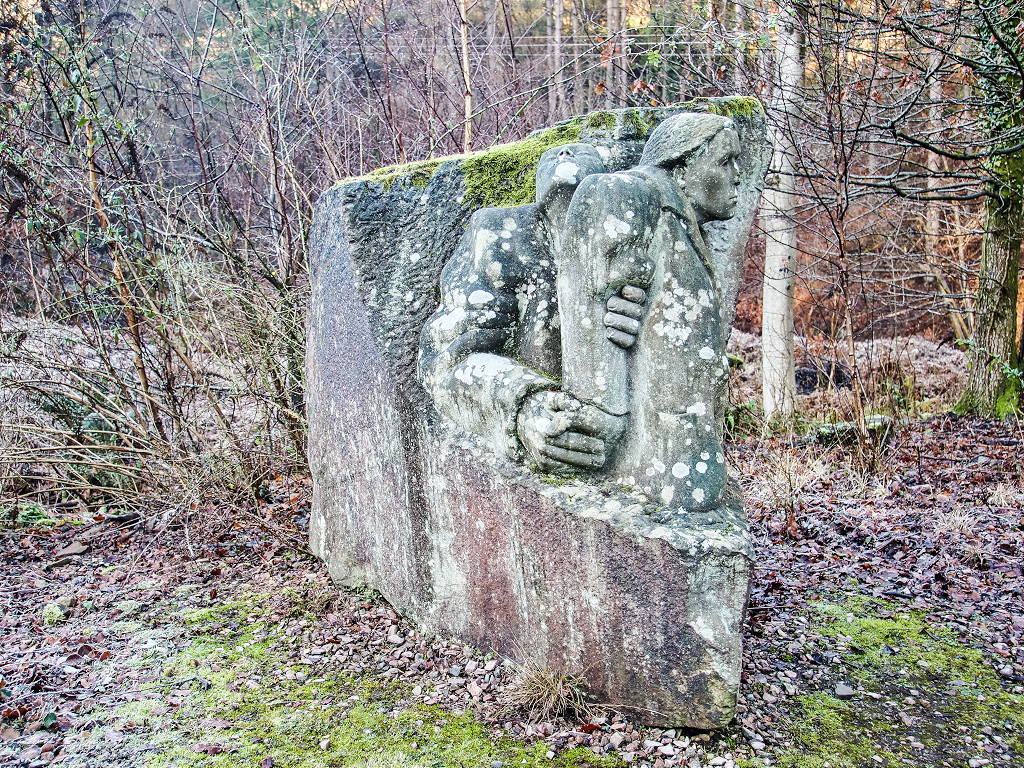 Union Colliery memorial, Bixslade |
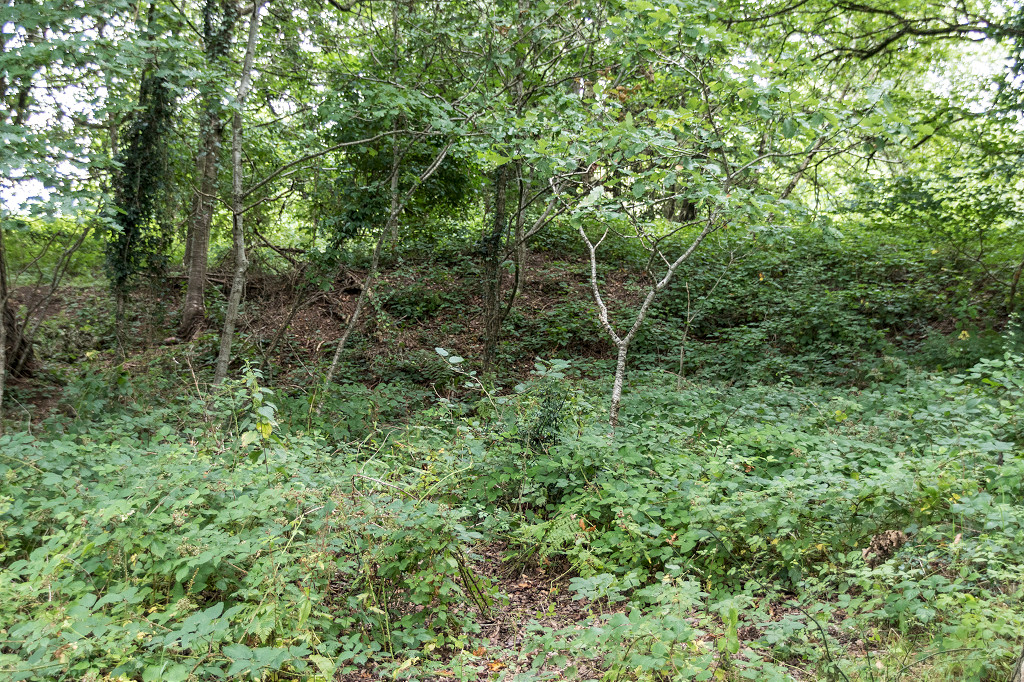
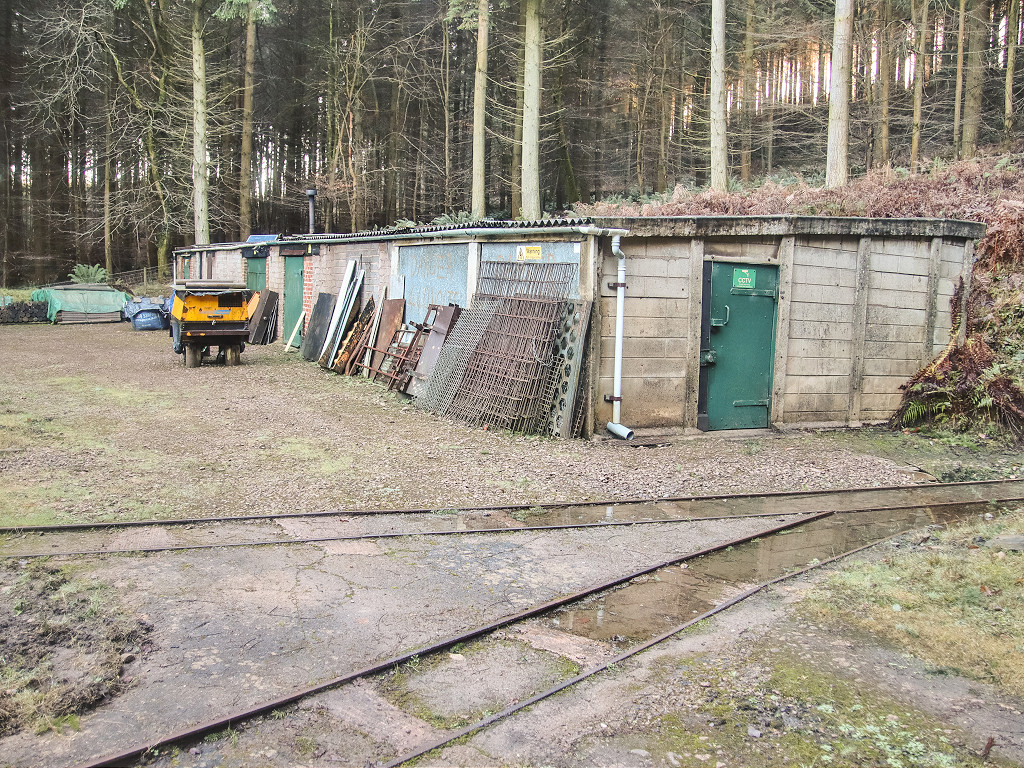
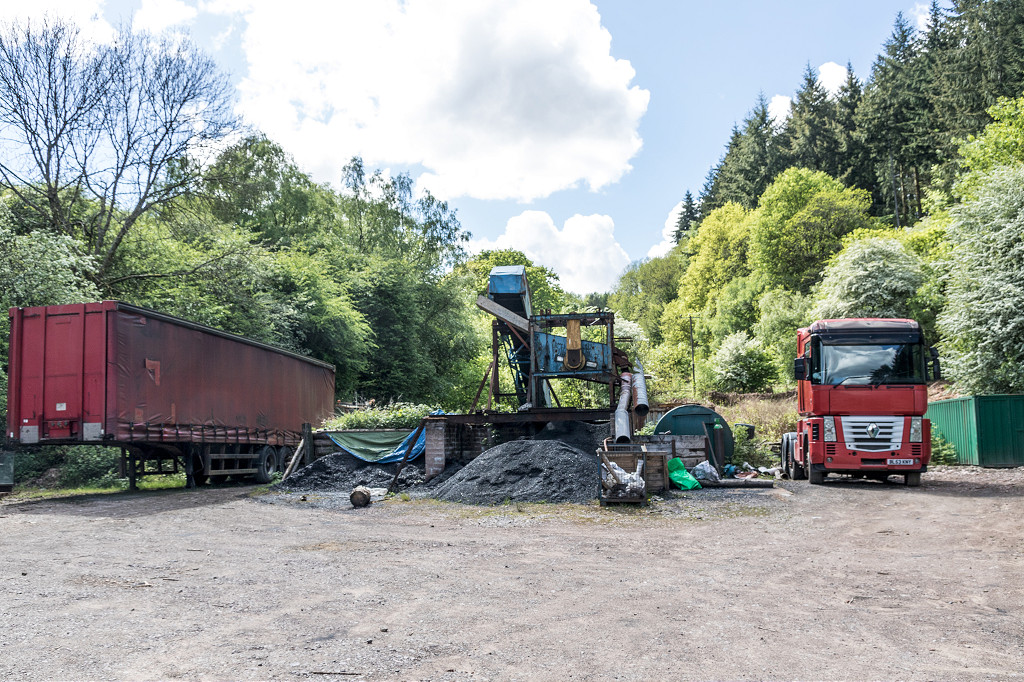
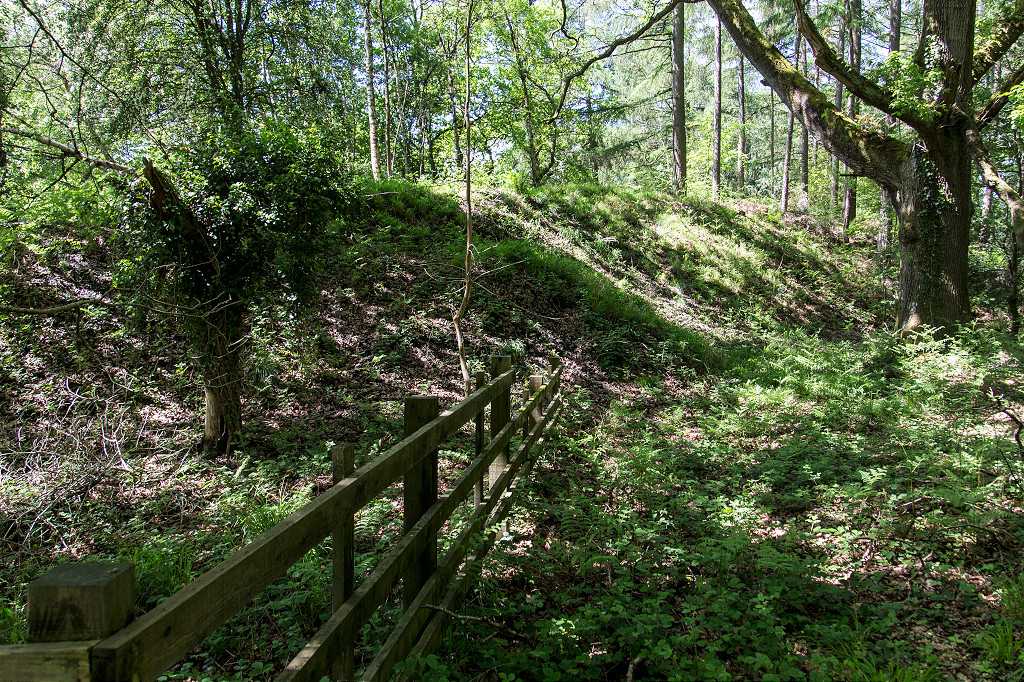
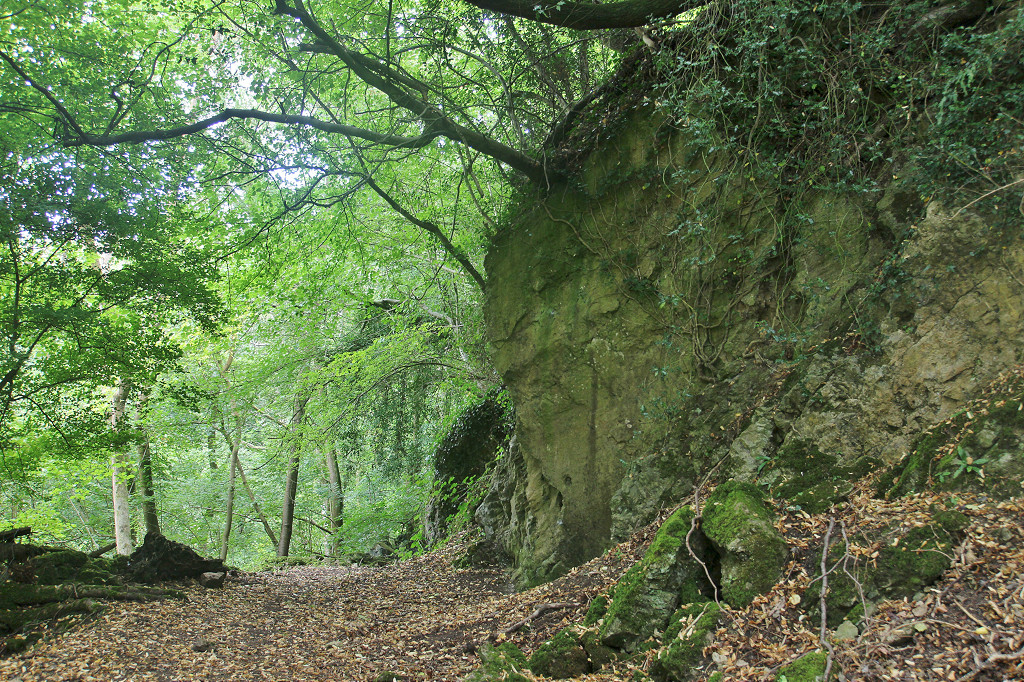
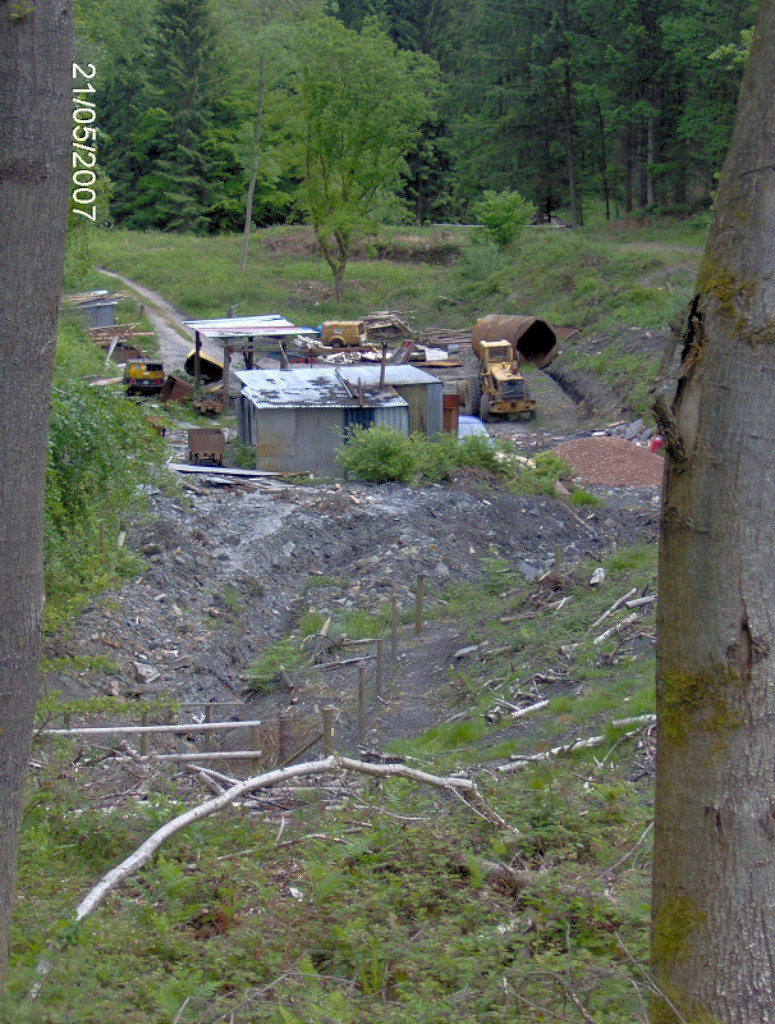
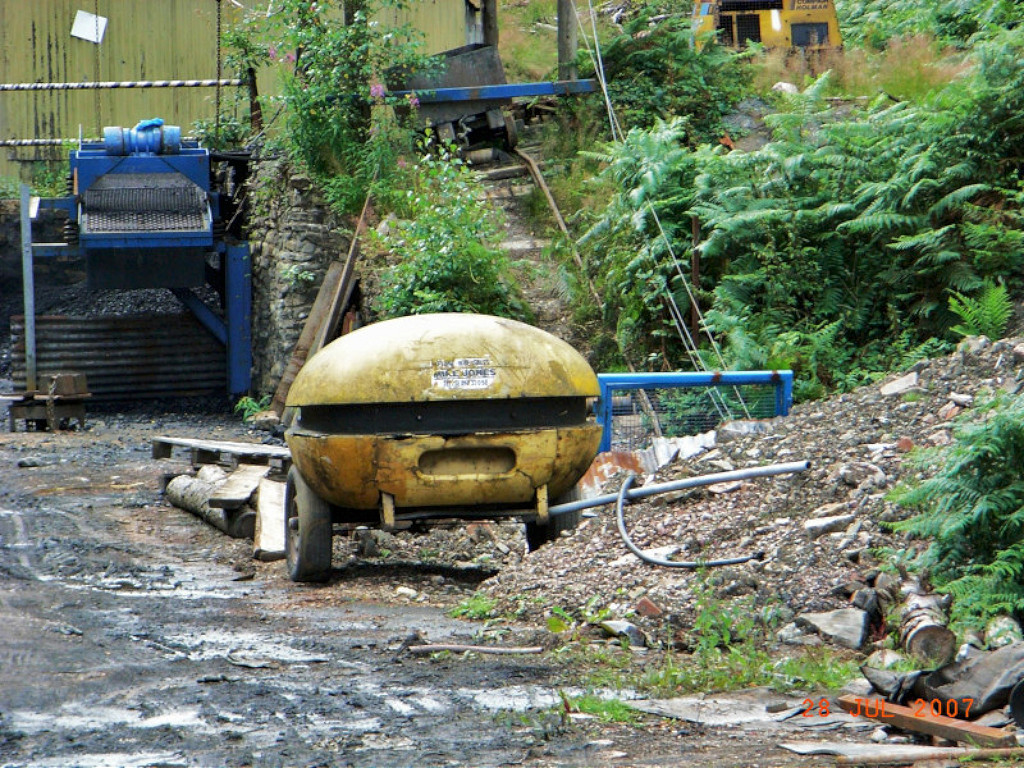
 Monument Colliery, Bixslade |
 Monument Colliery, Bixslade |
 Monument Colliery, Bixslade |
 Monument Colliery, Bixslade |
 Monument Colliery, Bixslade |
 Monument Colliery, Bixslade |
 Monument Colliery, Bixslade |
 Monument Colliery, Bixslade |
 Monument Colliery, Bixslade |
 Monument Colliery, Bixslade |
 Monument Colliery, Bixslade |
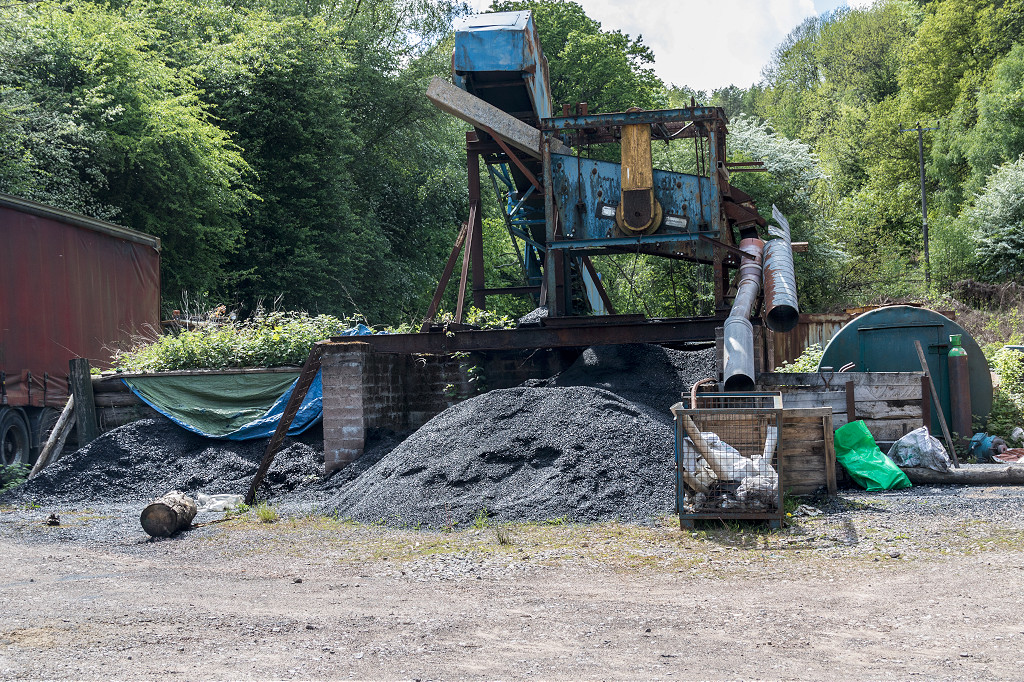
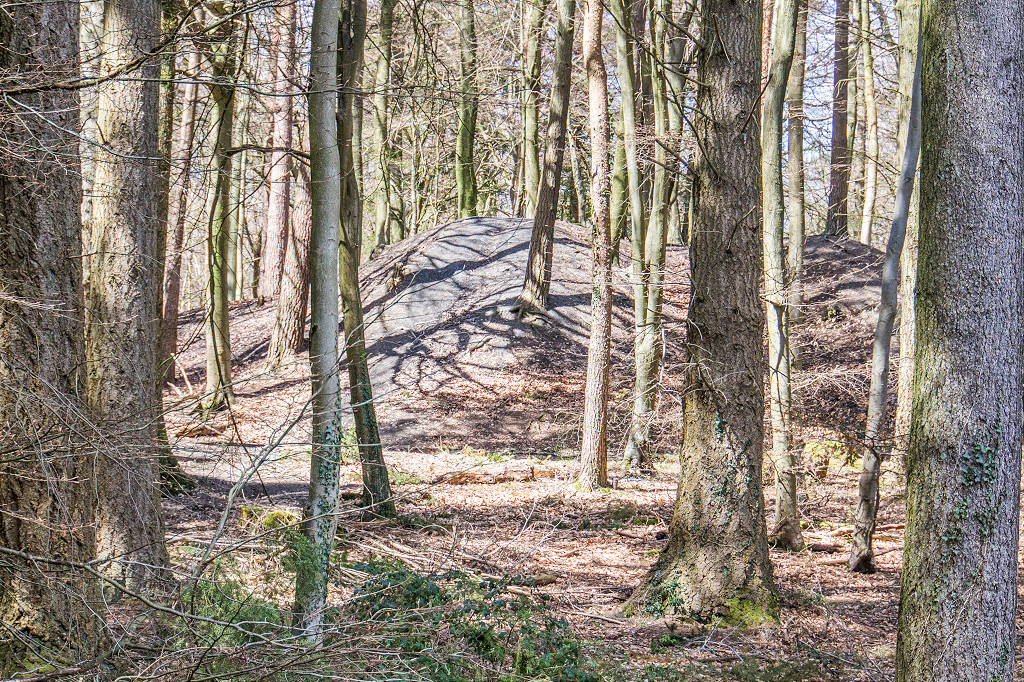
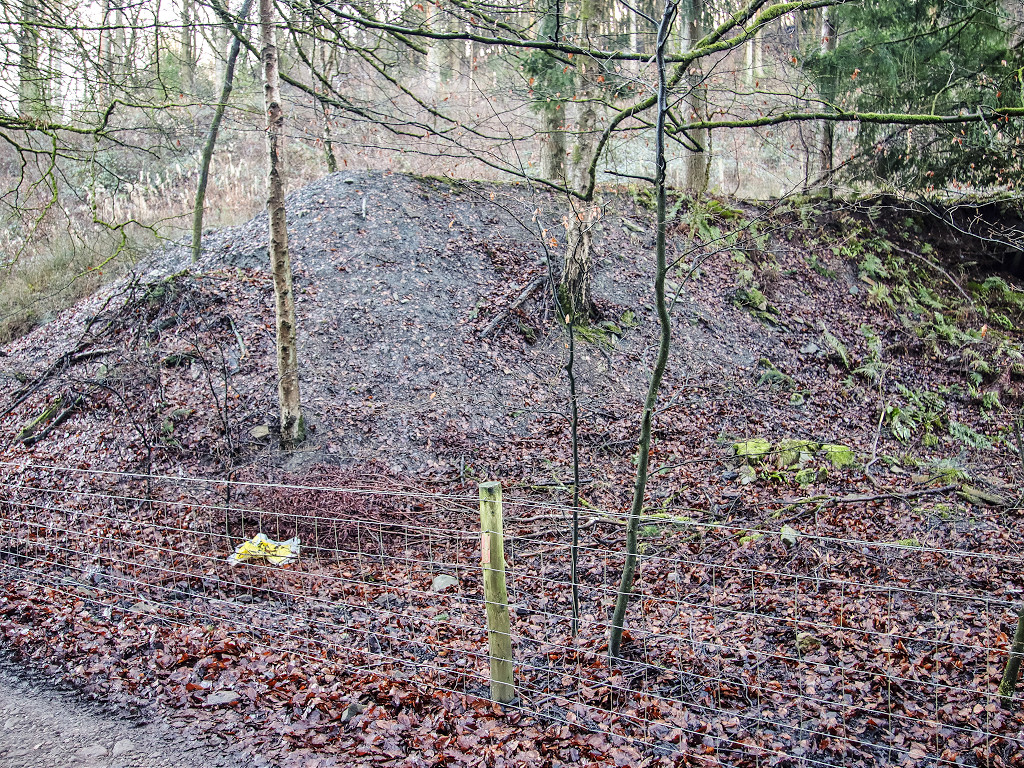 Monument Colliery tips, Bixslade |
 Monument Colliery, Bixslade |
 Monument Colliery, Bixslade |
 Monument Colliery, Bixslade |
 Monument Colliery, Bixslade |
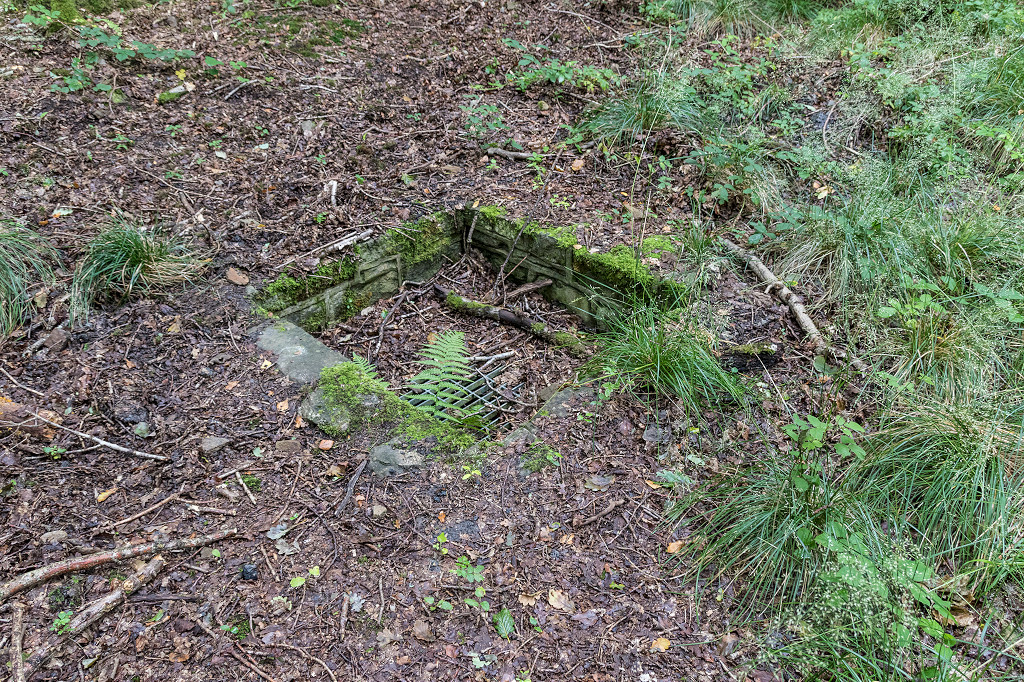
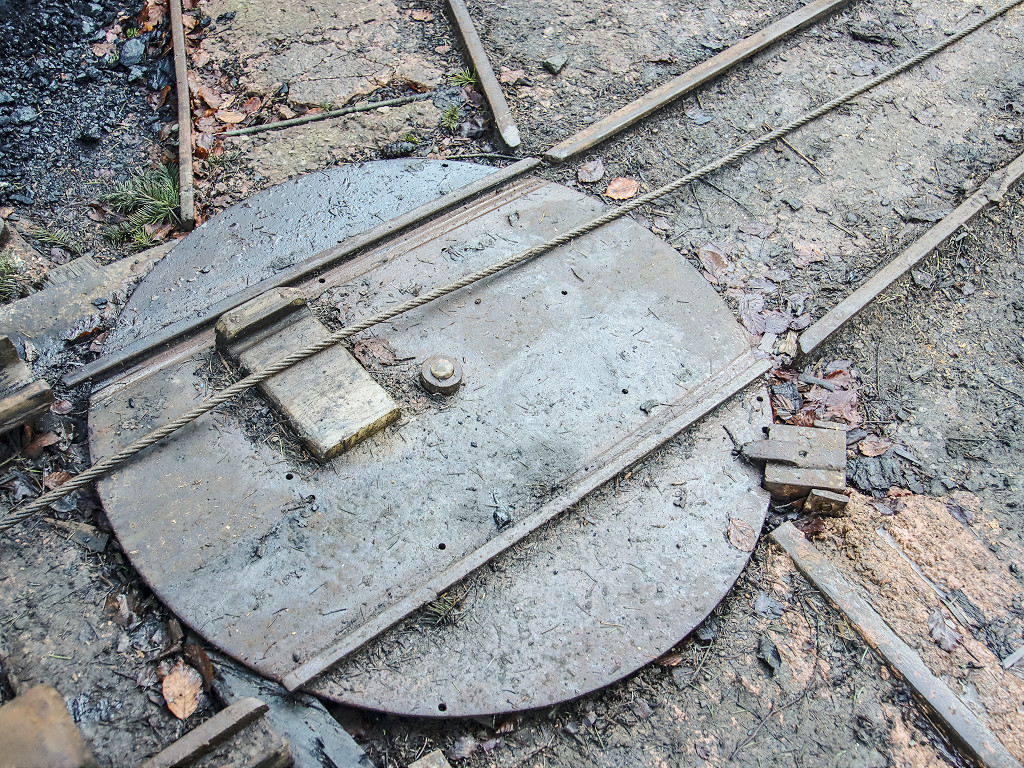
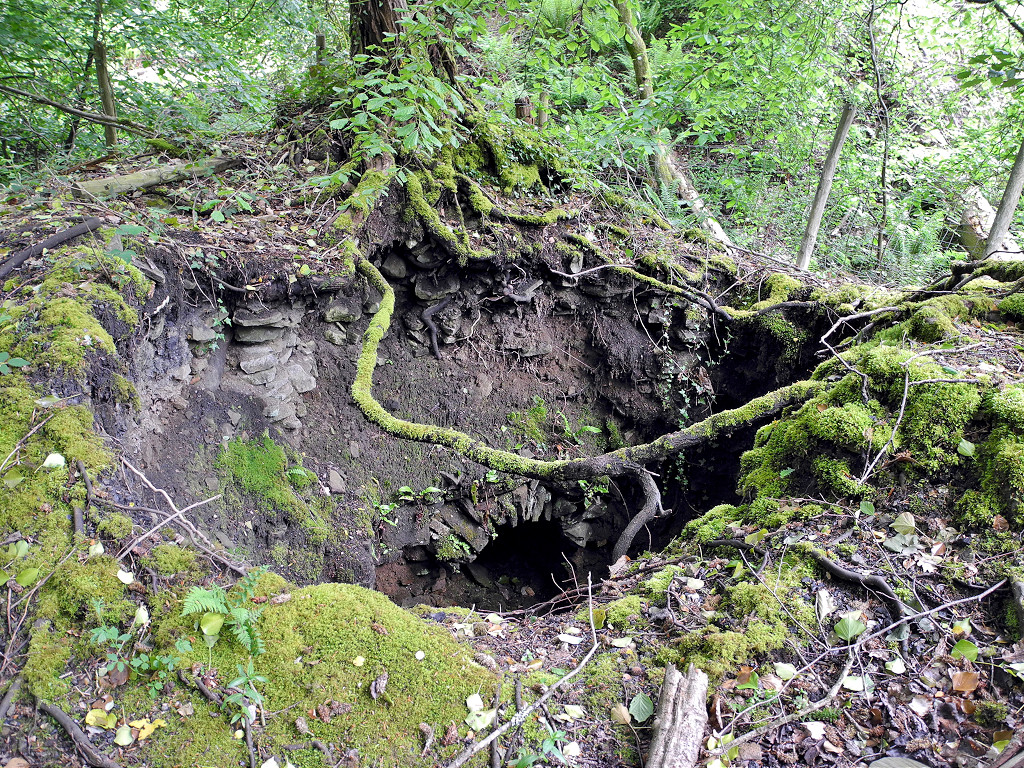
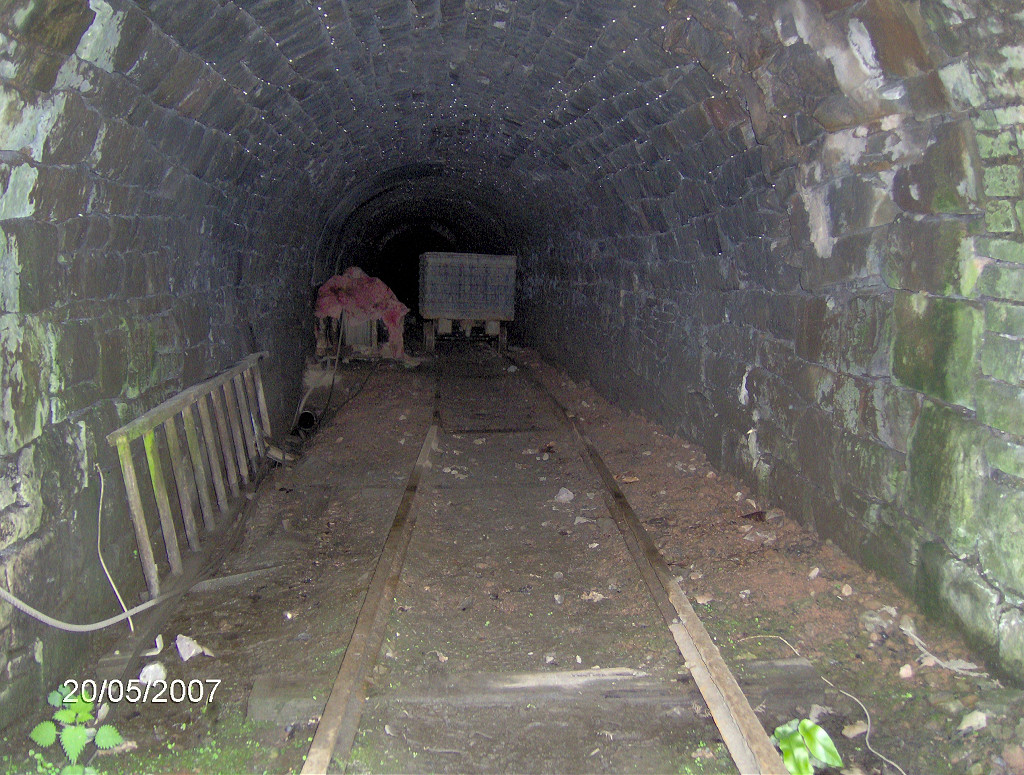
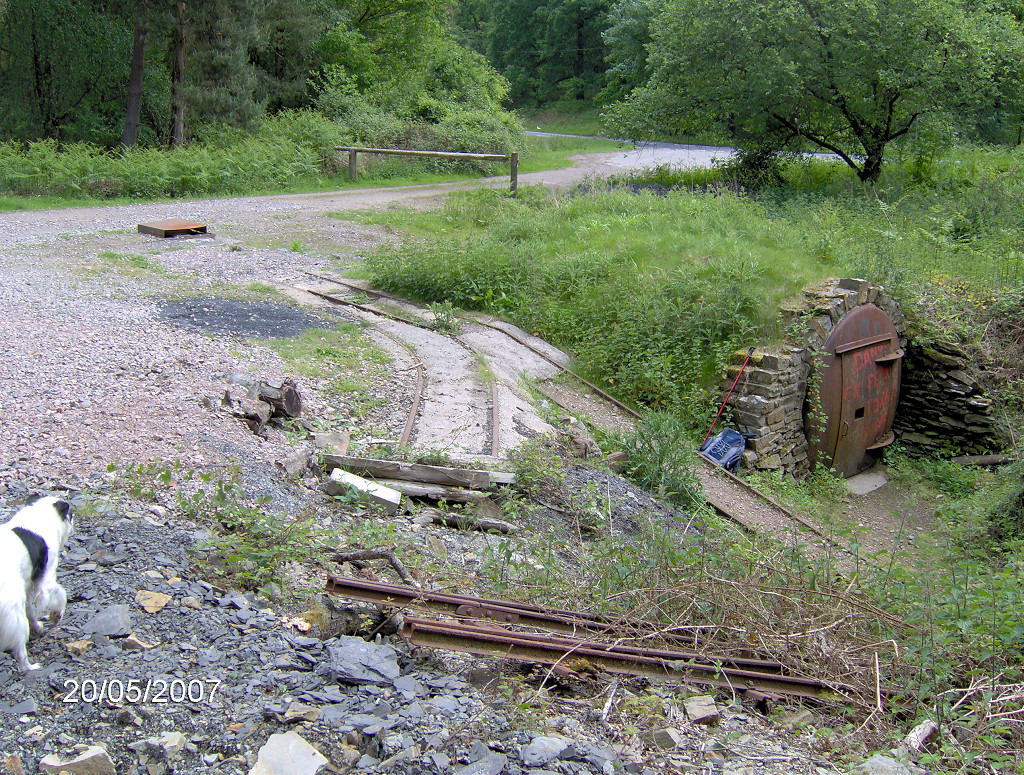
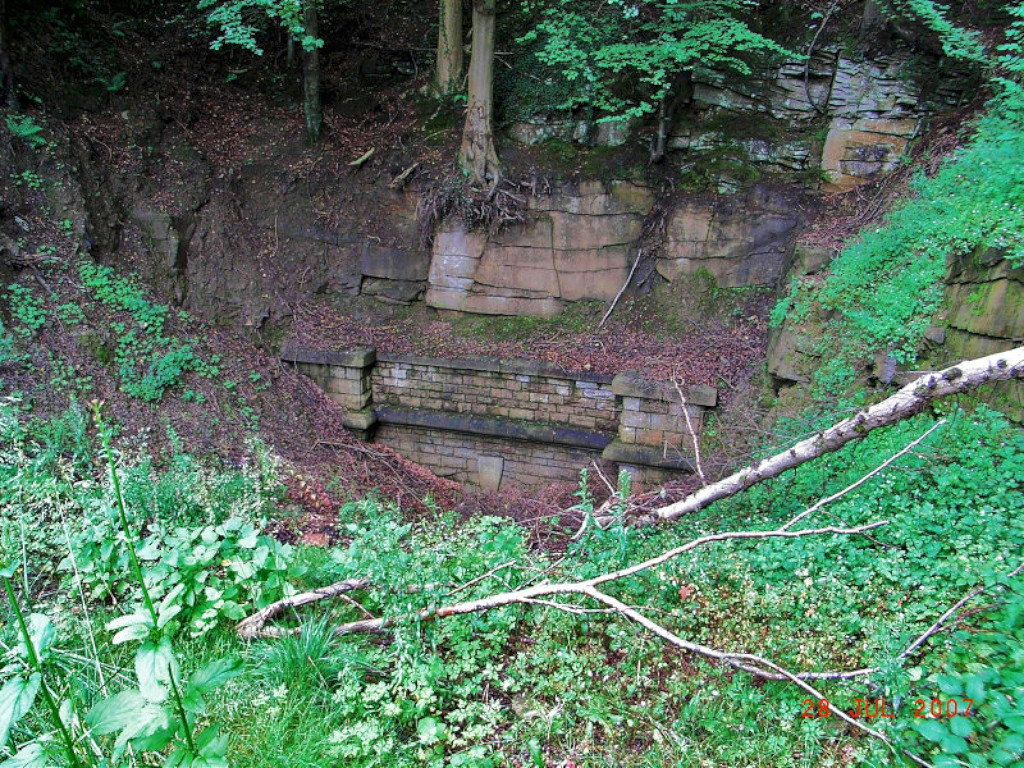
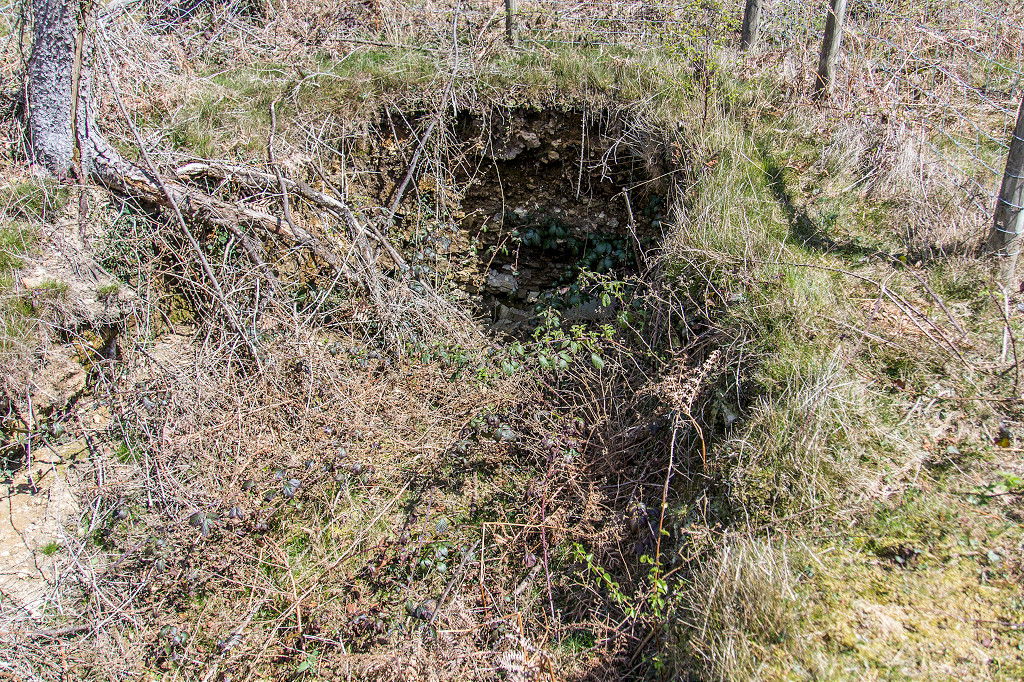
 Bixslade Deep Level,1920 |
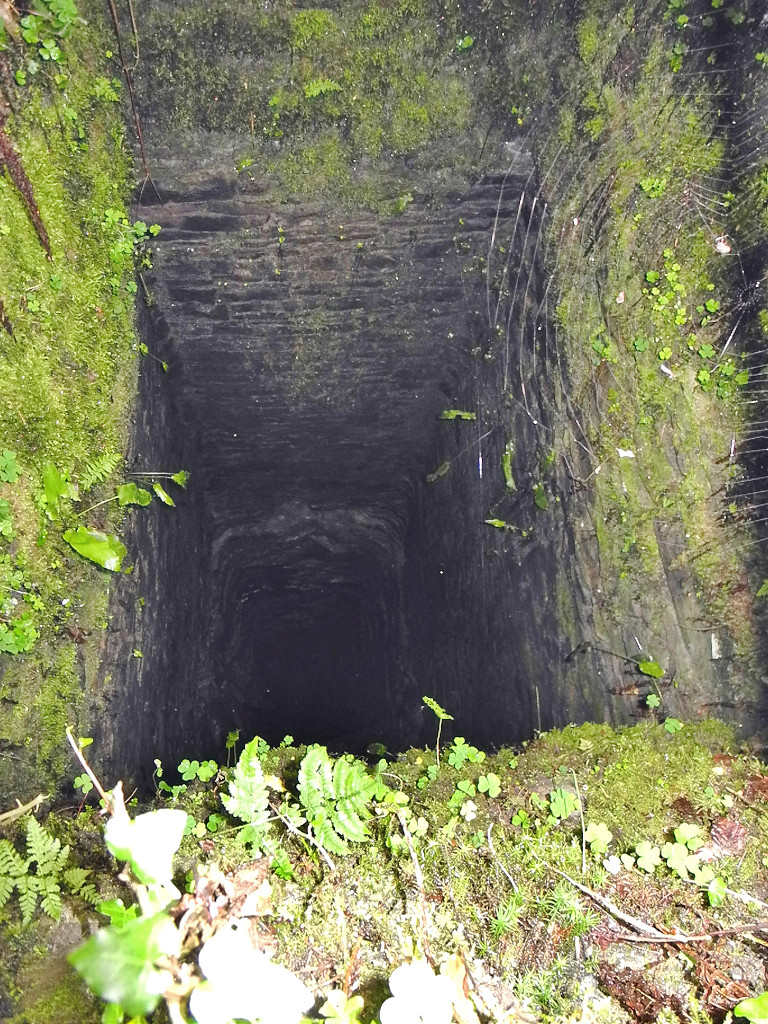
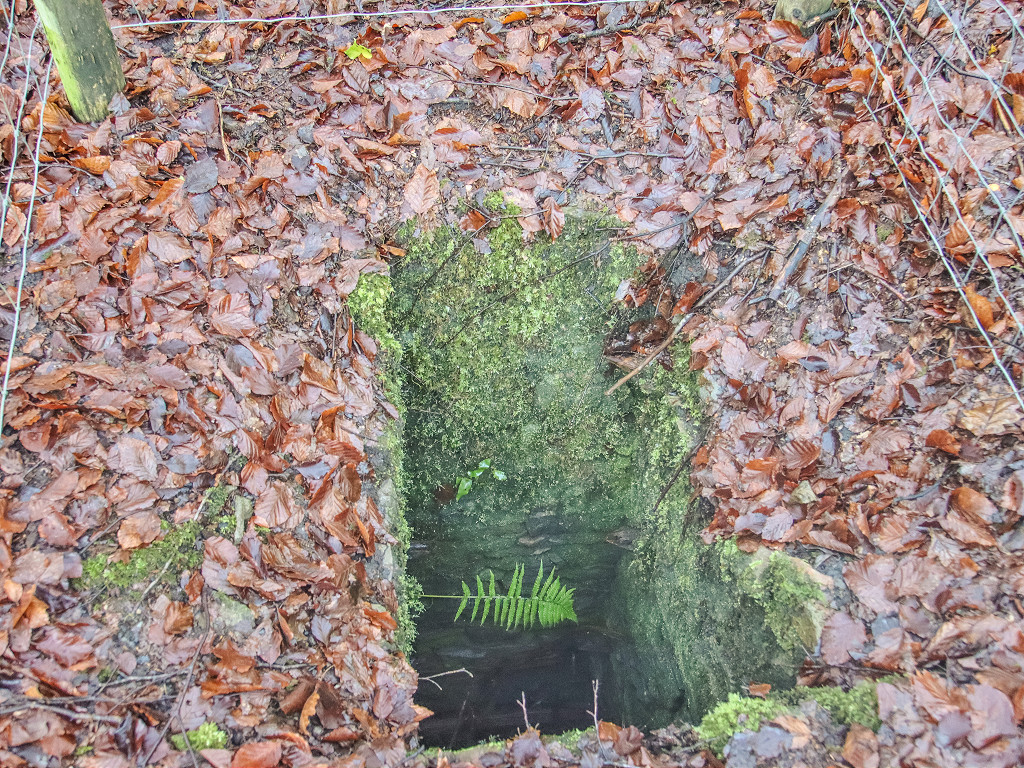 Bixslade Deep Level shaft |
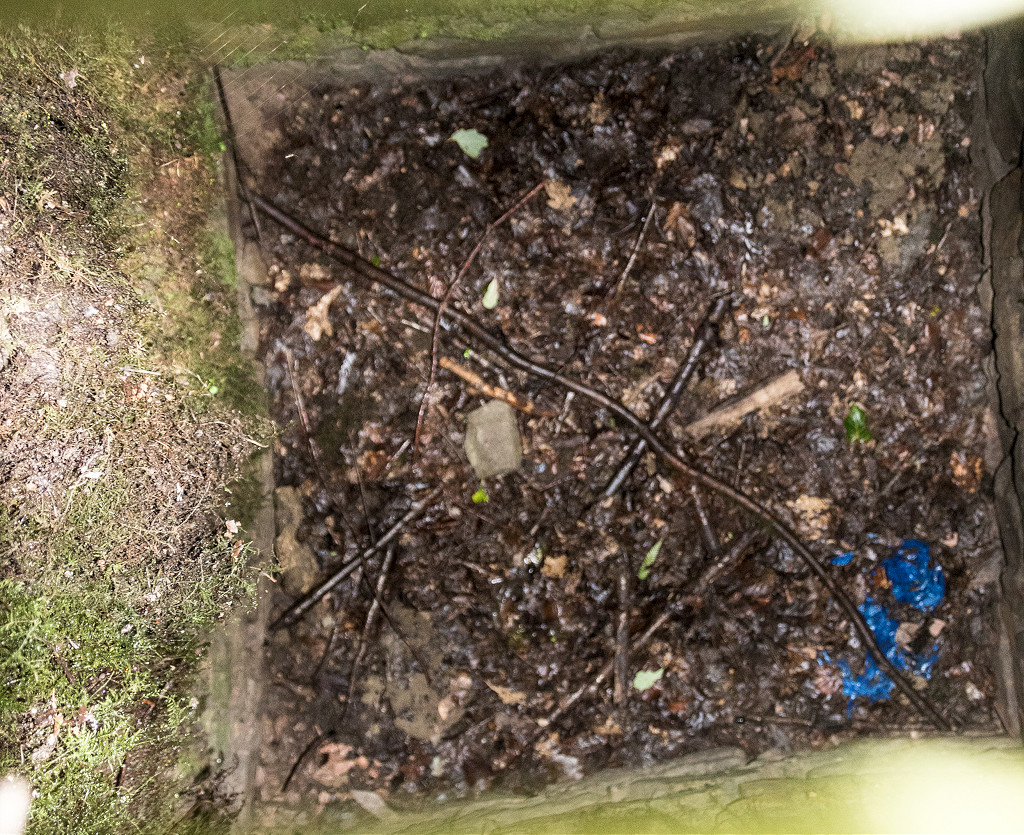
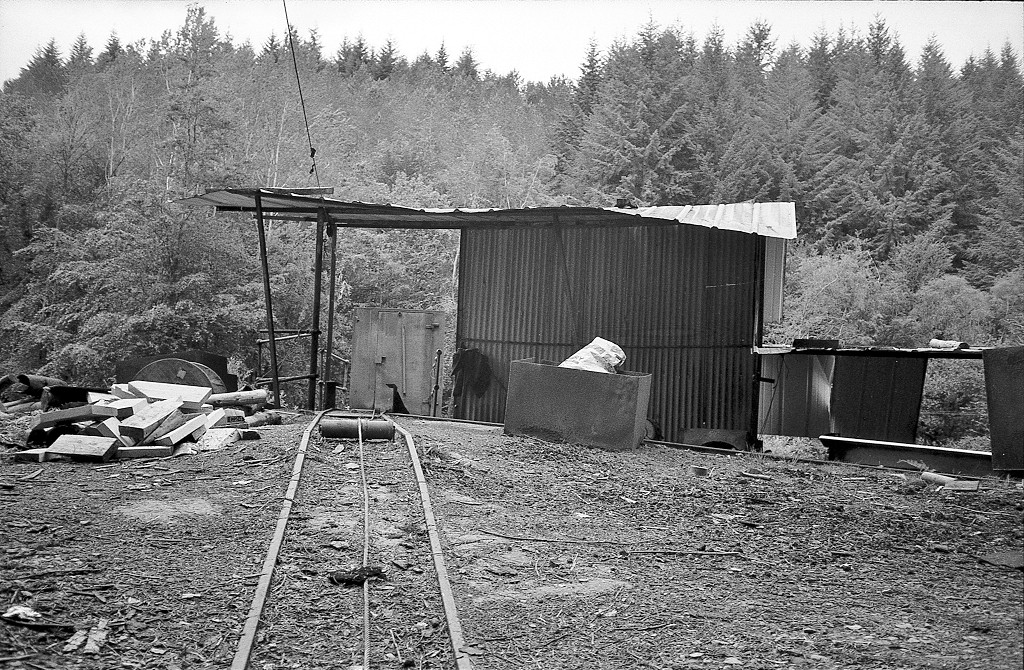
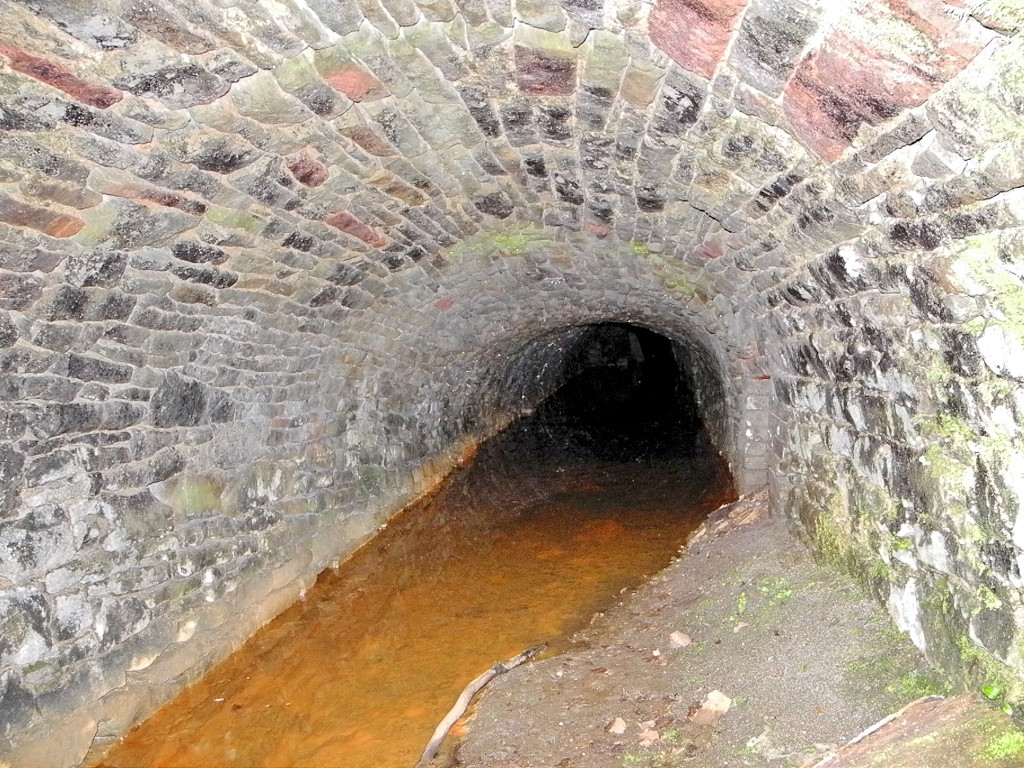
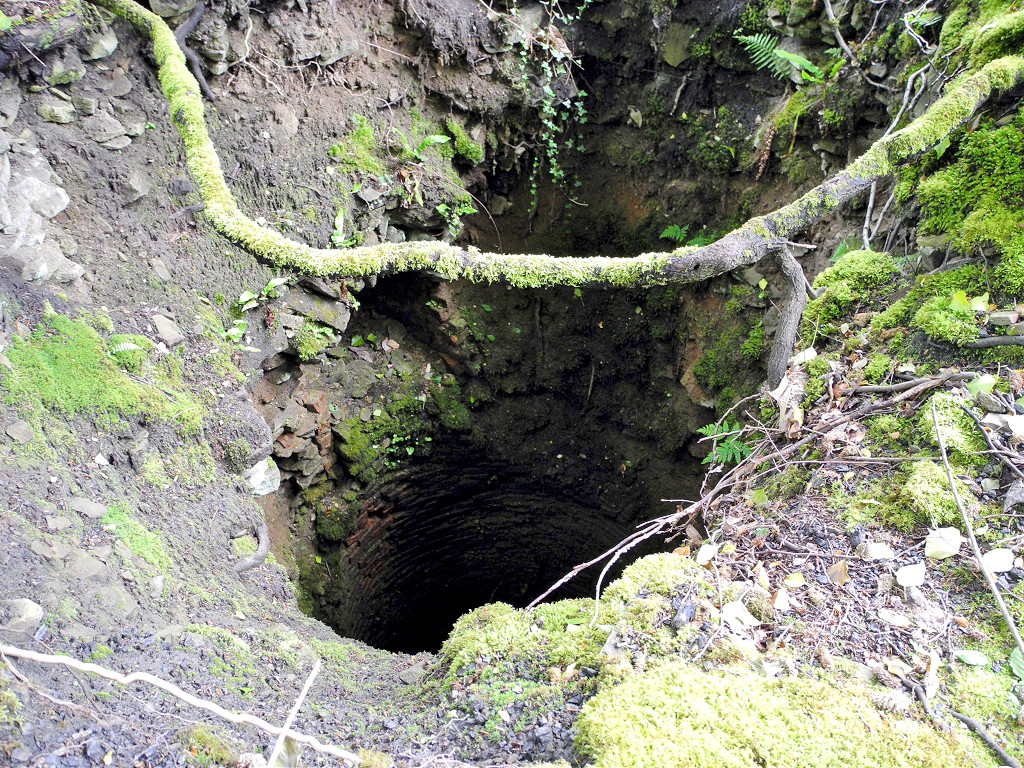
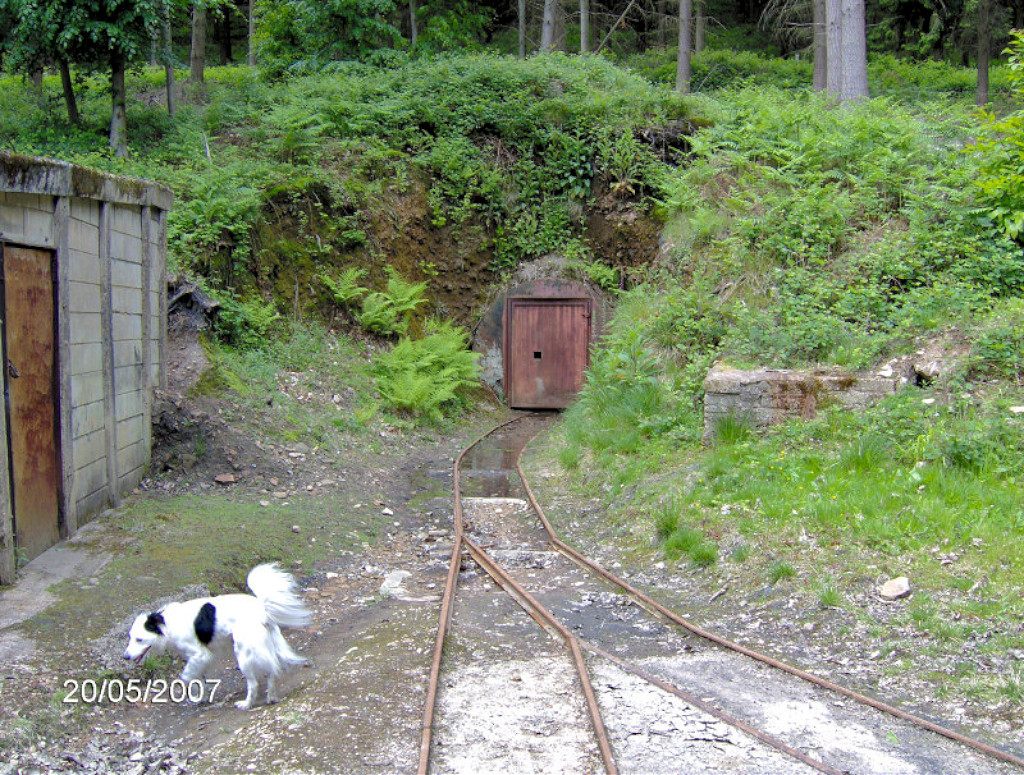
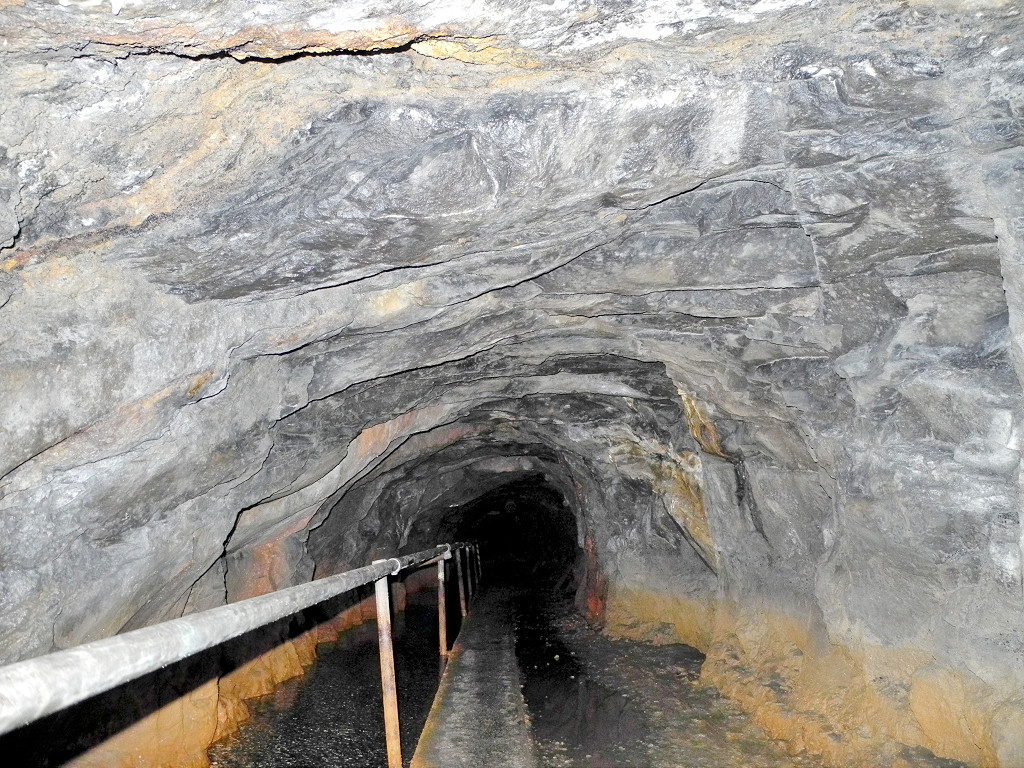
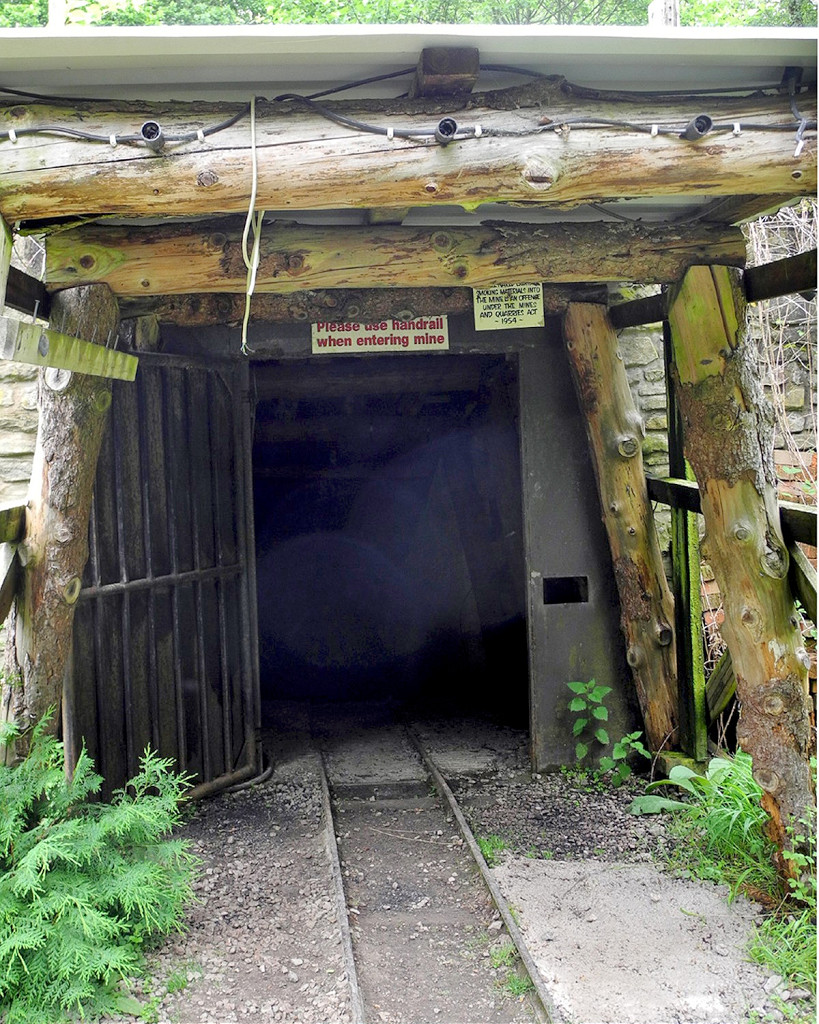
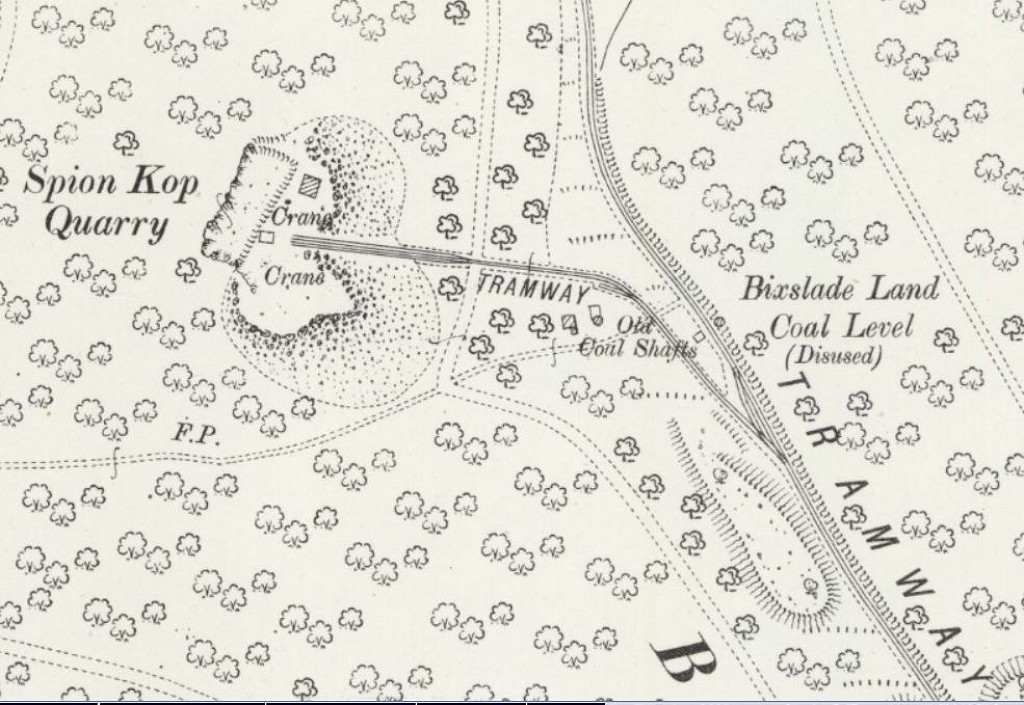 Bixslade Land Level, 1900 |
 Bixslade Land Level, 1920 |
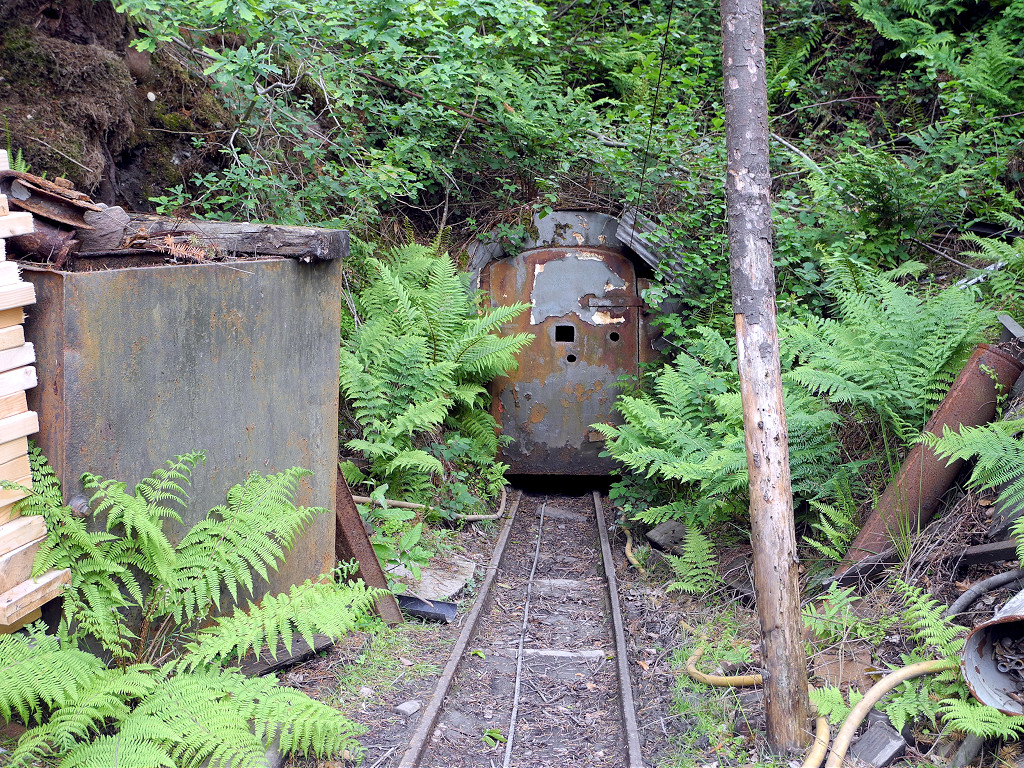
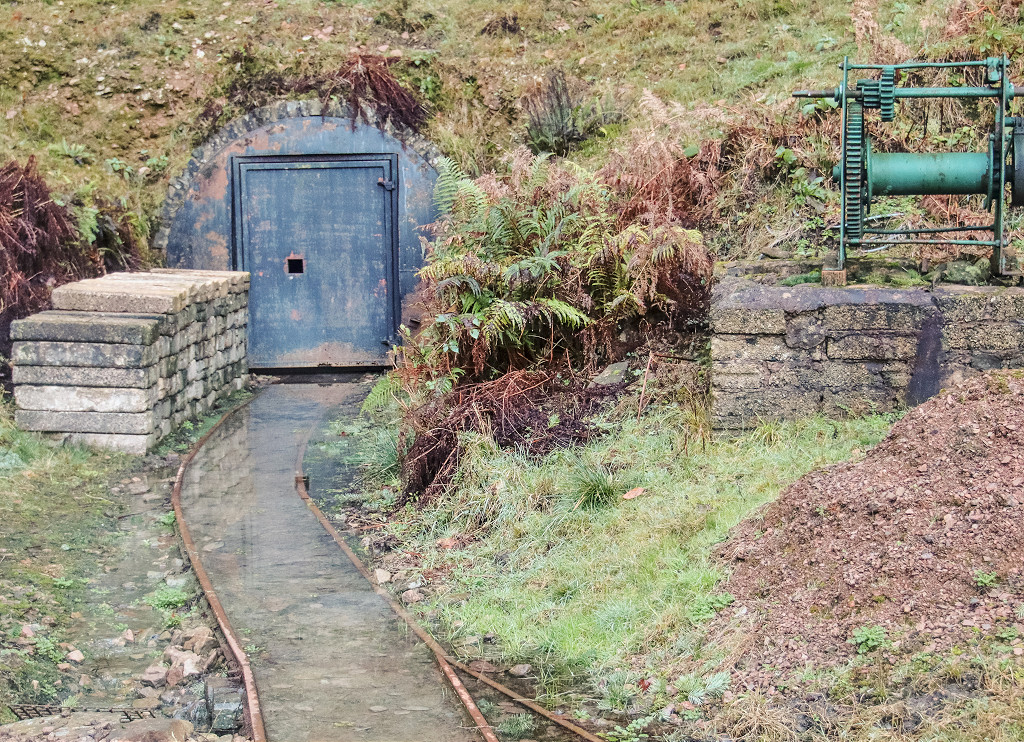
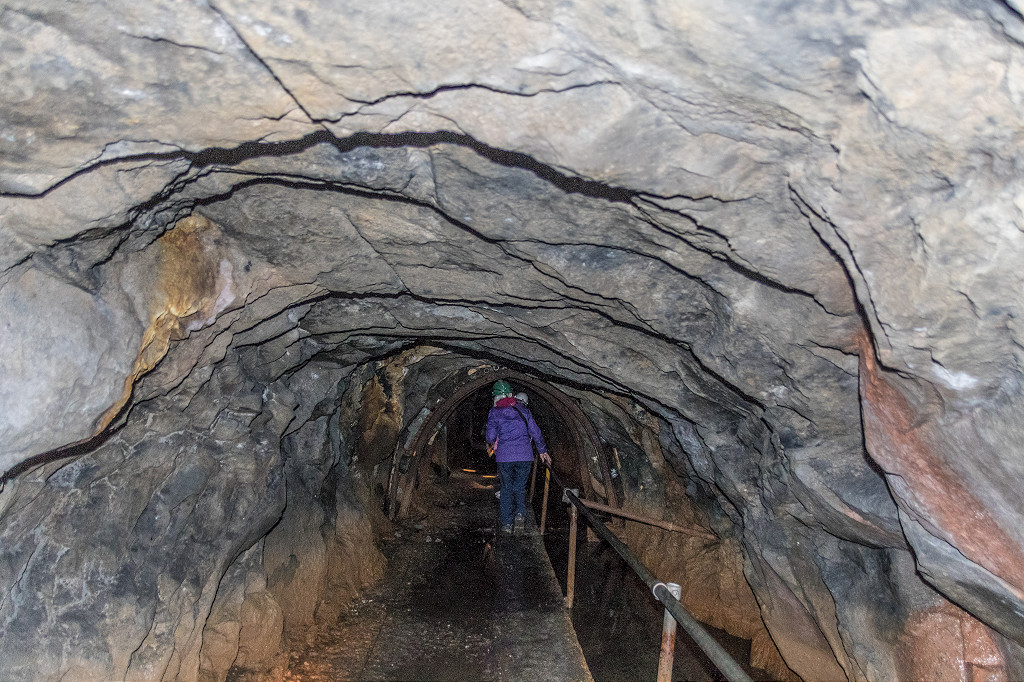
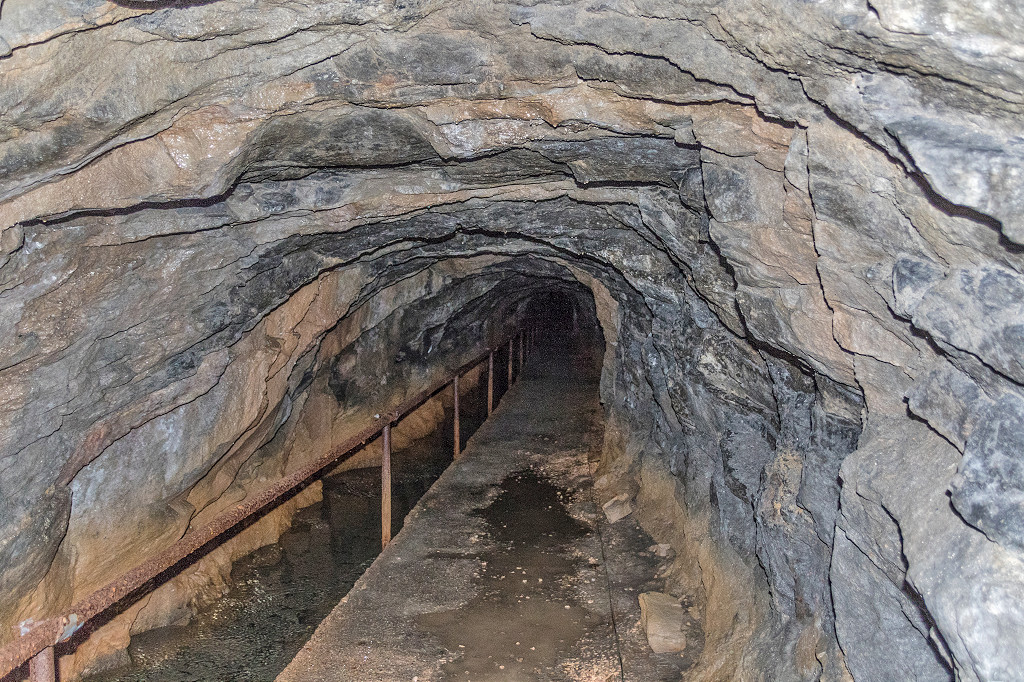
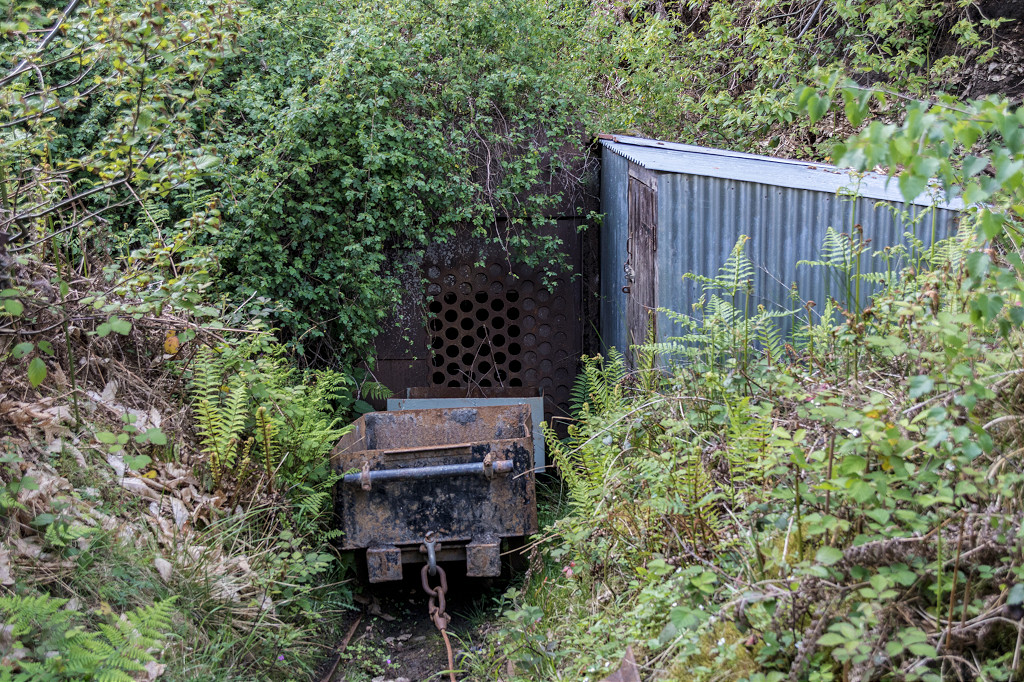
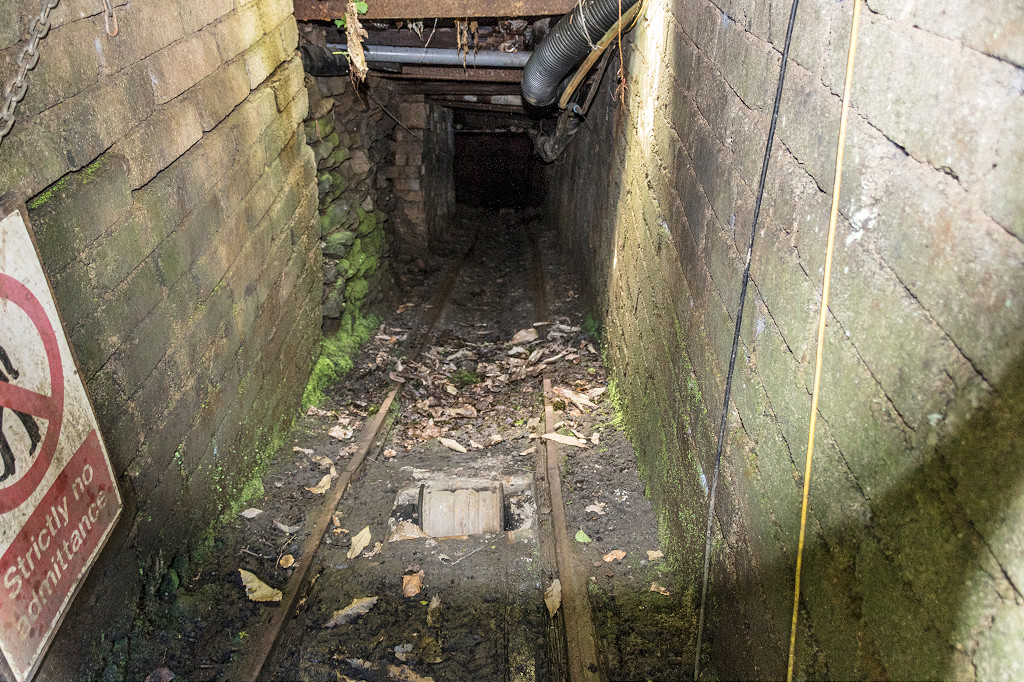
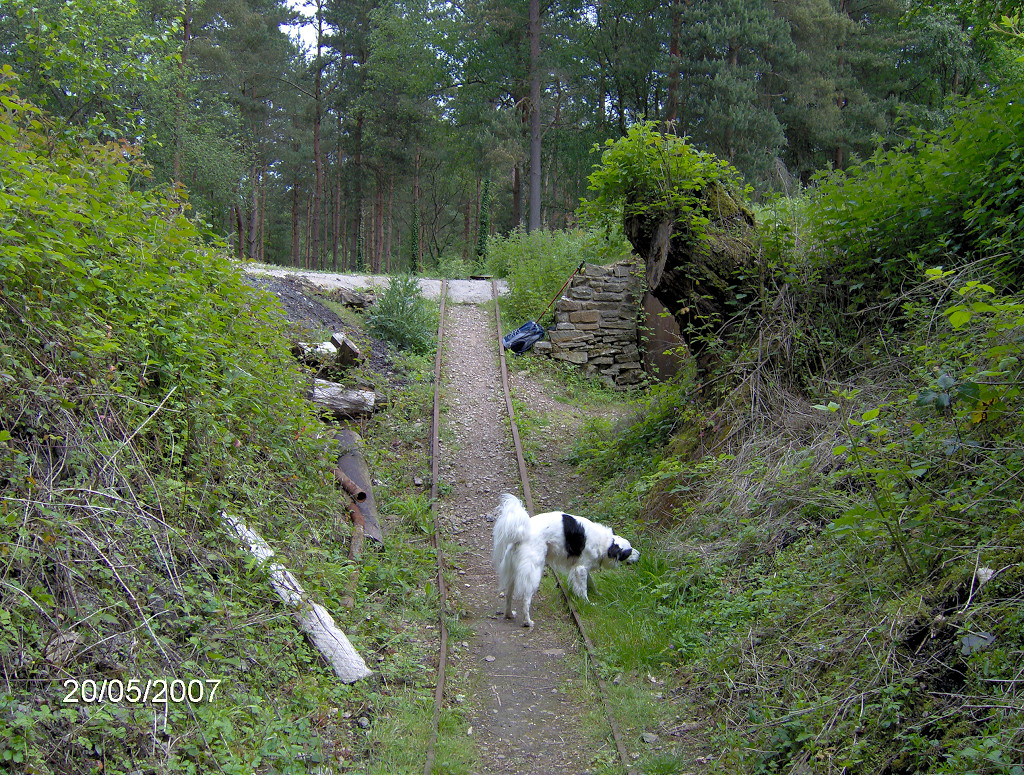
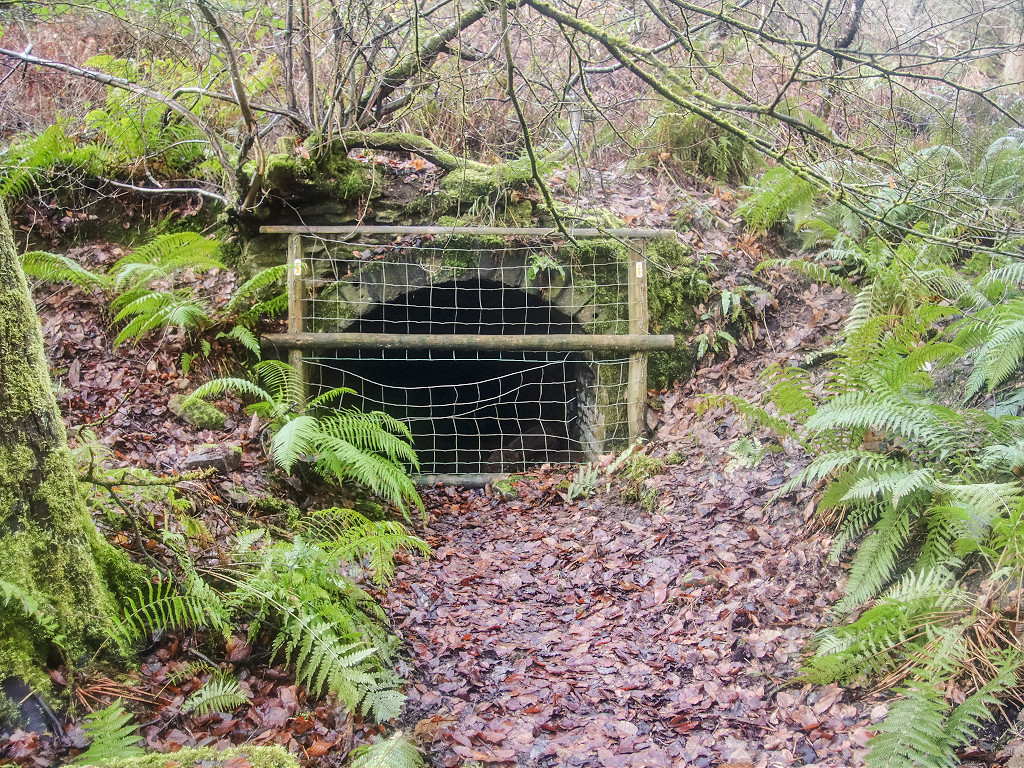 Bixslade Land Level, 2022 |
 Bixslade Land Level, 2022 |
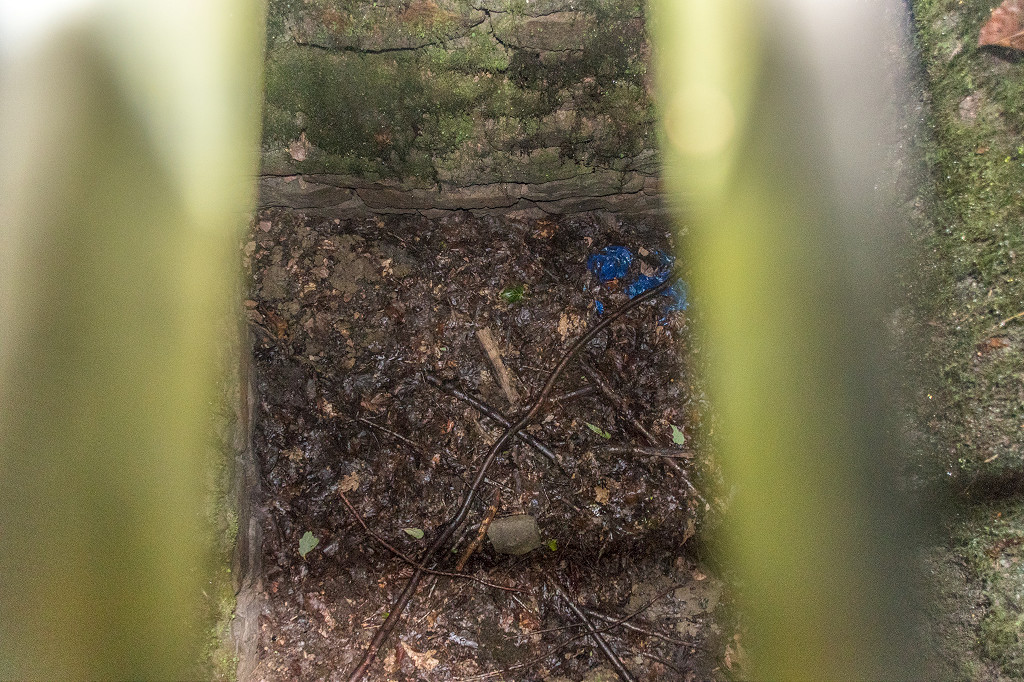
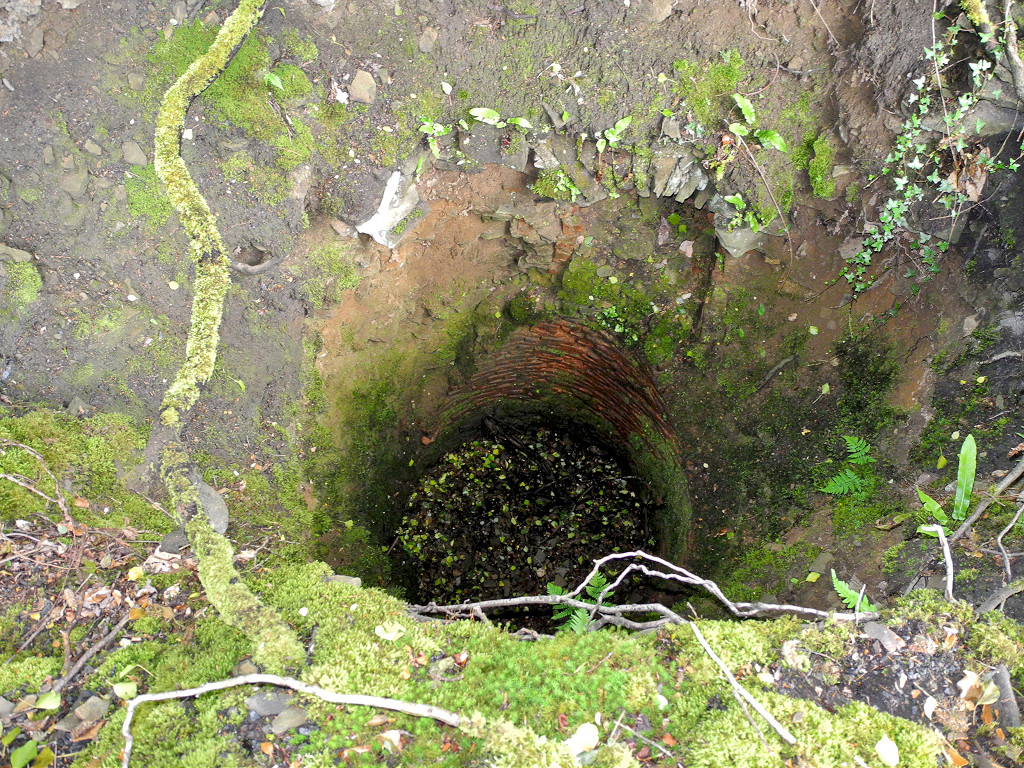
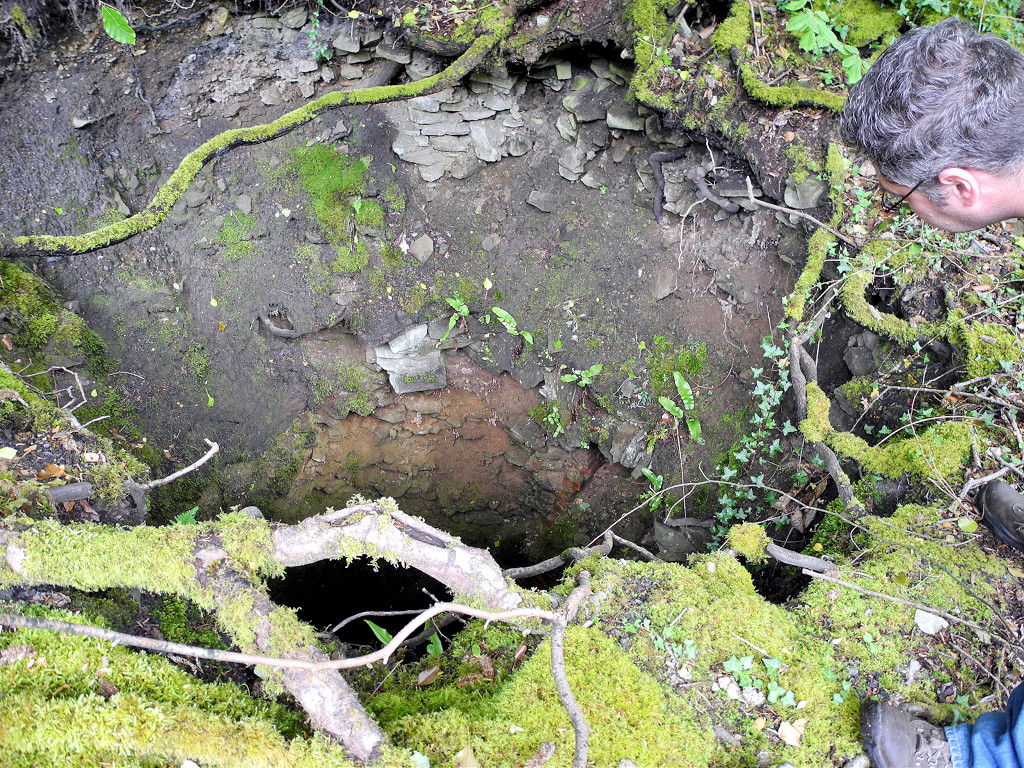
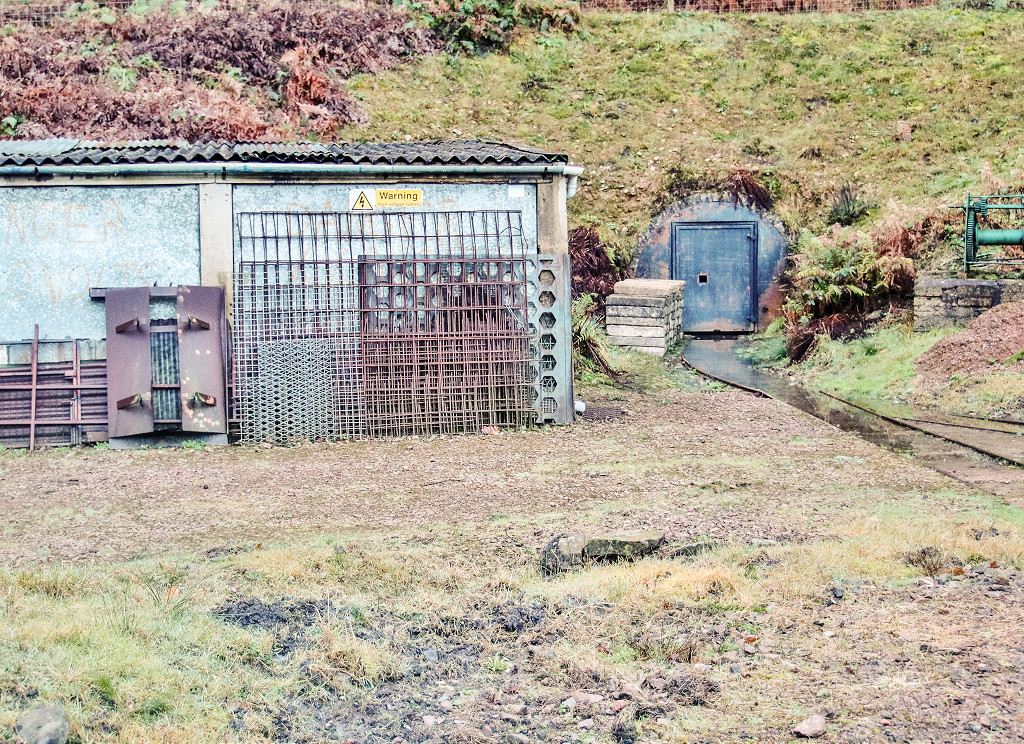
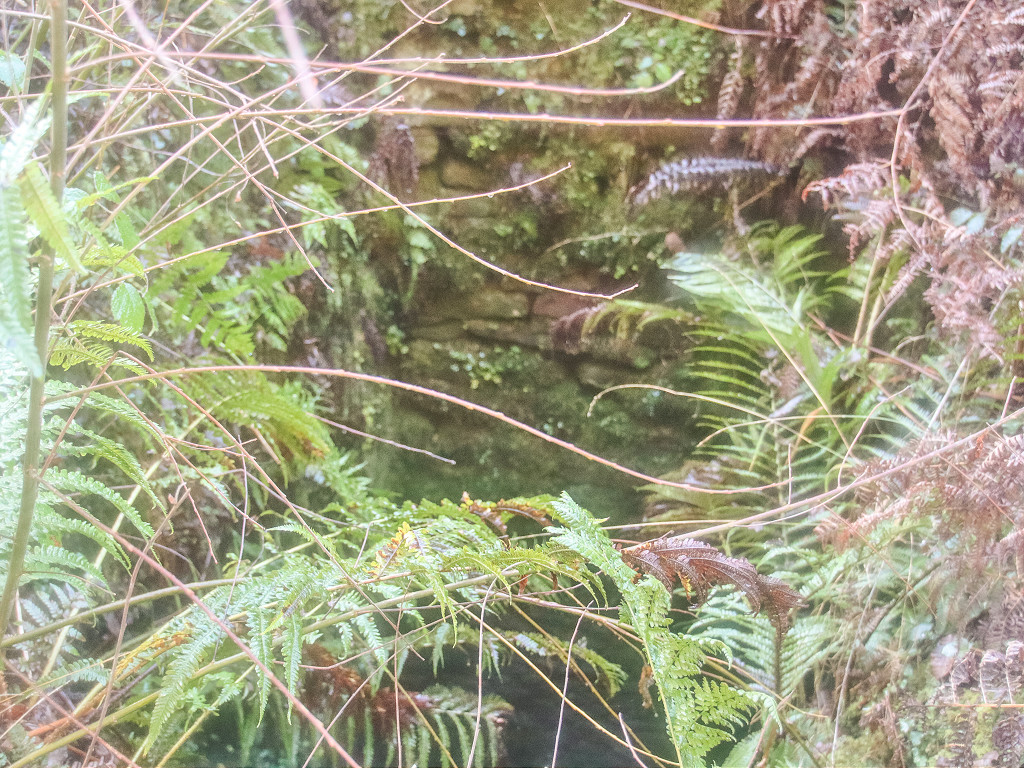 Bixslade Land Level shaft, 2022 |
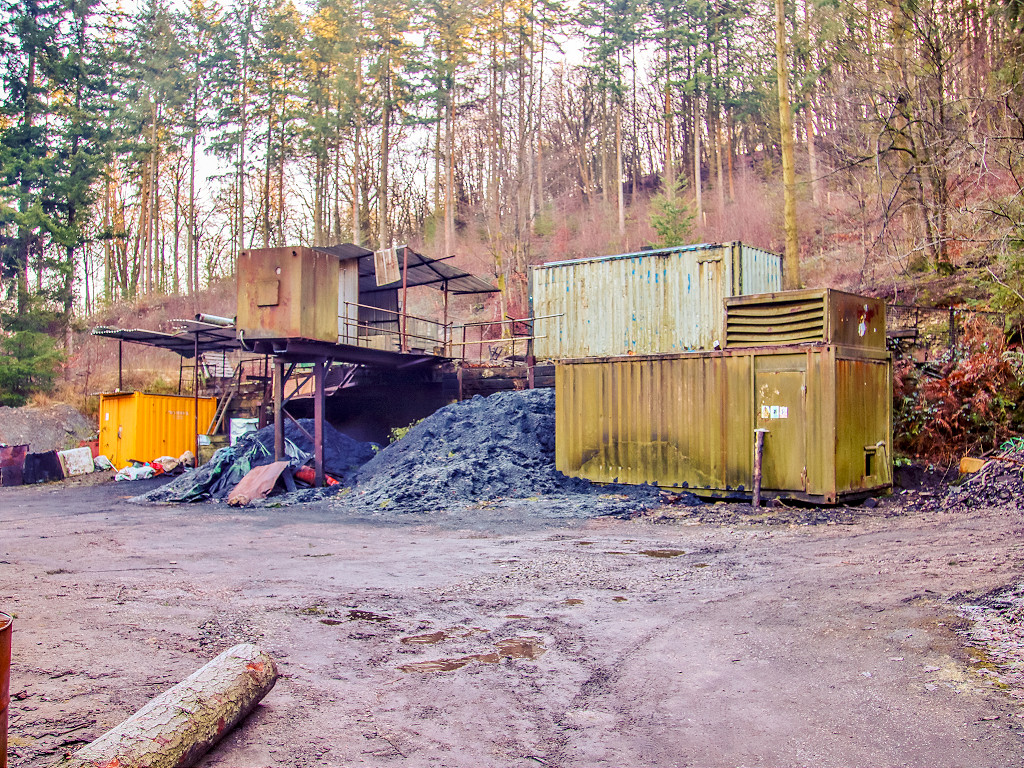
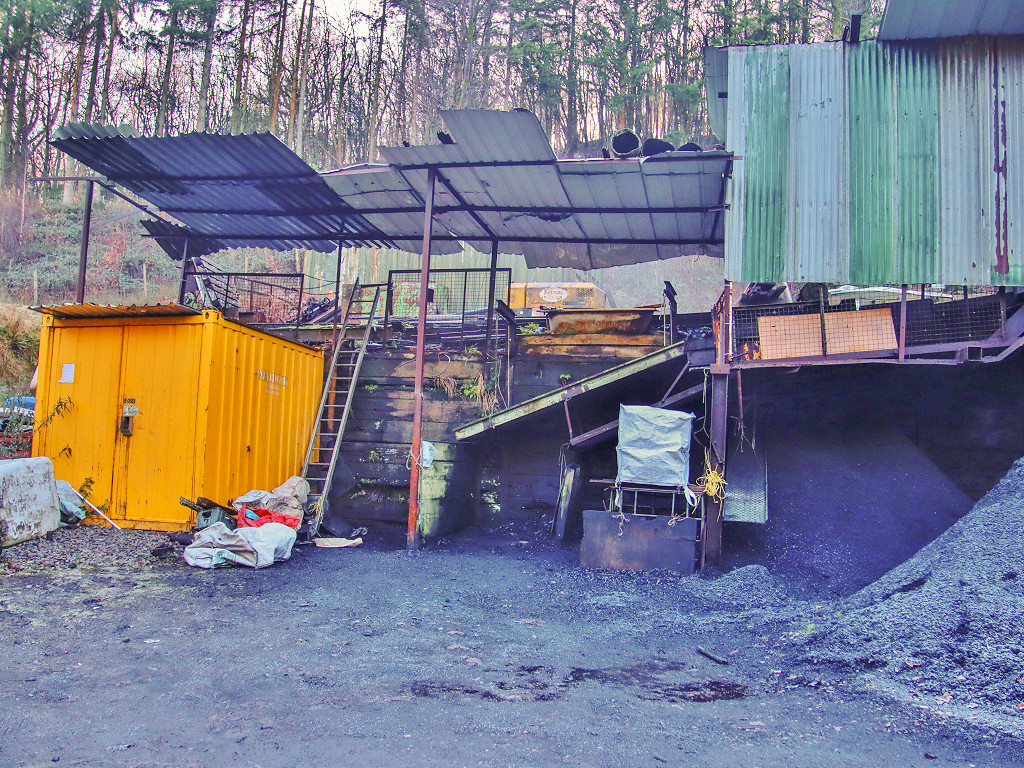
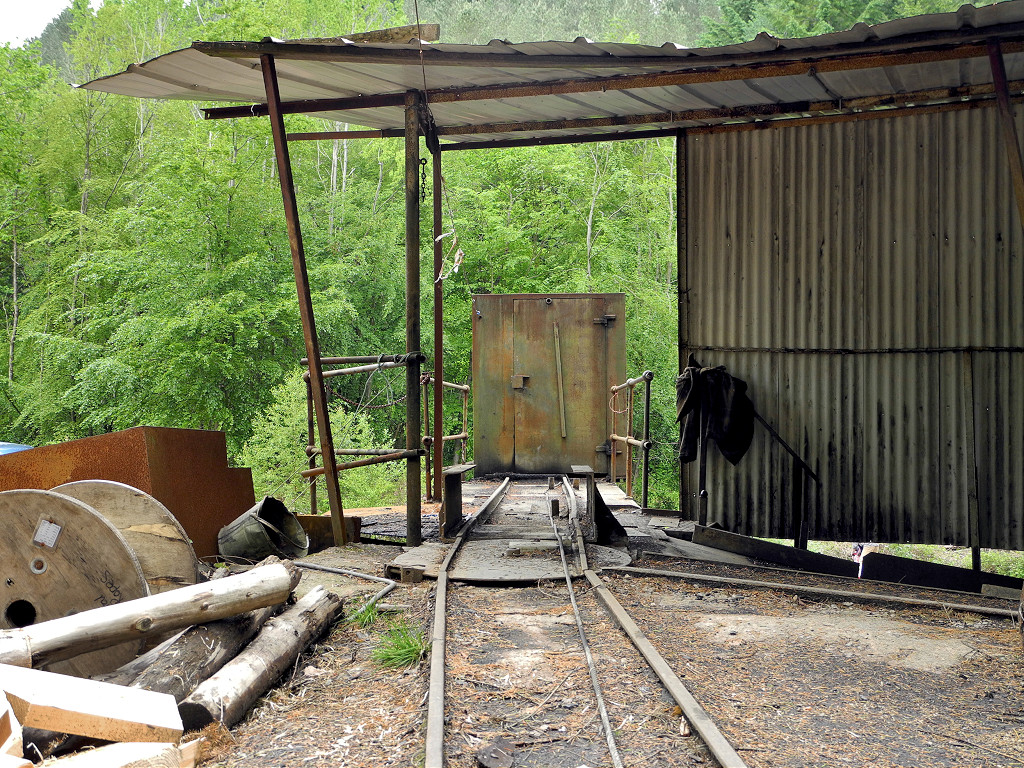
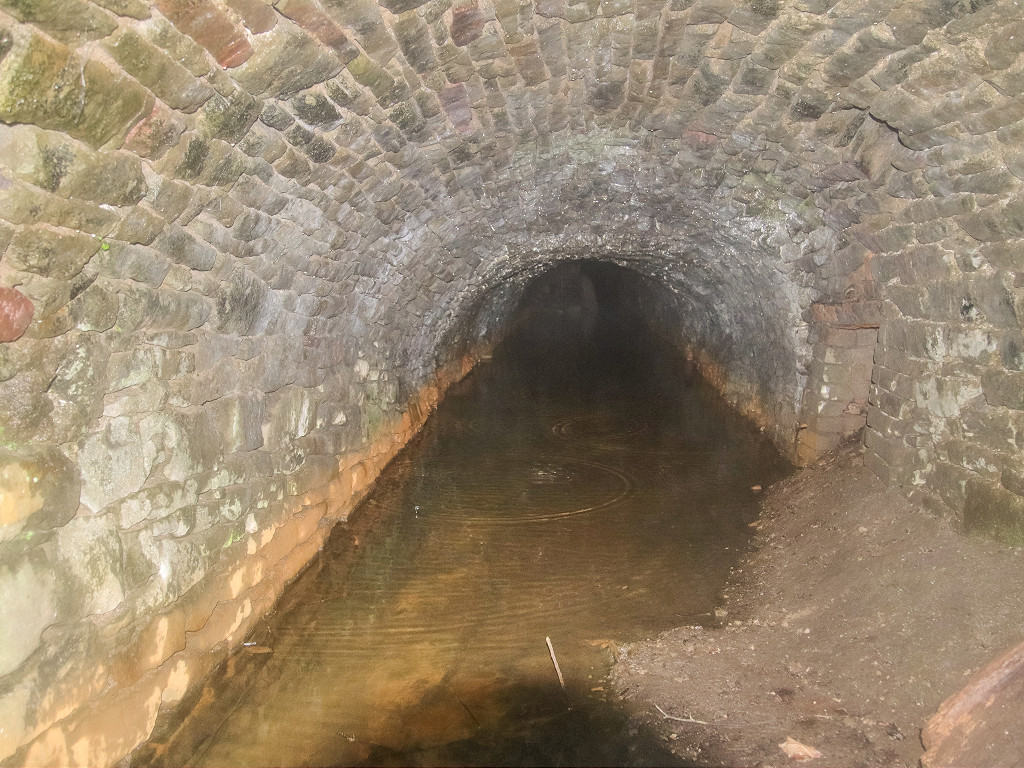
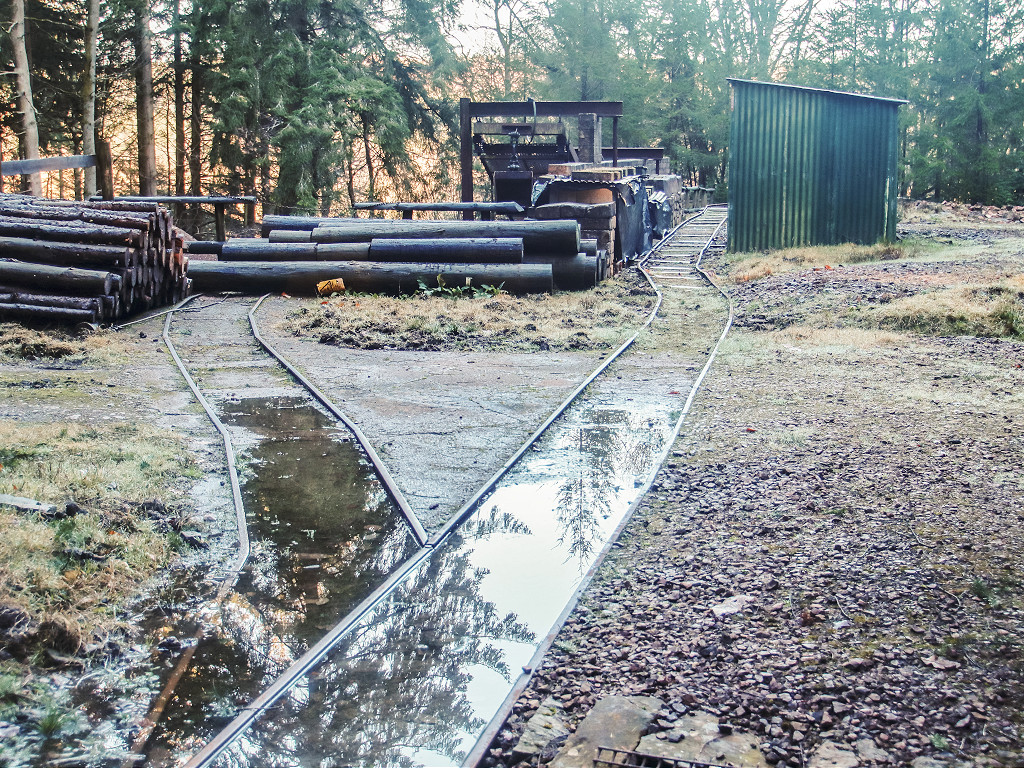
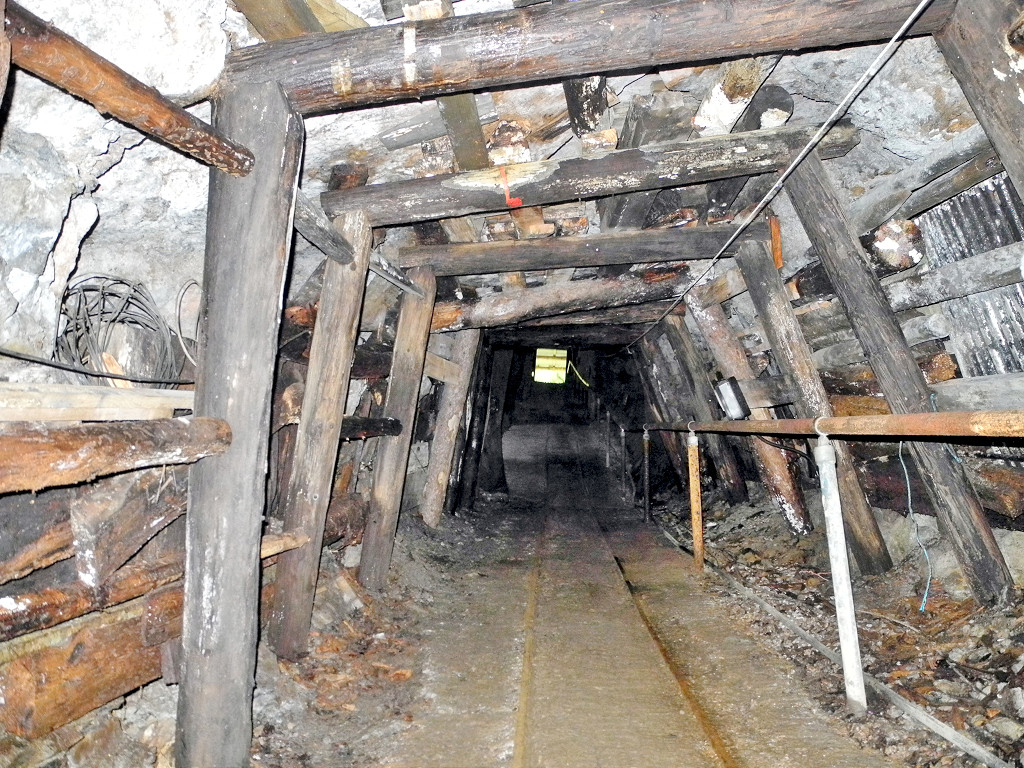
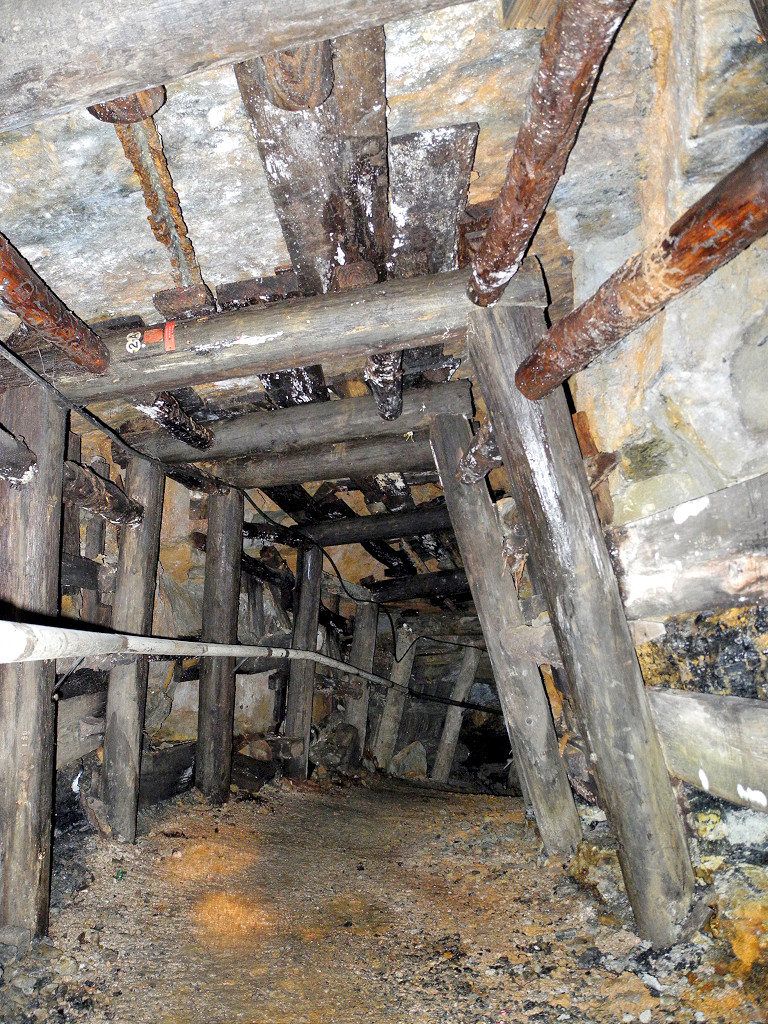
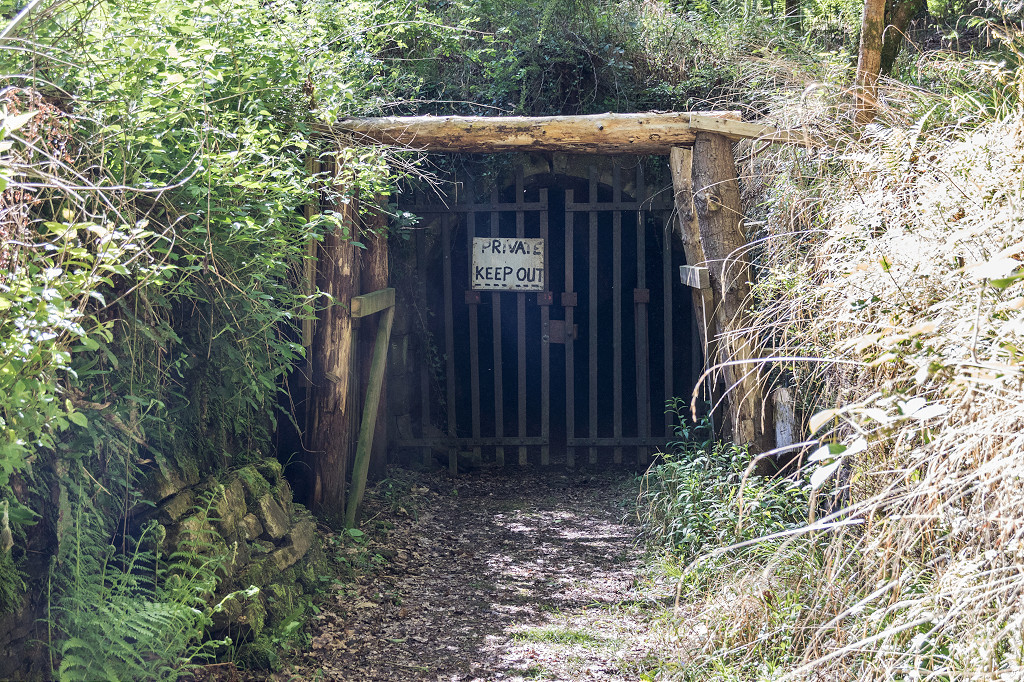
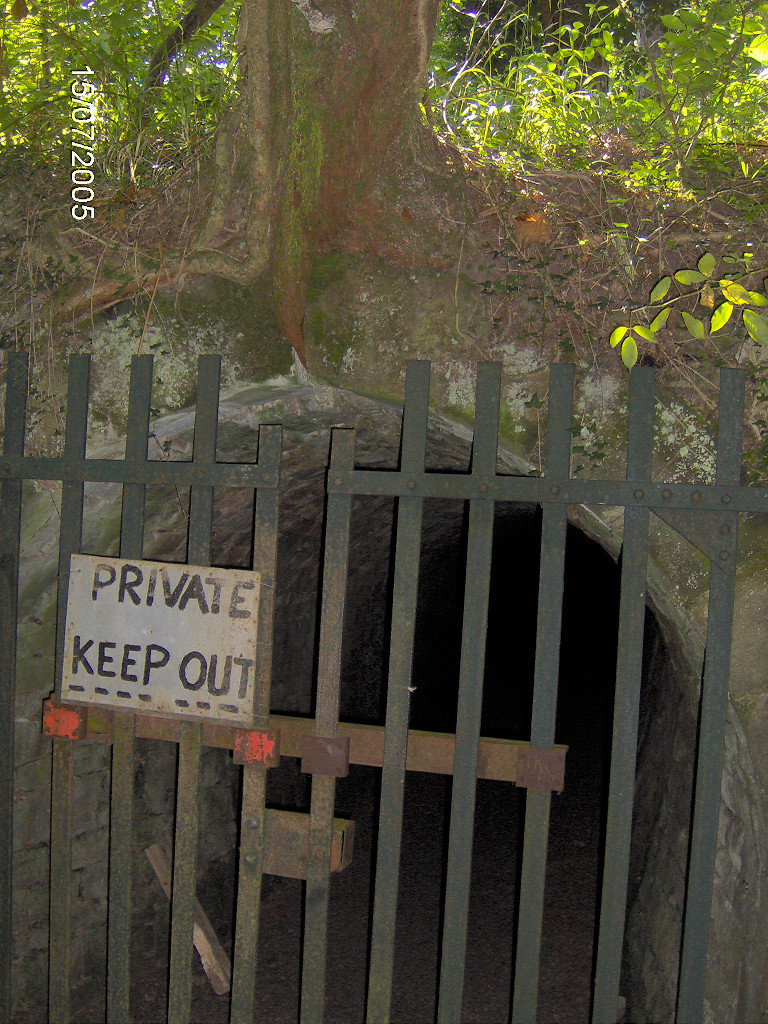
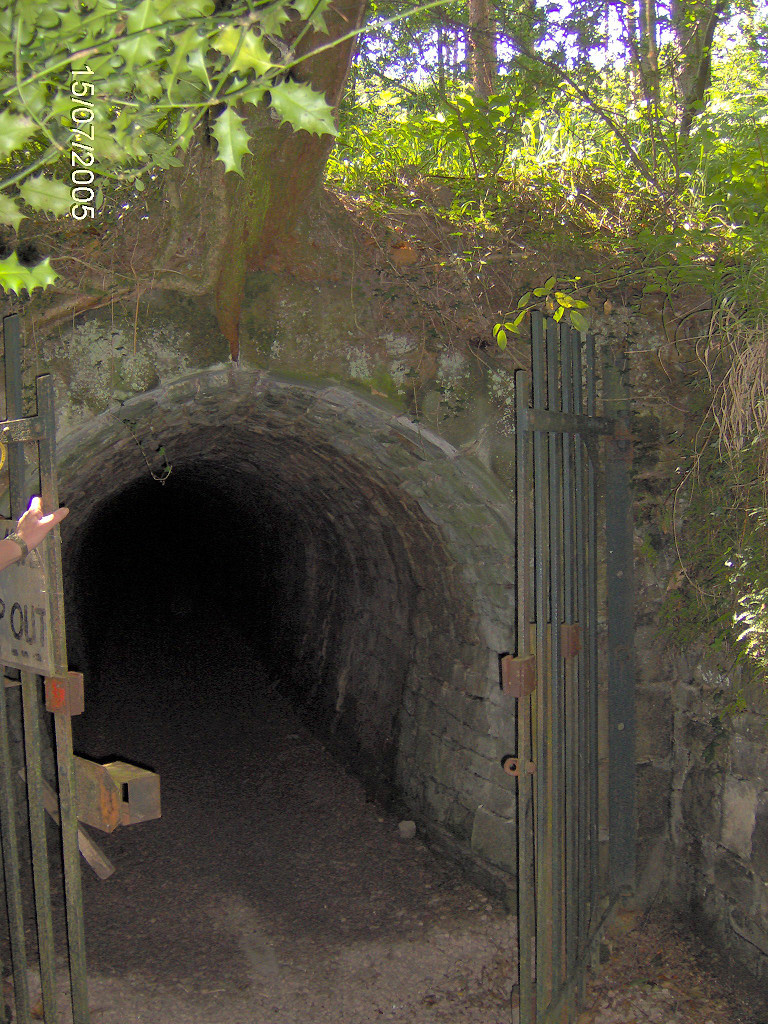
 Bixslade Land Level, c2012 |
 Bixslade Land Level, c2012 |
 Bixslade Land Level, c2012 |
 Bixslade Land Level, c2012 |
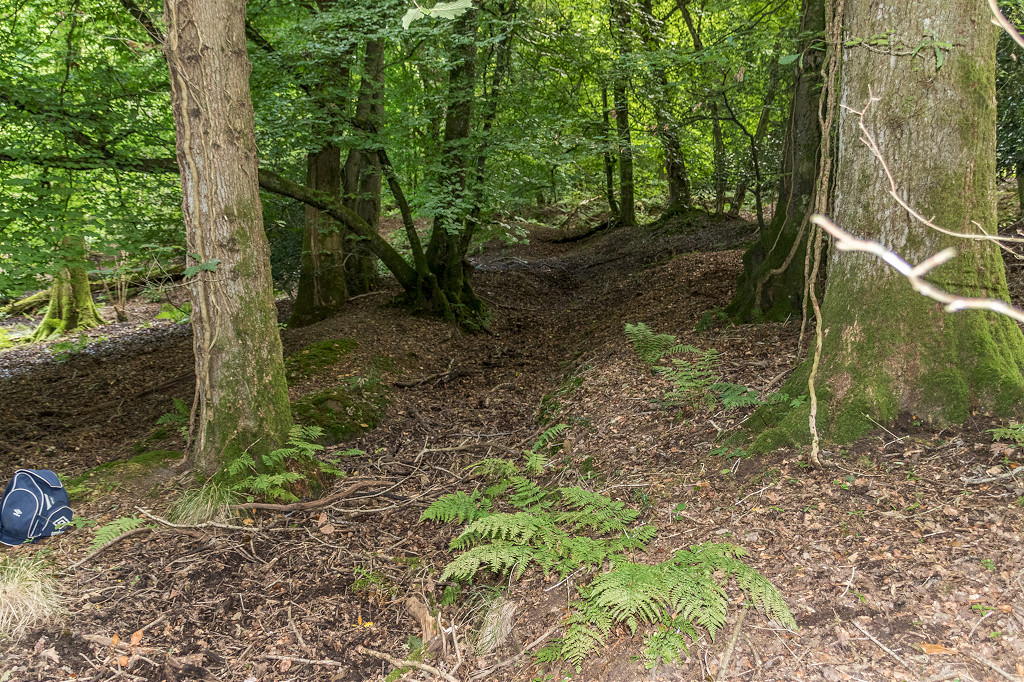
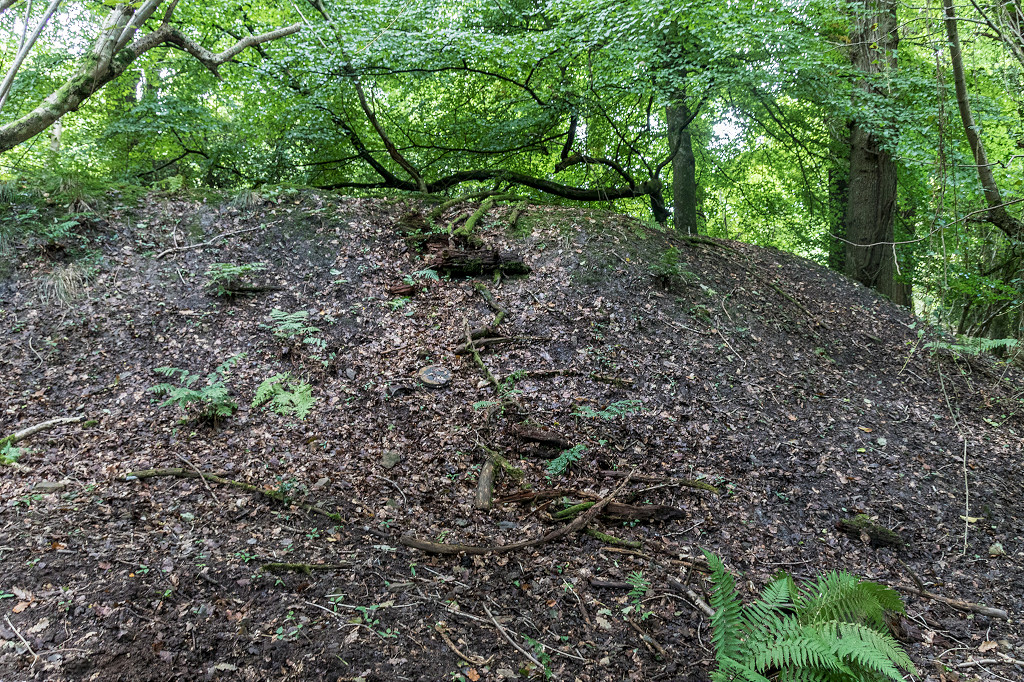
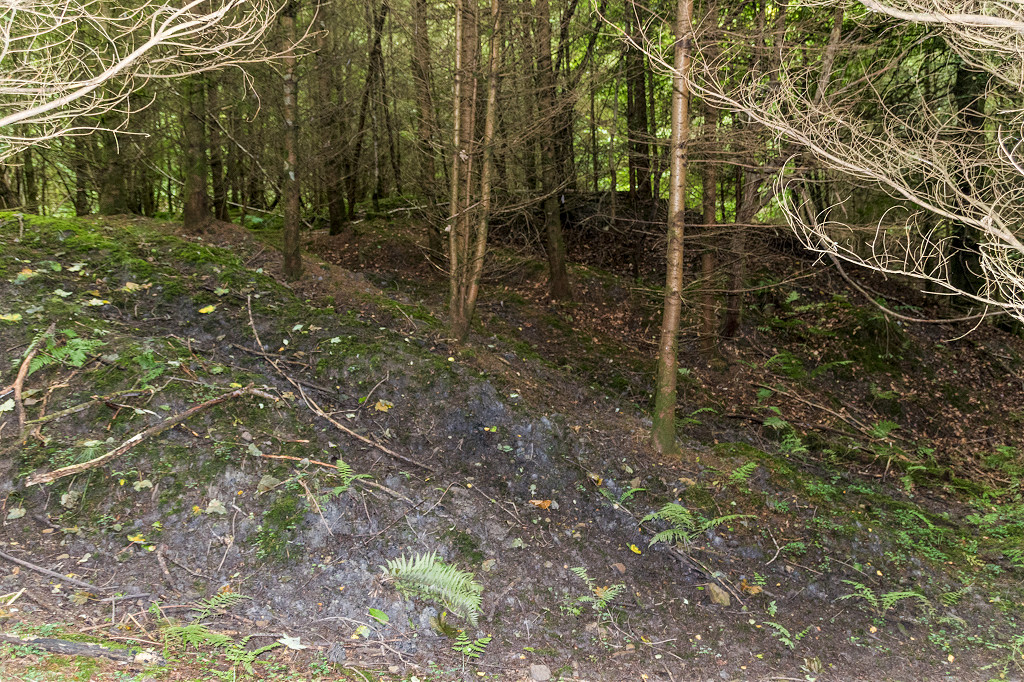
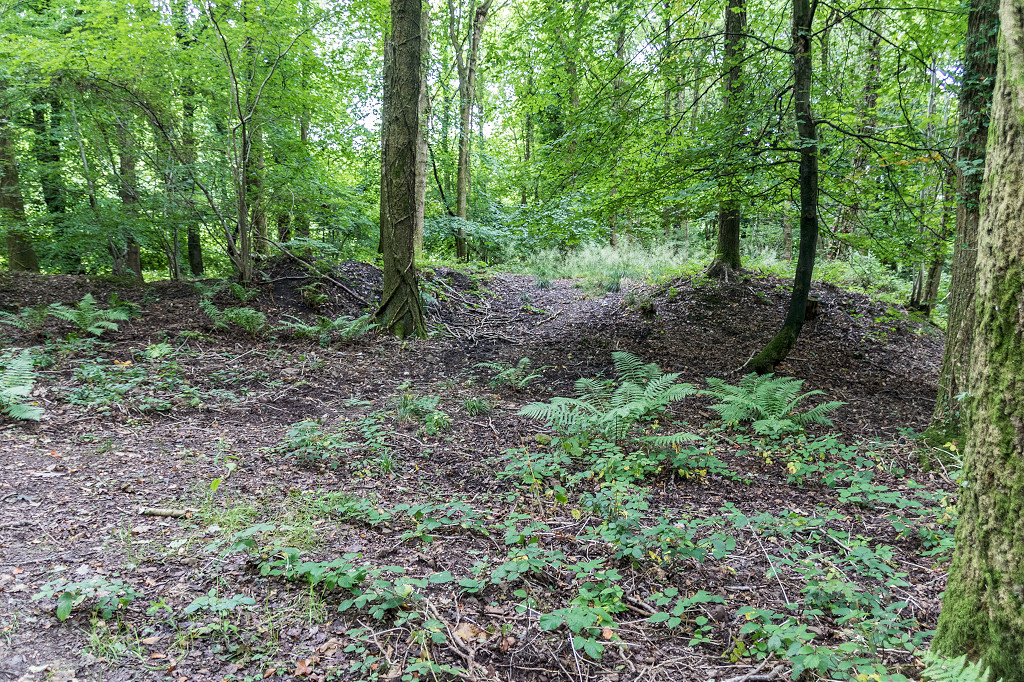
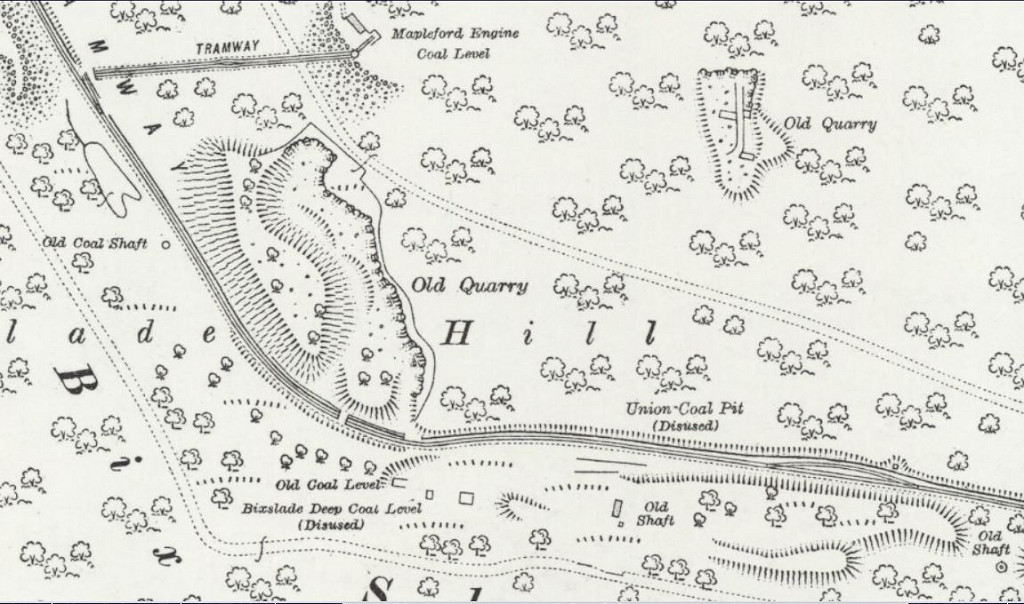
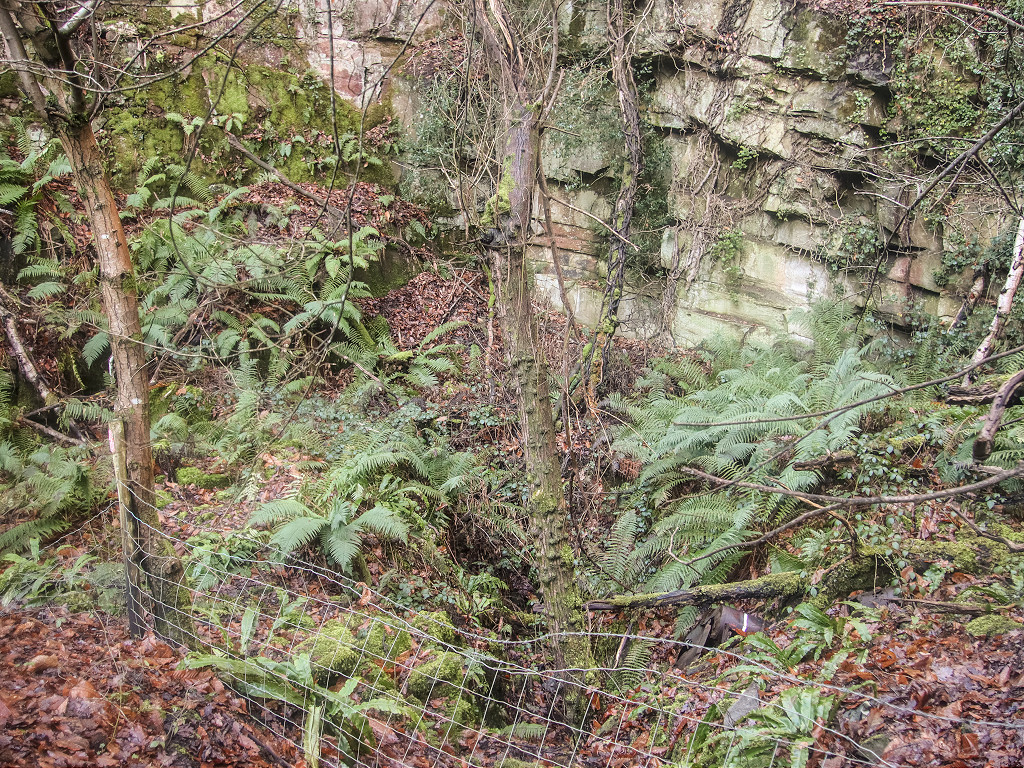
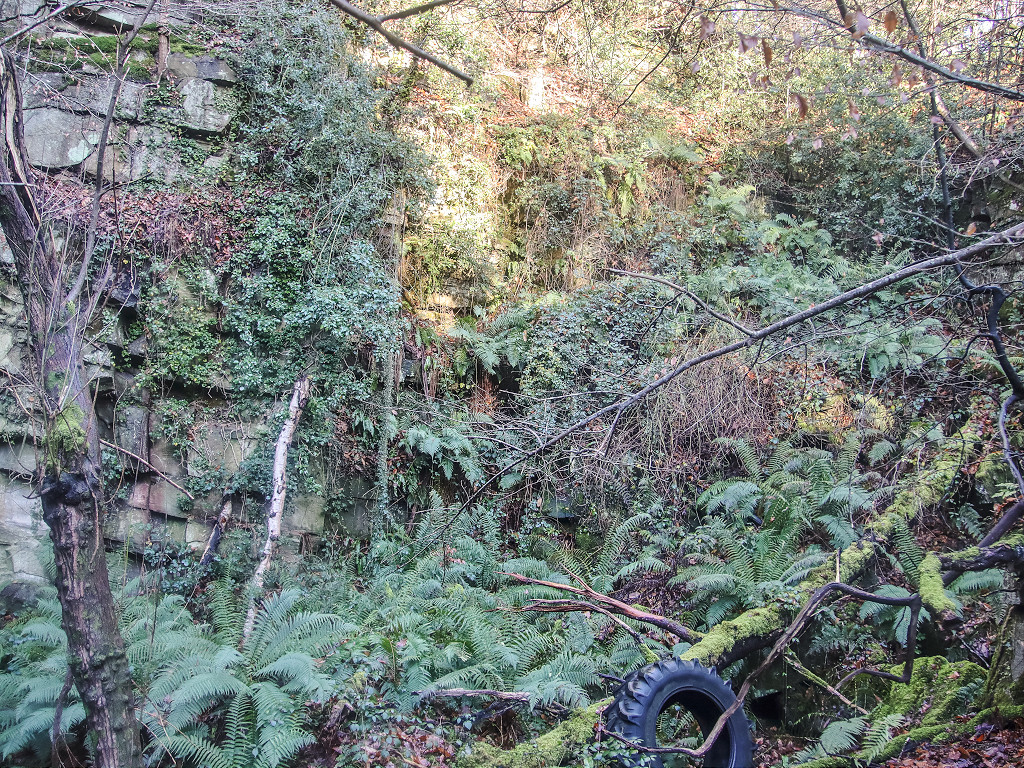
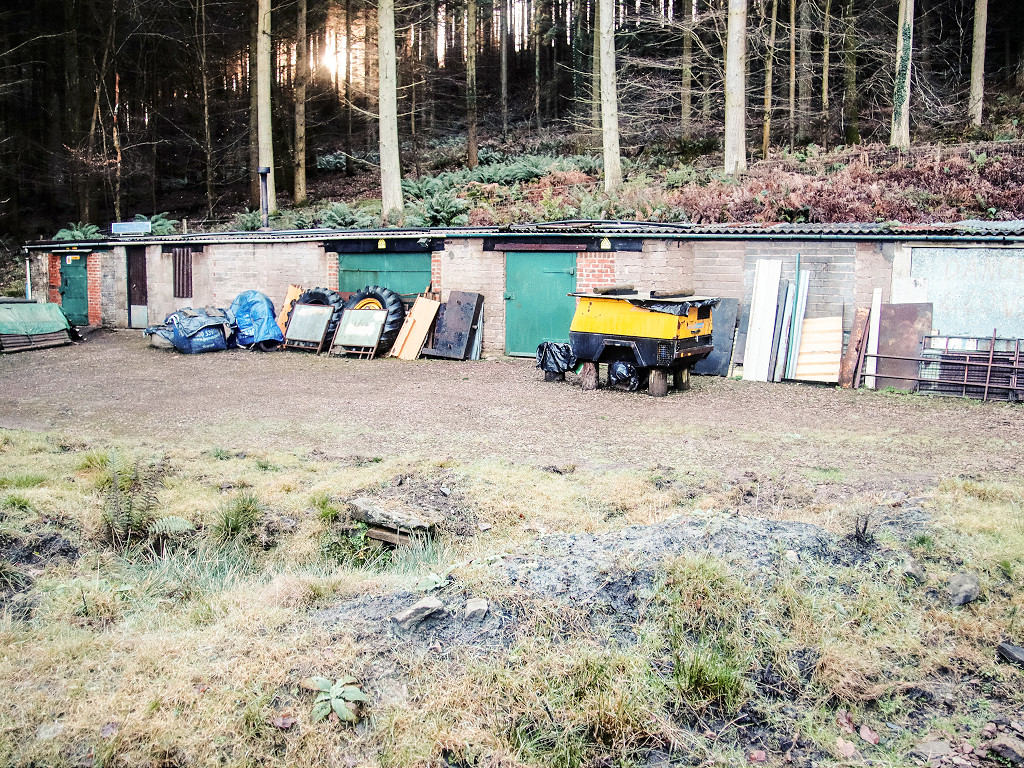
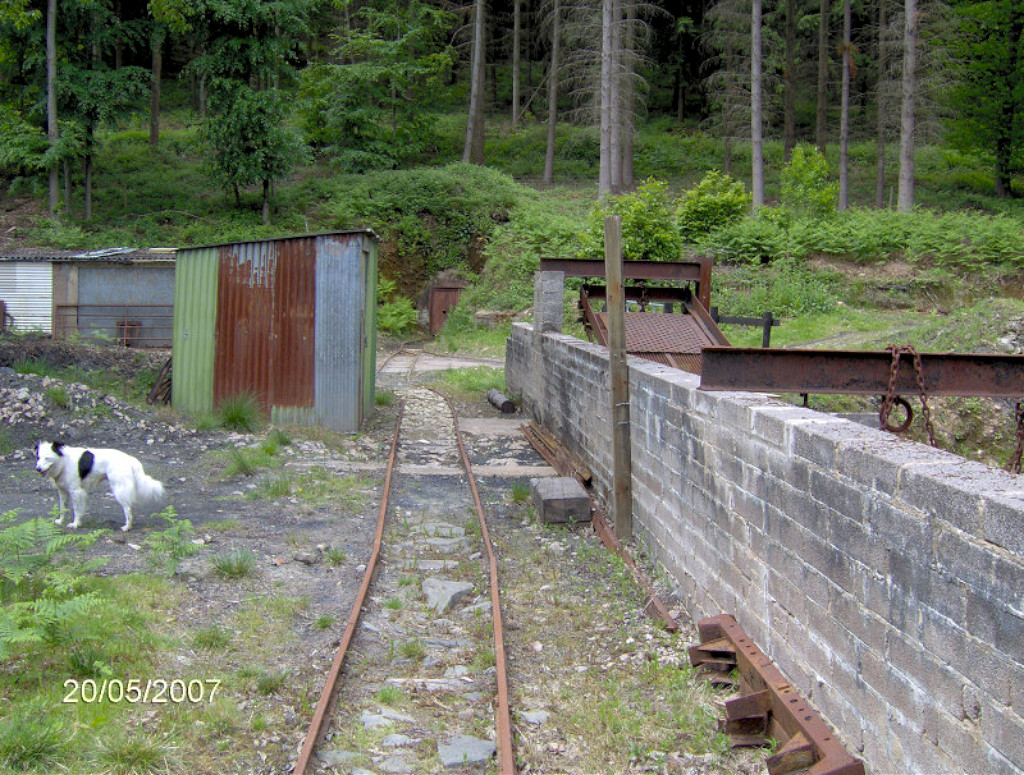
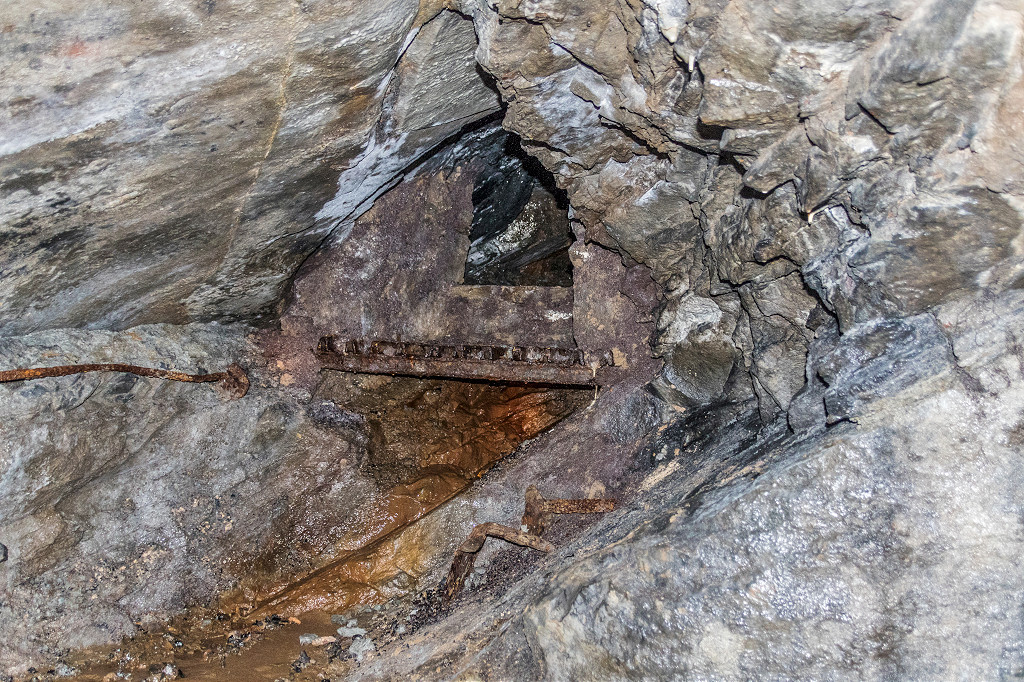
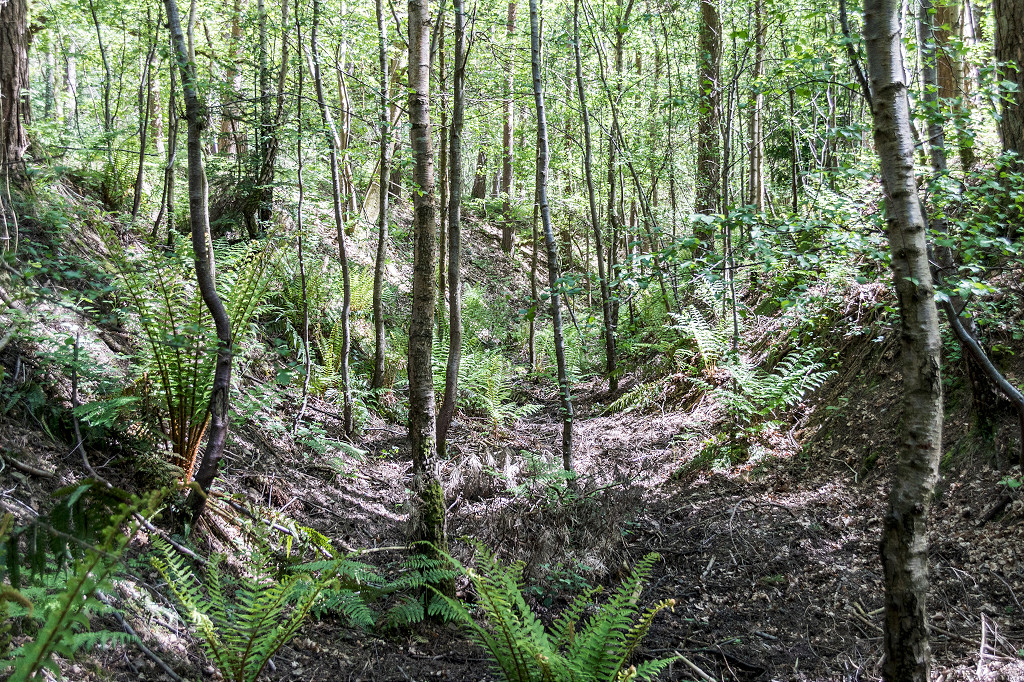
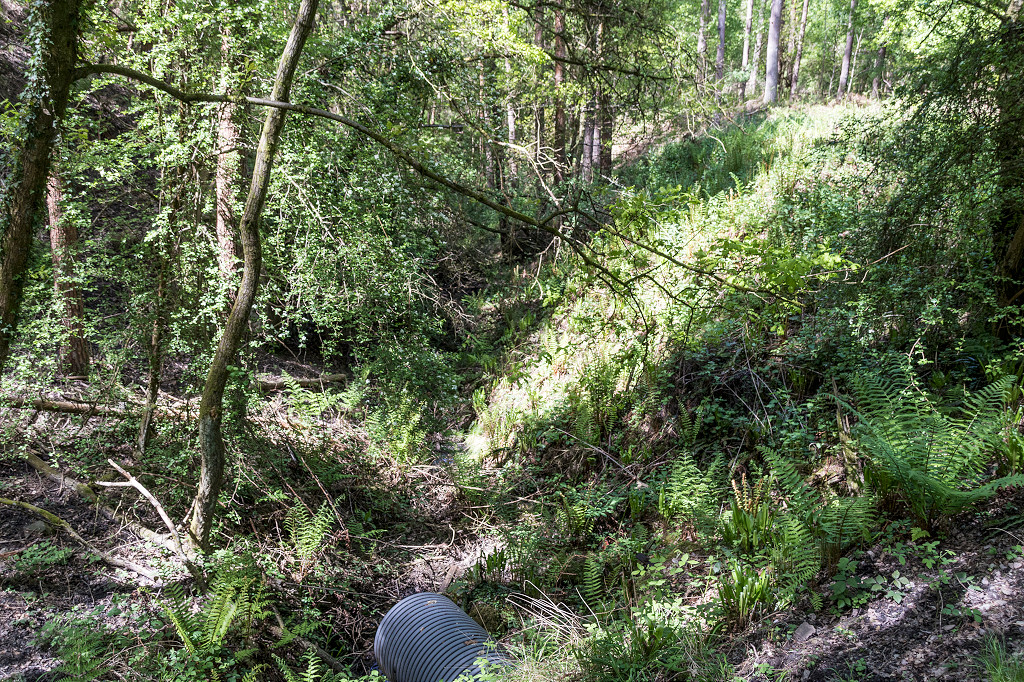
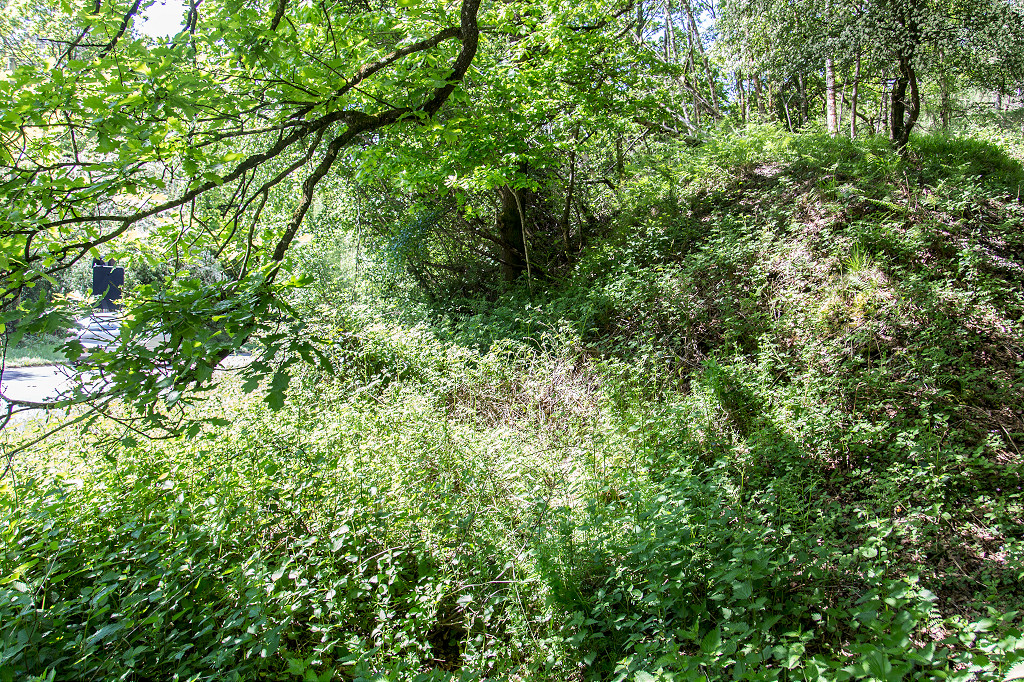
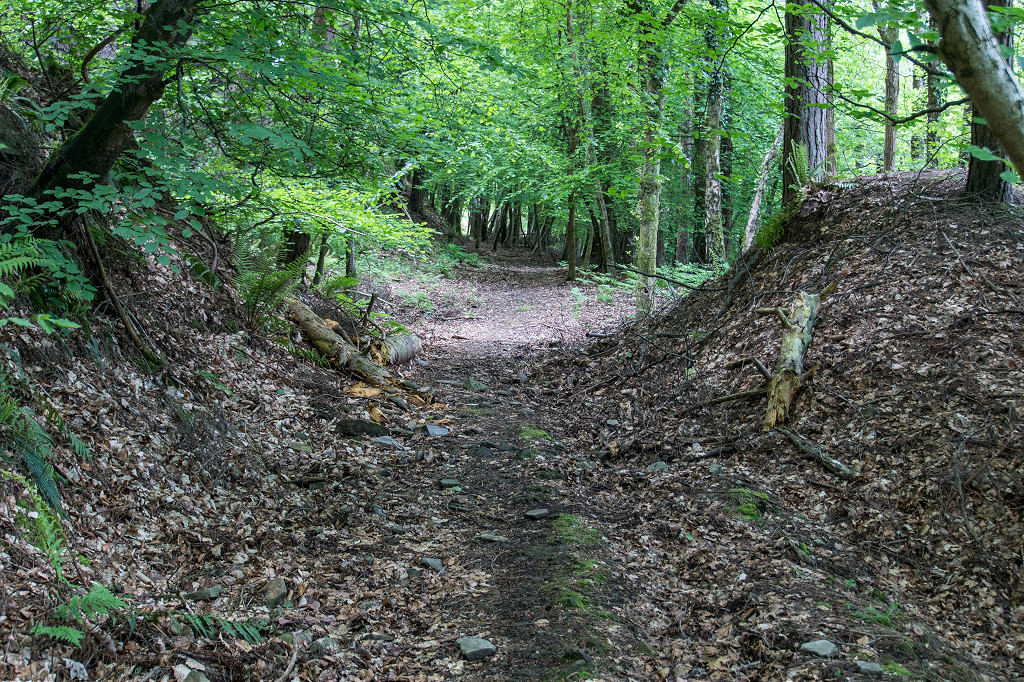
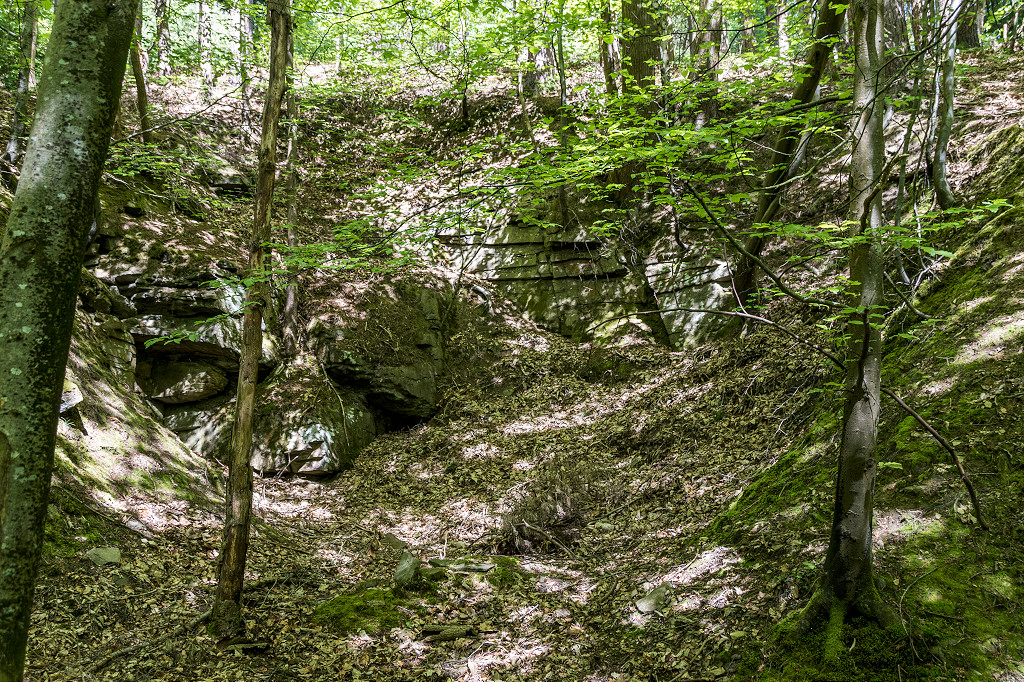
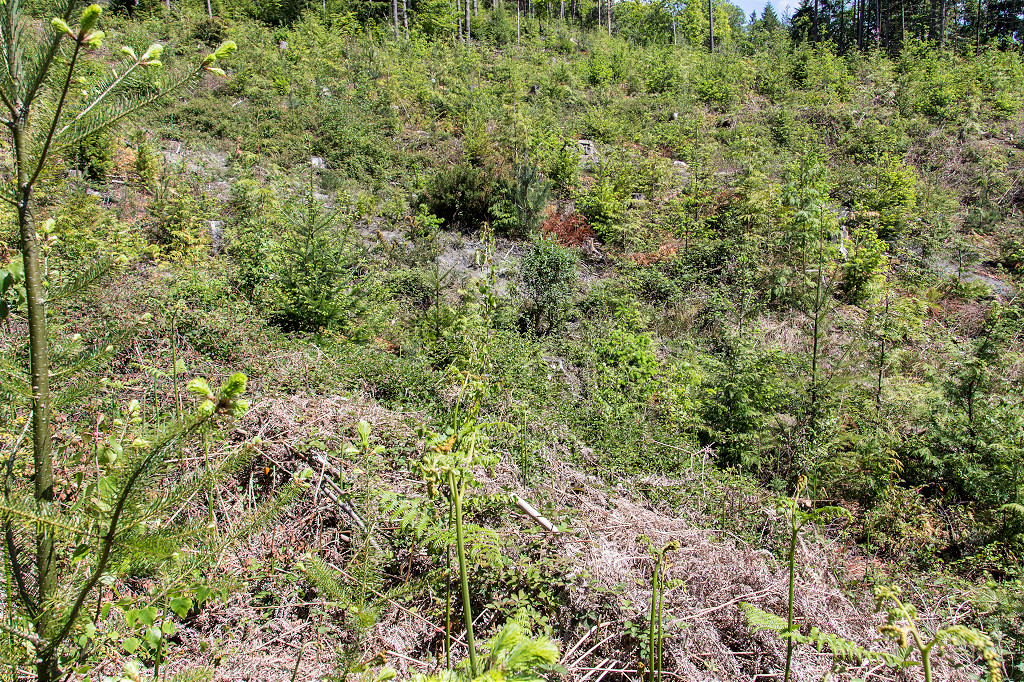
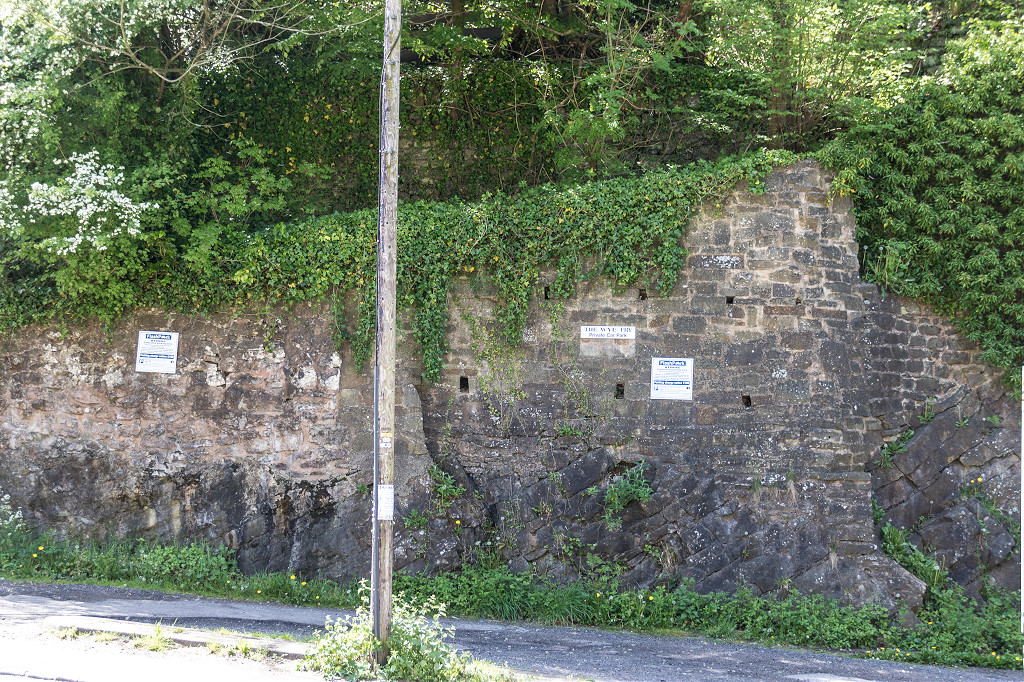
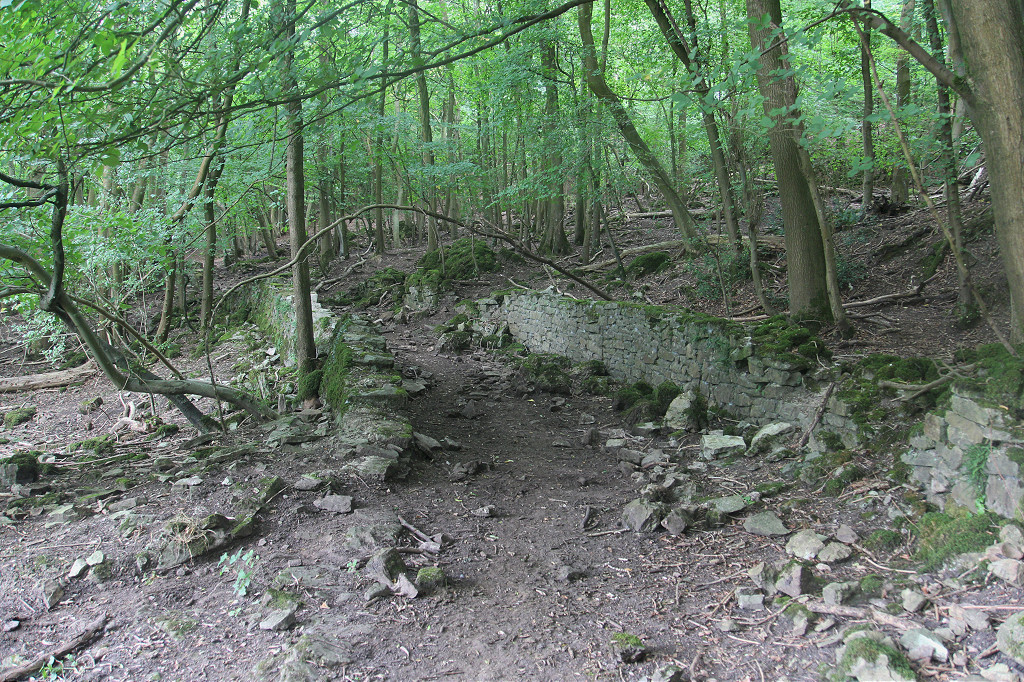
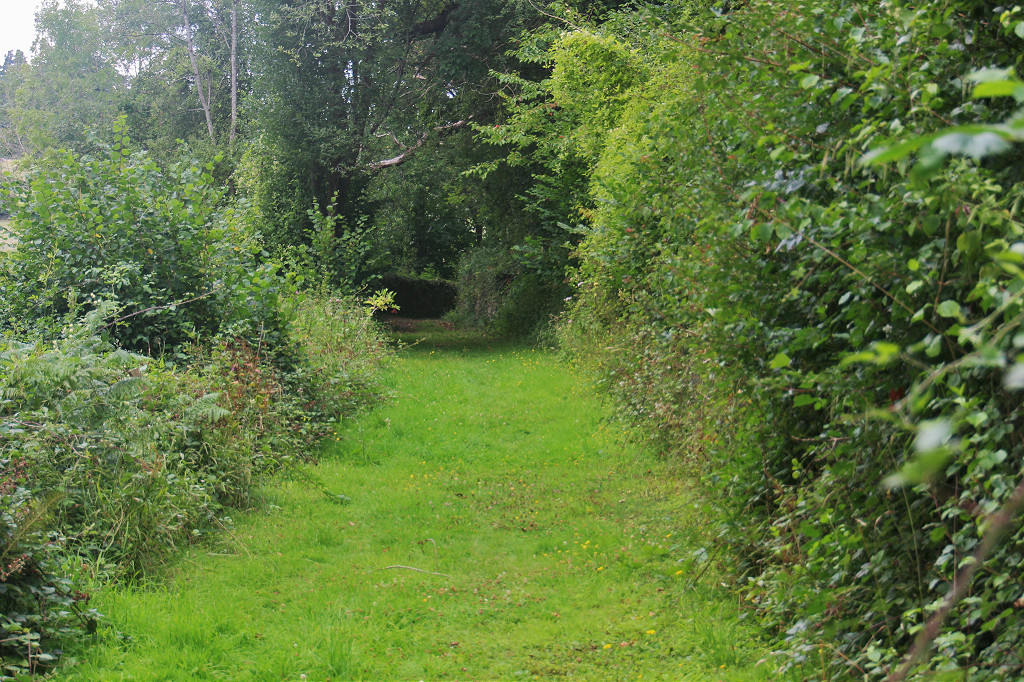
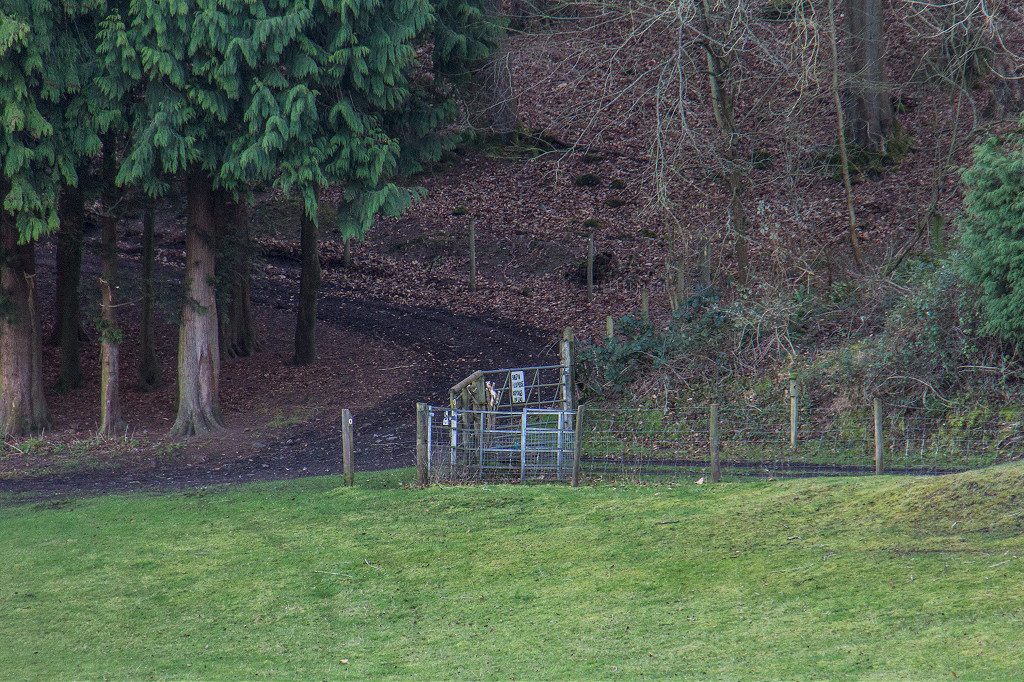
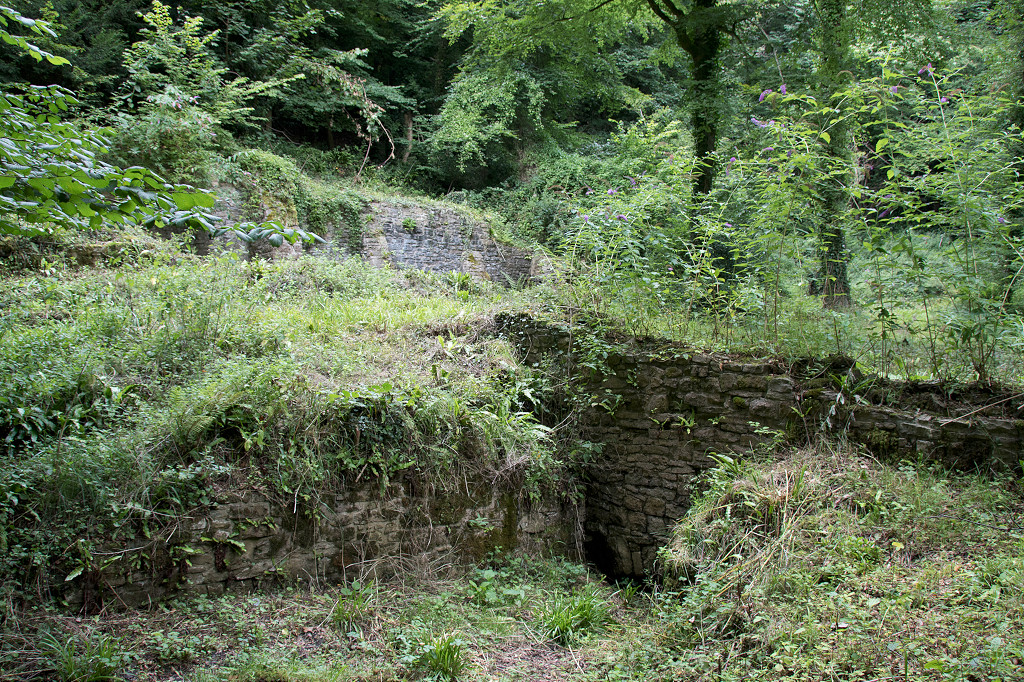
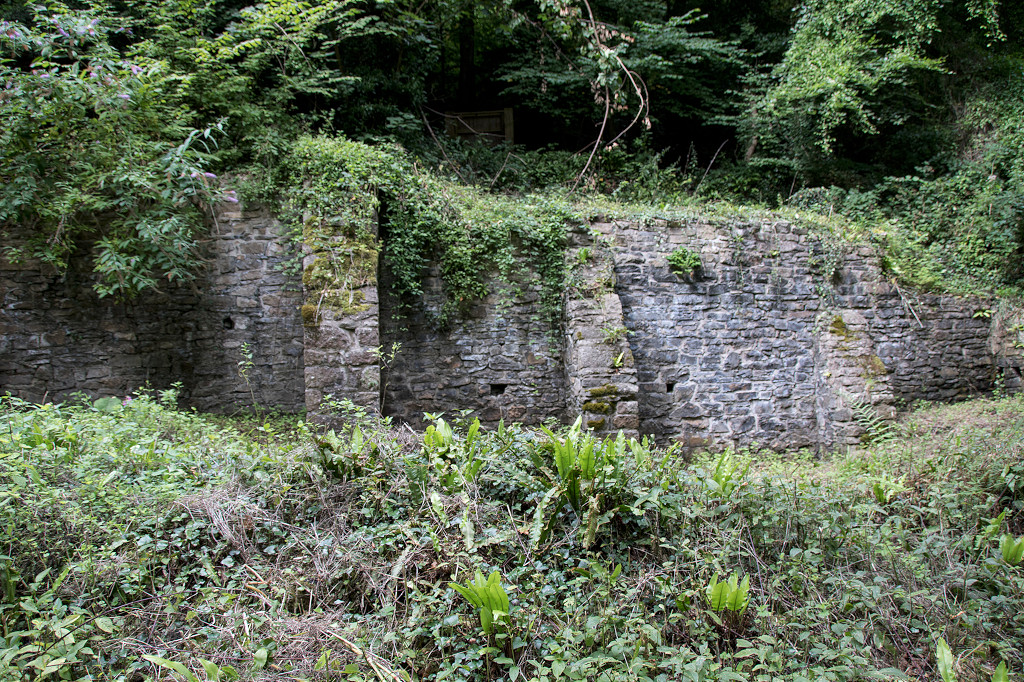
 Other mines in Bixslade |
 Other mines in Bixslade |
 Other mines in Bixslade |
 Other mines in Bixslade |
 Other mines in Bixslade |
 Other mines in Bixslade |
 Other mines in Bixslade |
 Other mines in Bixslade |
 Other mines in Bixslade |
 Other mines in Bixslade |
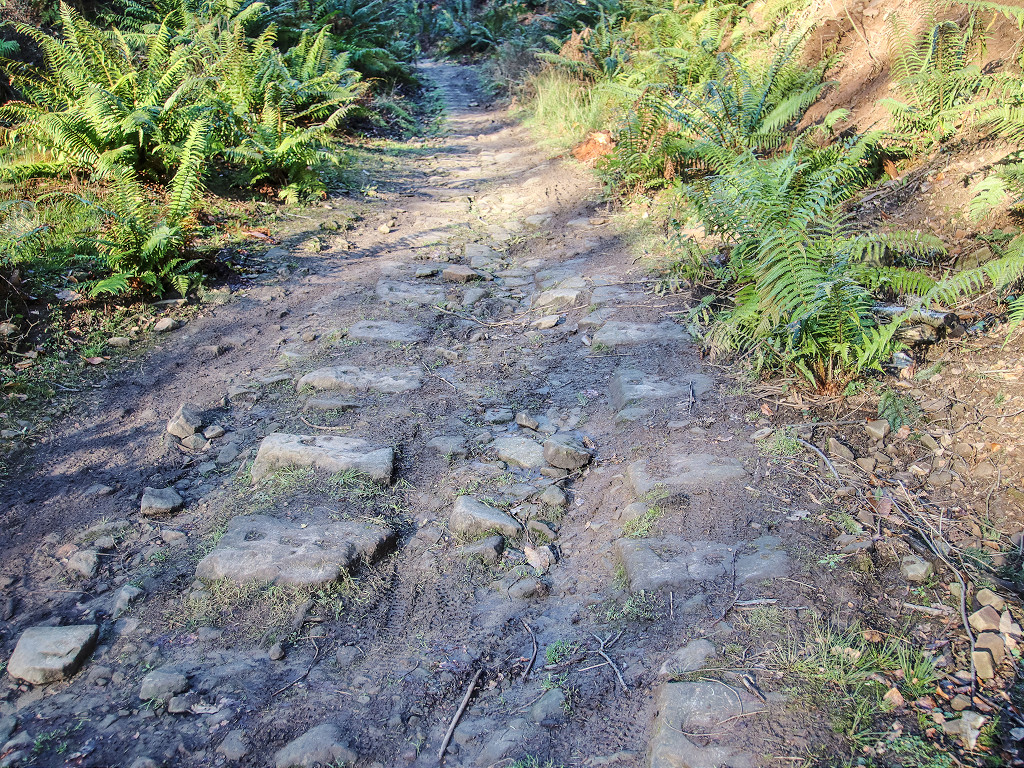
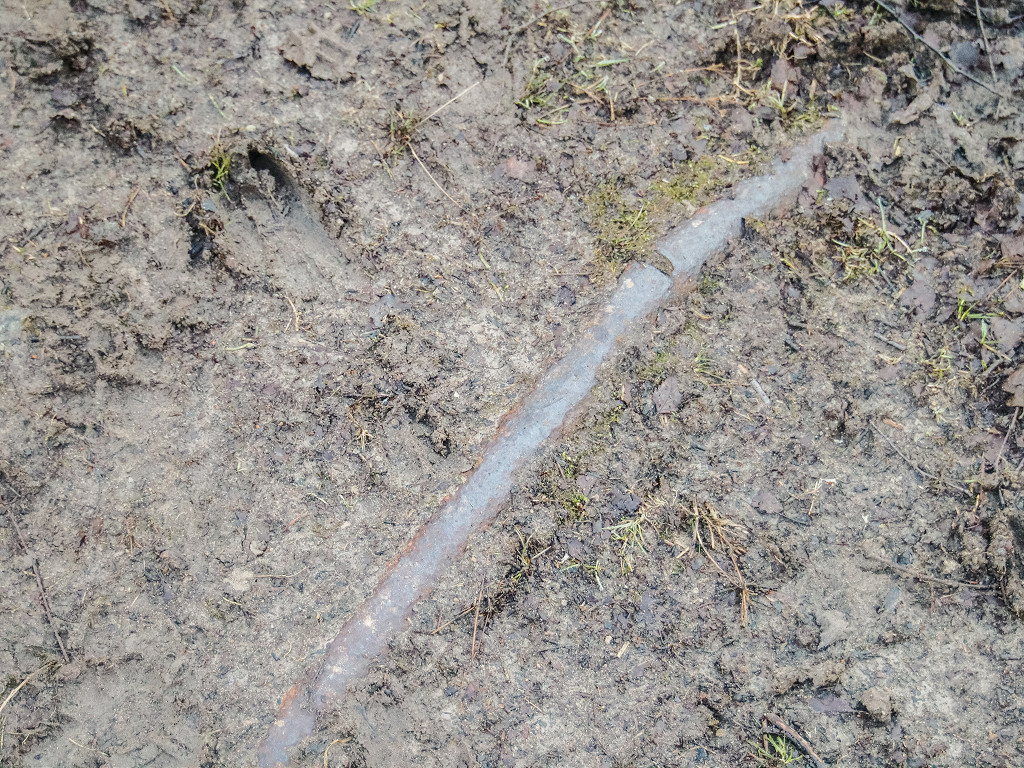
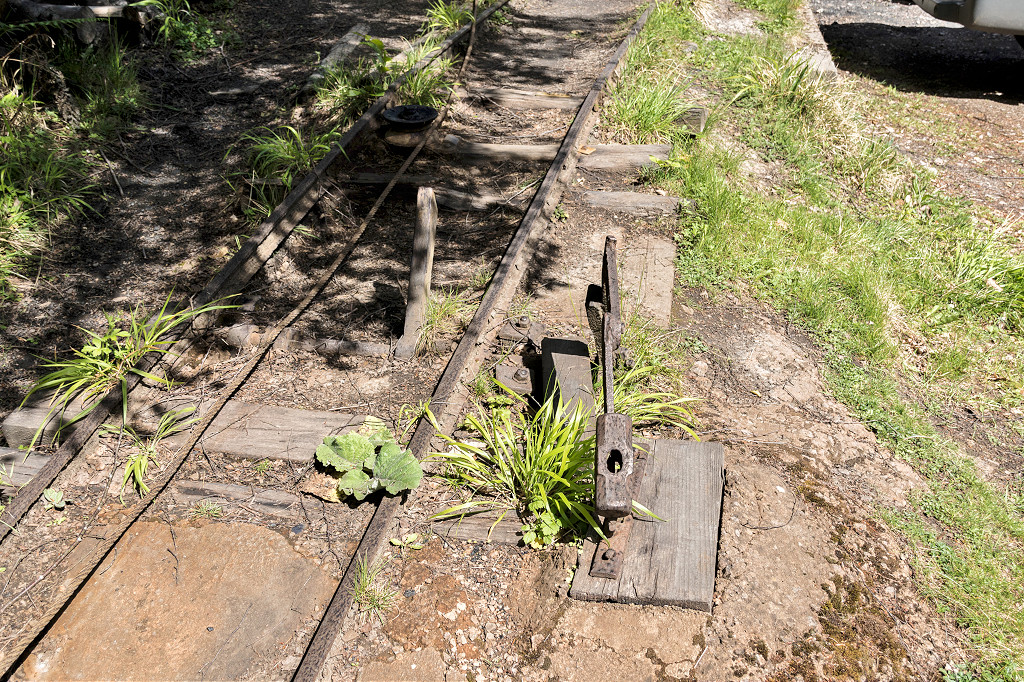
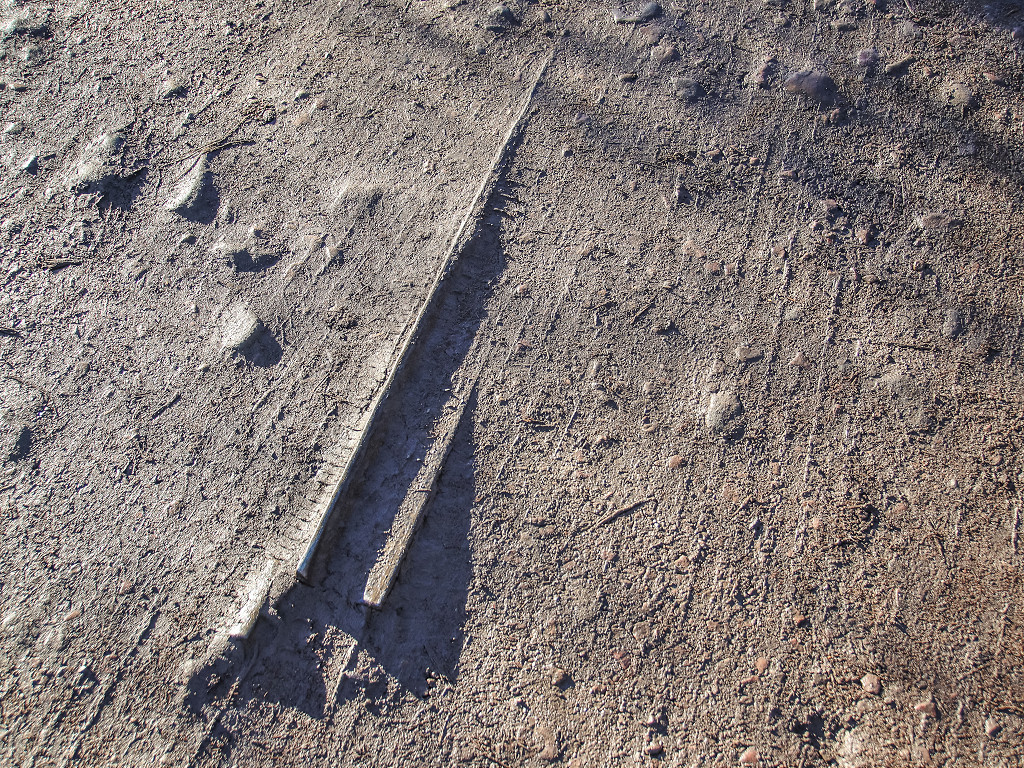 Bixslade tramplate at the Stoneworks |
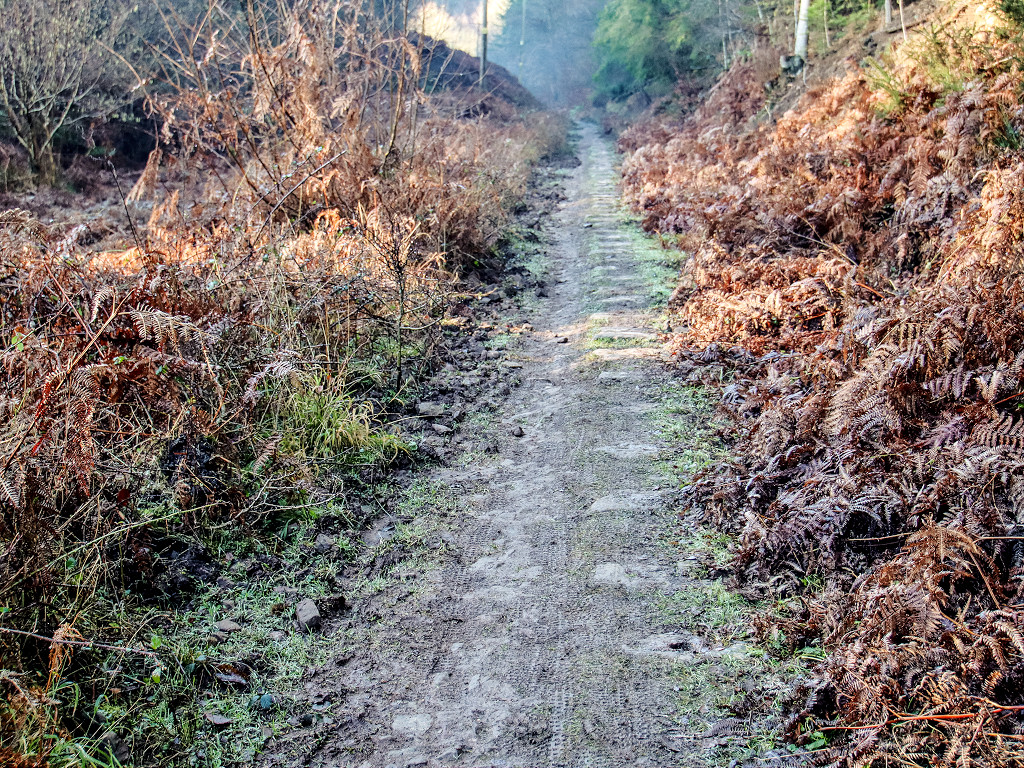
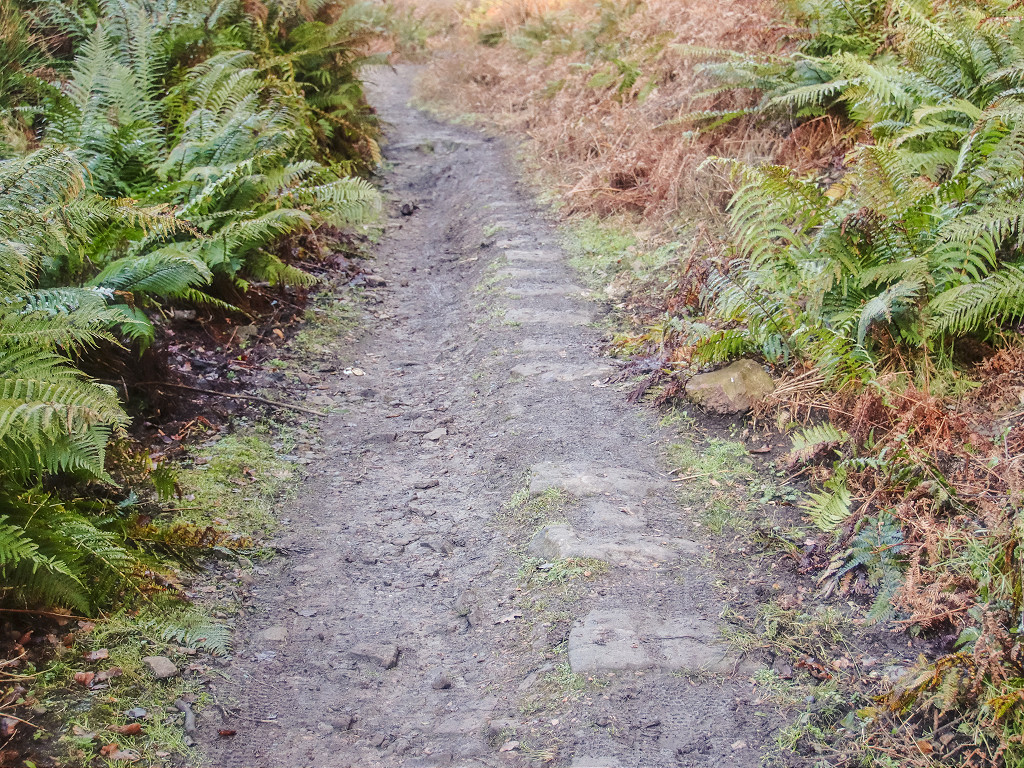
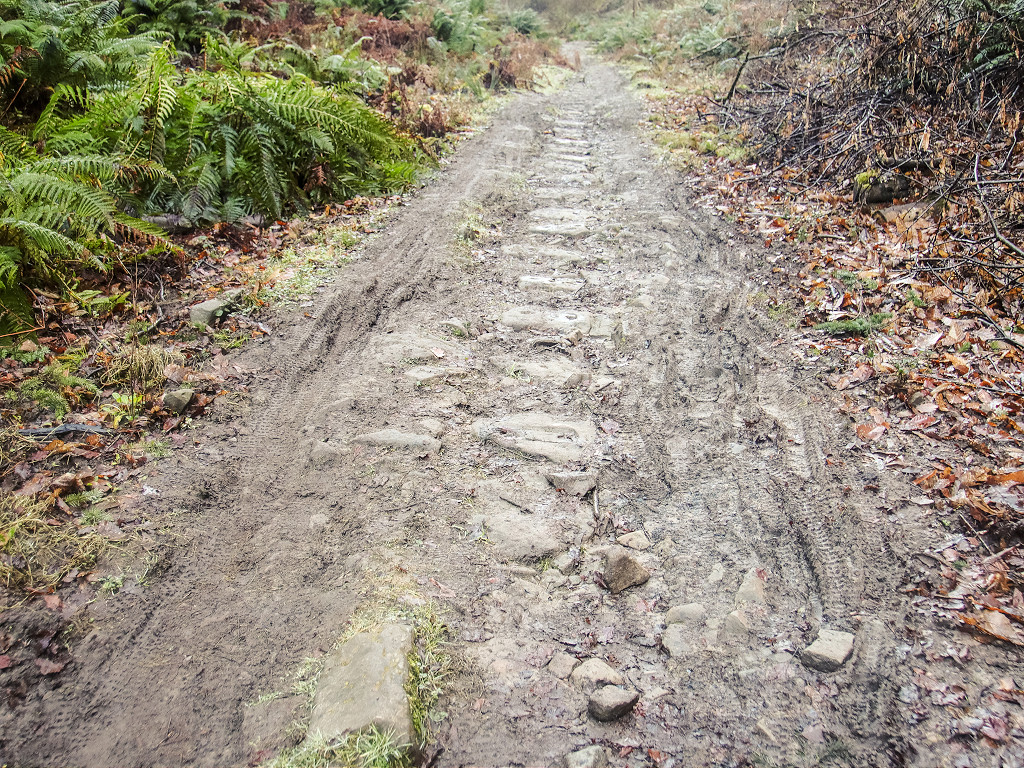
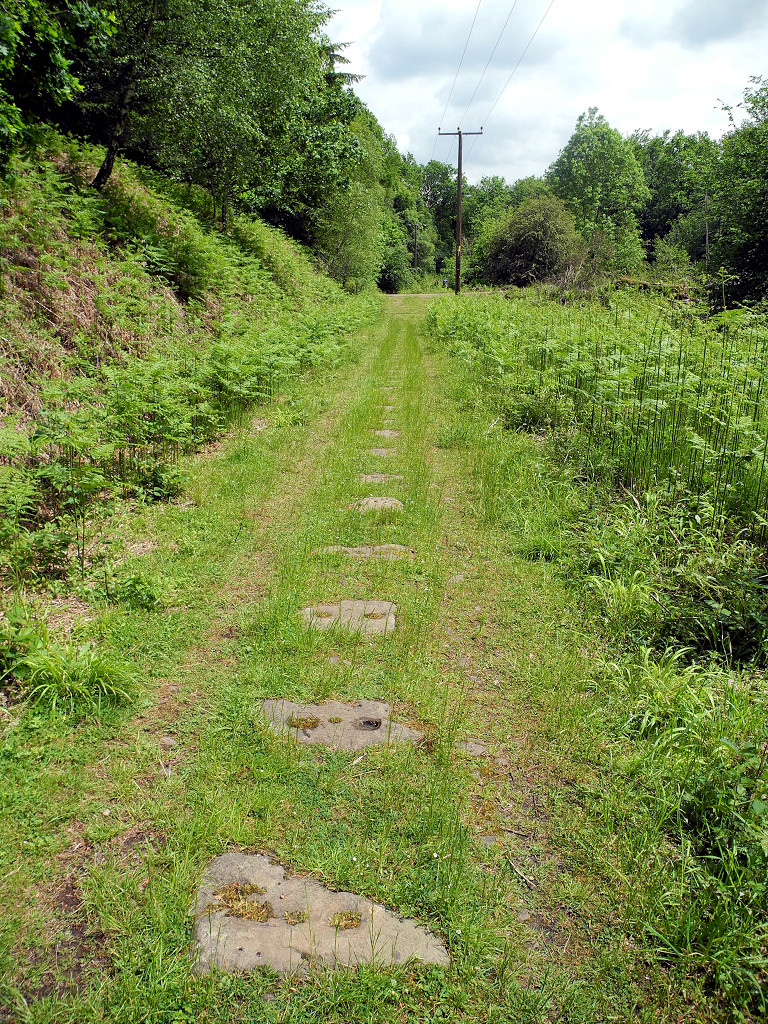
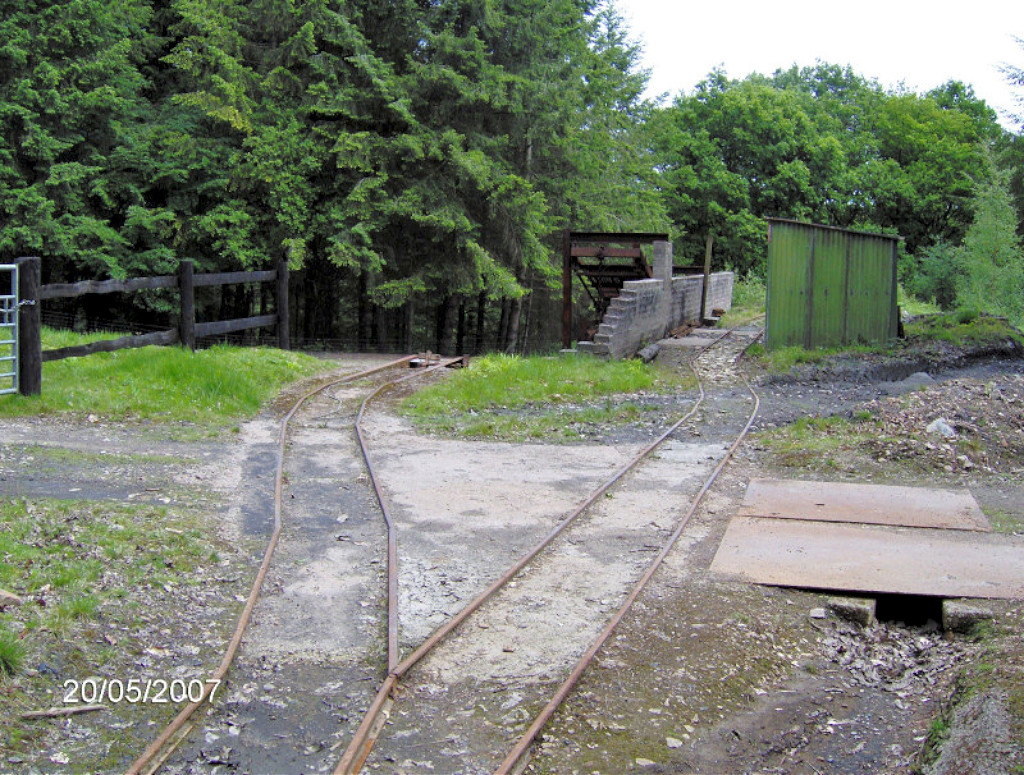
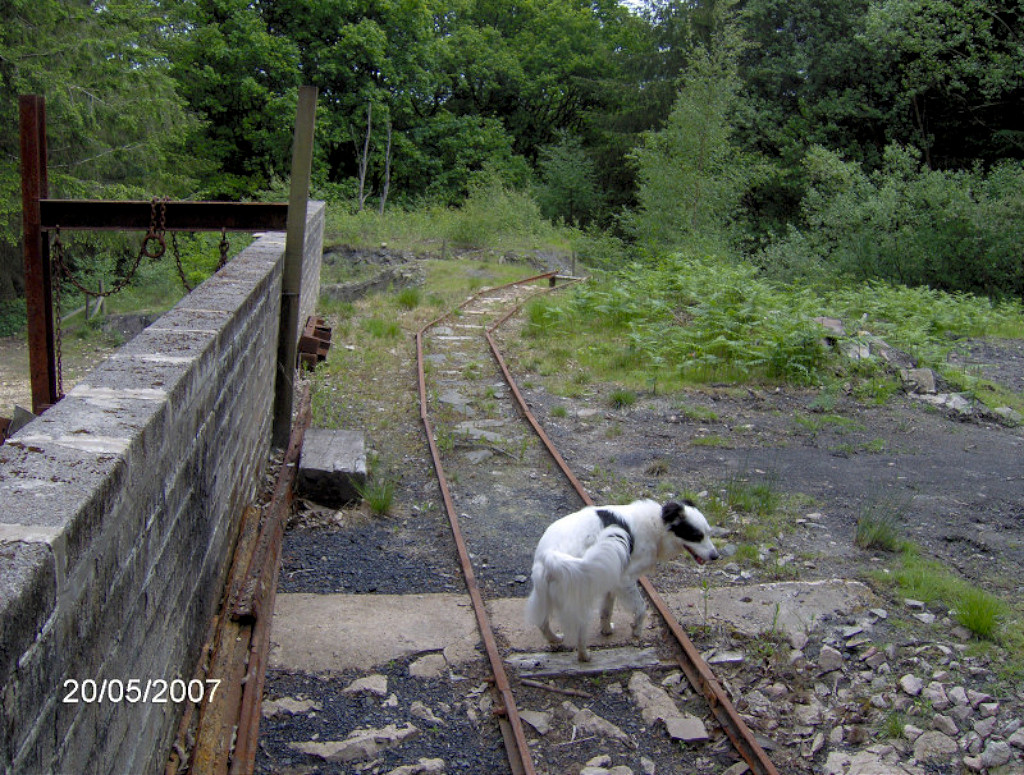
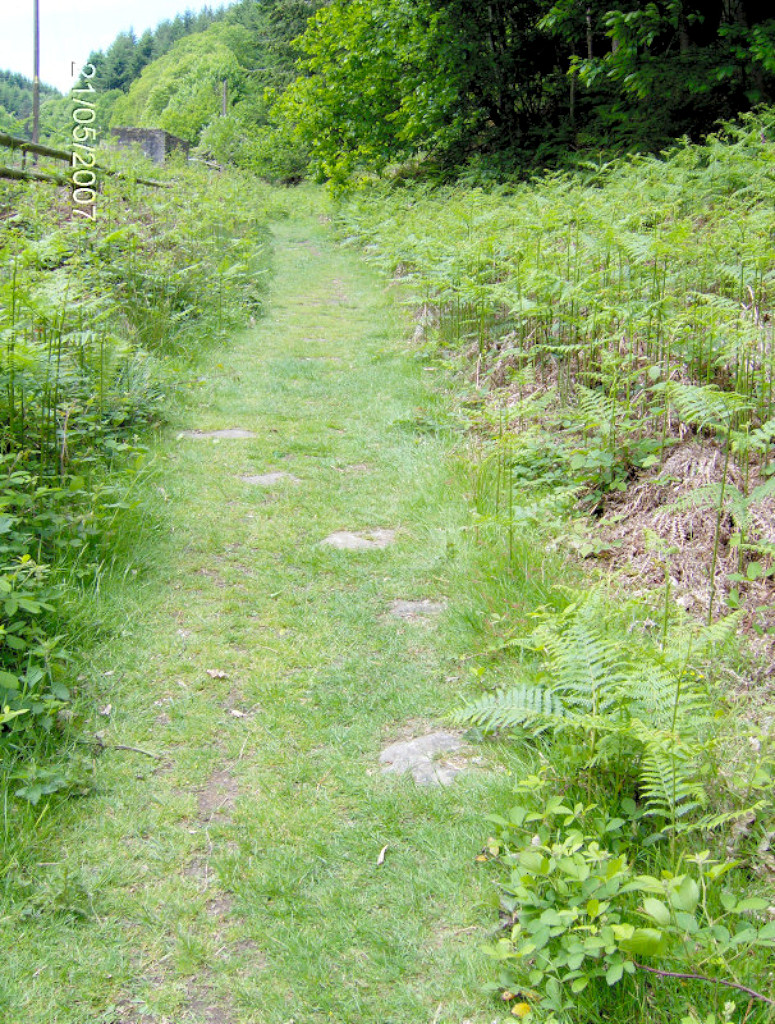
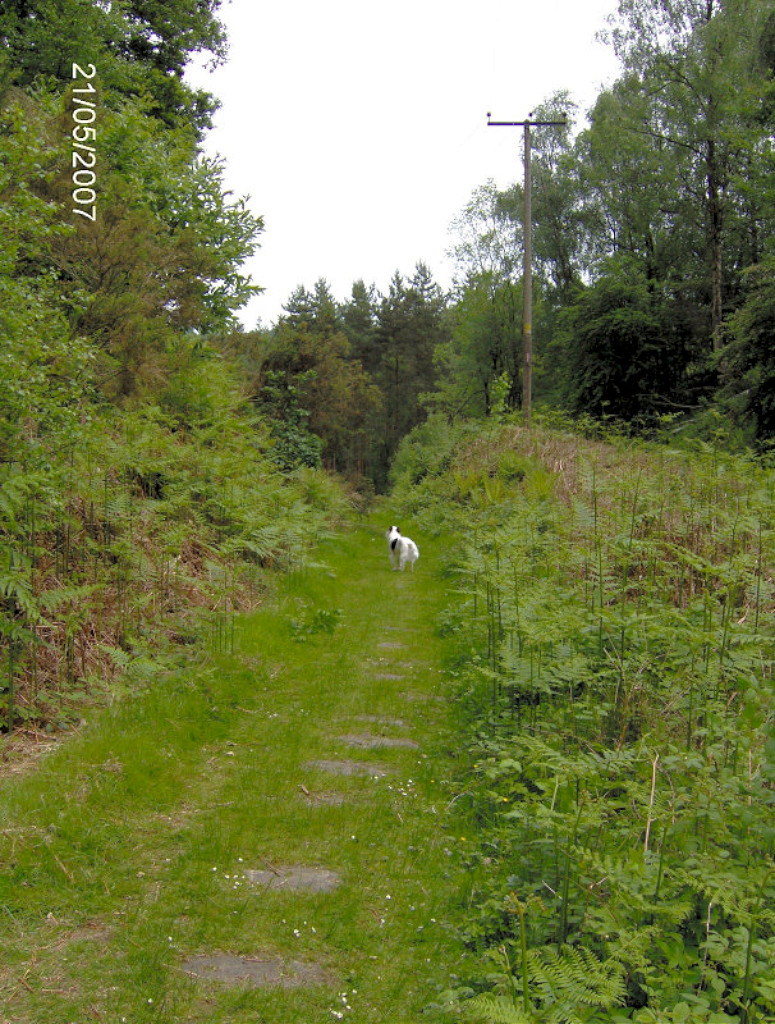
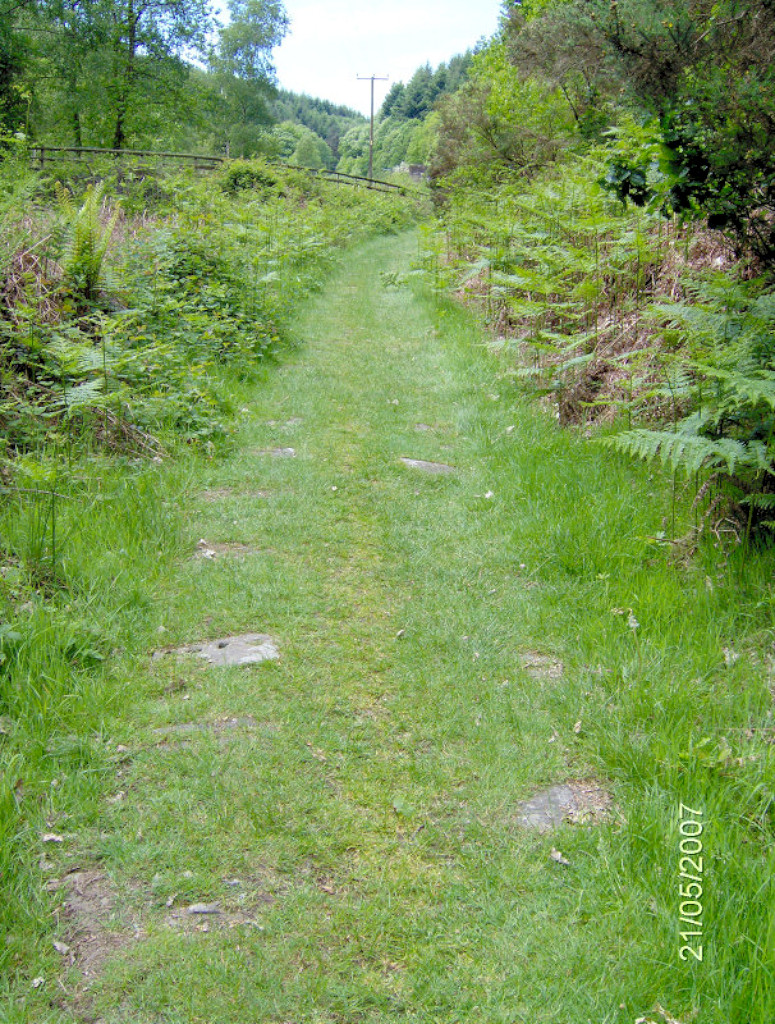
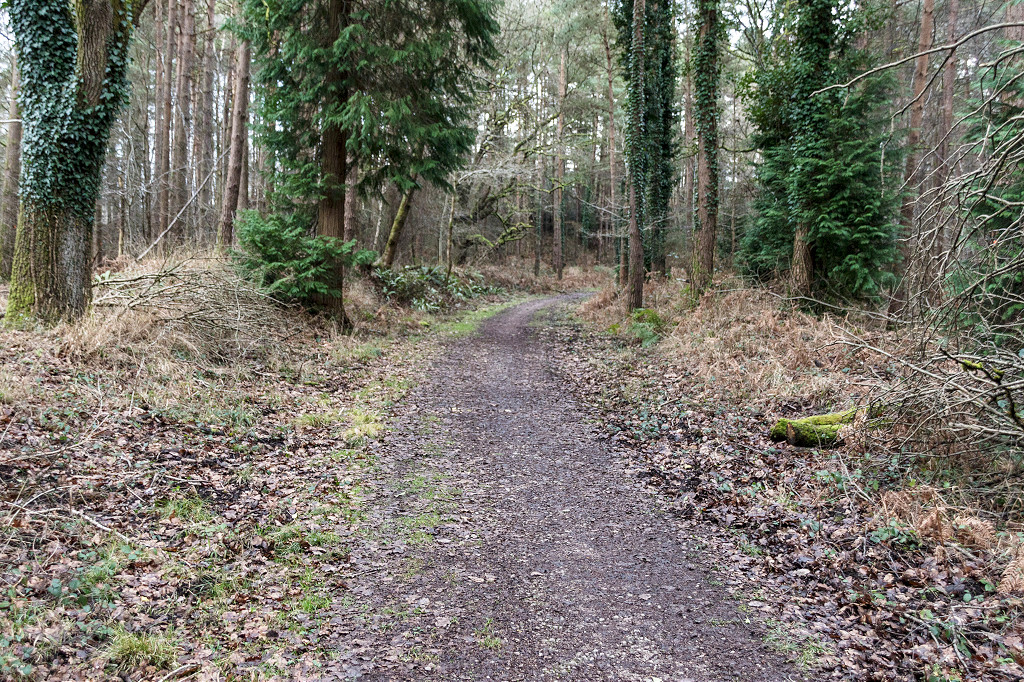
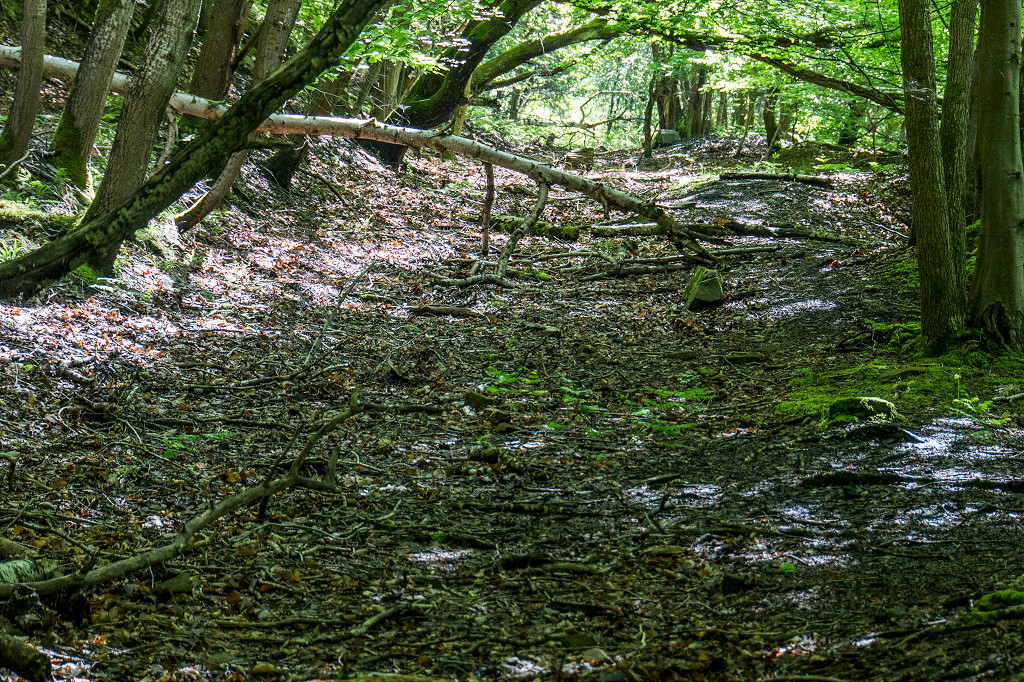
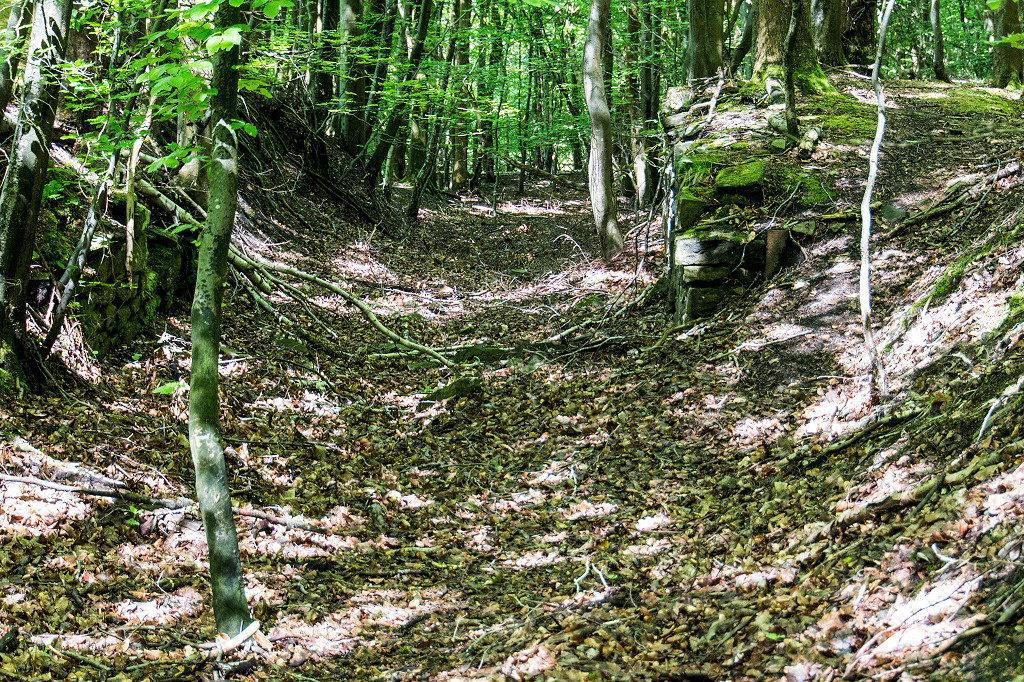
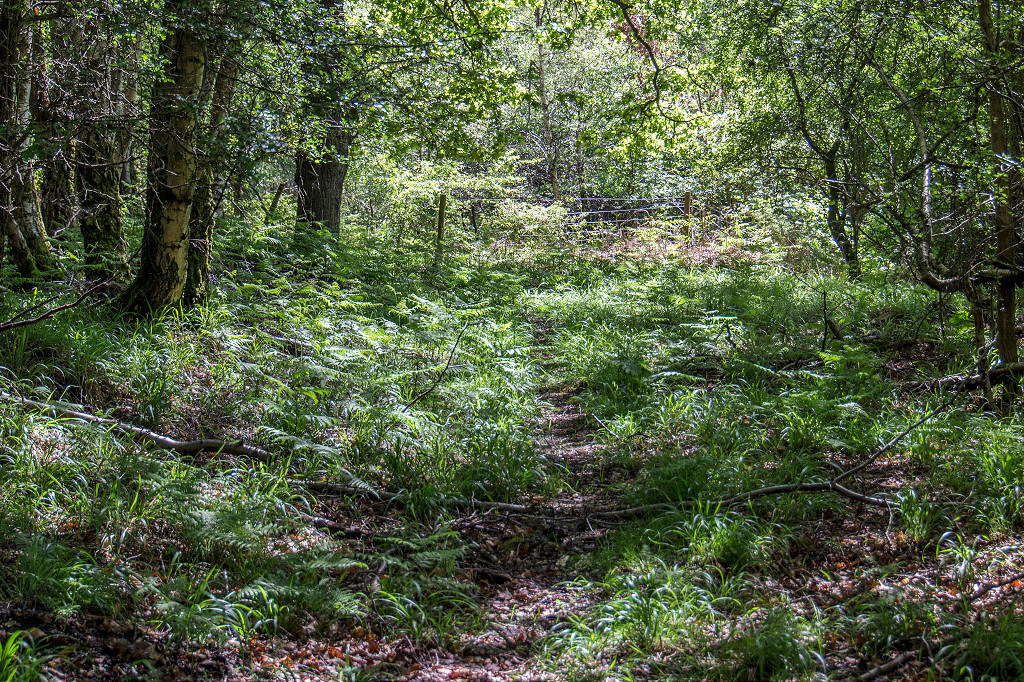
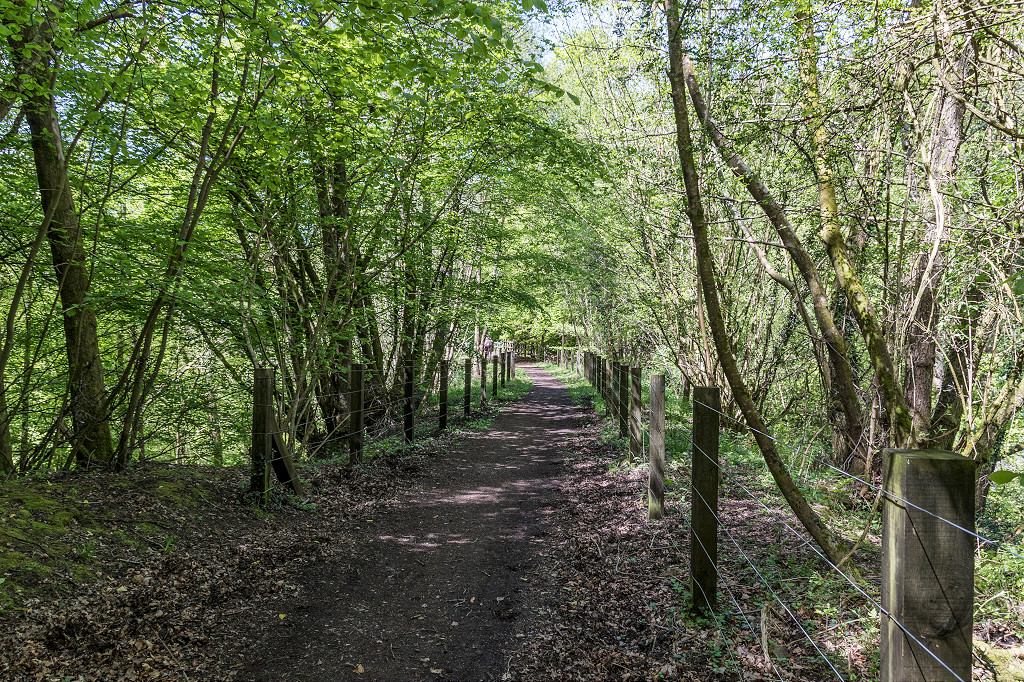
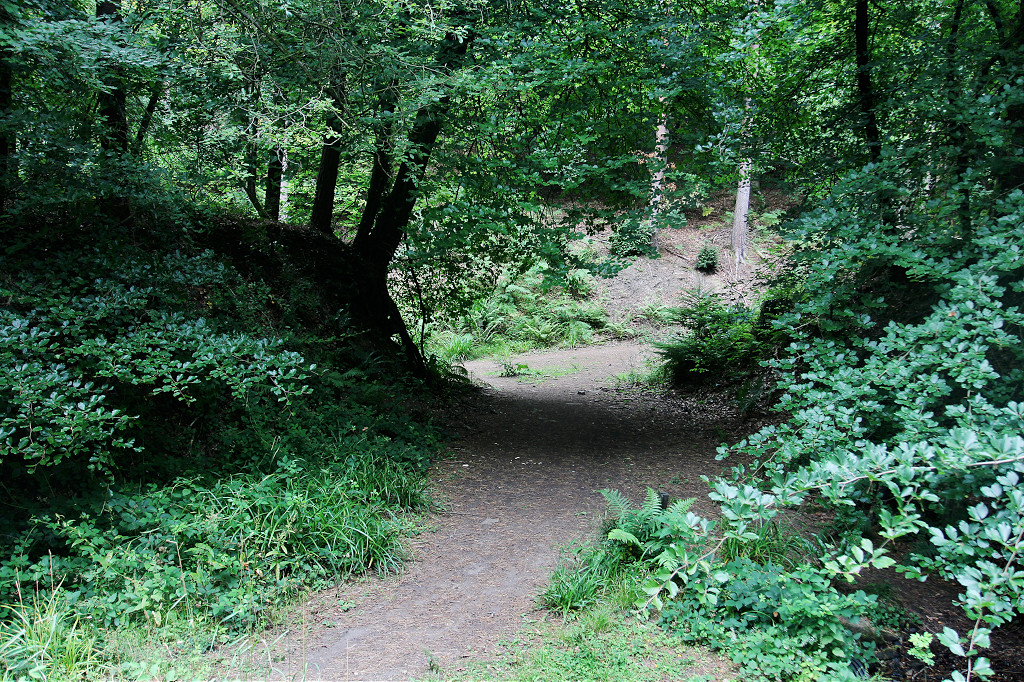
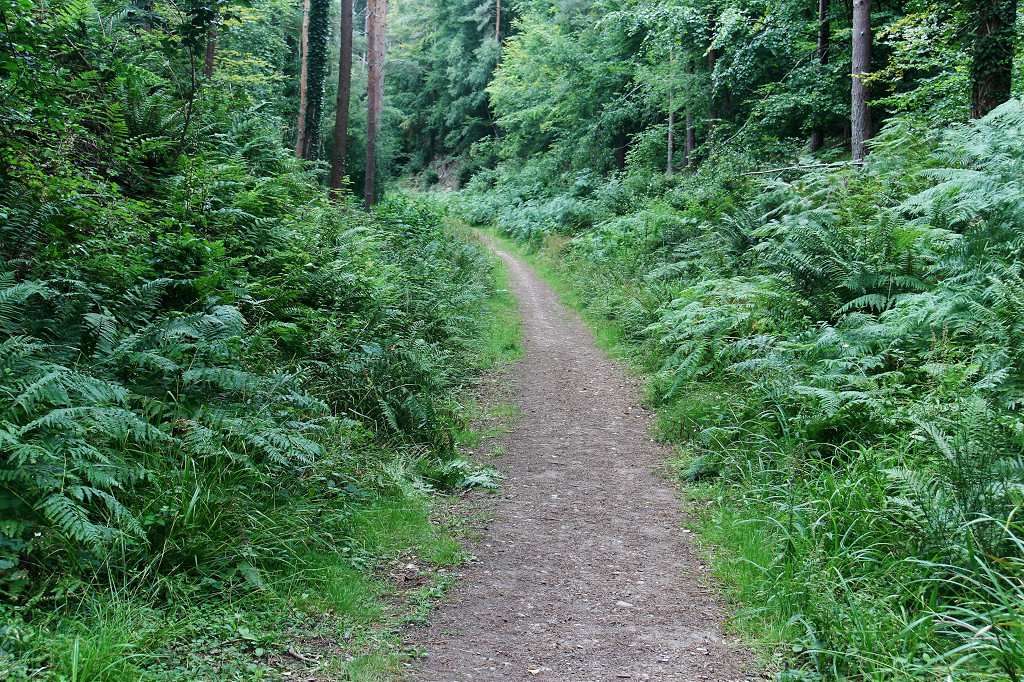
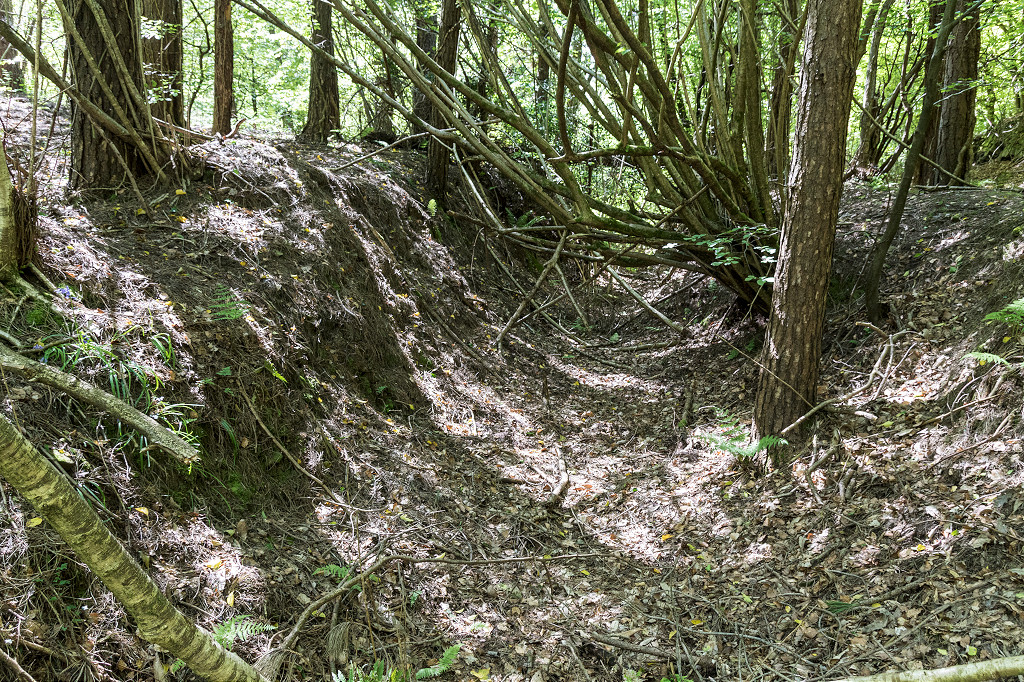
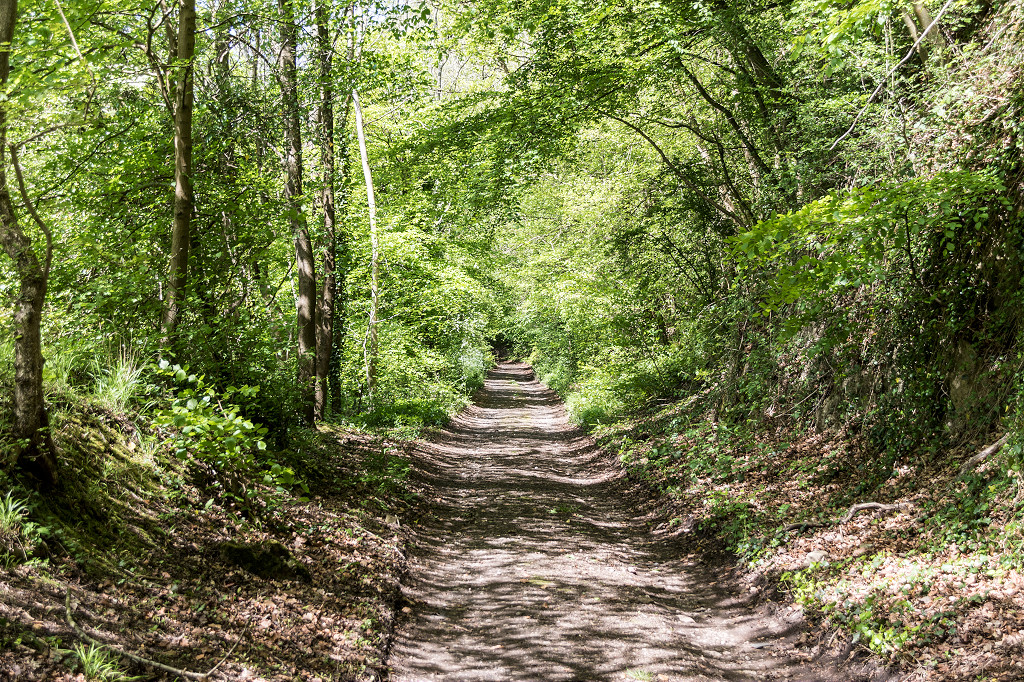
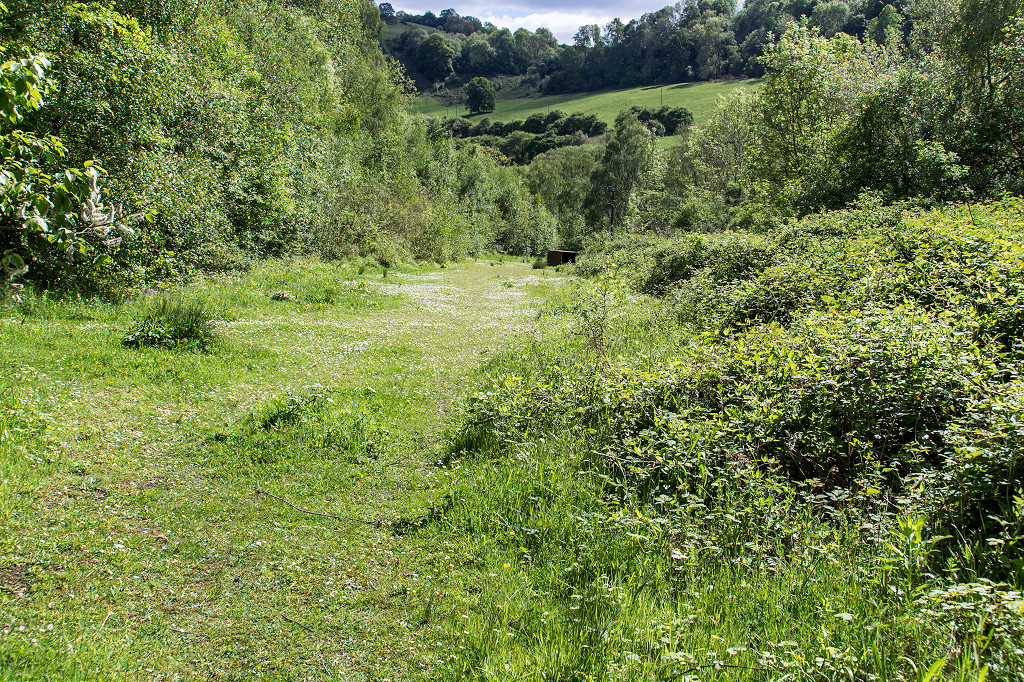
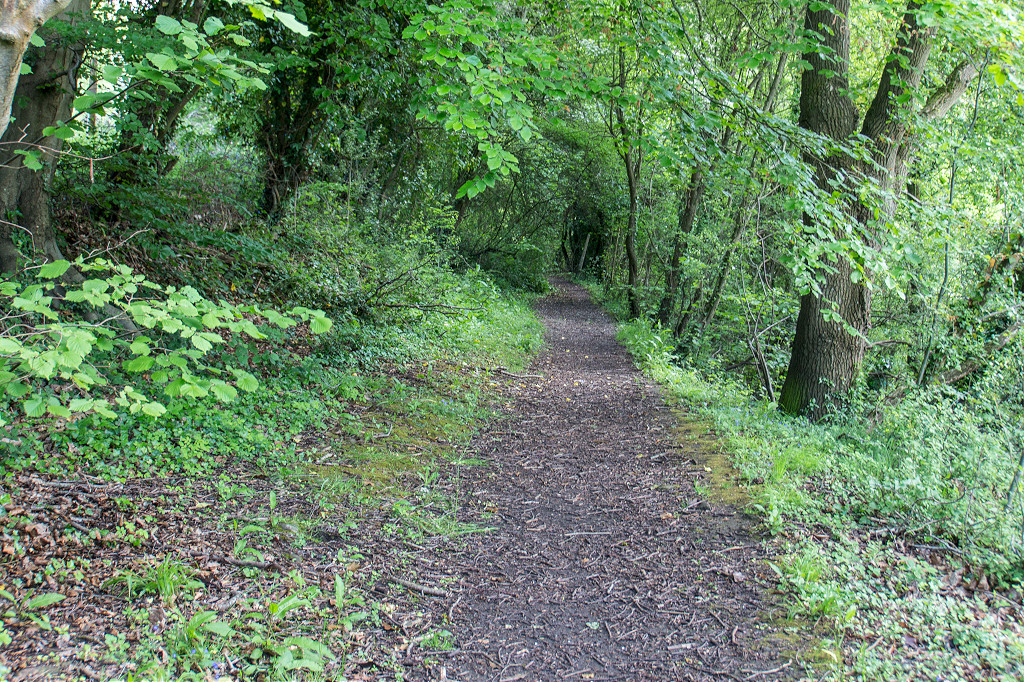
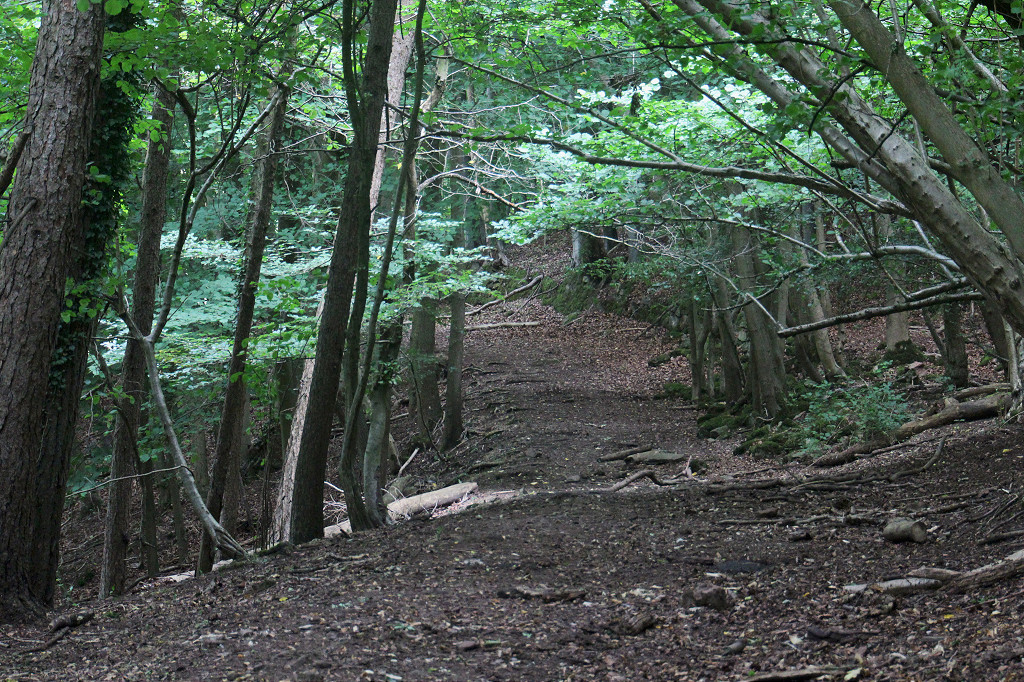
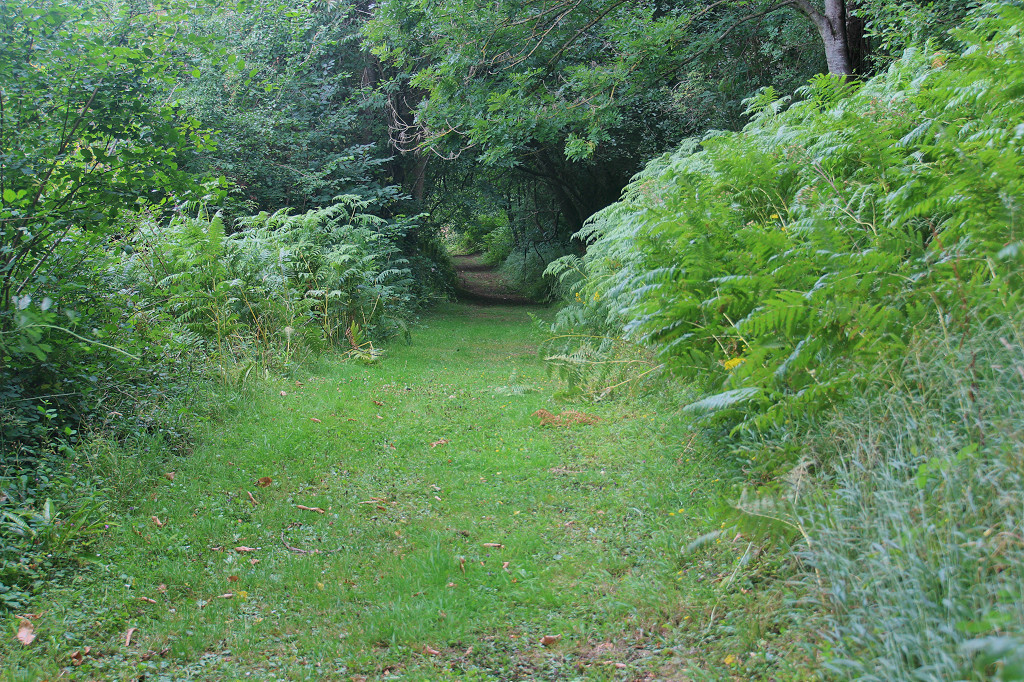
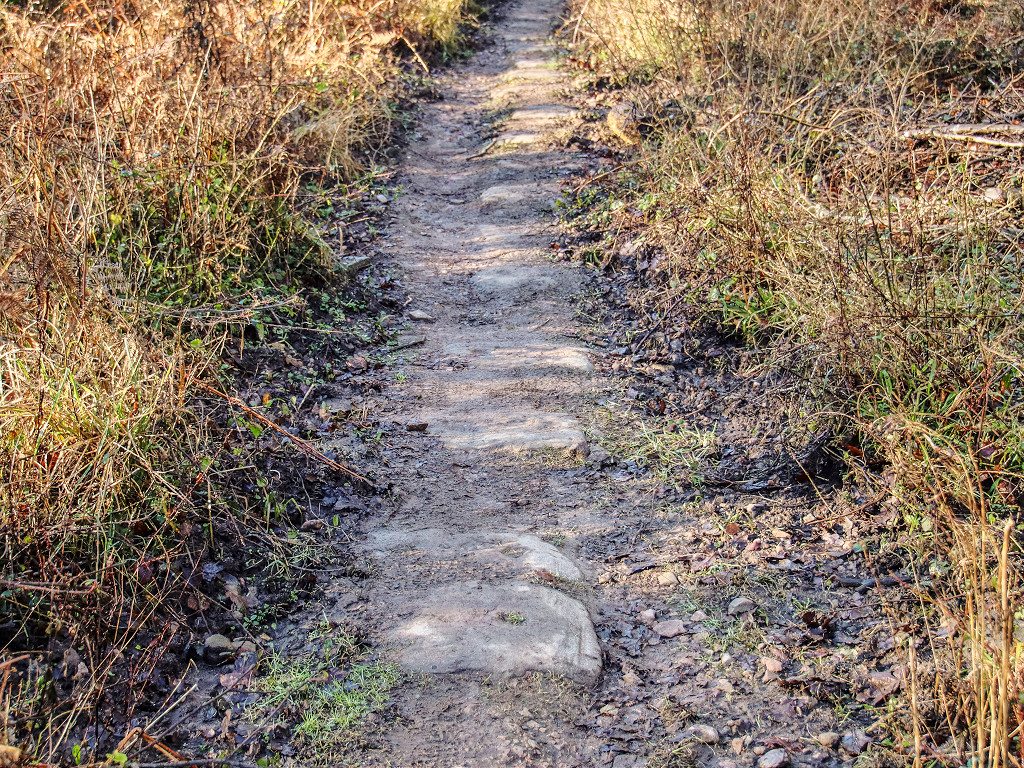 Bixslade Tramroad |
 Bixslade Tramroad |
 Bixslade Tramroad |
 Bixslade Tramroad |
 Bixslade Tramroad |
 Bixslade Tramroad |
 Bixslade Tramroad |
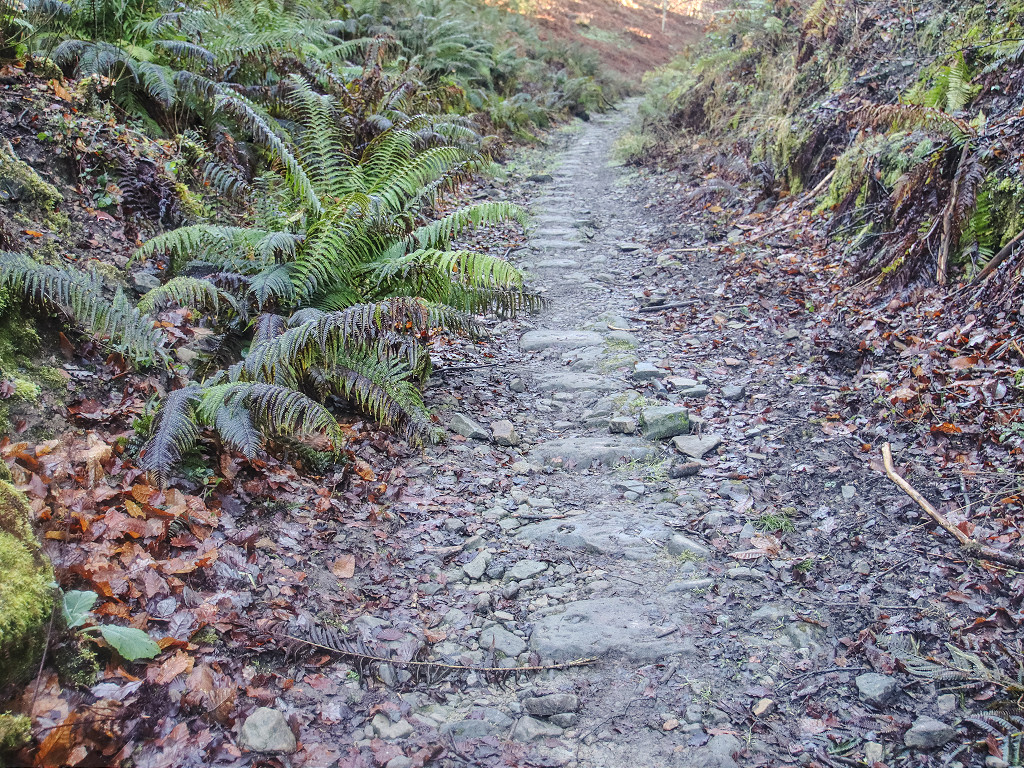 Bixslade Tramroad |
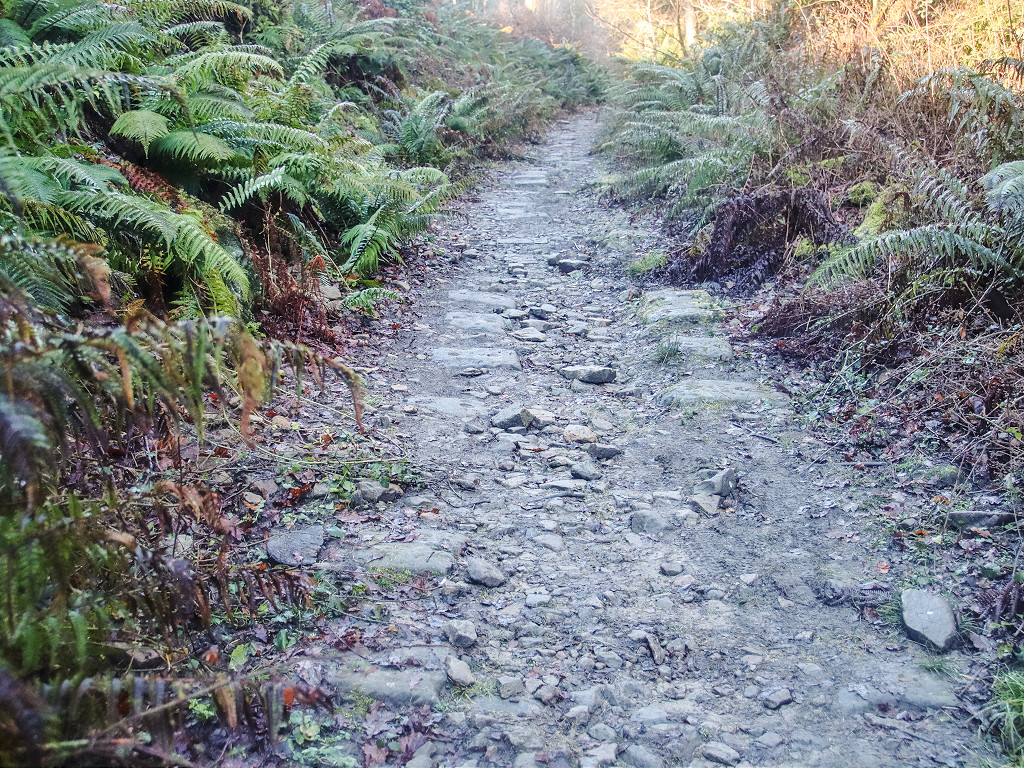 Bixslade Tramroad |
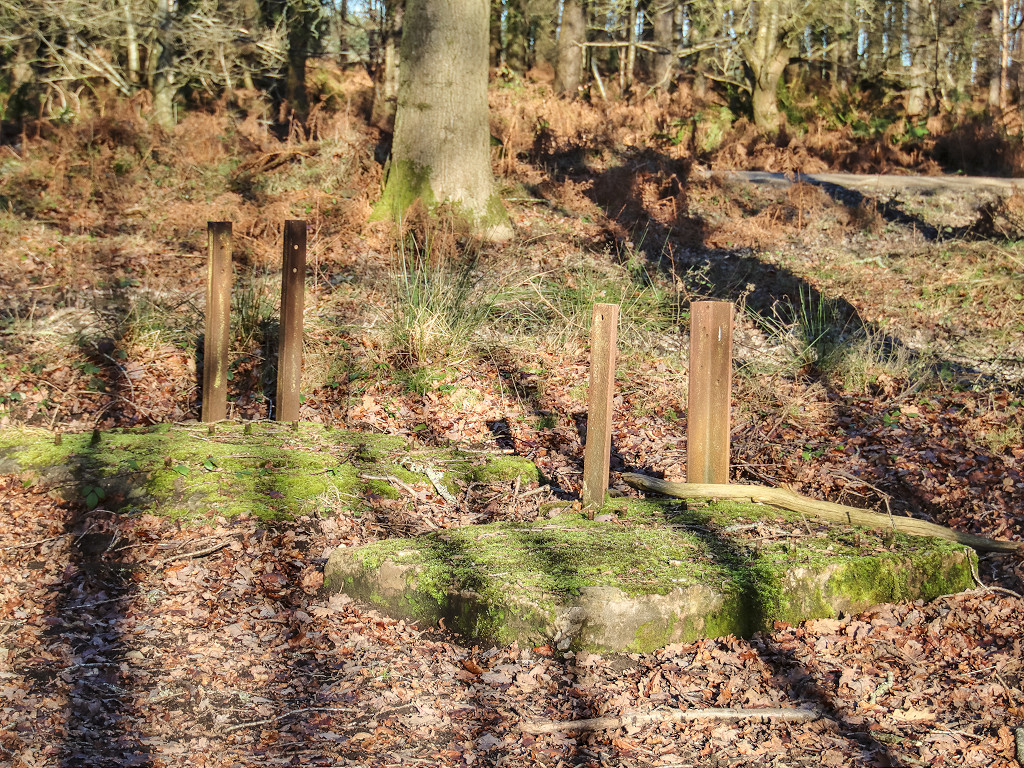
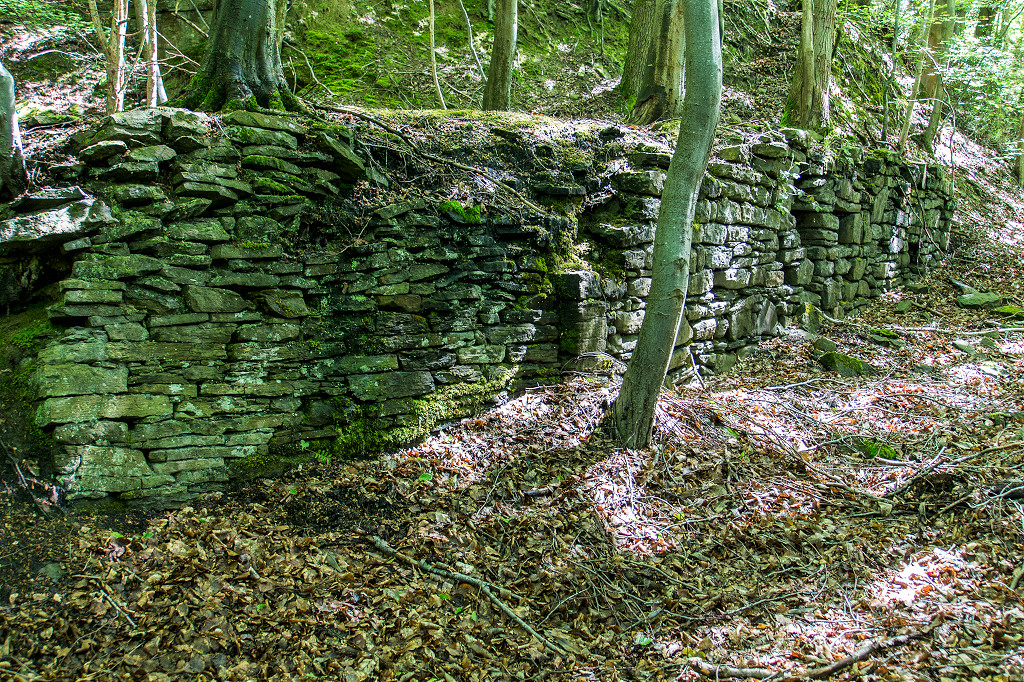
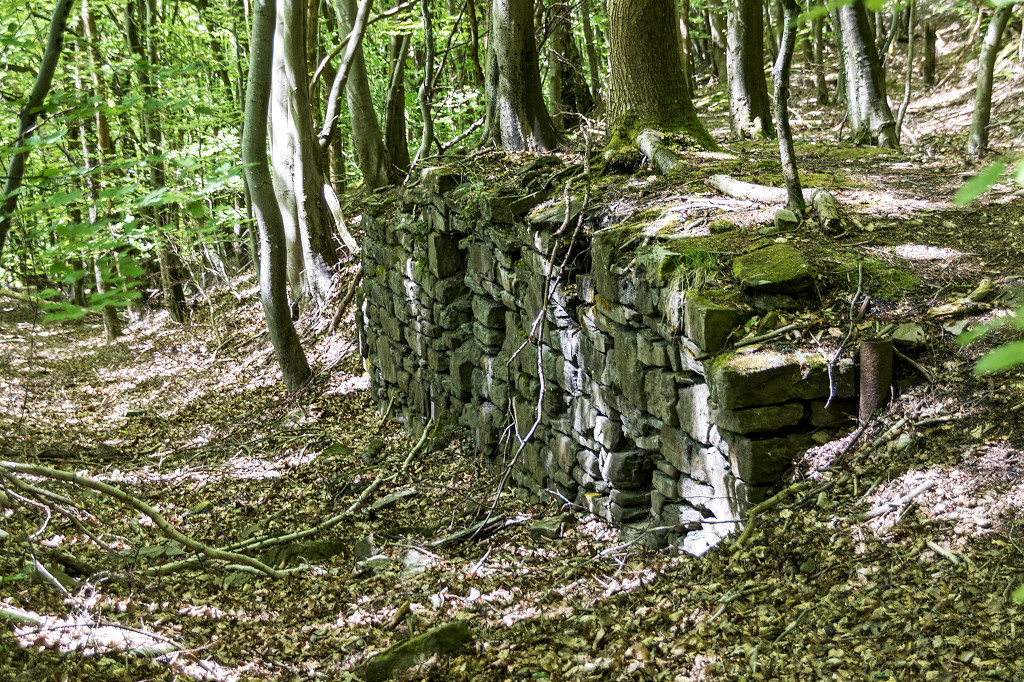
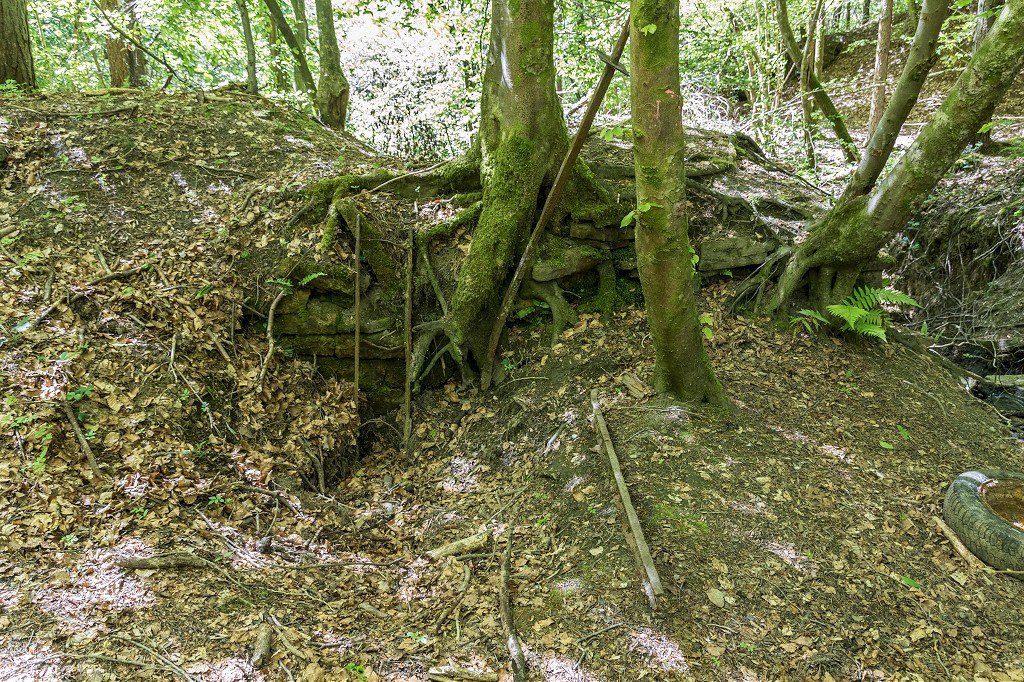
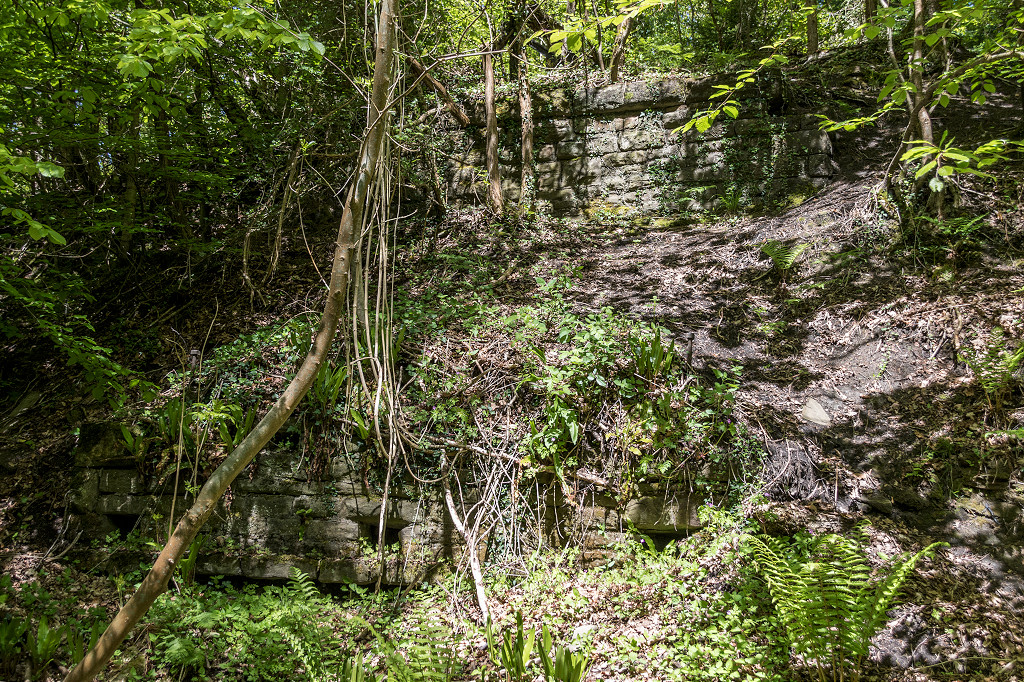
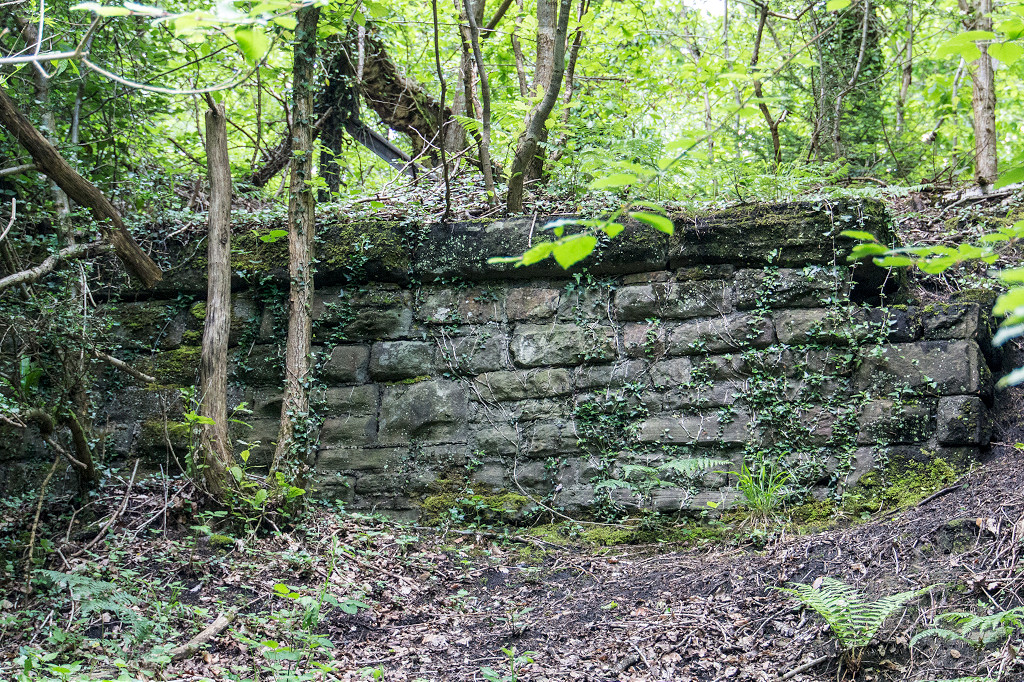
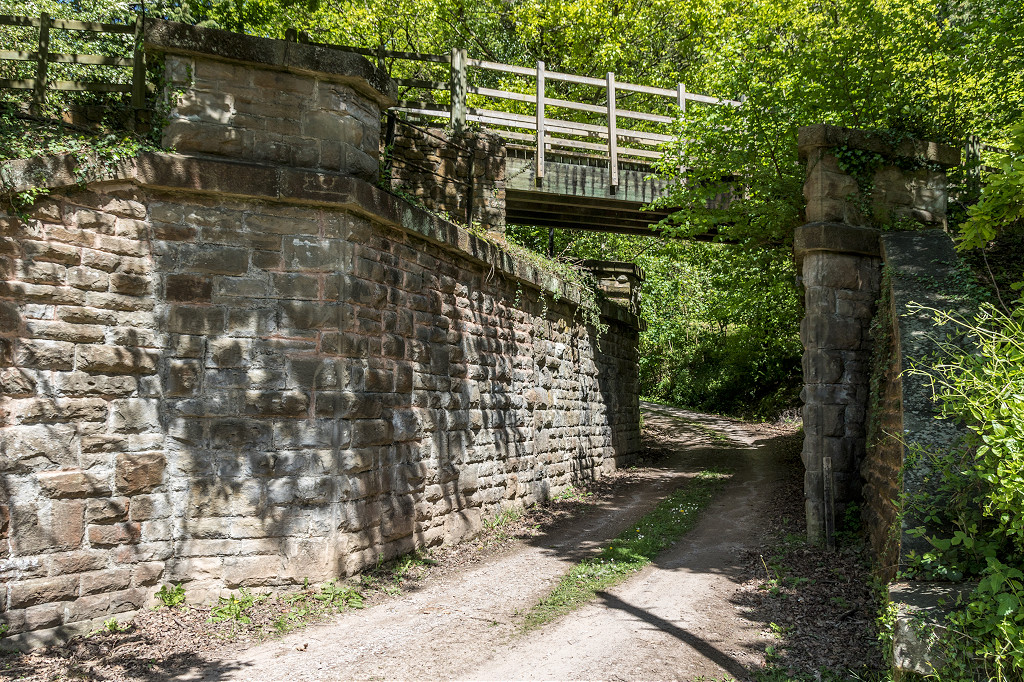
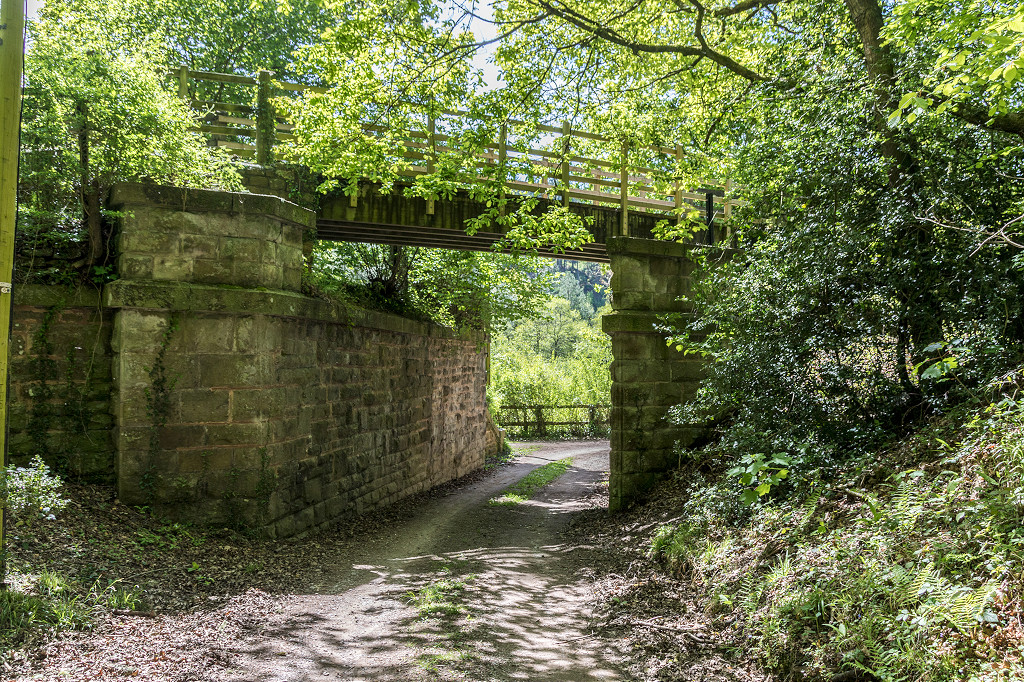
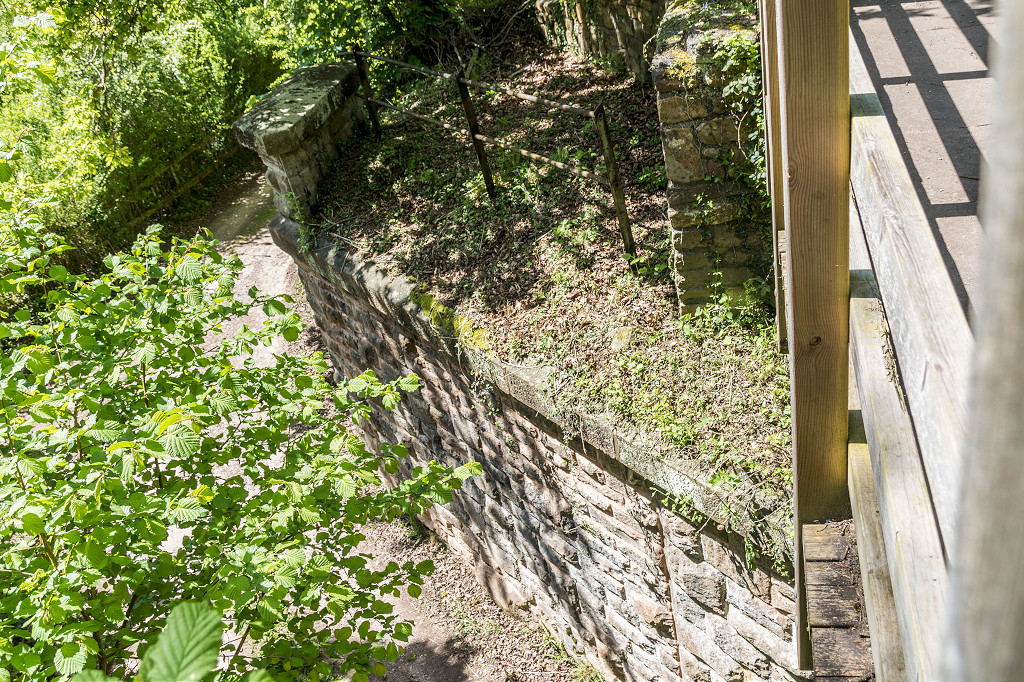
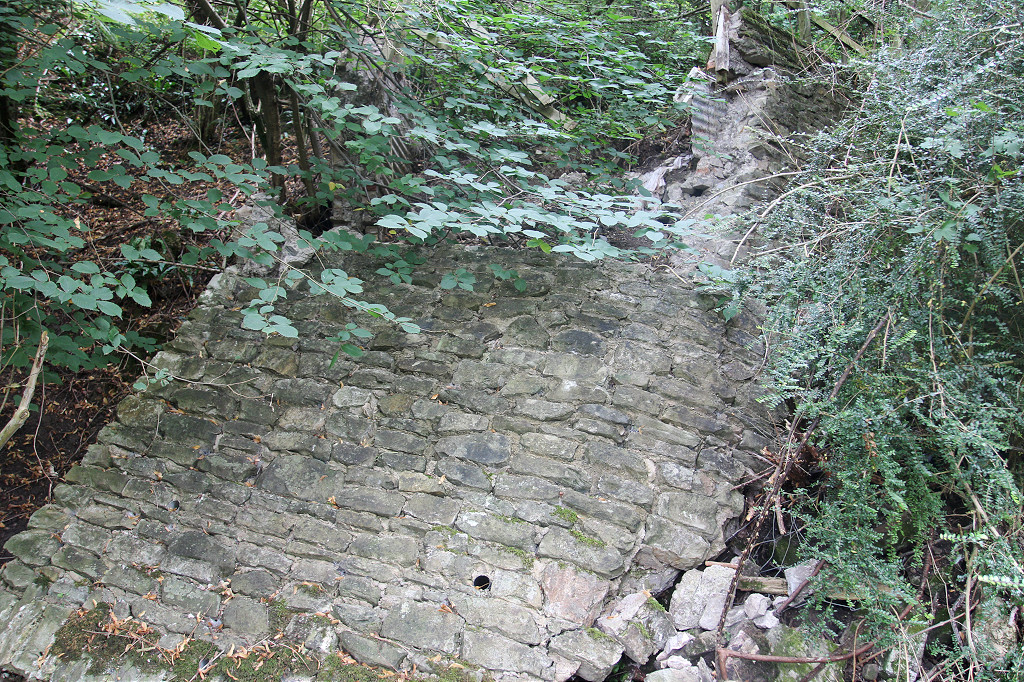
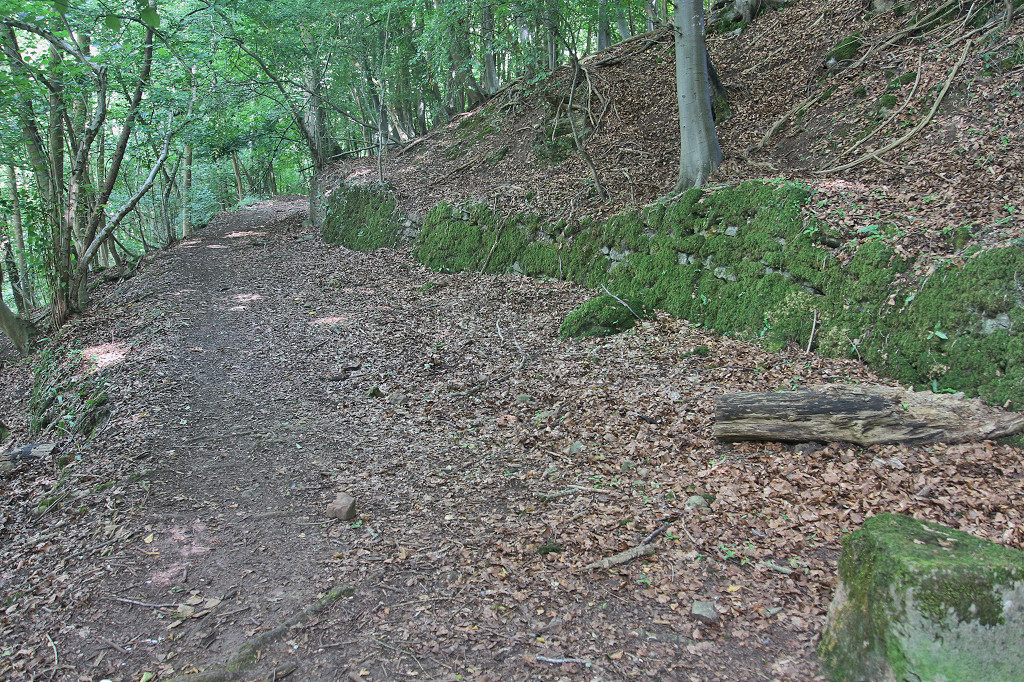
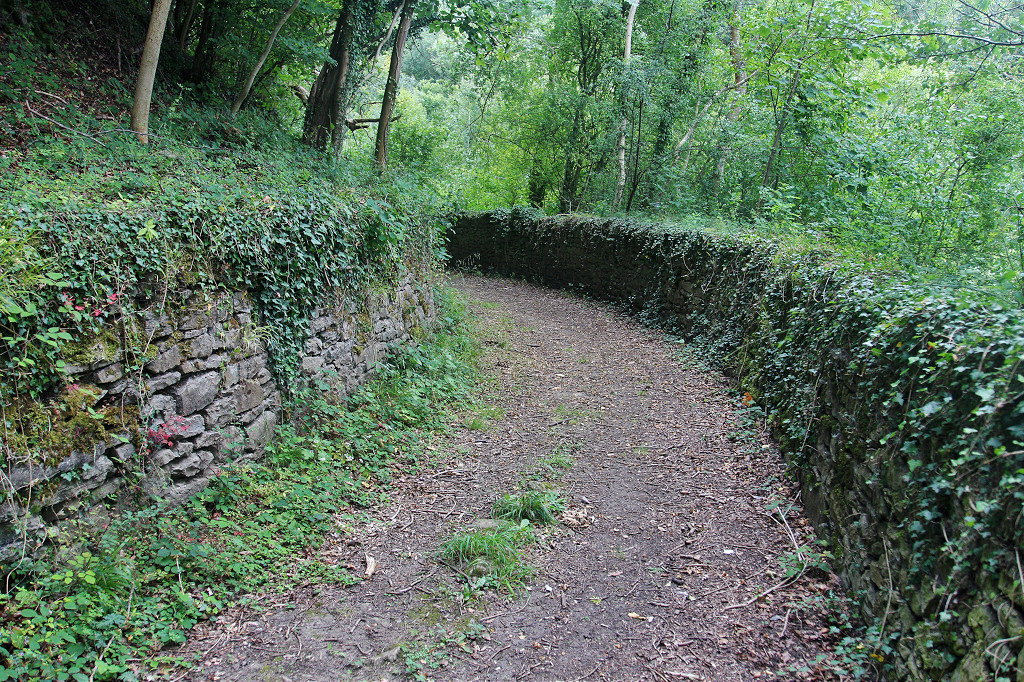
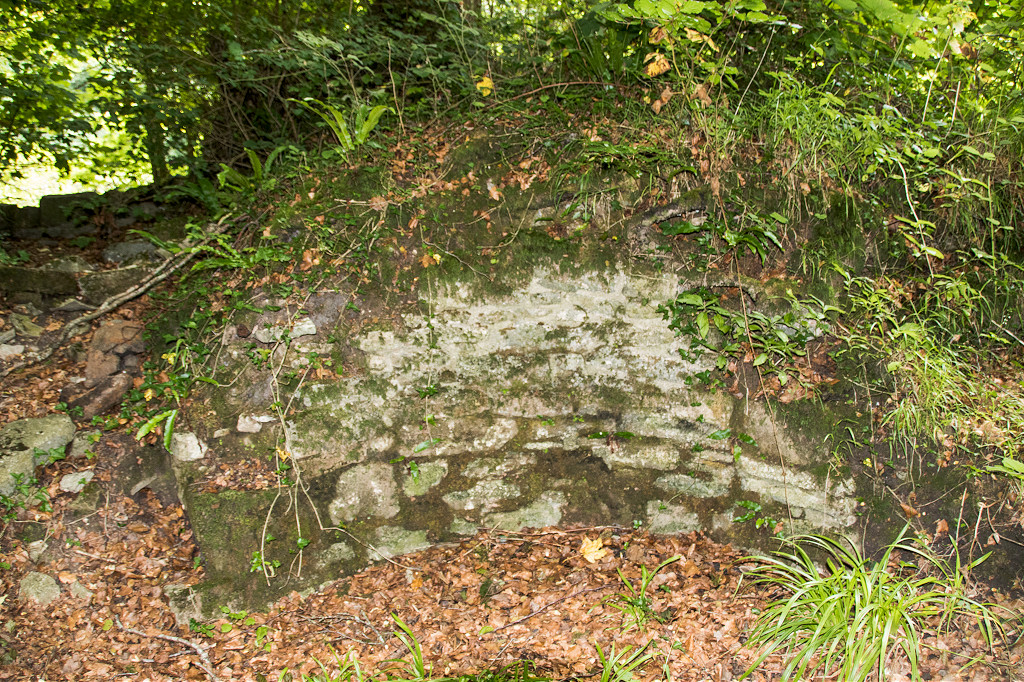
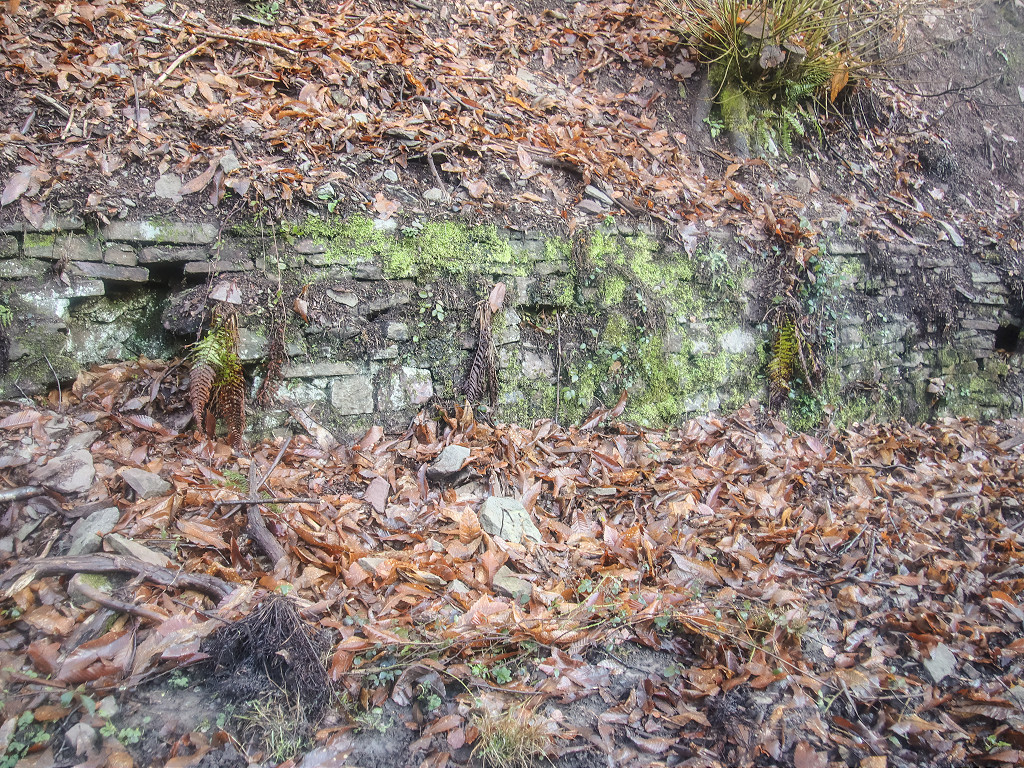 Bixslade tramroad retaining wall |
|
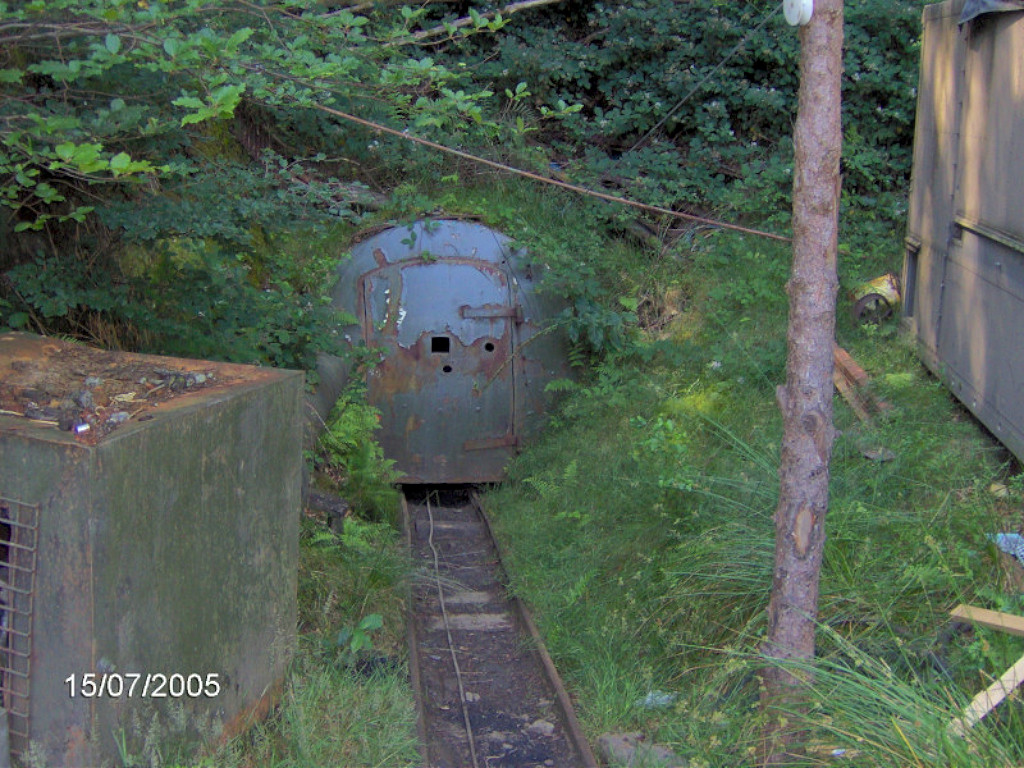
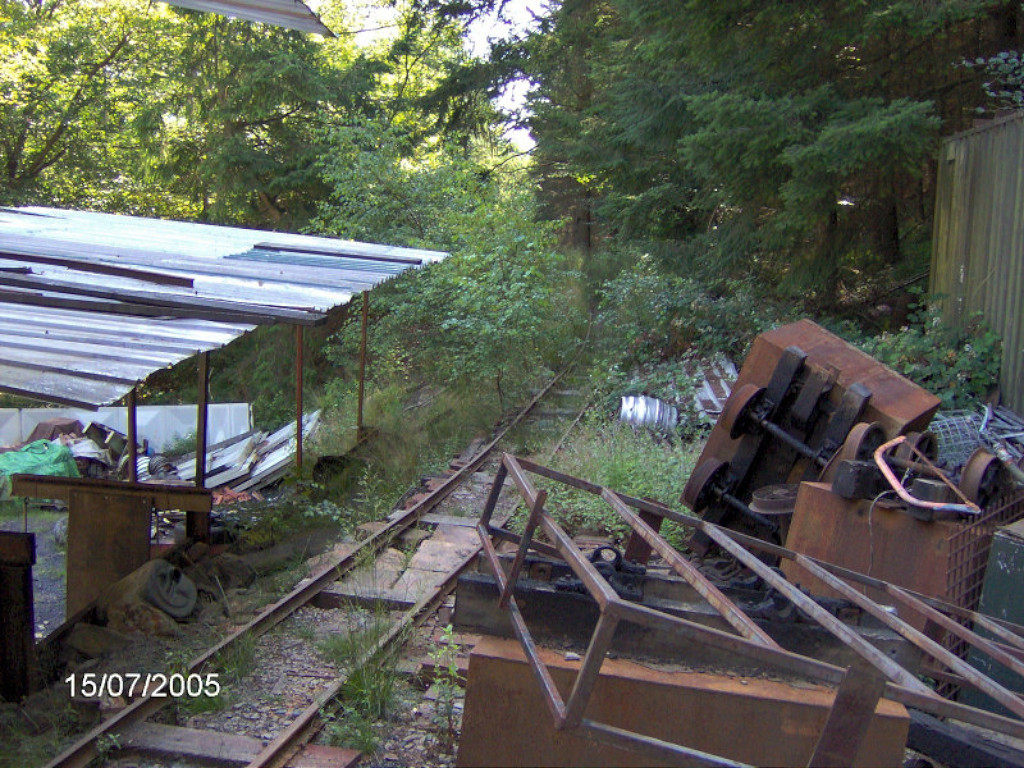
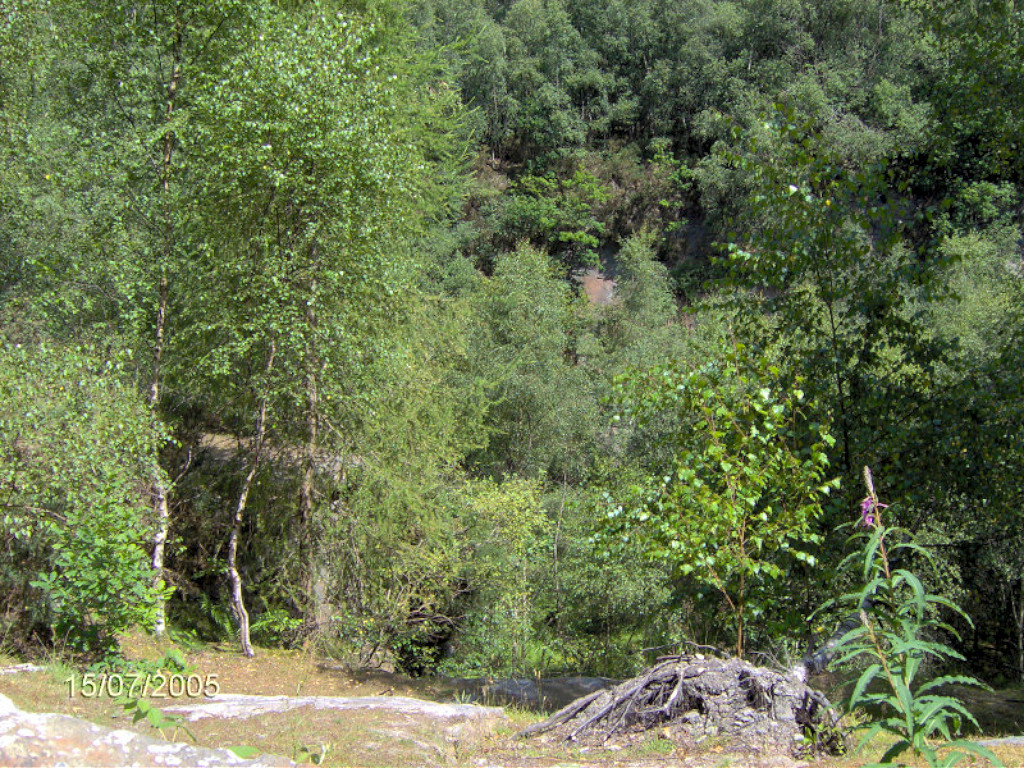
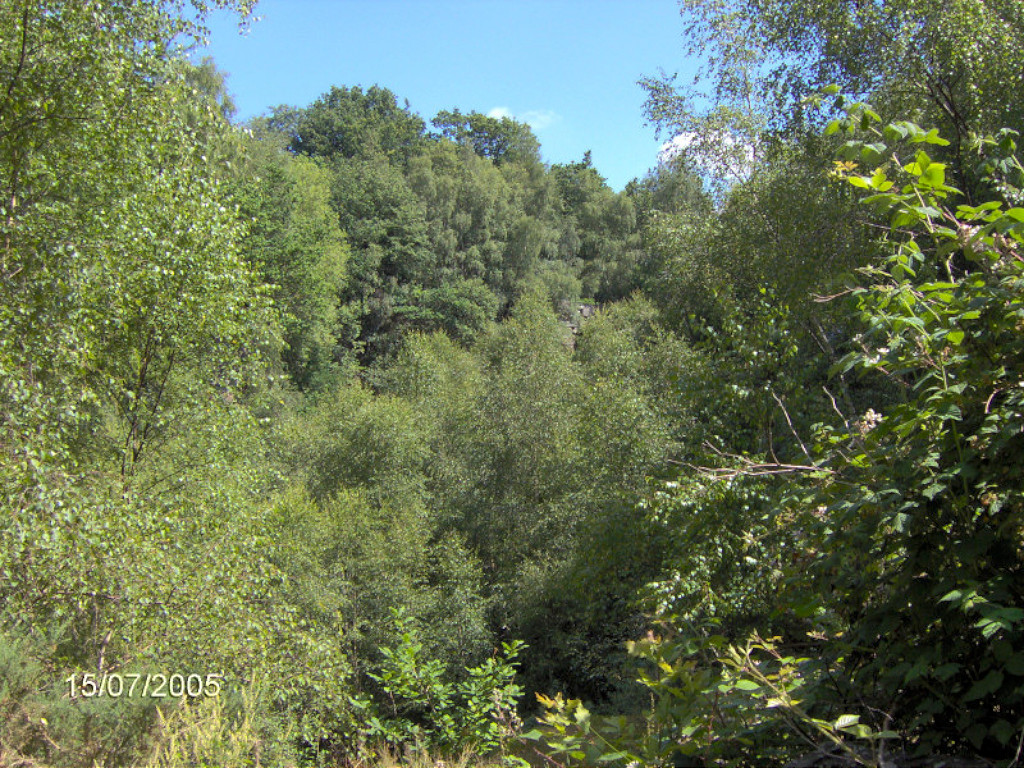
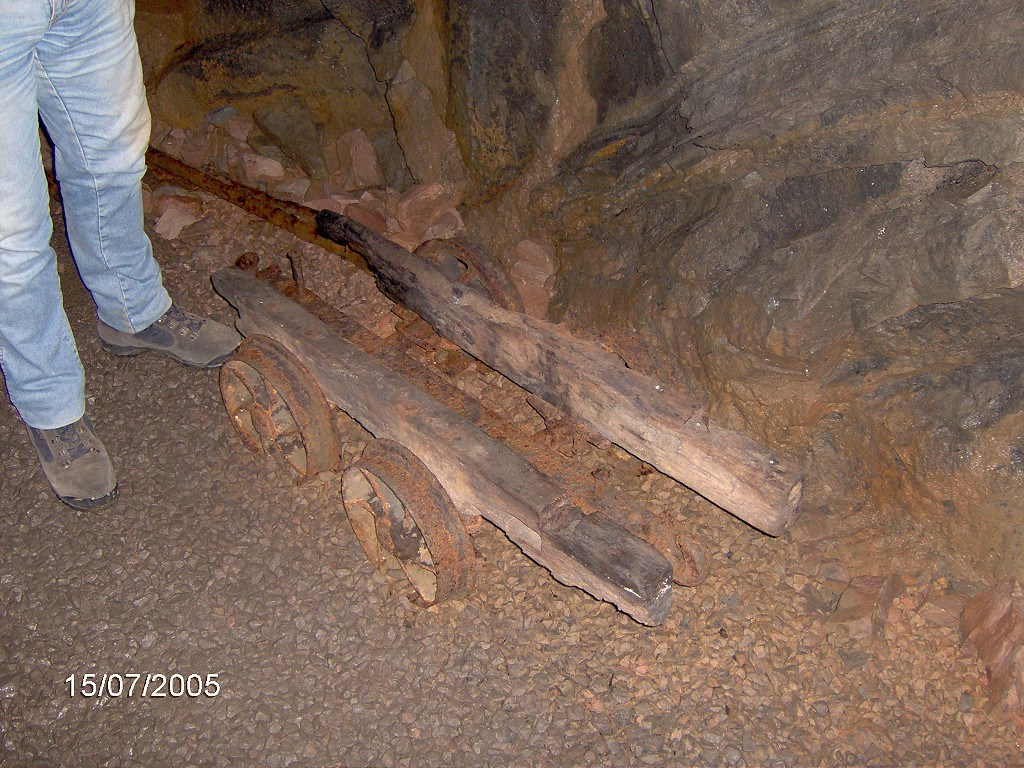
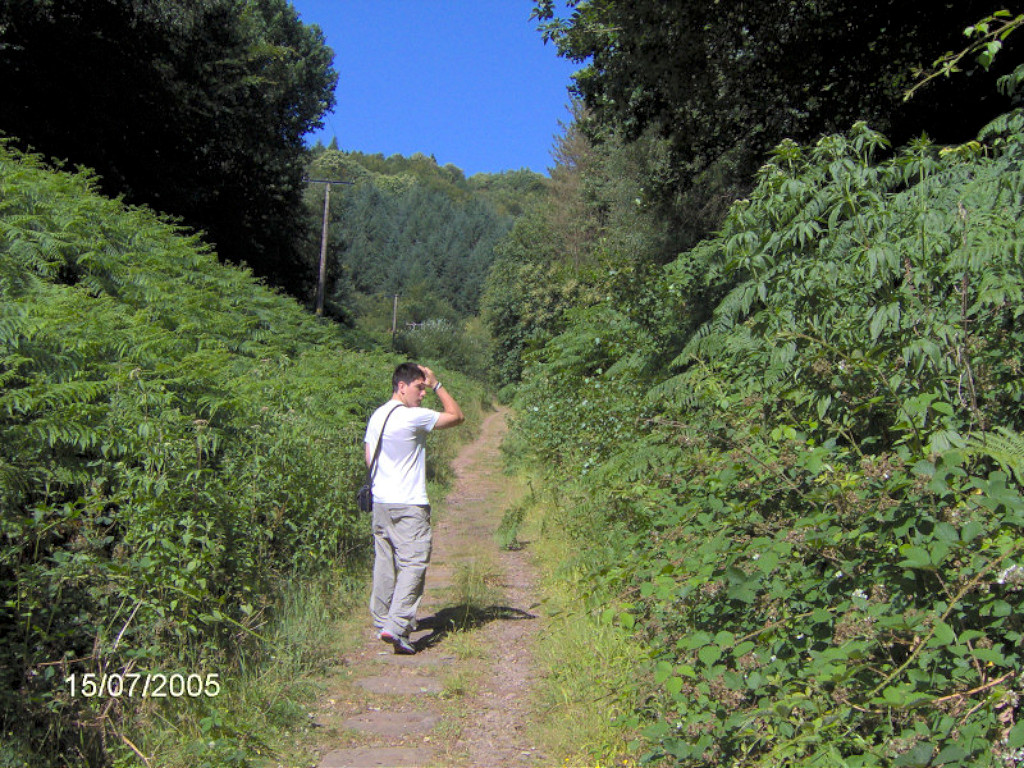 Bixslade Tramroad, 2005 |
 Bixslade Tramroad, c2012 |
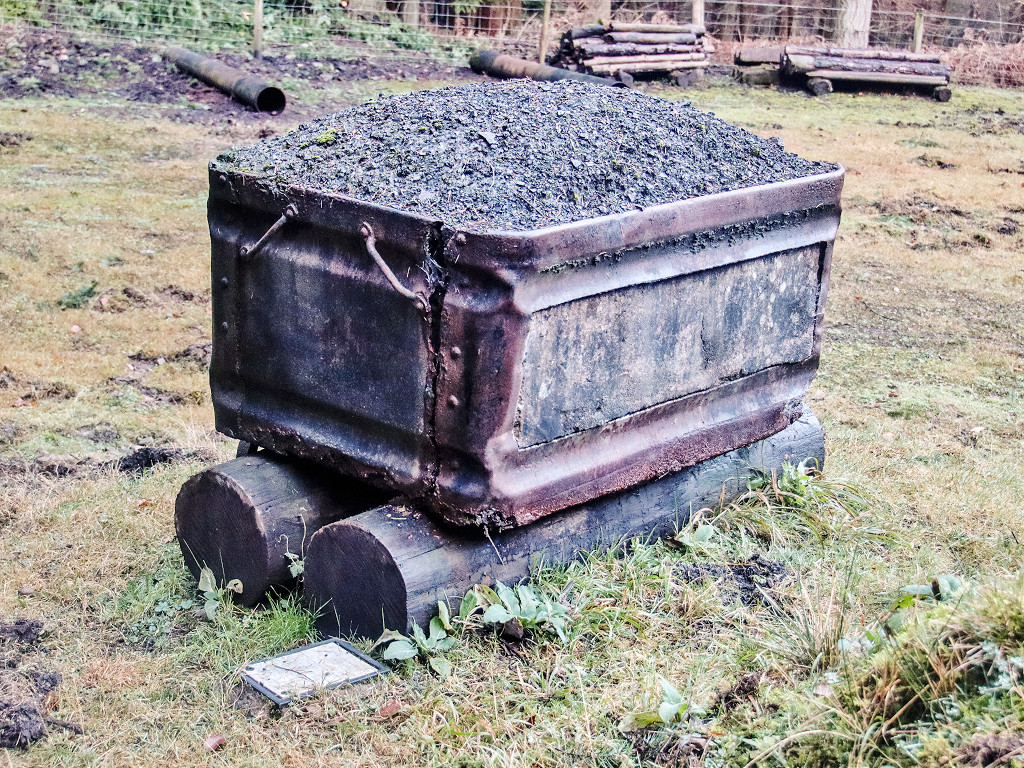
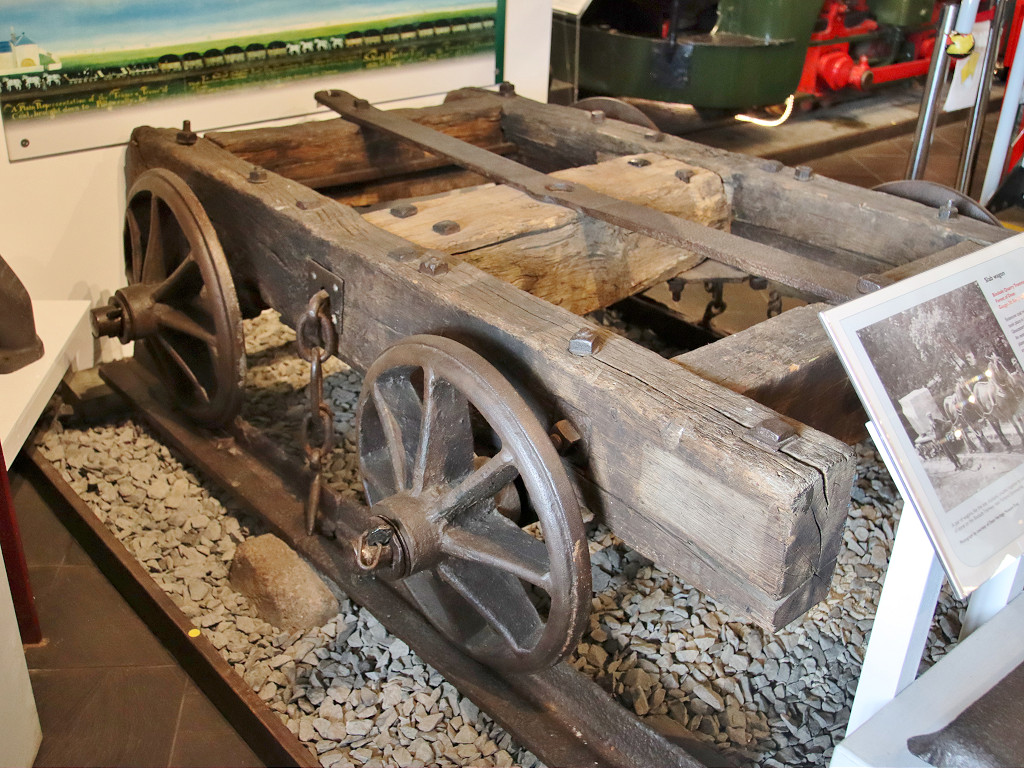 Bixslade tramroad wagon |
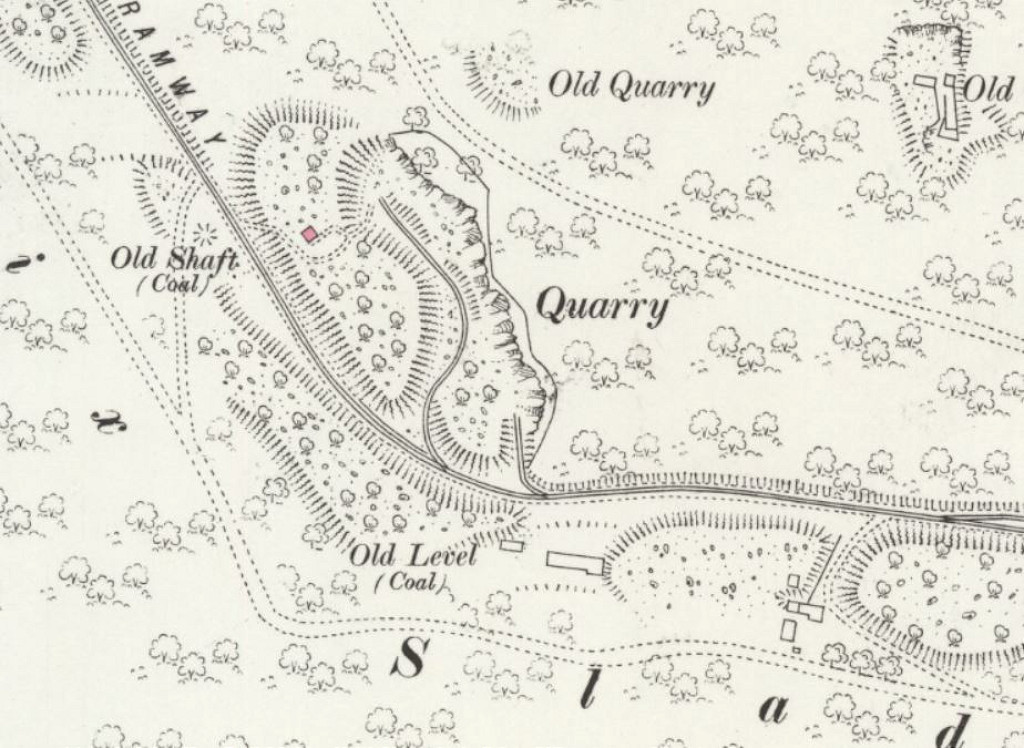
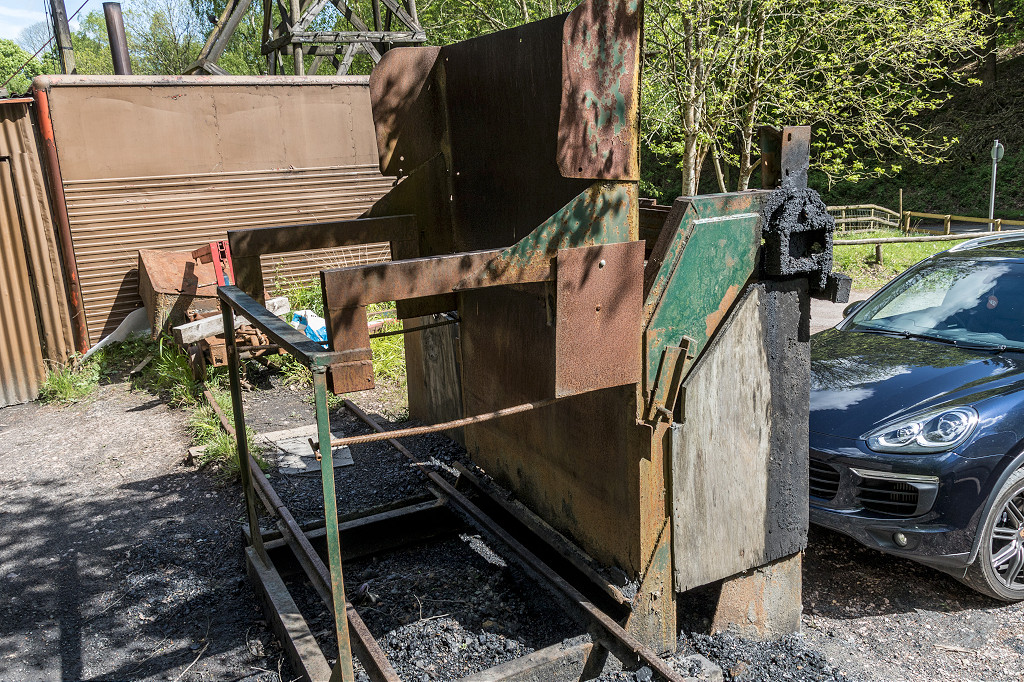
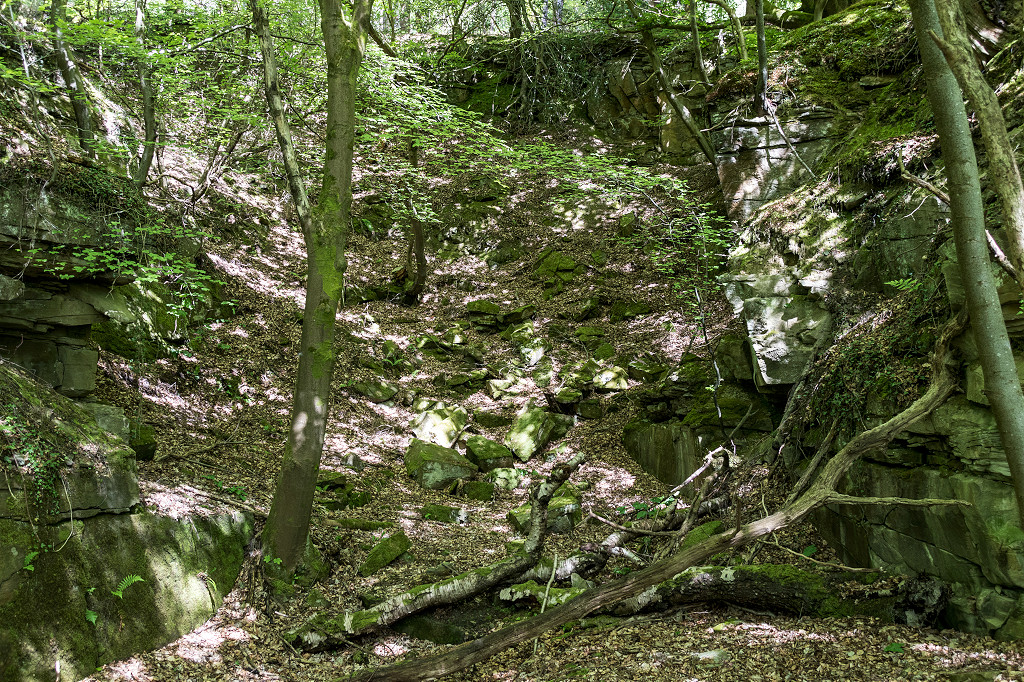
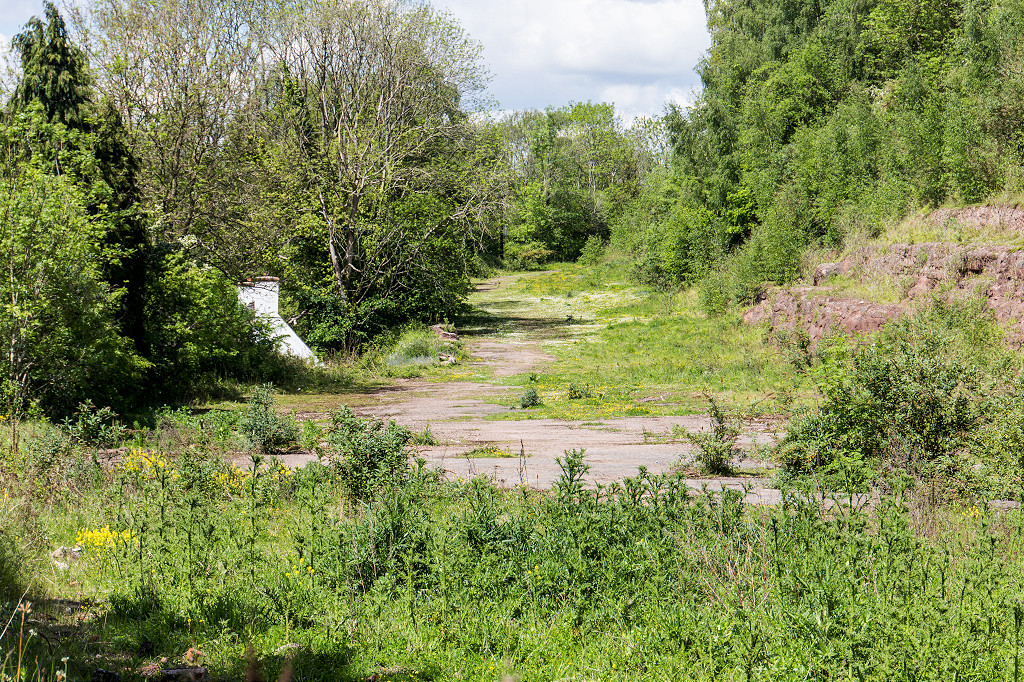
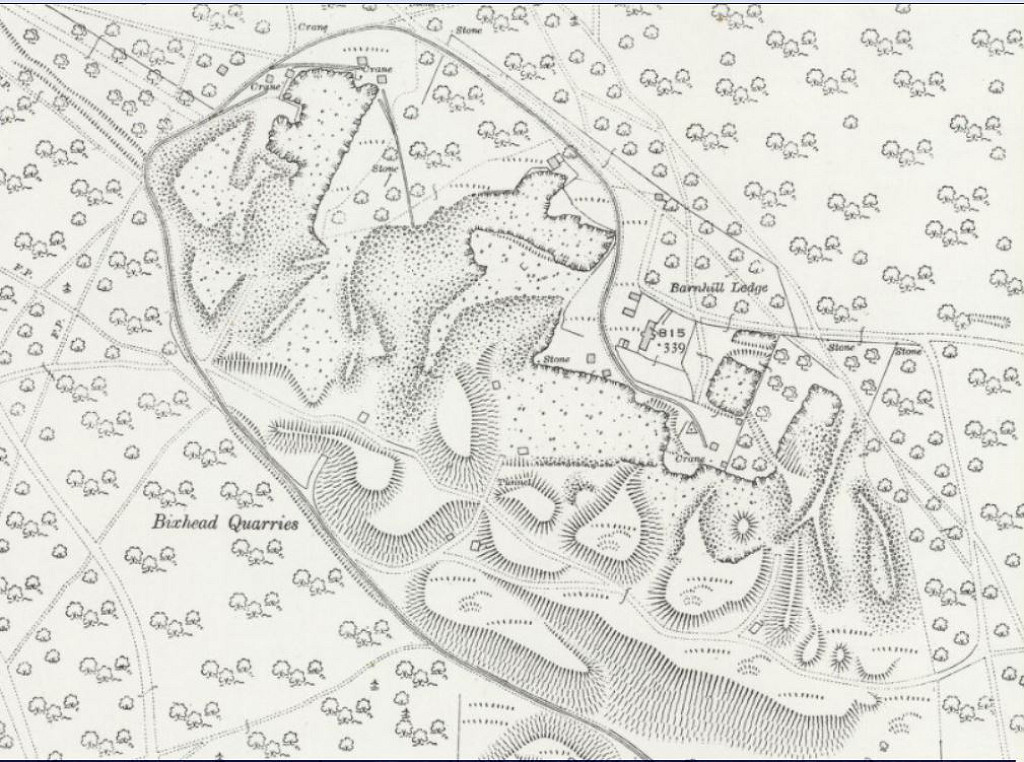 Bixslade Quarries, 1920 |
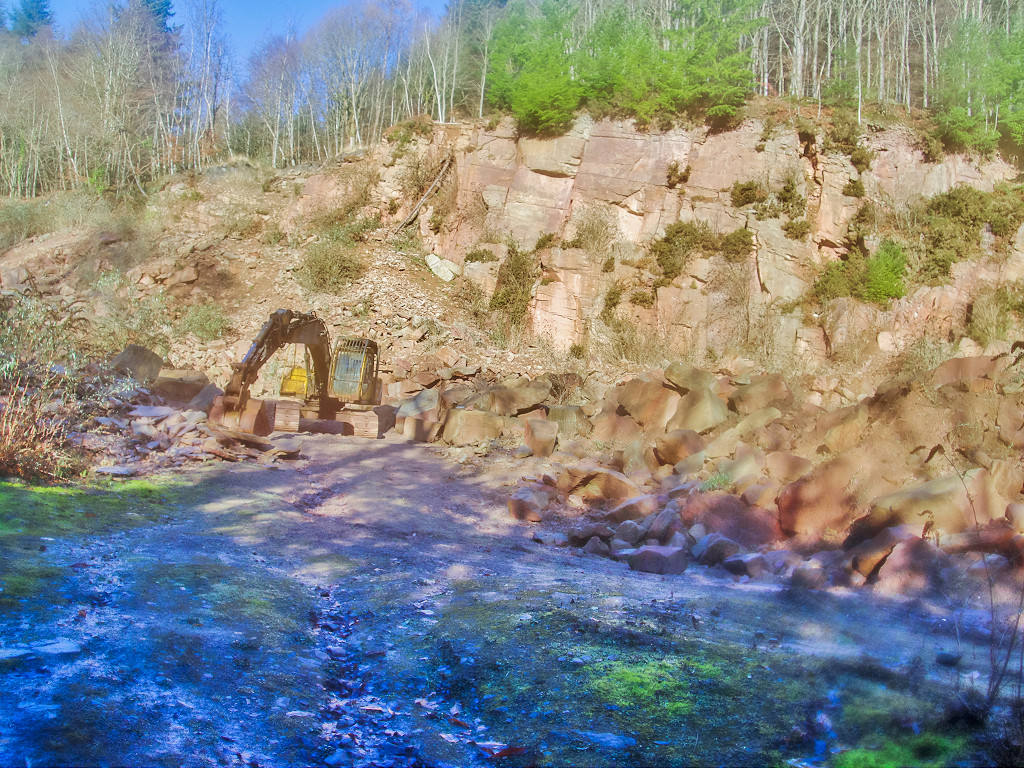
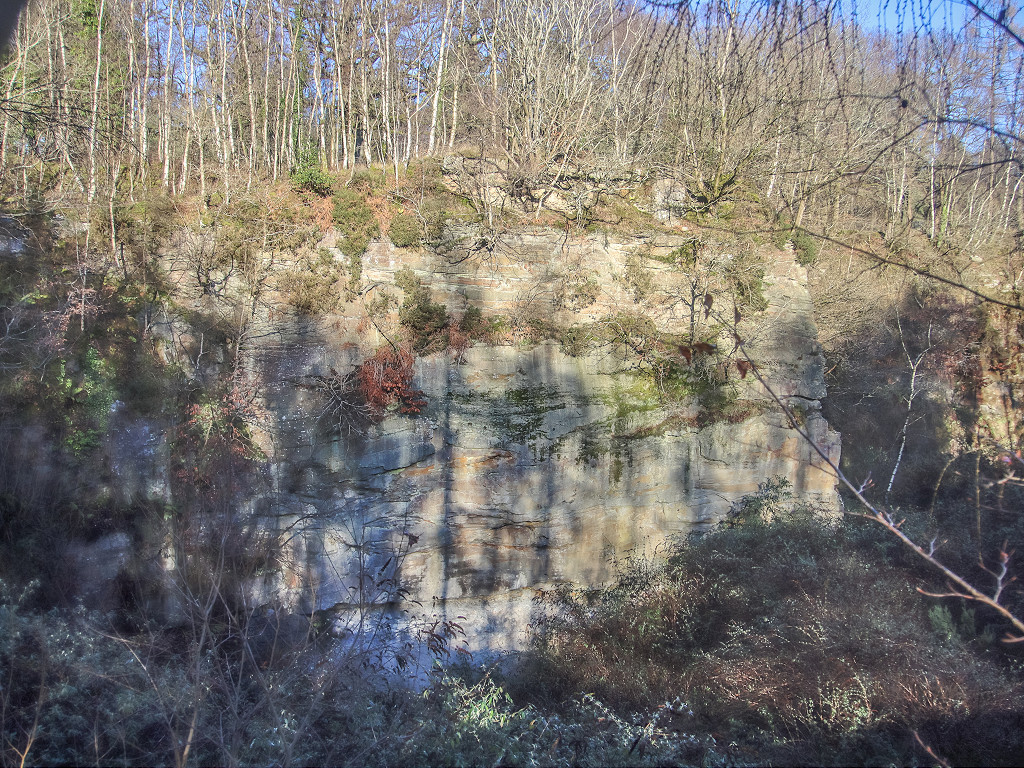 Bixslade Quarries, 2022 |
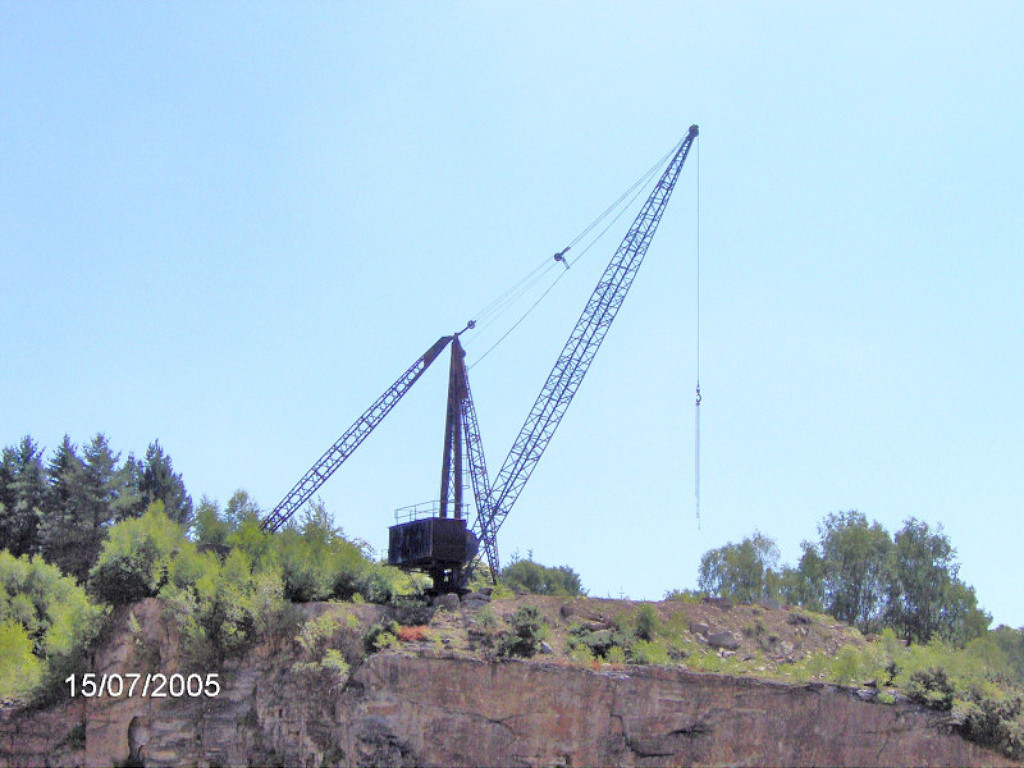
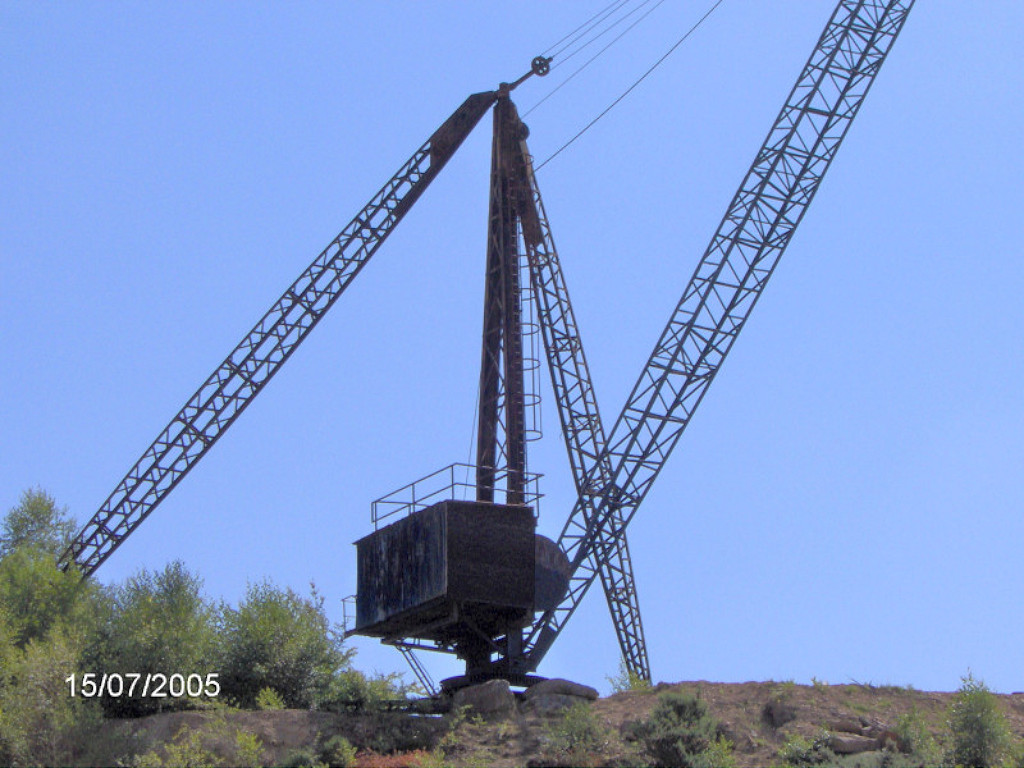
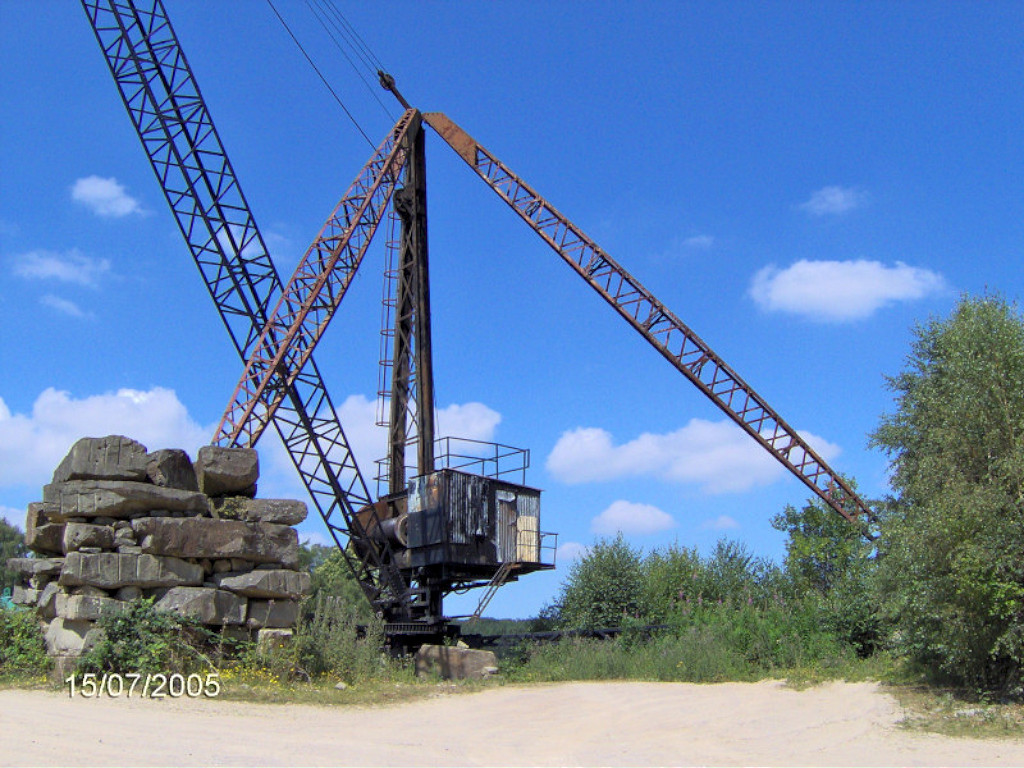
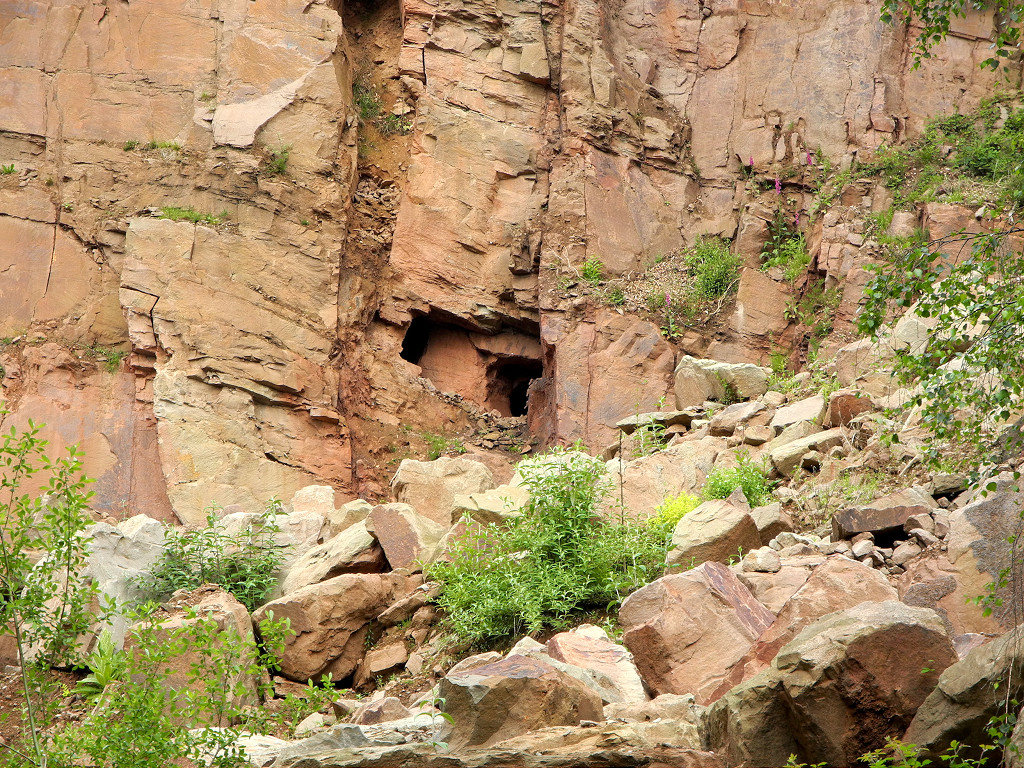
 Bixslade Quarries, 2005 |
 Bixslade Quarries, 2005 |
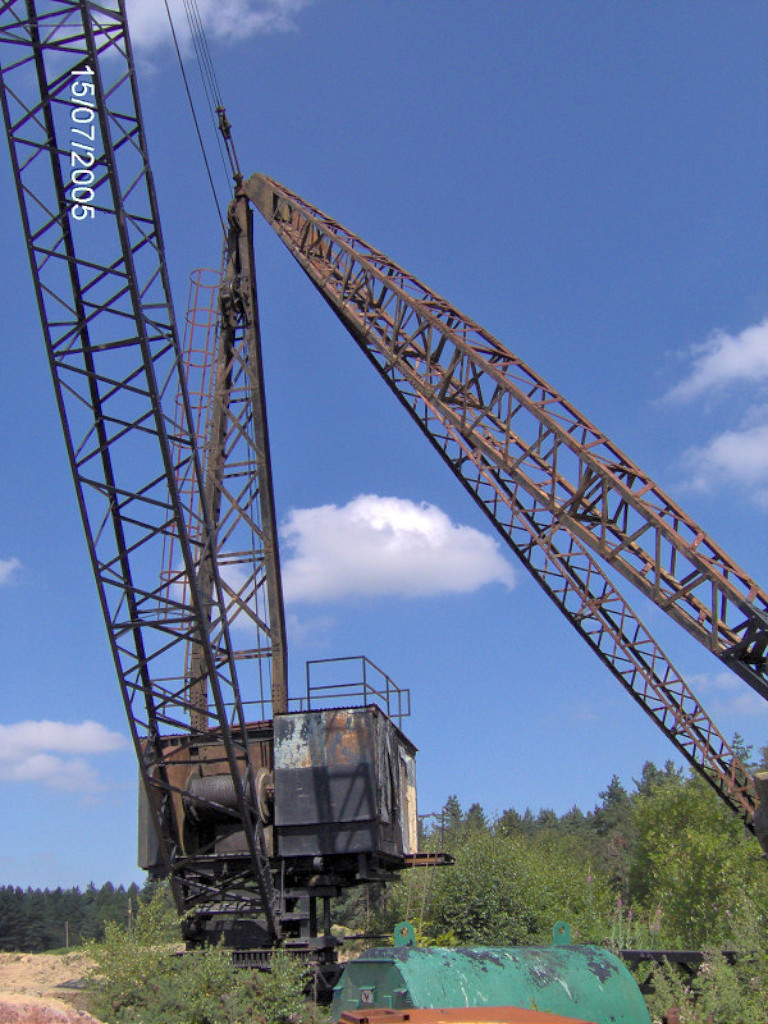
 Bixslade Quarries crane base |
 Bixslade Quarries crane base |
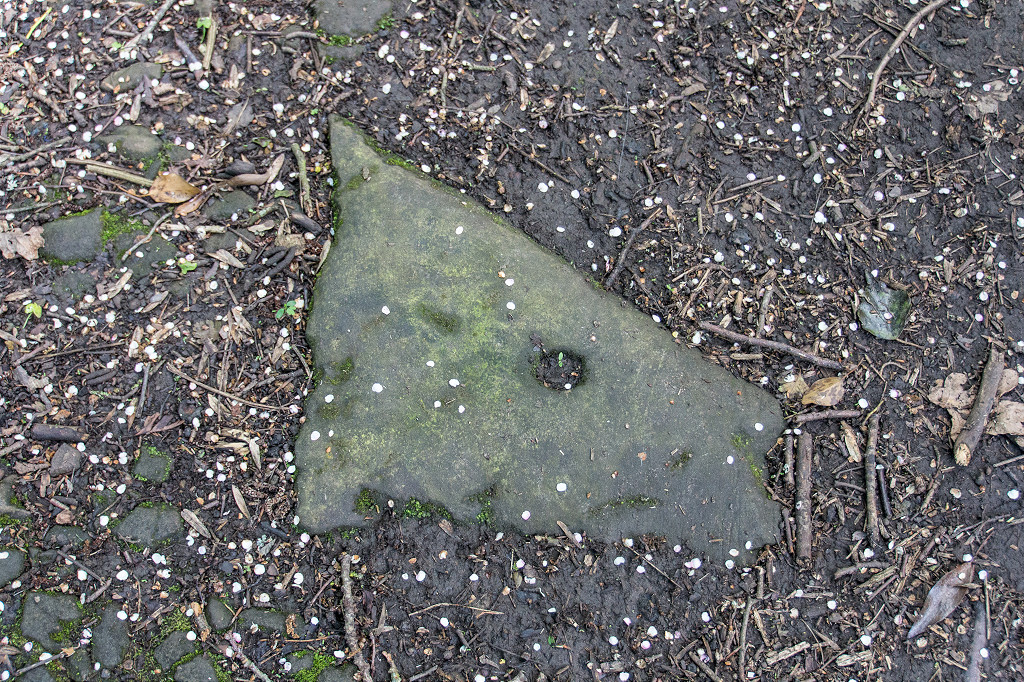
 Bixslade Quarries, tramplate |
 Bixslade Quarries, tramplate |
 Bixslade Quarries, 2005 |
 Bixslade Quarries, 2005 |
 Bixslade Quarries, 2005 |
 Bixslade Quarries, 2005 |
 Mine Train Quarry, Bixslade, 1877 |
 Mine Train Quarry, Bixslade |
 Mine Train Quarry, Bixslade |
 Land Level quarry, Bixslade |
 Land Level quarry, Bixslade |
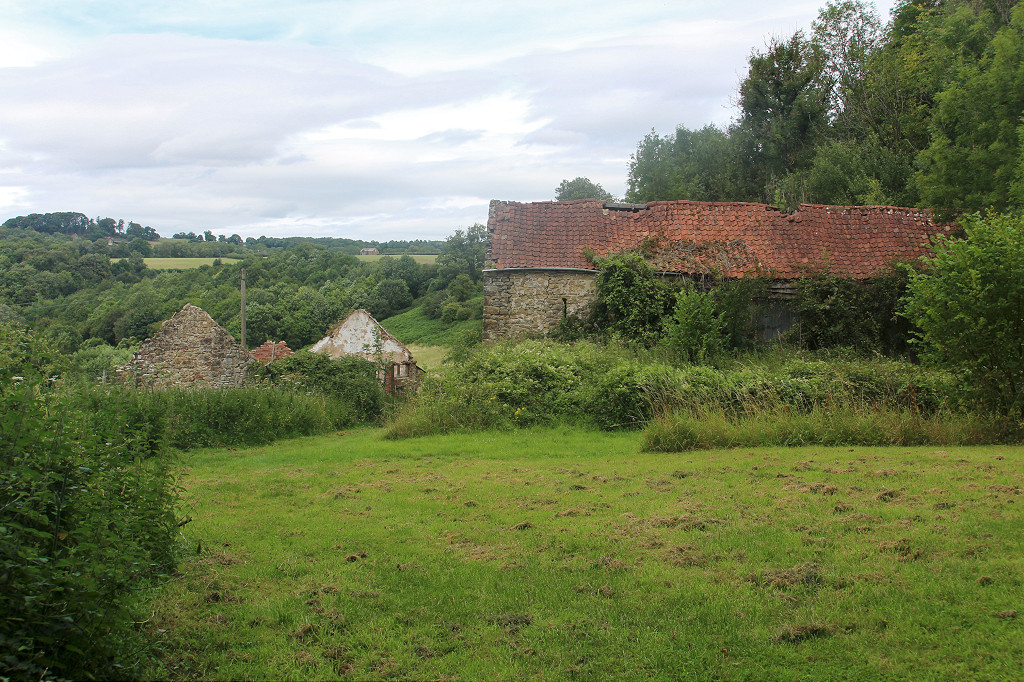
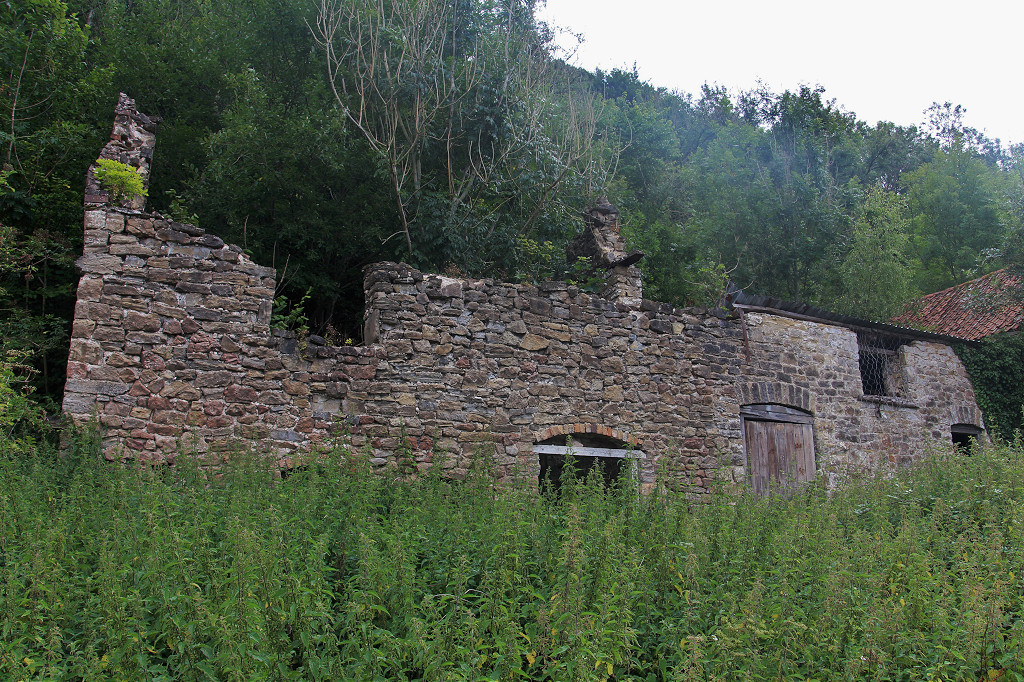
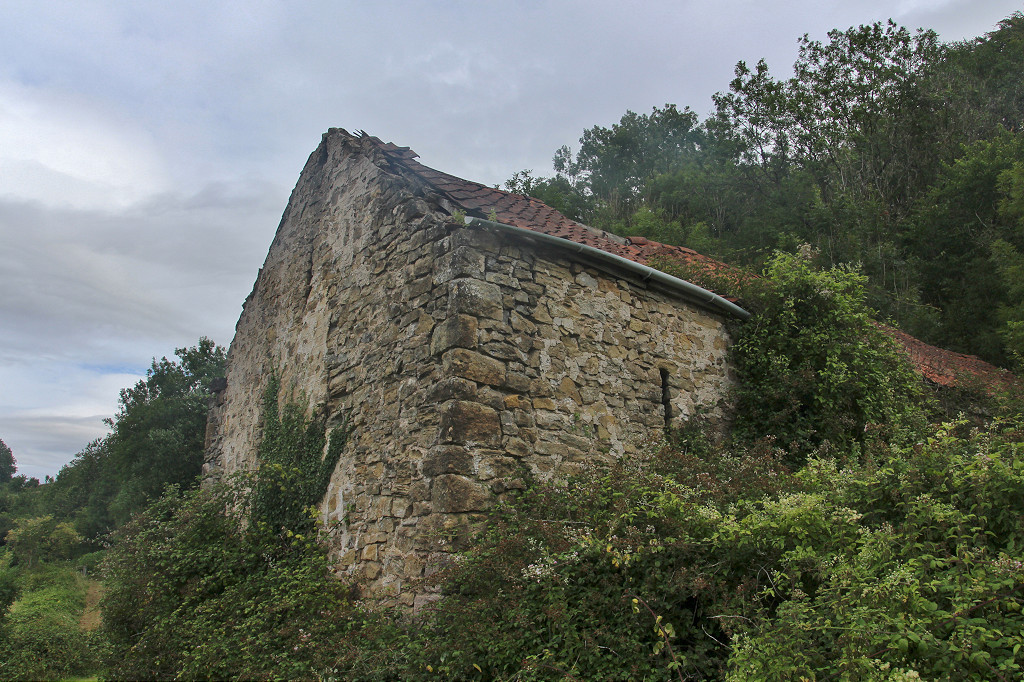
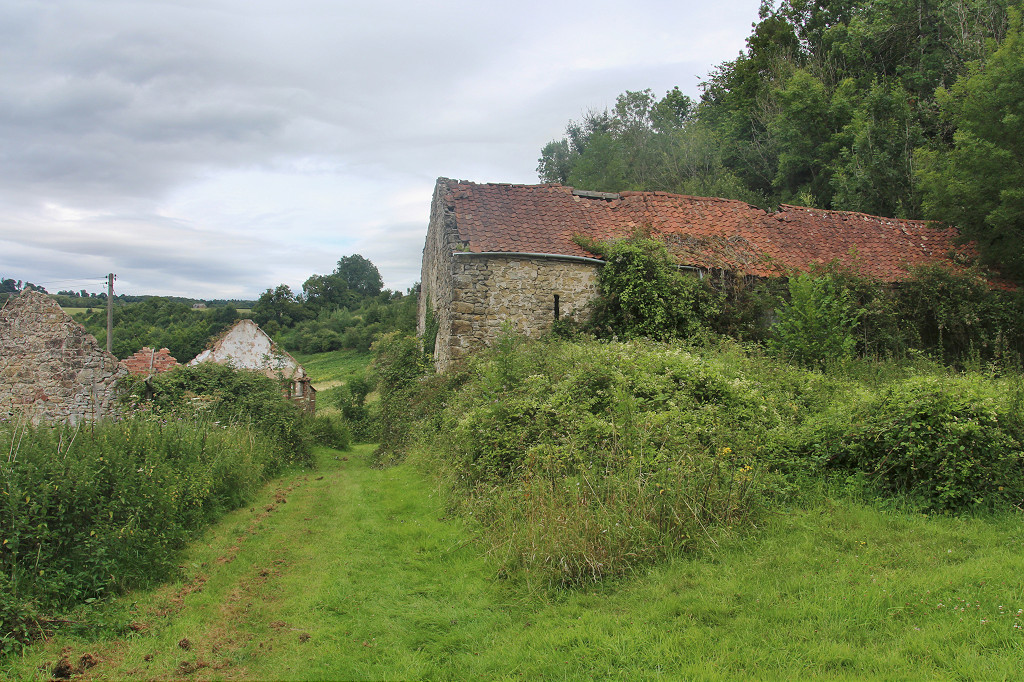
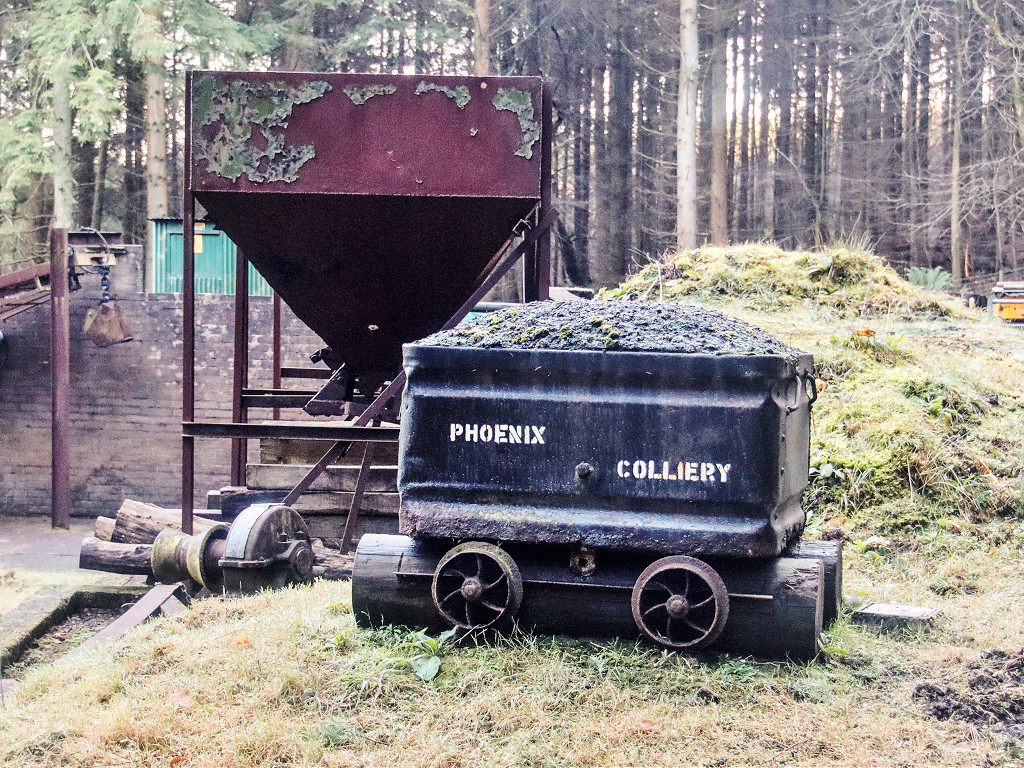 Phoenix Colliery, Near Bixslade |
 Phoenix Colliery, Near Bixslade |
 Phoenix Colliery, Near Bixslade |
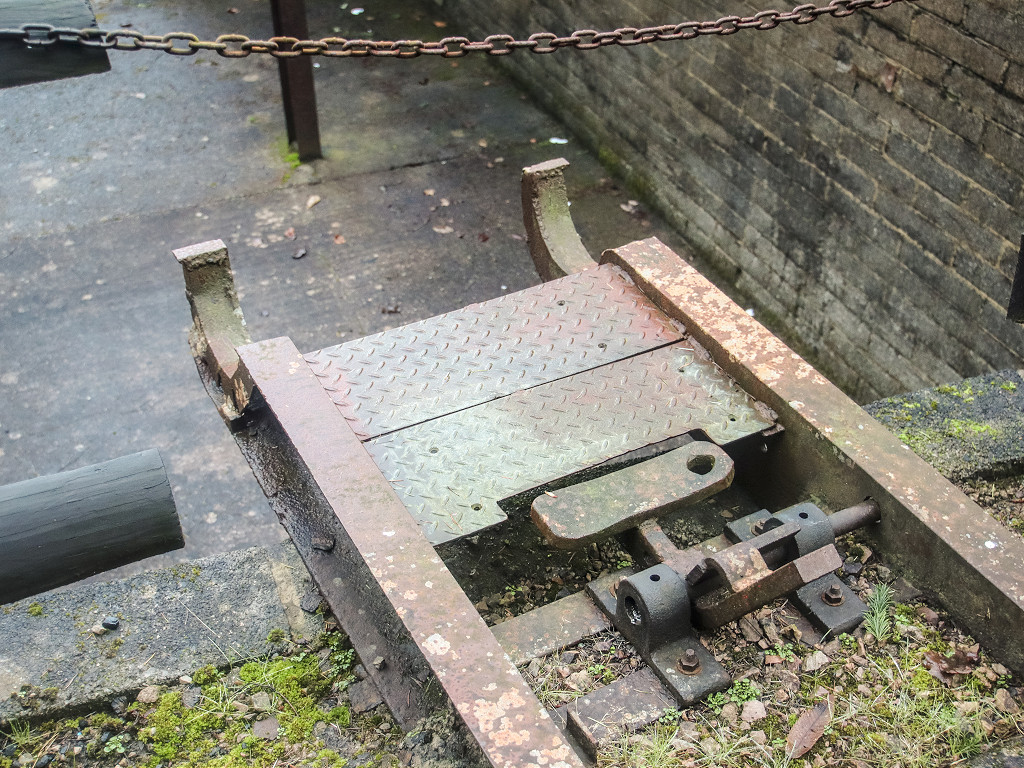 Phoenix Colliery, Near Bixslade |
 Phoenix Colliery, Near Bixslade |
 Phoenix Colliery, Near Bixslade |
 Phoenix Colliery, Near Bixslade |
 Phoenix Colliery, Near Bixslade |
 Phoenix Colliery, Near Bixslade |
 Phoenix Colliery, Near Bixslade |
 Phoenix Colliery, Near Bixslade |
 Phoenix Colliery, Near Bixslade |
 Phoenix Colliery, Near Bixslade |
 Phoenix Colliery, Near Bixslade |
 Phoenix Colliery, Near Bixslade |
 Phoenix Colliery, Near Bixslade |
 Phoenix Colliery, Near Bixslade |
 Phoenix Colliery, Near Bixslade |
|
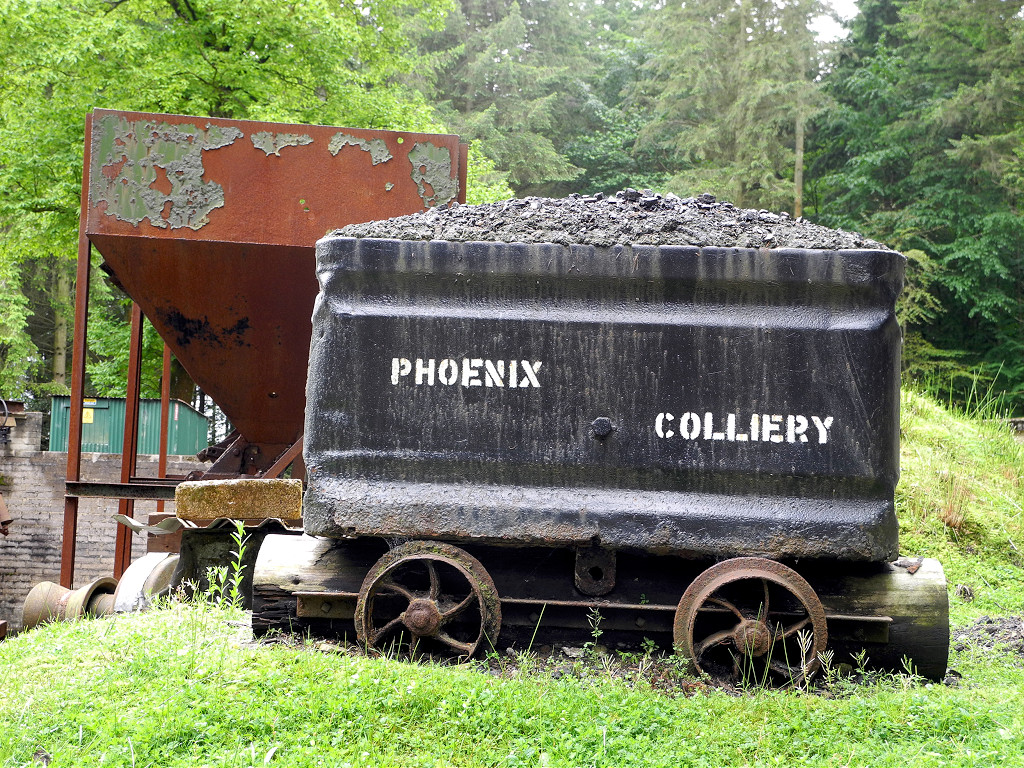 Phoenix Colliery, Near Bixslade |
 Phoenix Colliery, Near Bixslade |
 Phoenix Colliery, Near Bixslade |
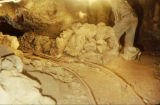
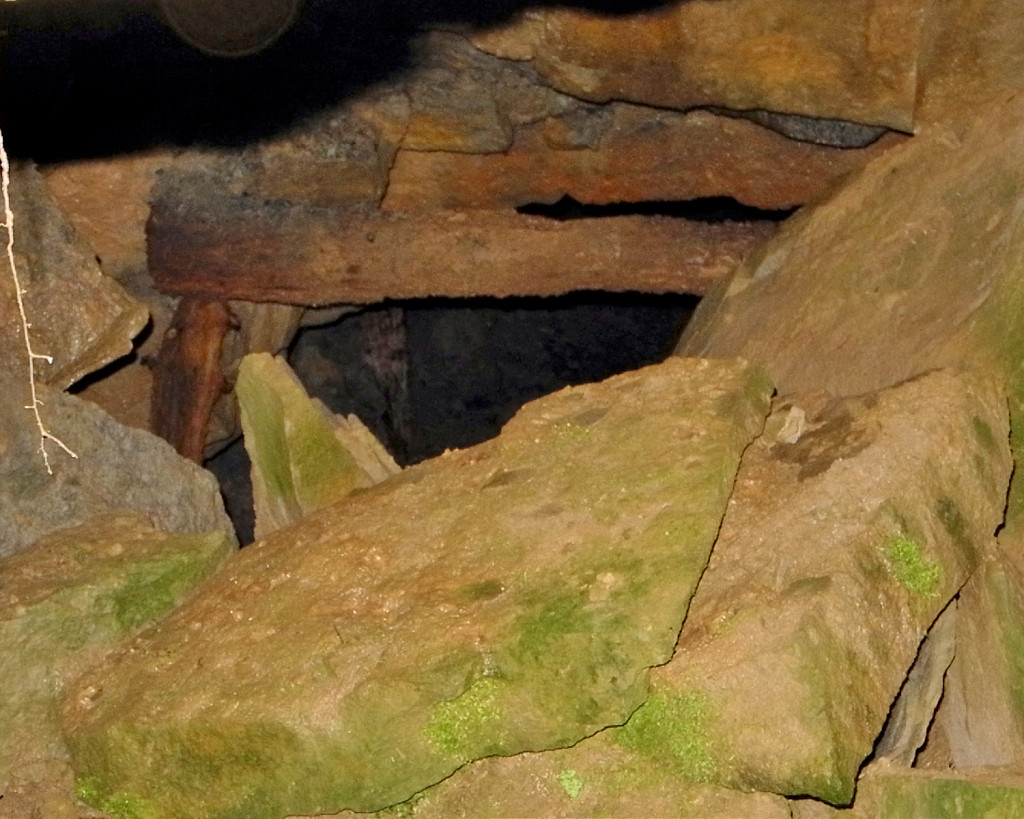
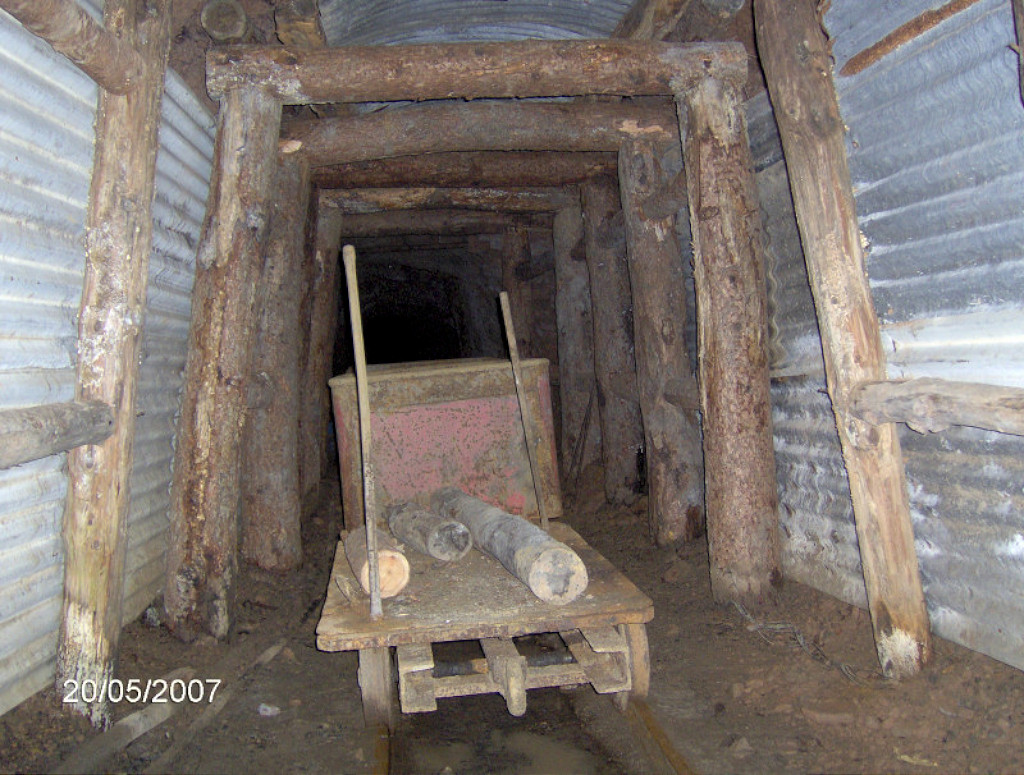
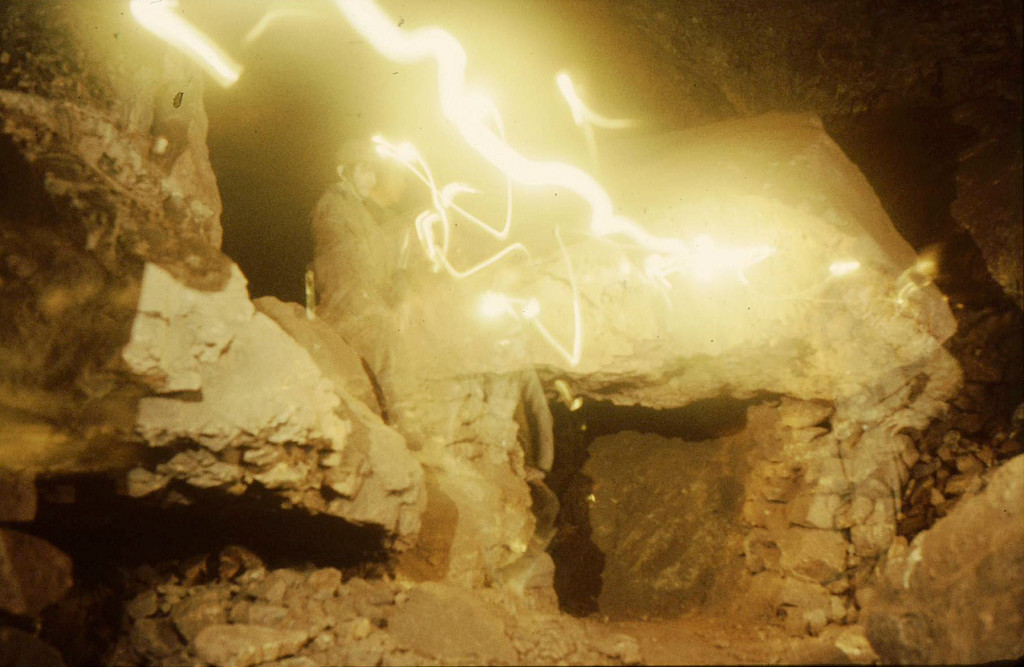
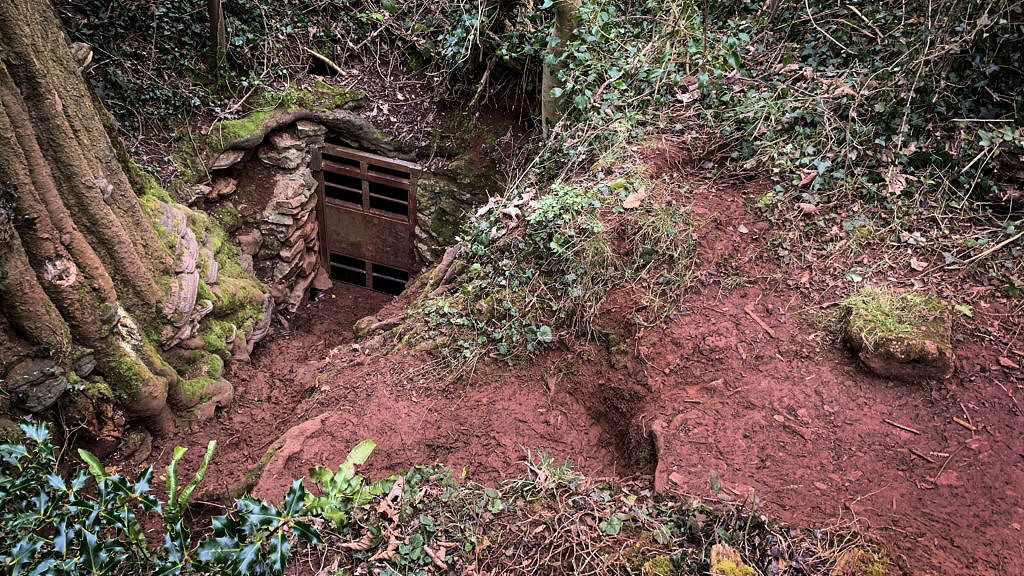 Old Ham Iron Mine entrance |
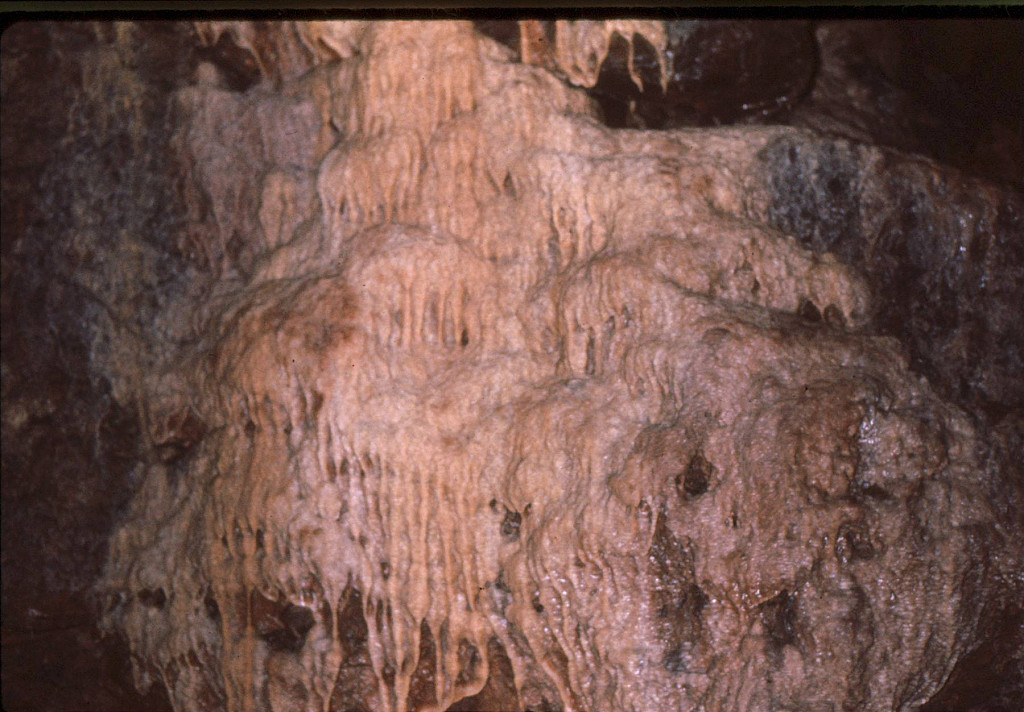 Old Ham Iron Mine roof formation |
 Old Ham Iron Mine tramway |
 Old Ham Iron Mine tramway |
 Old Ham Iron Mine tramway |
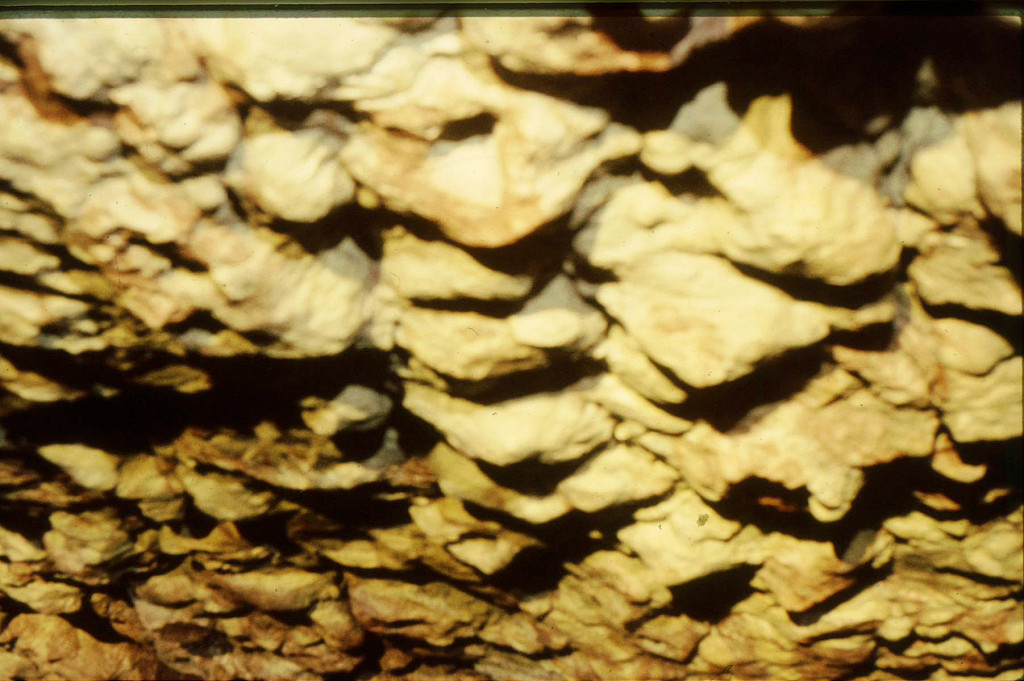
 Old Ham Mine Iron Mine workings |
 Old Ham Iron Mine tramplate |
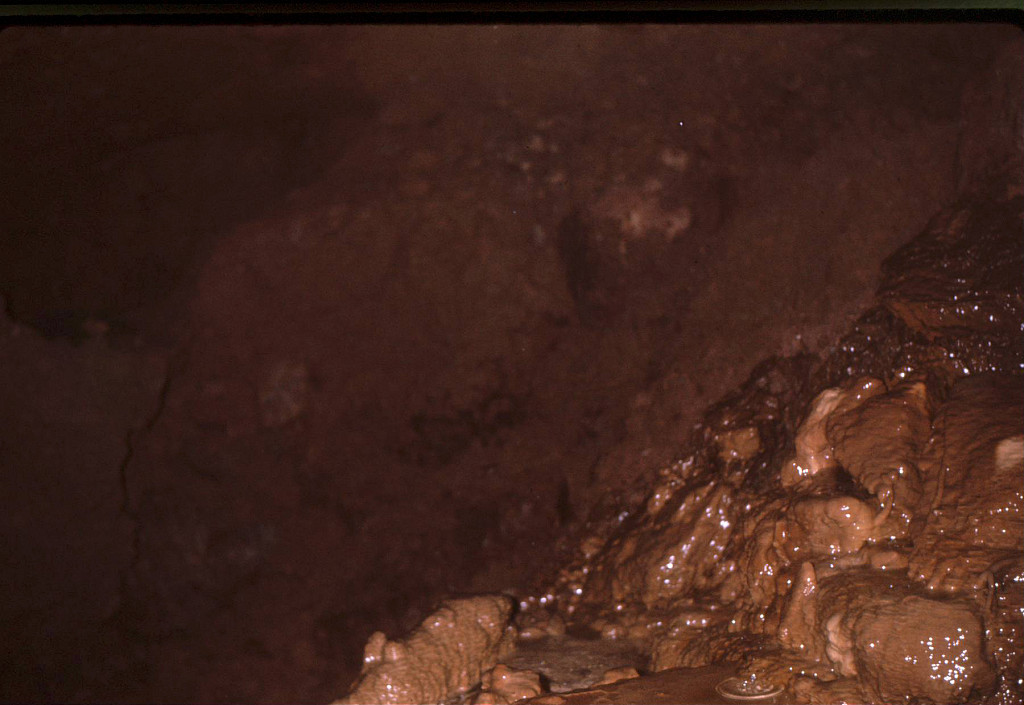
 Old Ham Iron Mine mudpool |
 Iron Mine frozen waterfall |
 Old Ham Mine Iron Mine tramway |
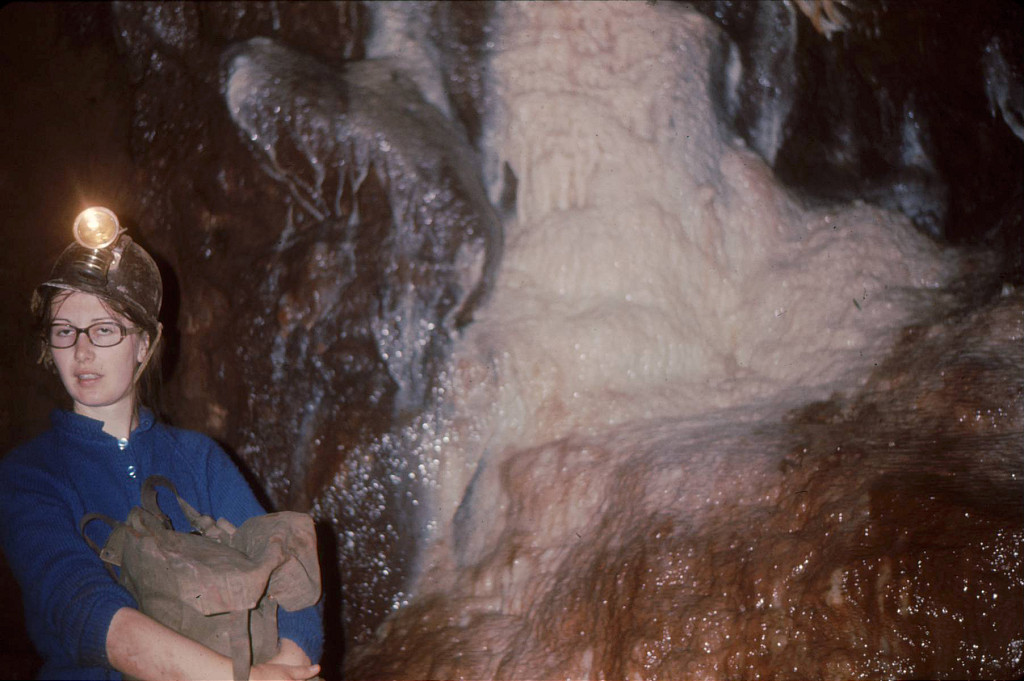
 Old Ham Iron Mine stalagmite |
 Looking down the entrance adit |
 Halfway down |
 Back up to the surface |
 Back up to the surface |
 The foot of the entrance adit |
 The foot of the entrance adit |
 The foot of the entrance adit |
|
 Coal seam and chute |
 Coal seam and chute, 2017 |
 Coal seam and chute, 2005 |
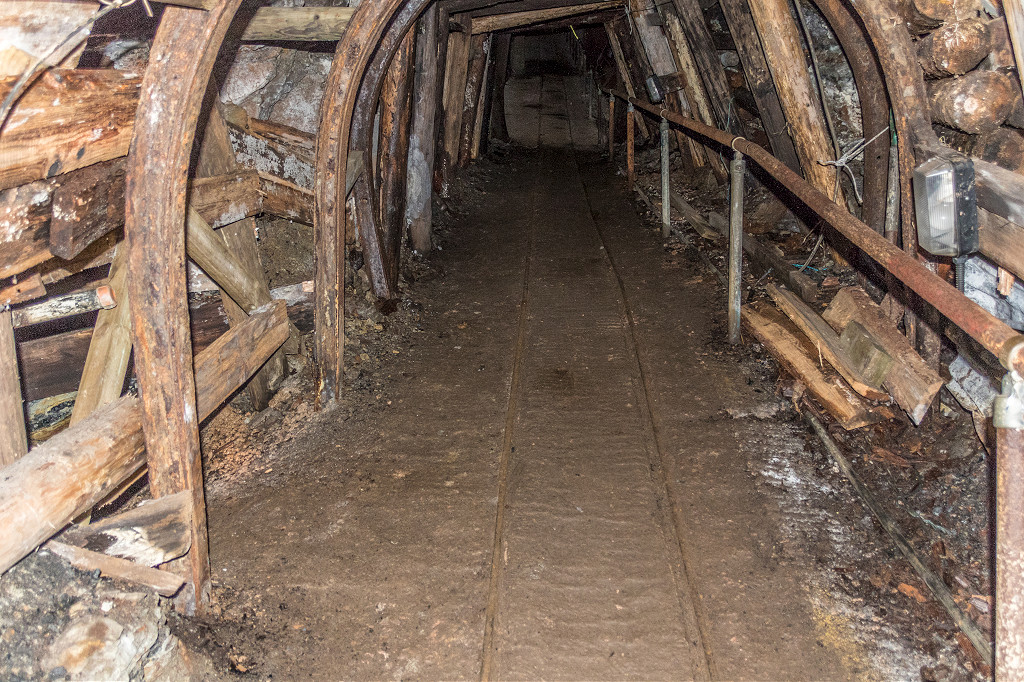
 The roadway junction |
 The roadway junction |
 The roadway junction |
 The roadway junction |
 The roadway junction |
 The roadway junction |
 The roadway junction |
 The roadway junction |
 The roadway junction |
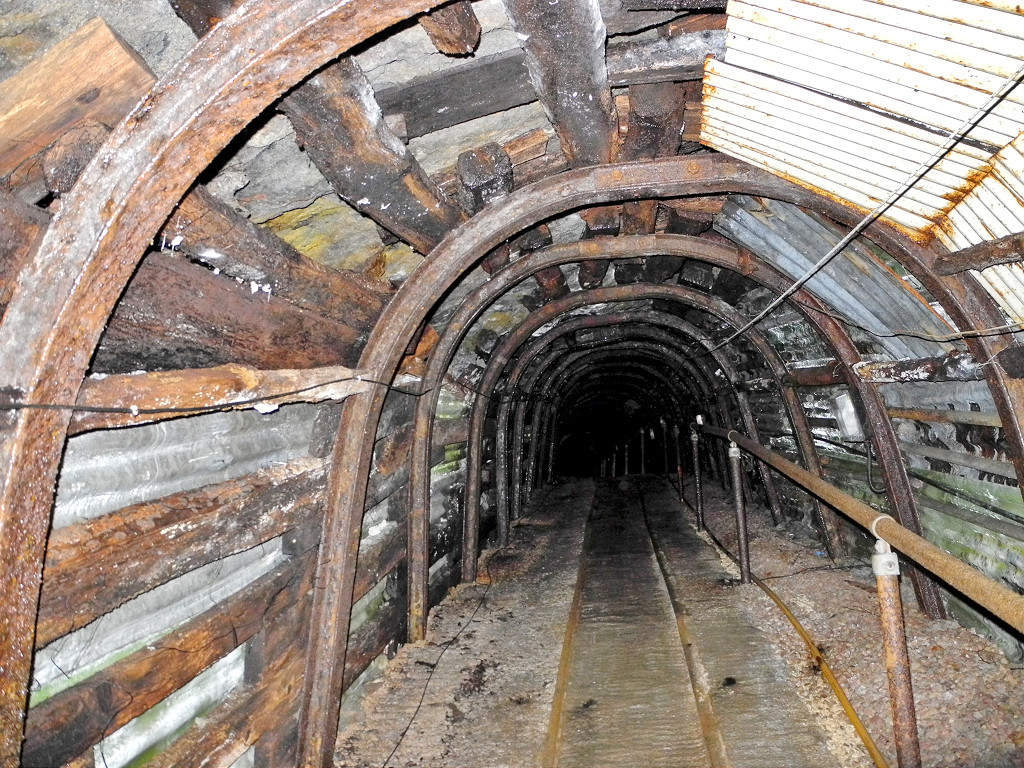
 The roadway out |
 The roadway out |
 The roadway out |
 The roadway out |
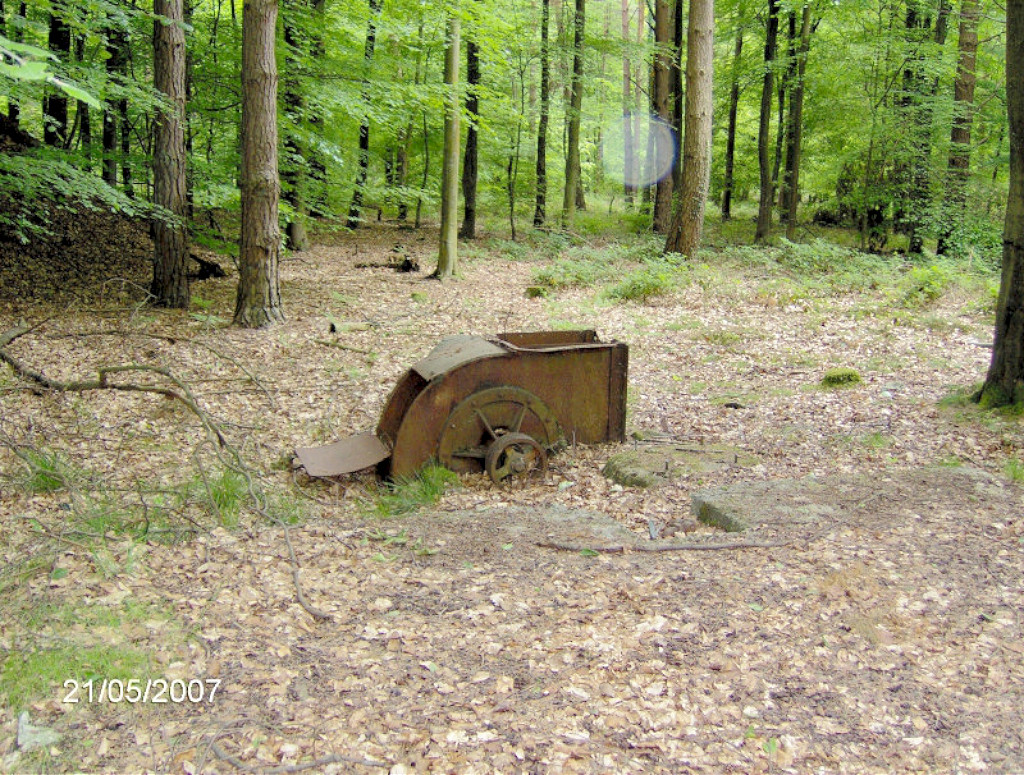
 Furnace ventilation system |
 Frame of a dram |
||
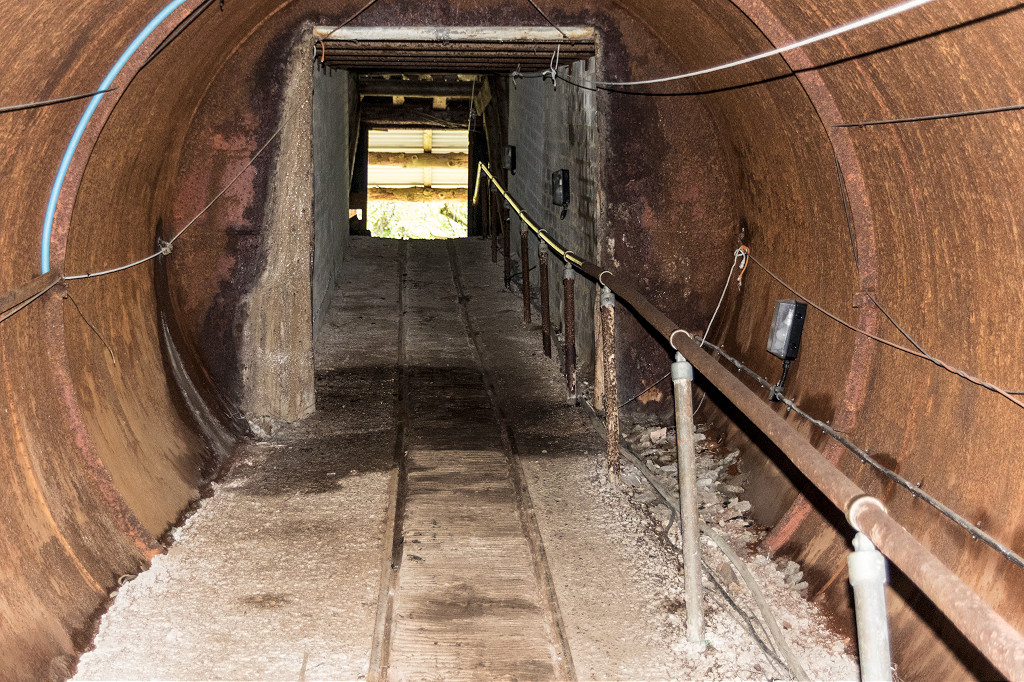
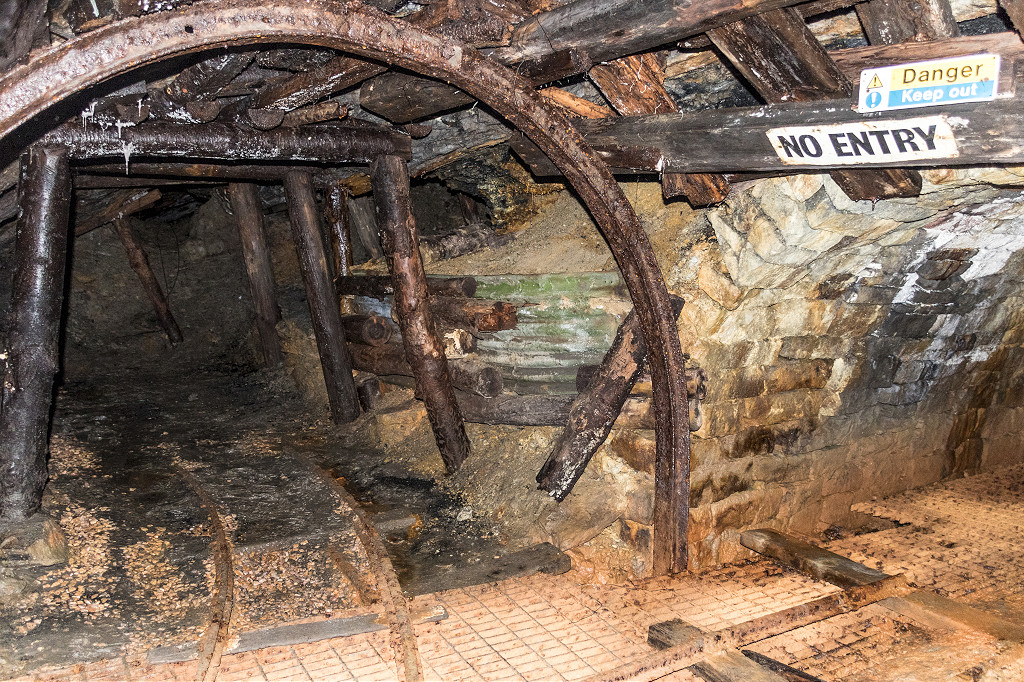
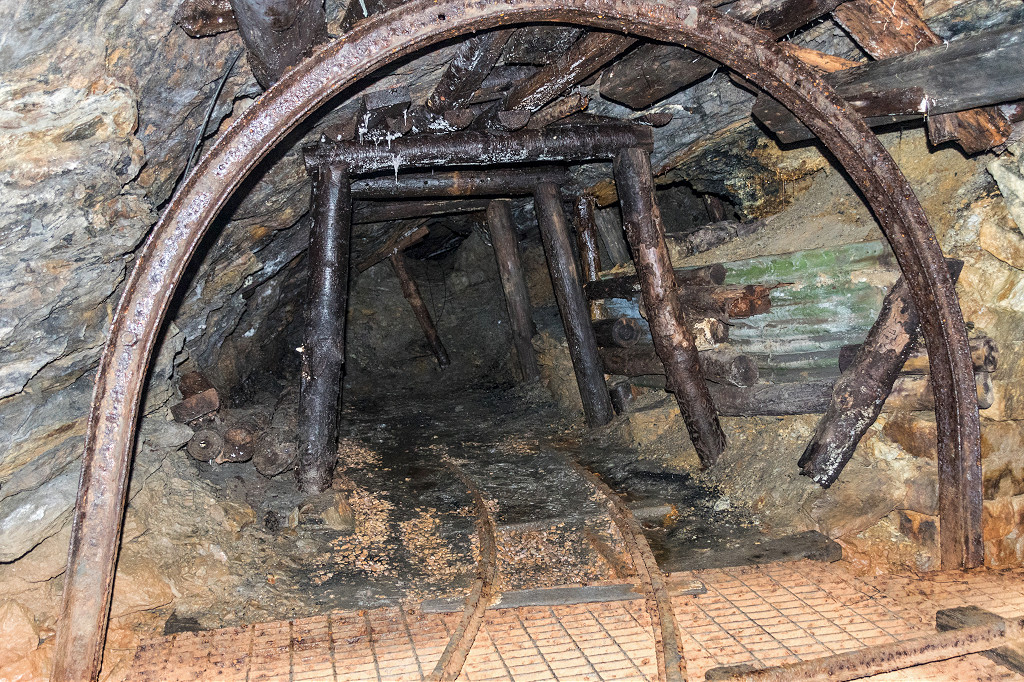
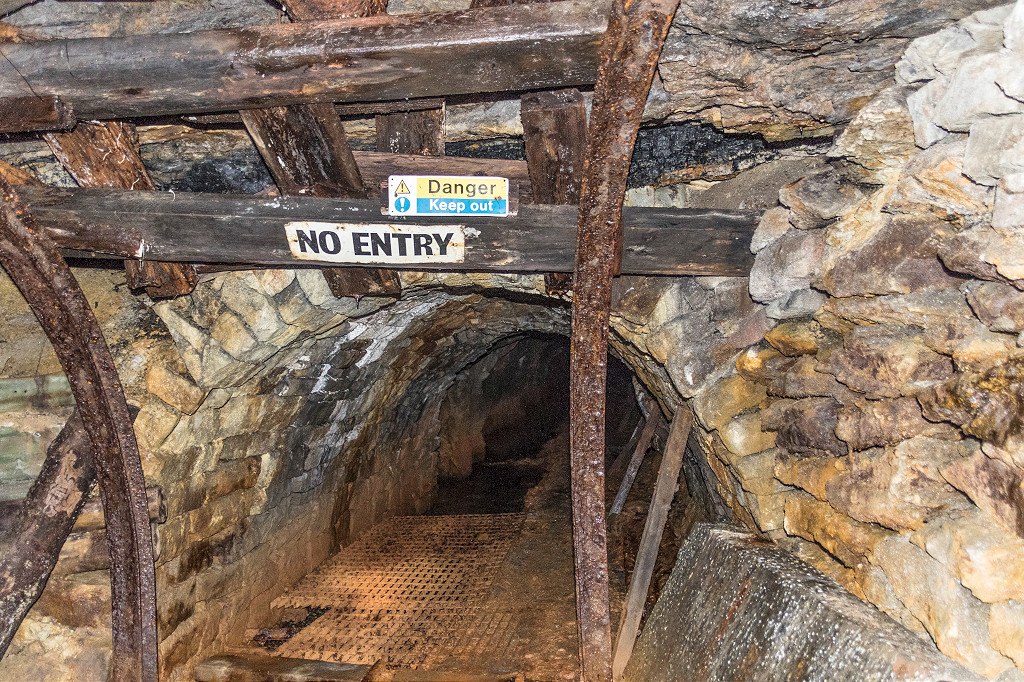
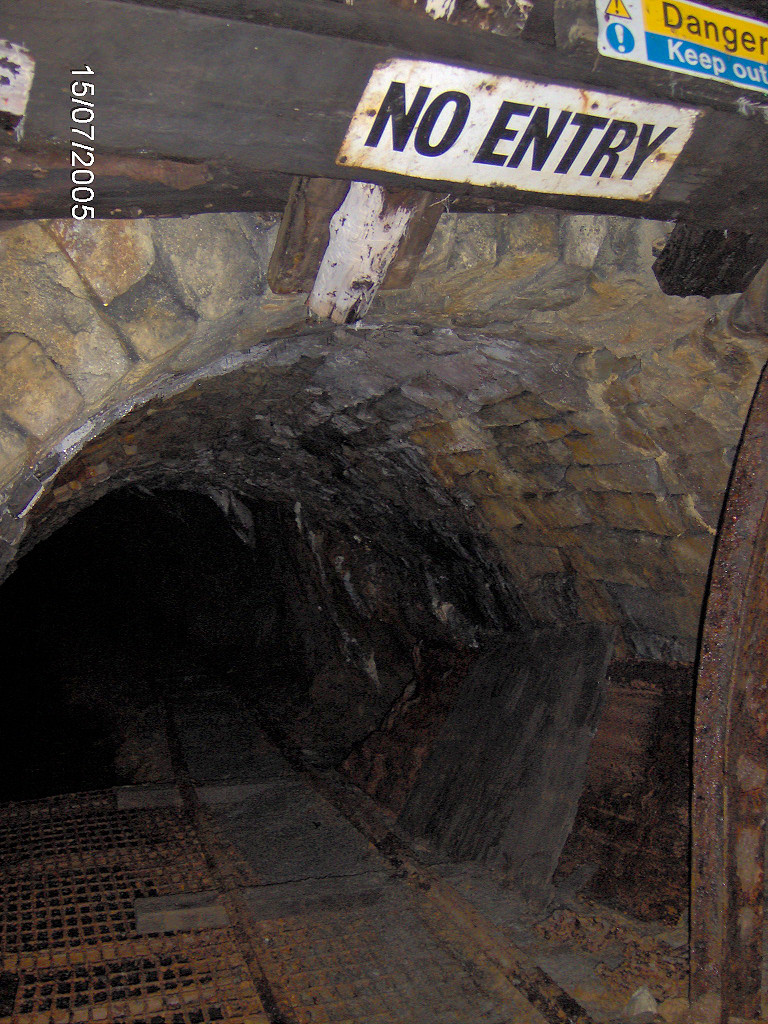
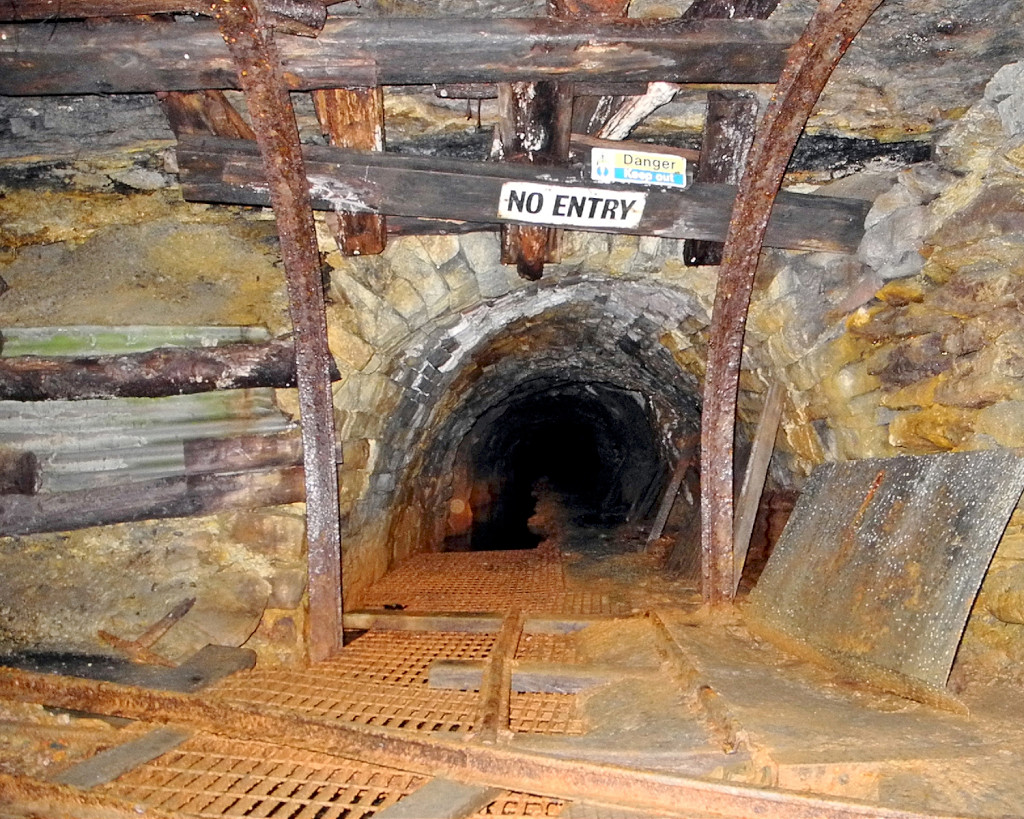
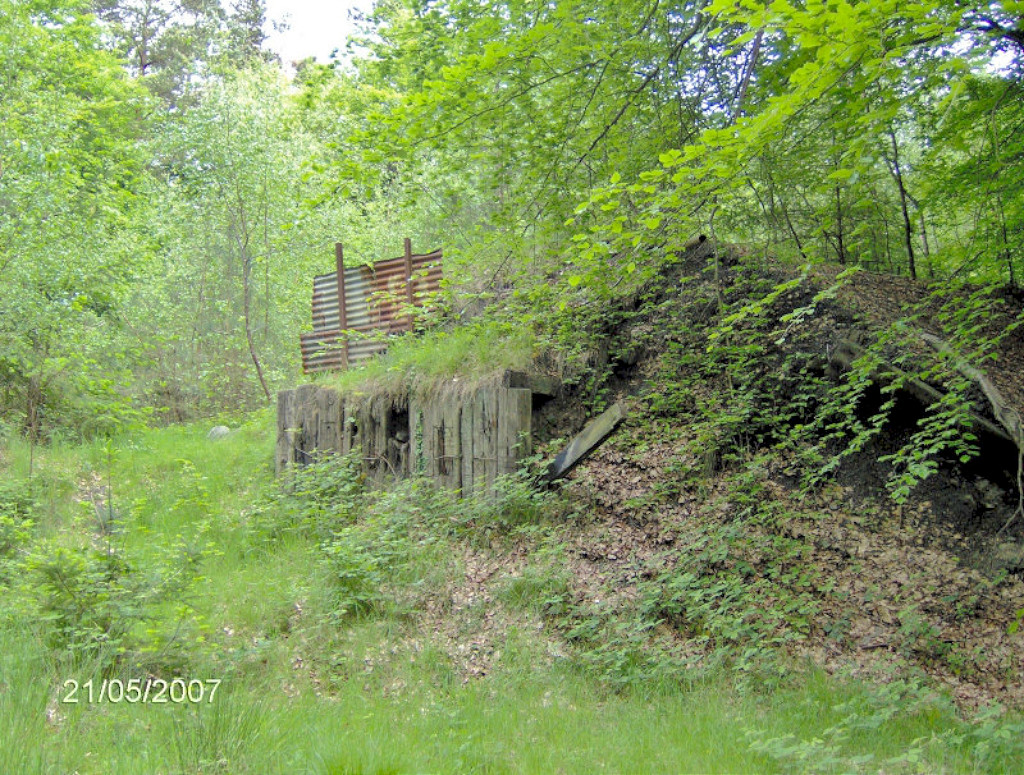
 Hopewell Colliery exit |
 The exit in 2017 |
 The exit in 2005 |
 The exit in 2005 |
 Down to the working adit |
 The adit entrance |
 The stop block at the top |
 The wagon tippler |
 The screens and bins |
 The screens and bins |
||
 The emergency exit |
 The emergency exit |
 The emergency exit |
 The emergency exit |
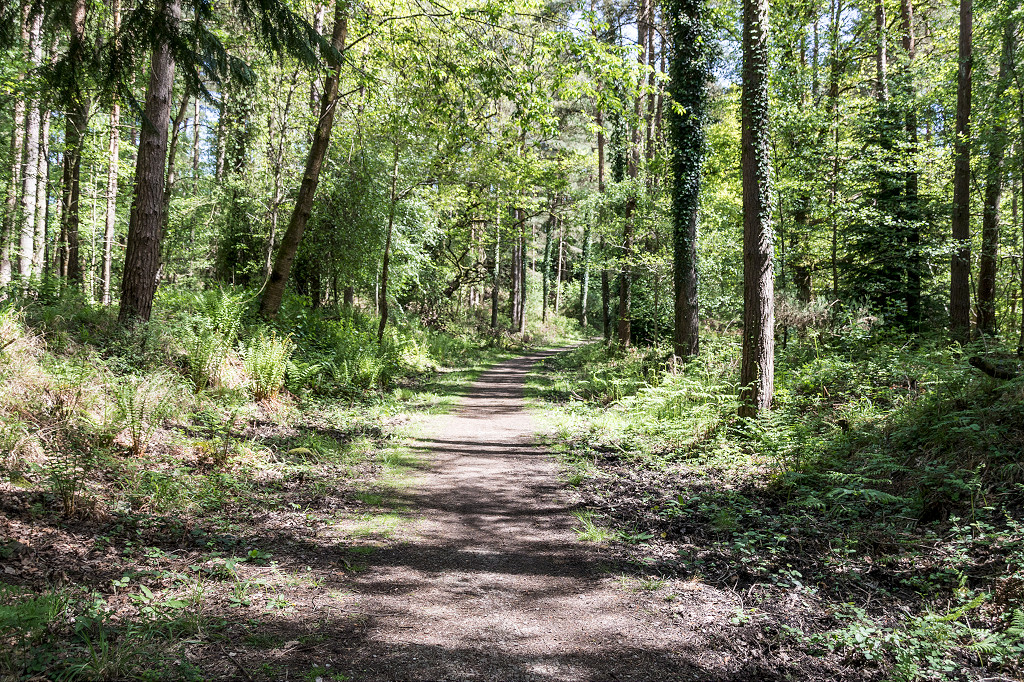
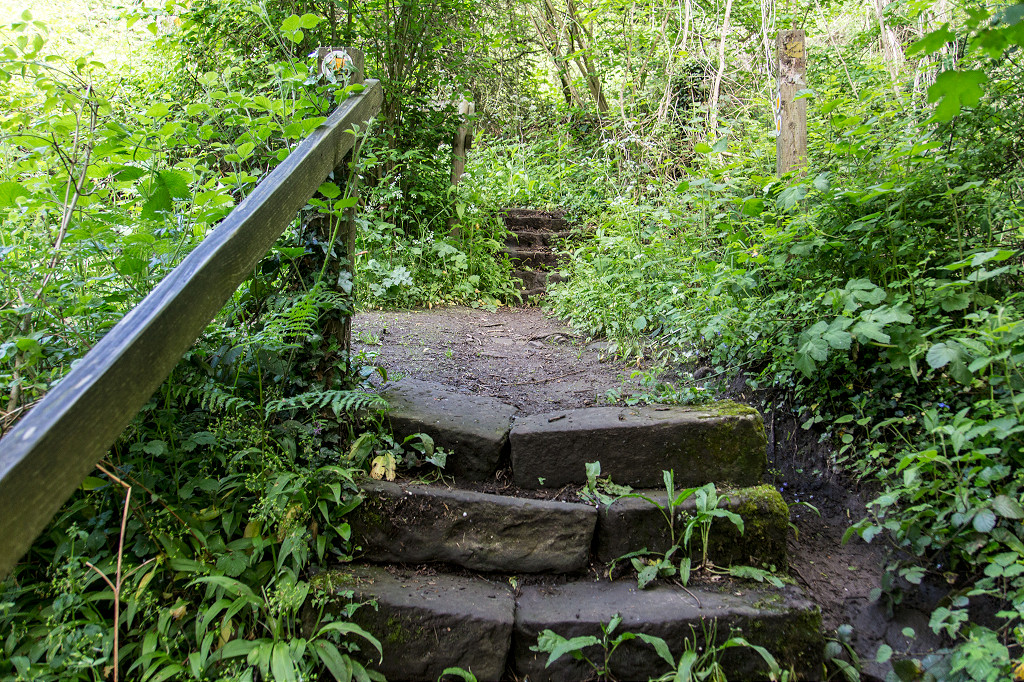
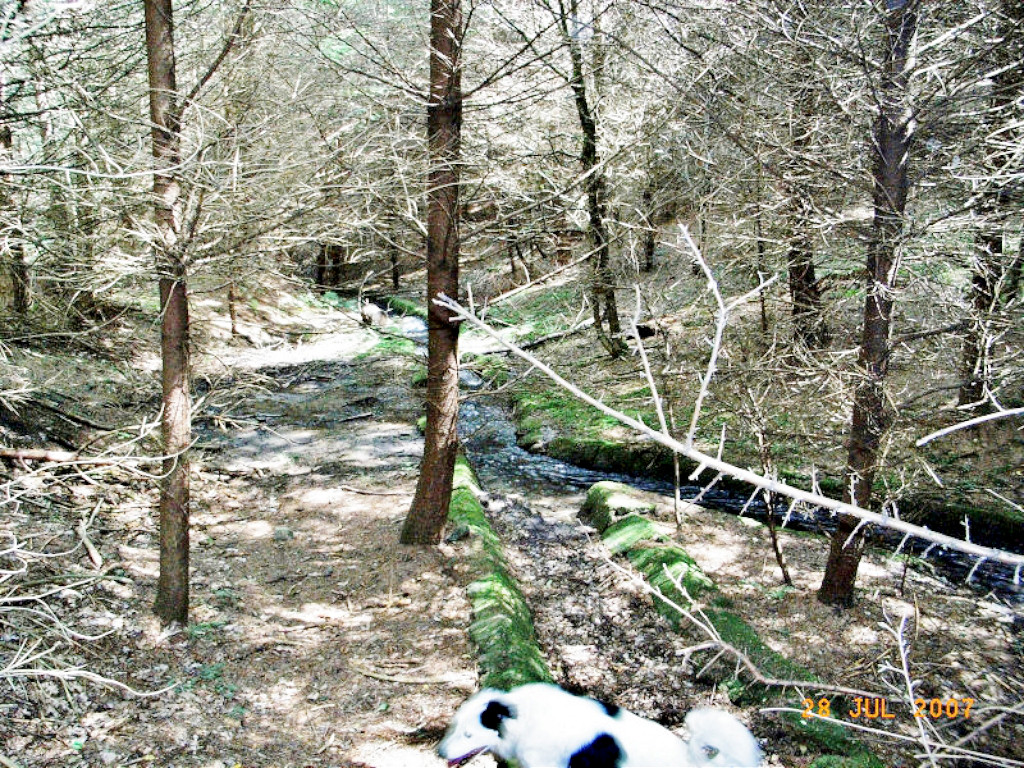
 Howlerslade Tramroad |
 Howlerslade Tramroad |
 Howlerslade Tramroad |
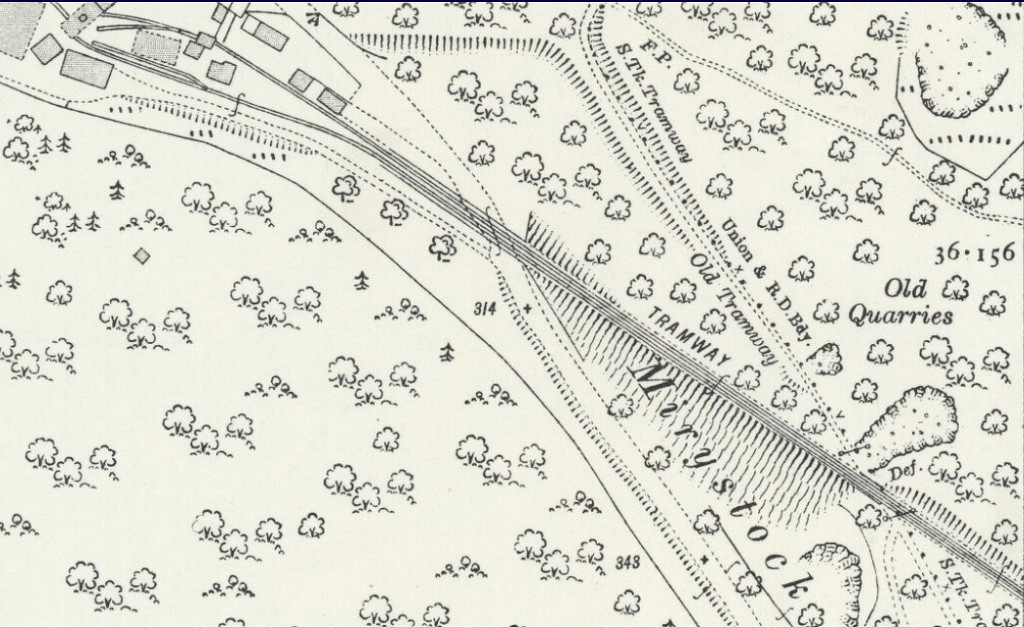
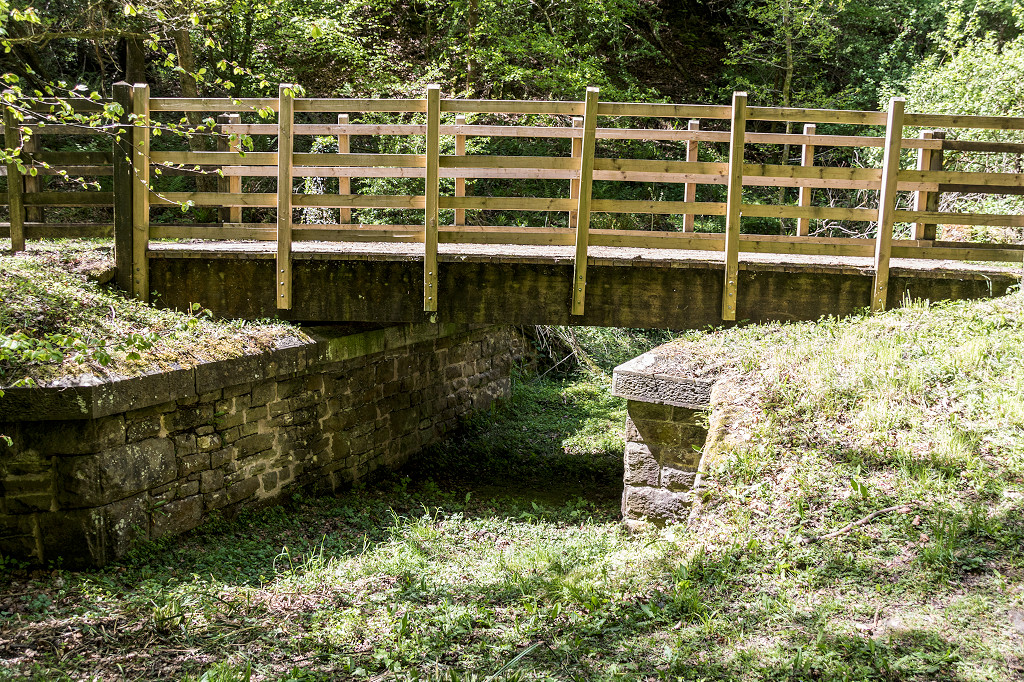
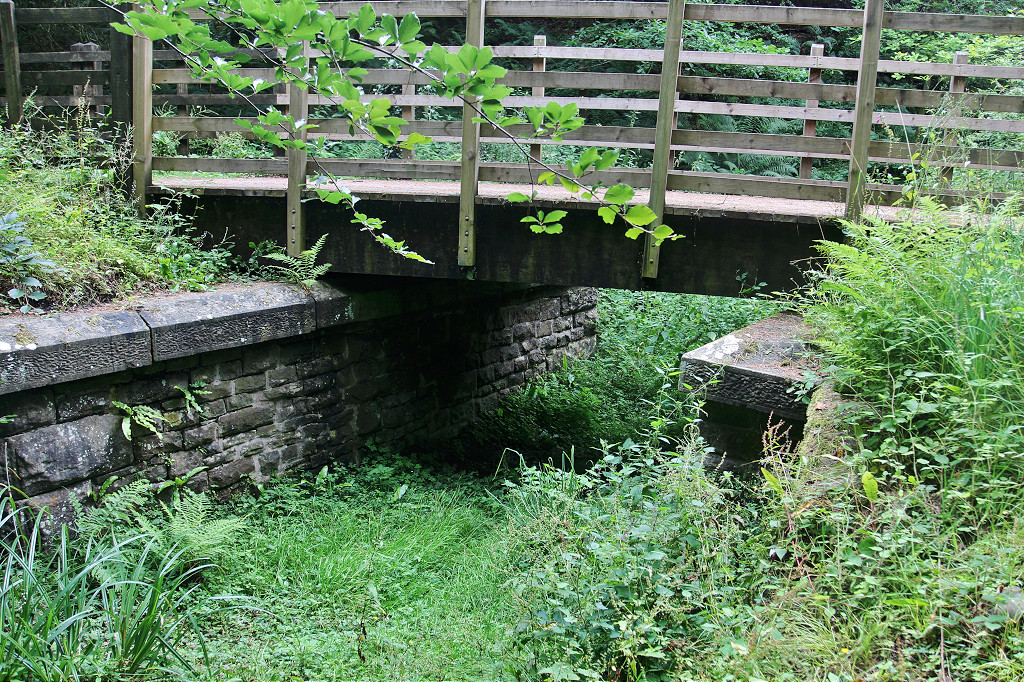
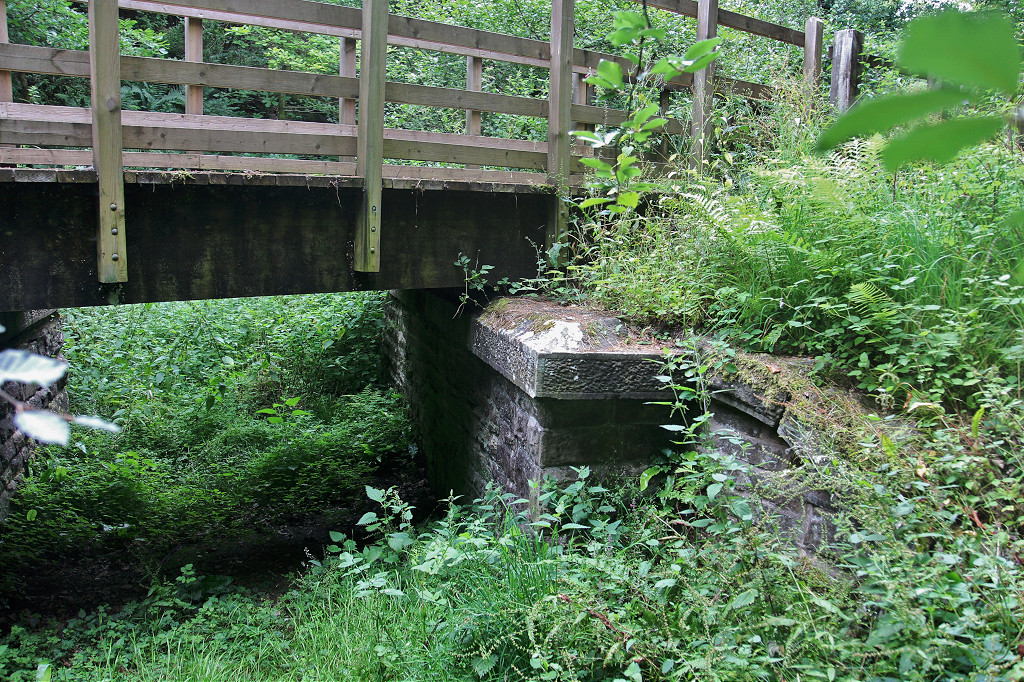
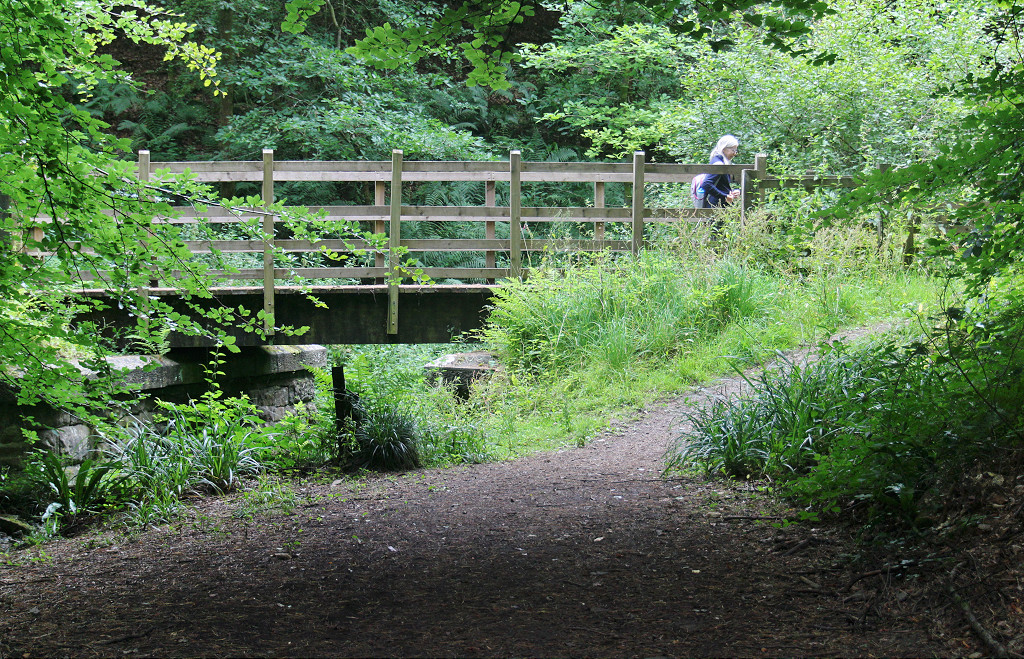
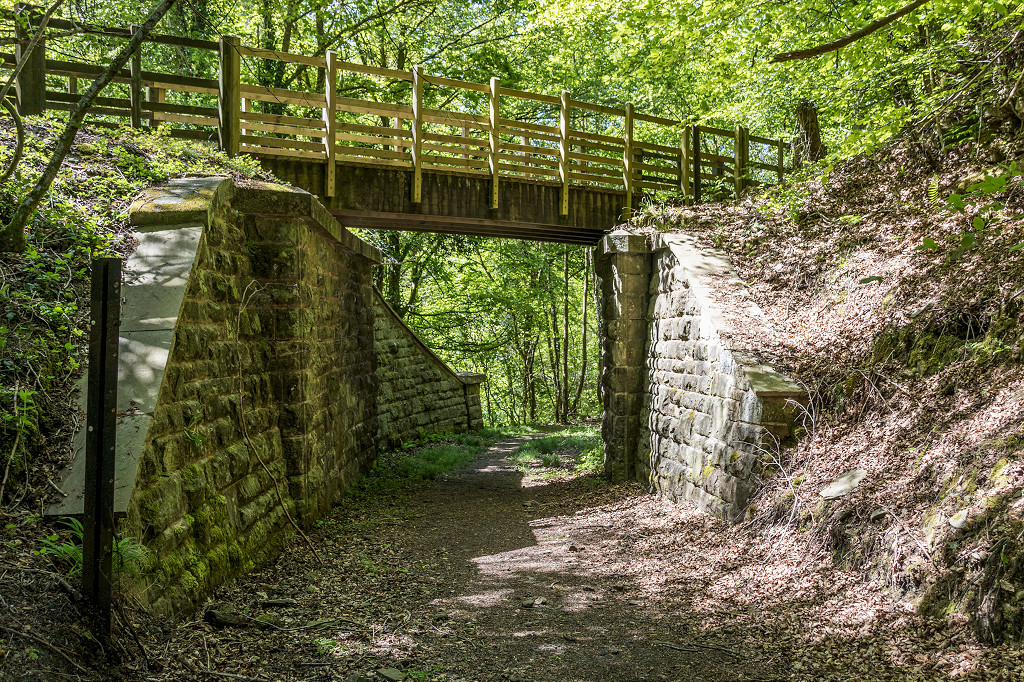
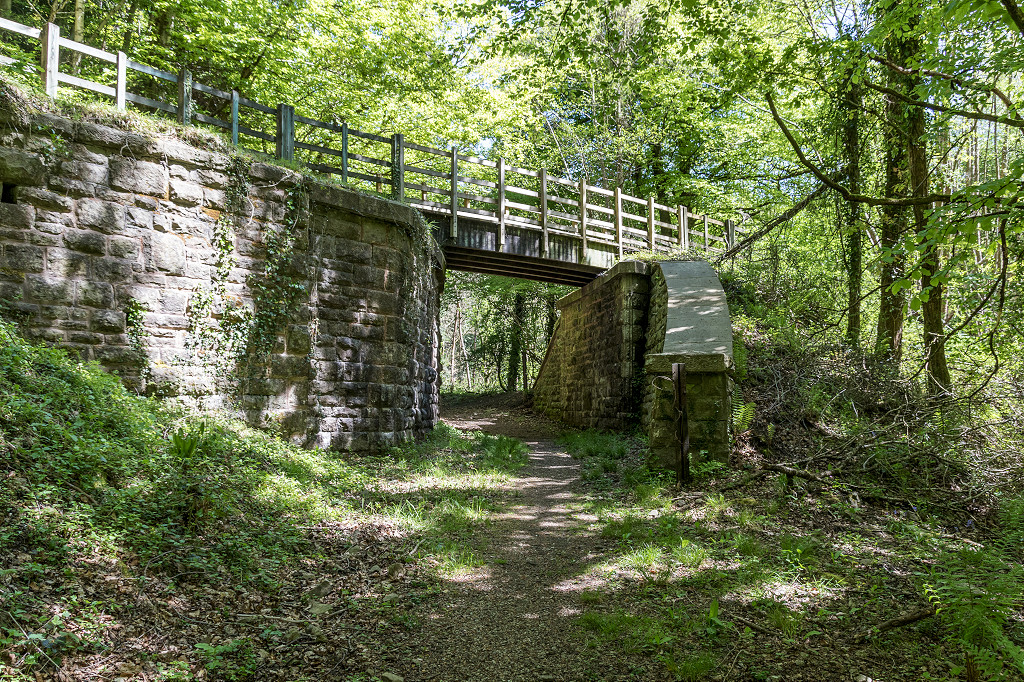
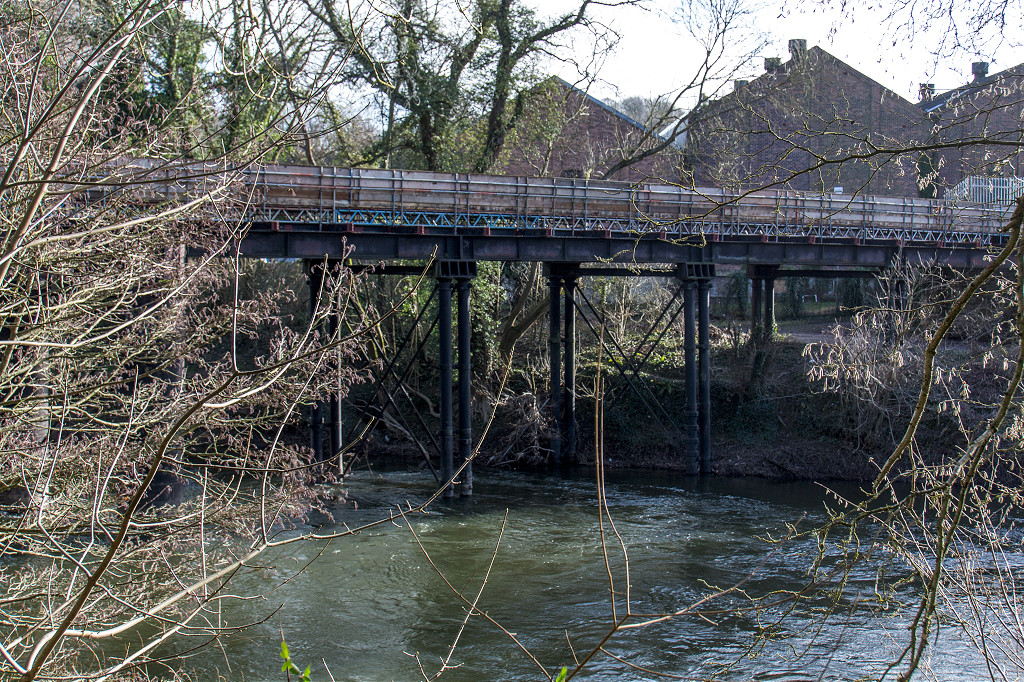
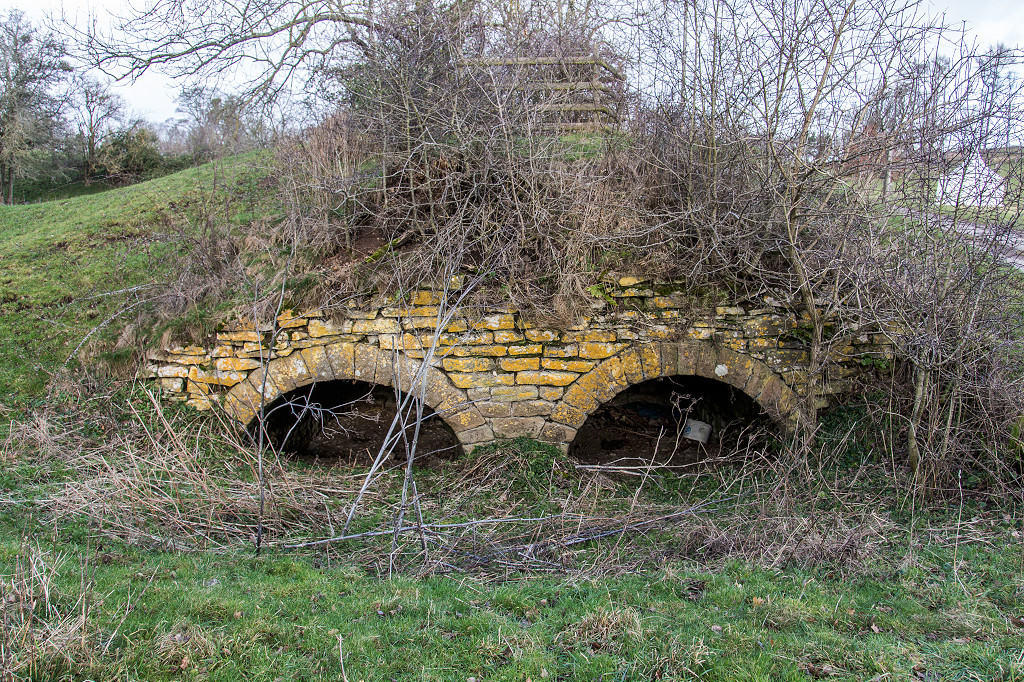
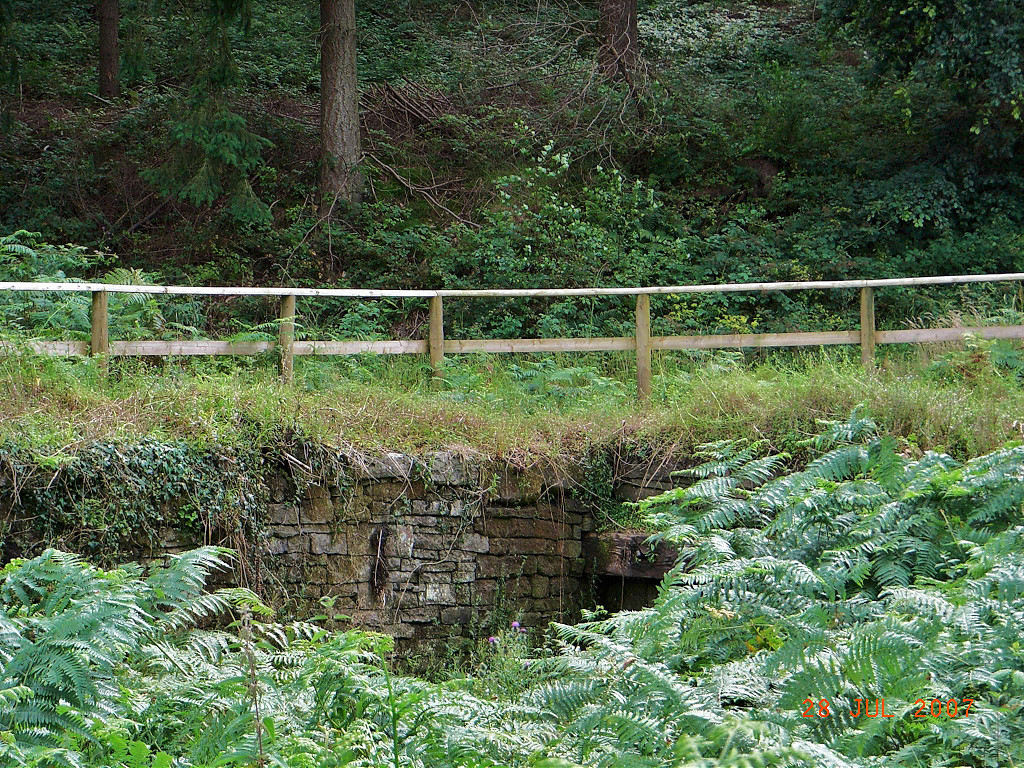
 Mierystock bridge |
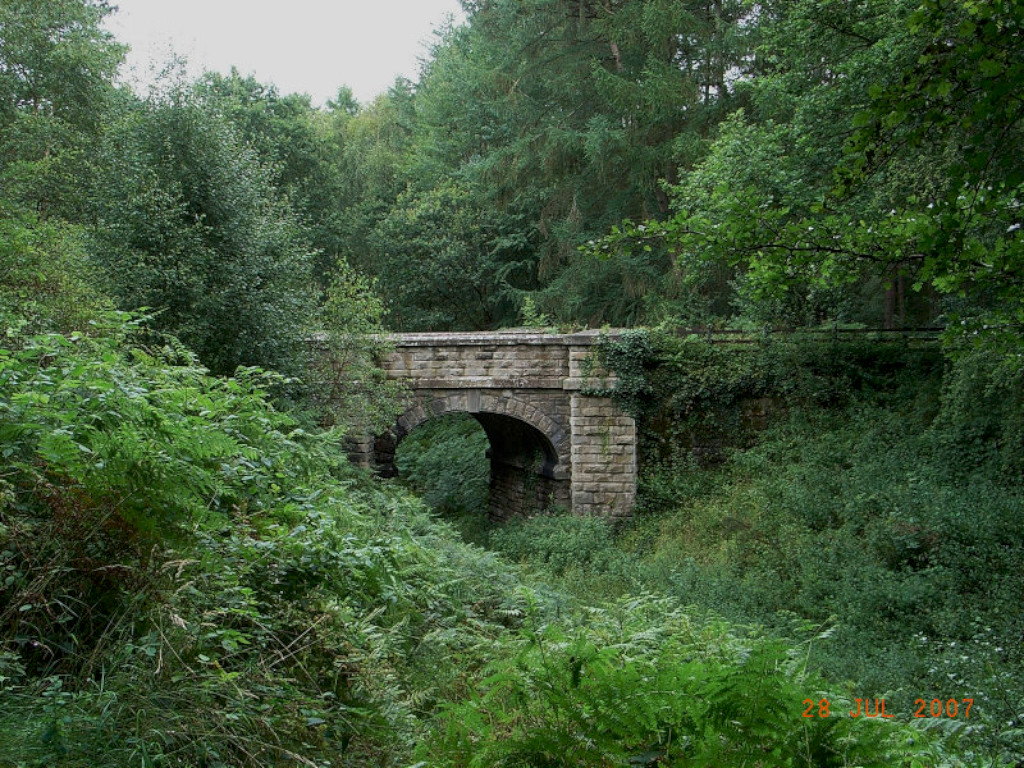 Mierystock bridge |
||
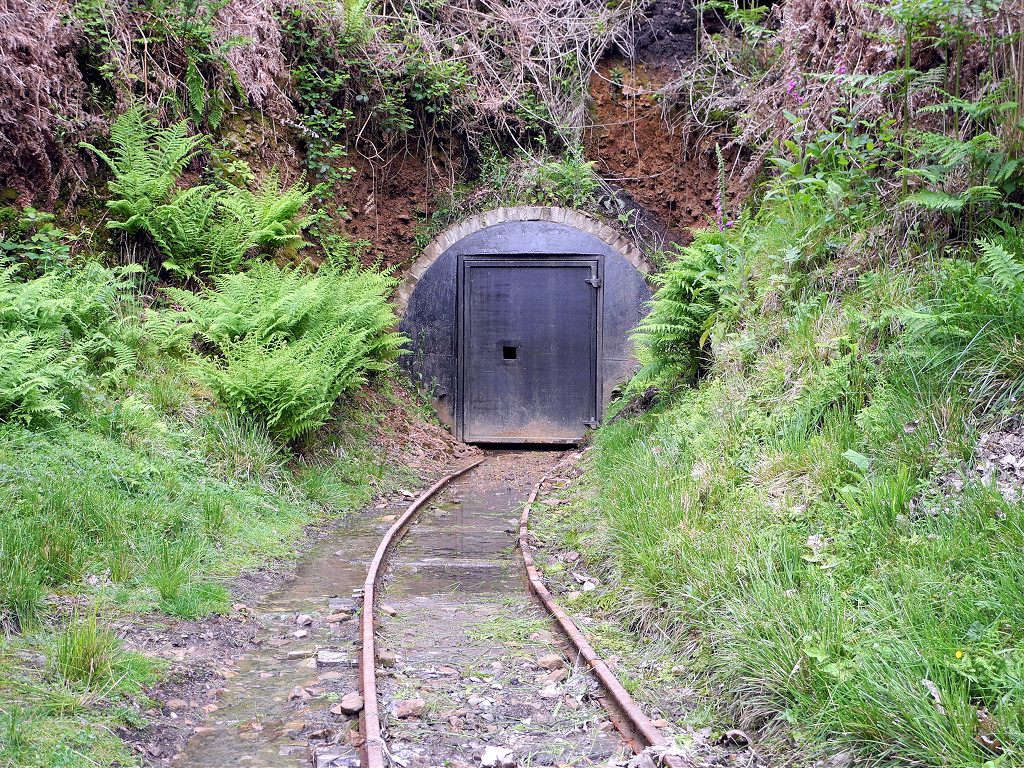
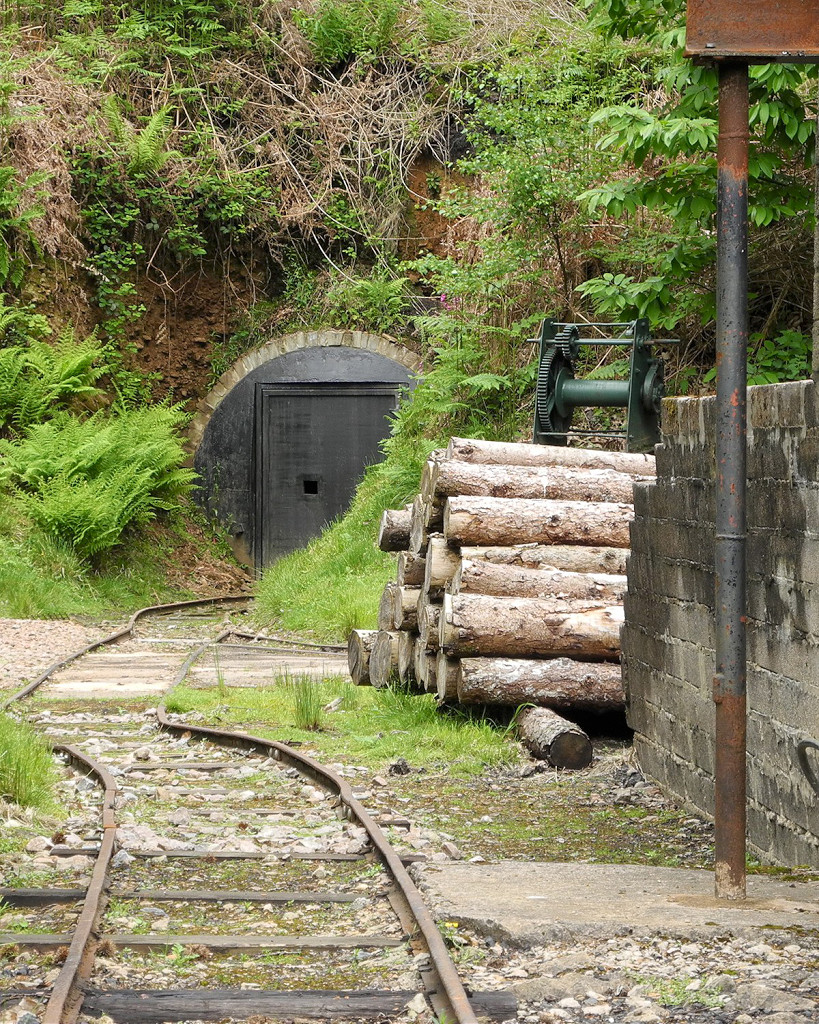
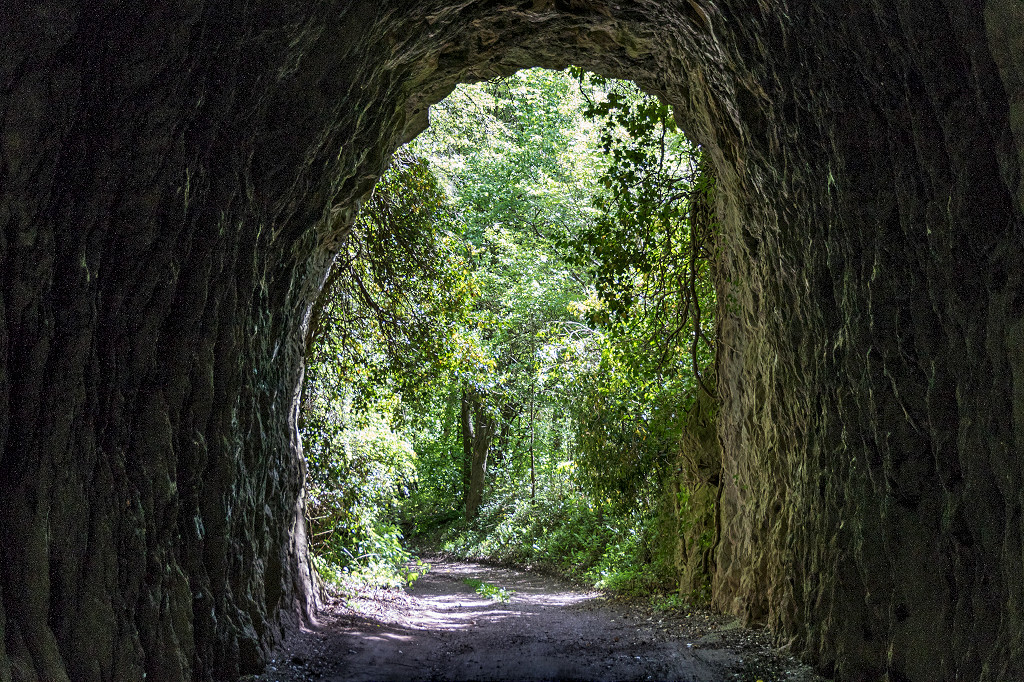
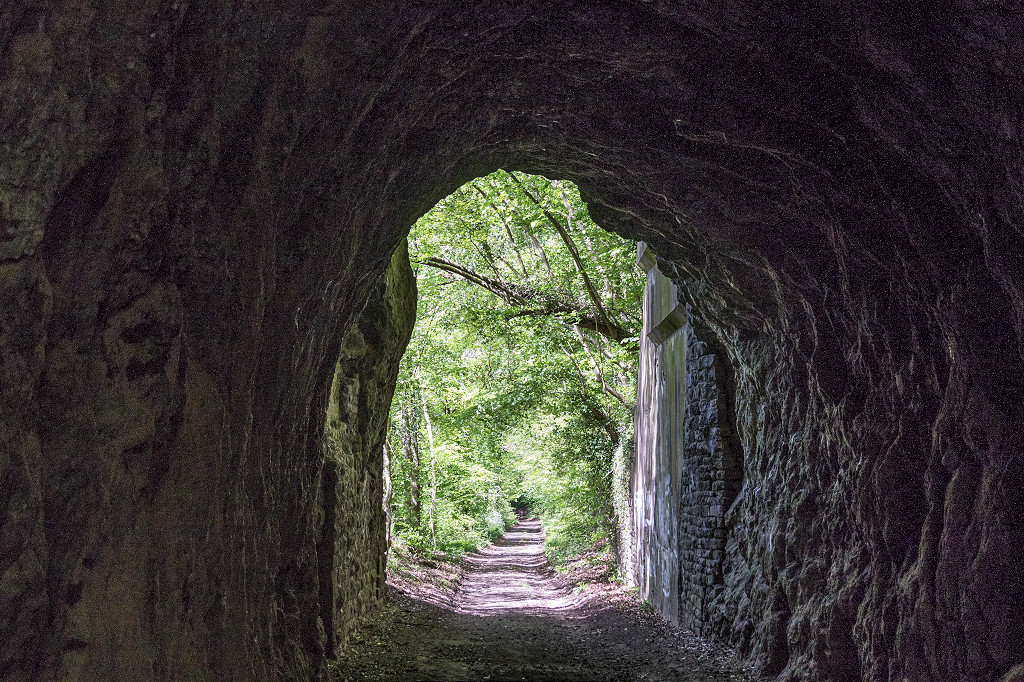
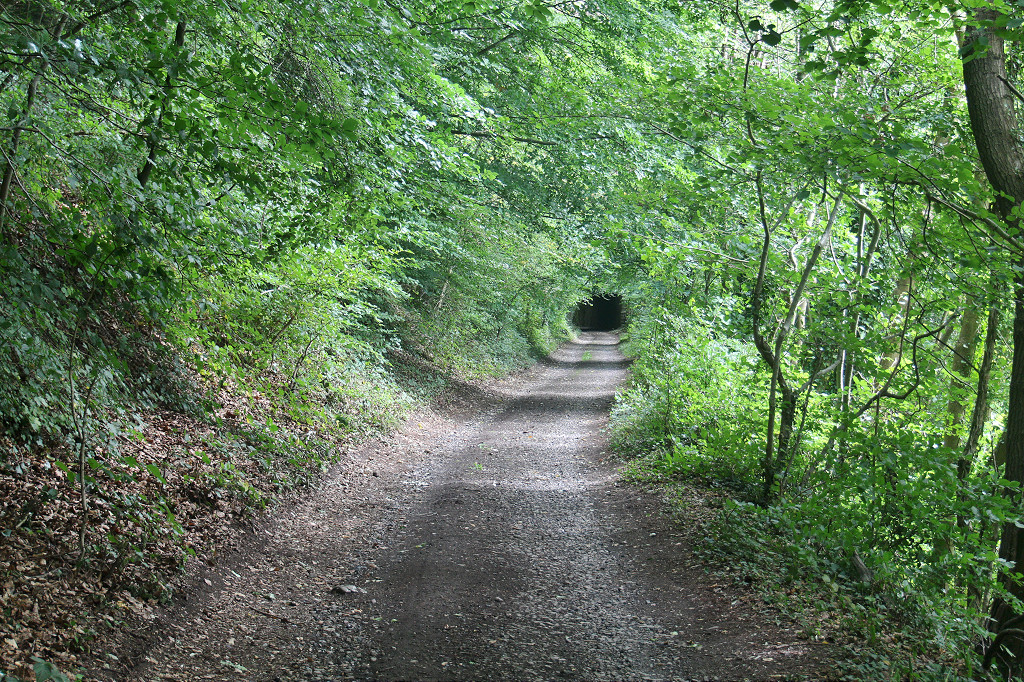
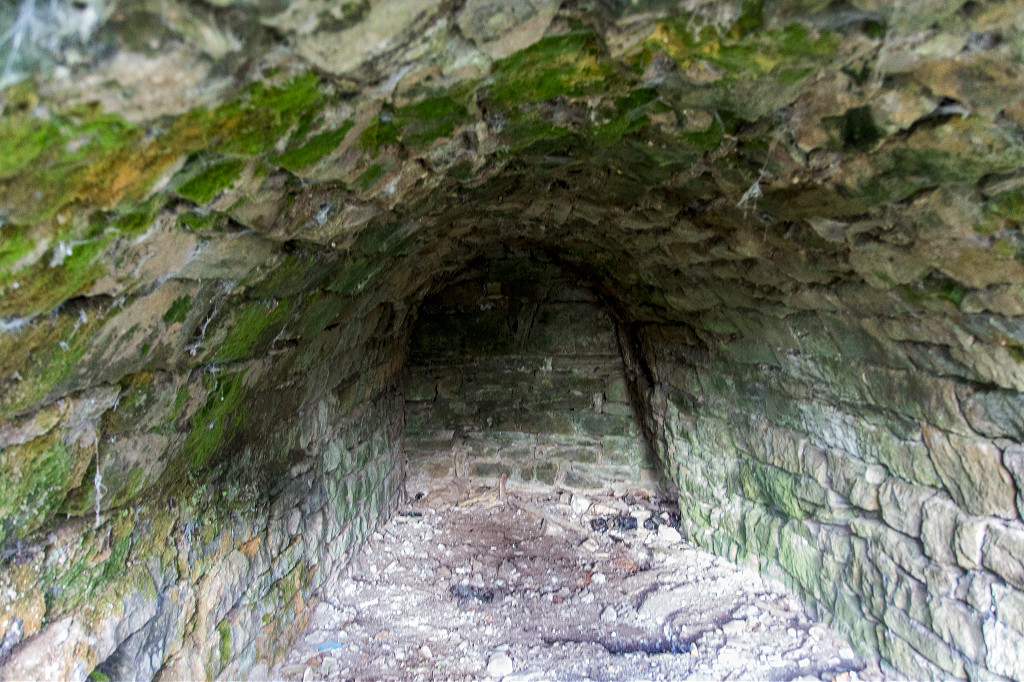
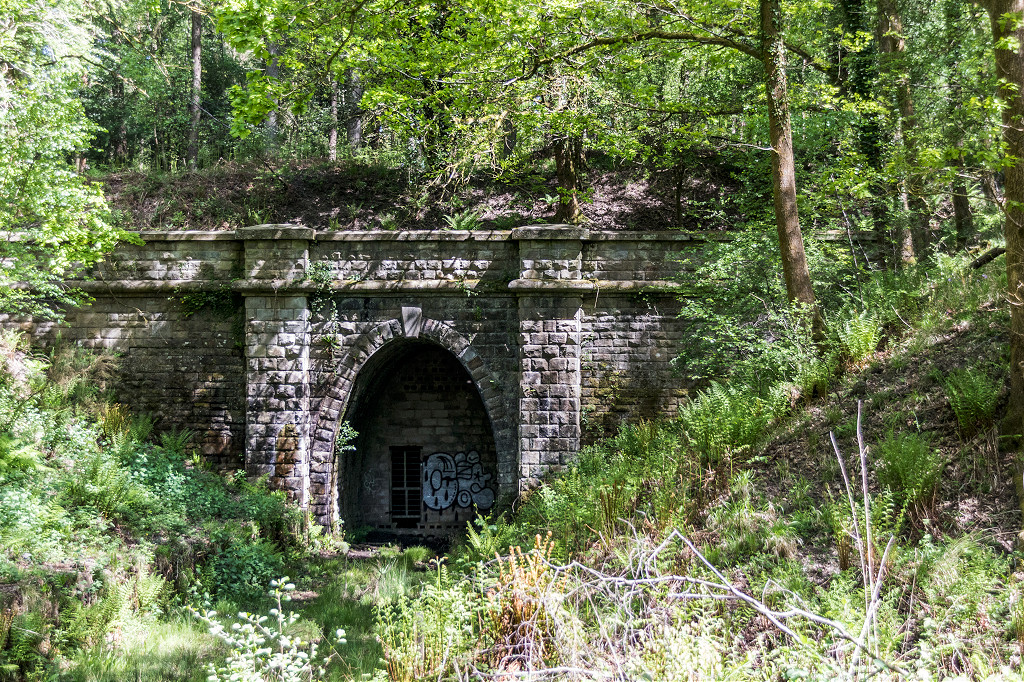 Mierystock tunnel South portal |
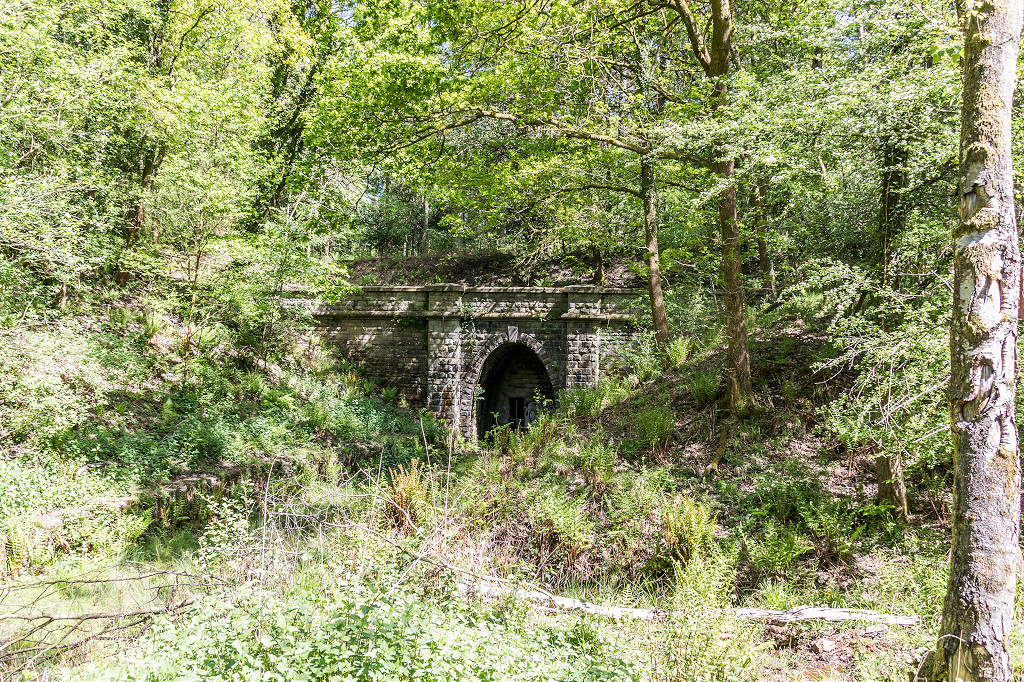 Mierystock tunnel South portal |
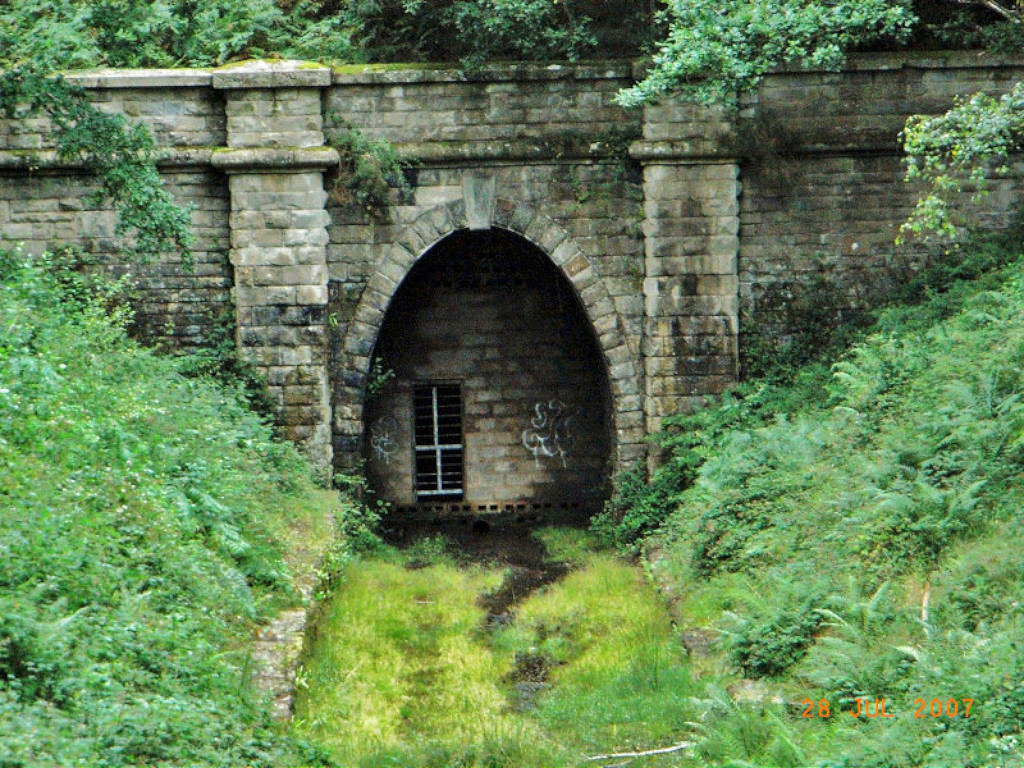 Mierystock Tunnel South portal |
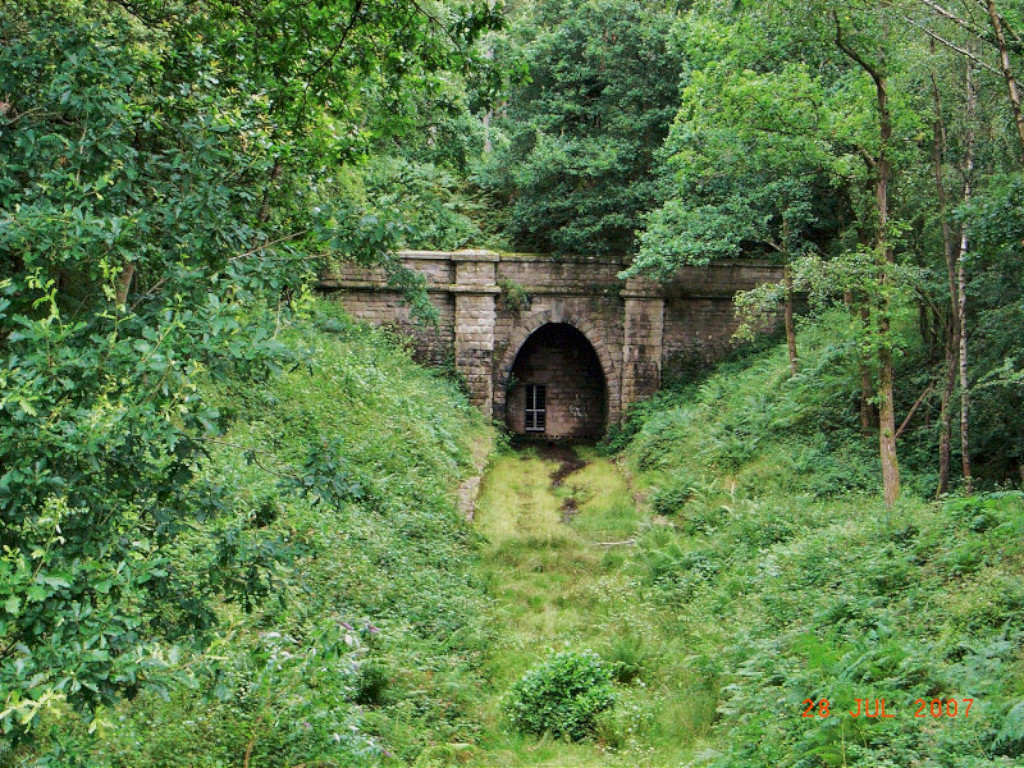 Mierystock Tunnel South portal |
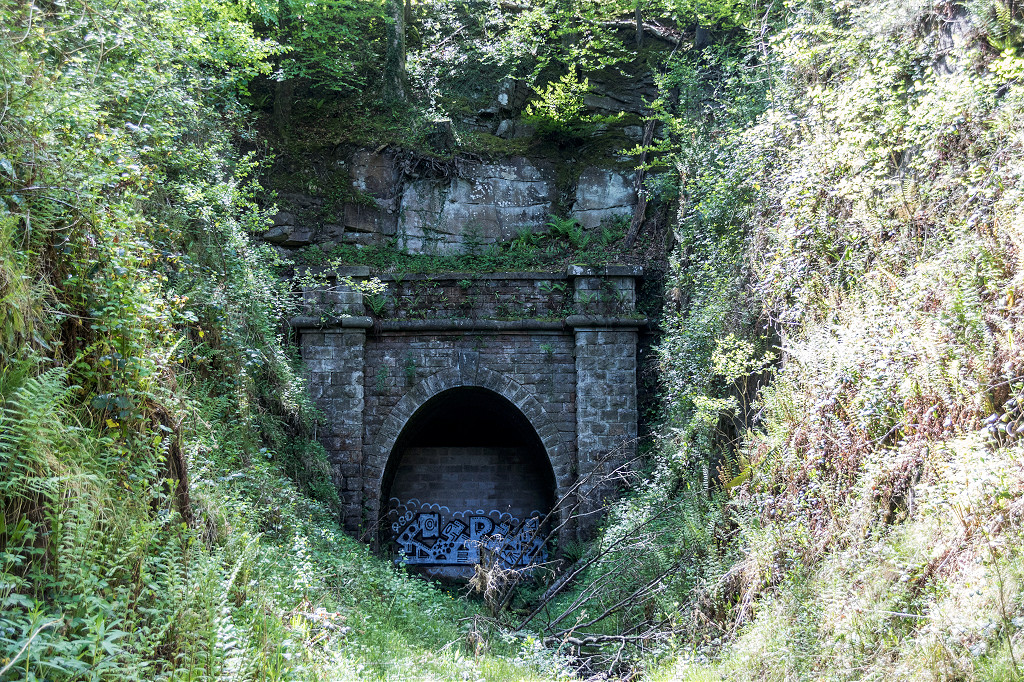 Mierystock tunnel North portal |
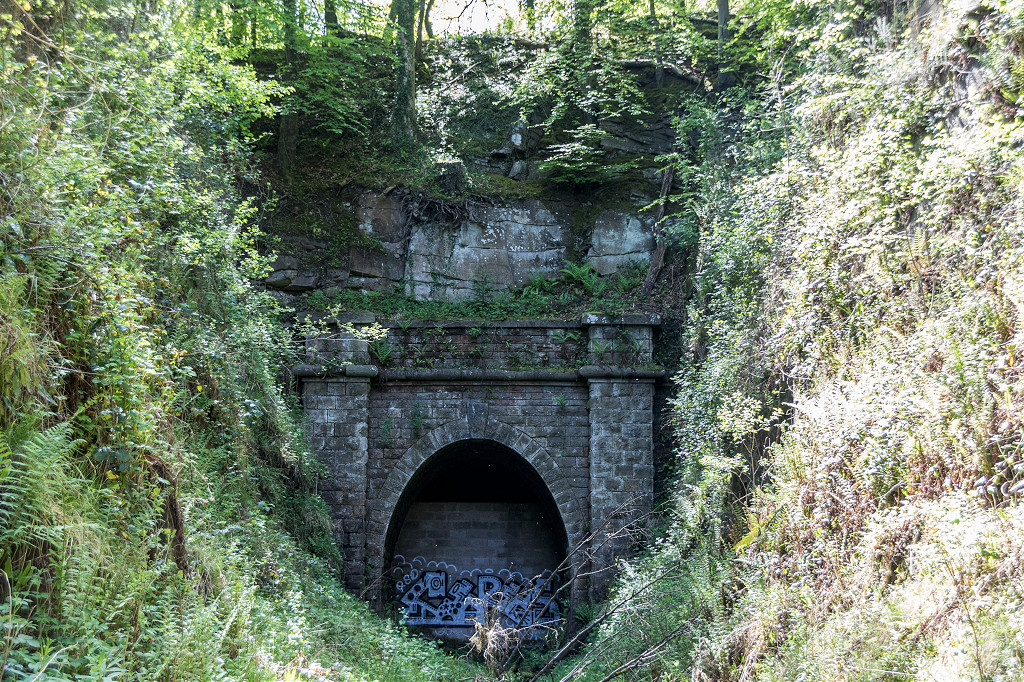 Mierystock tunnel North portal |
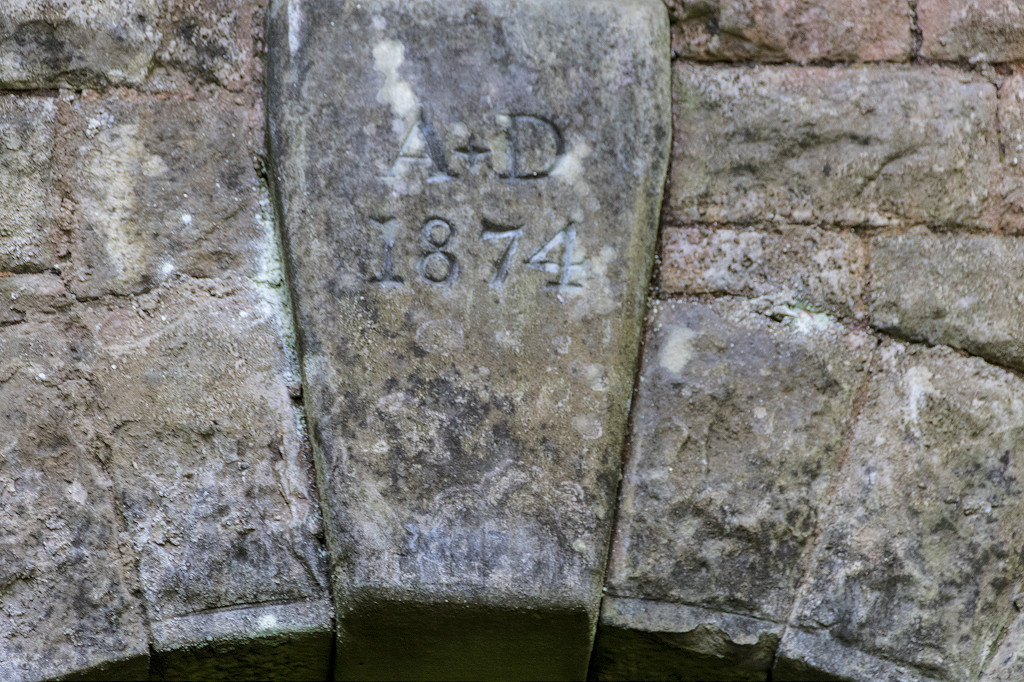 Mierystock tunnel '1874' datestone |
 The buried North portal in 2007 |
 Mierystock sidings |
 Mierystock sidings |
 Mierystock sidings |
 Mierystock sidings |
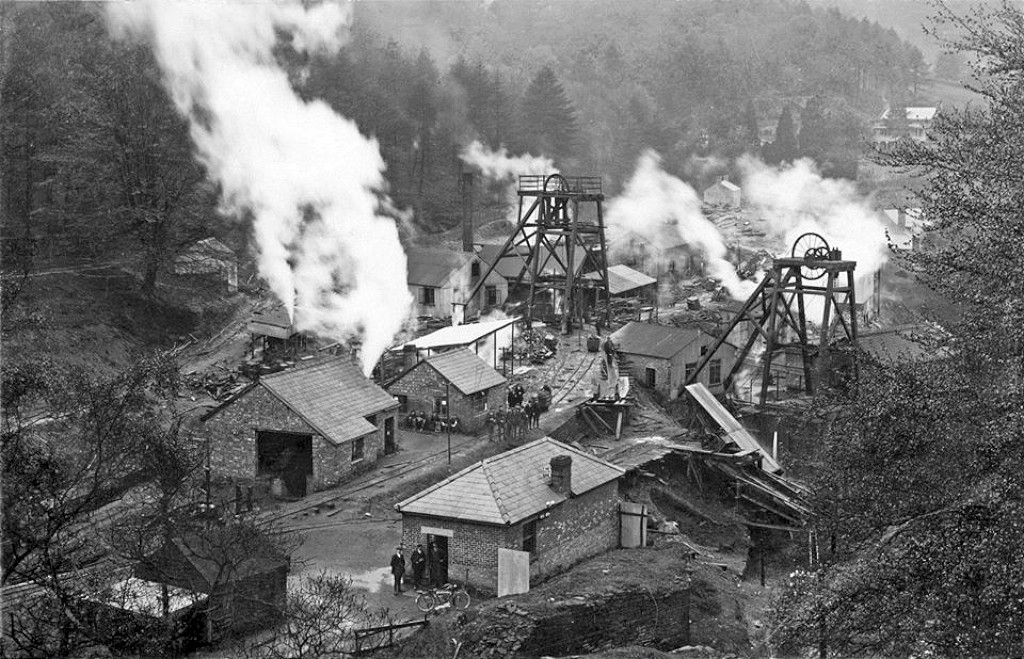
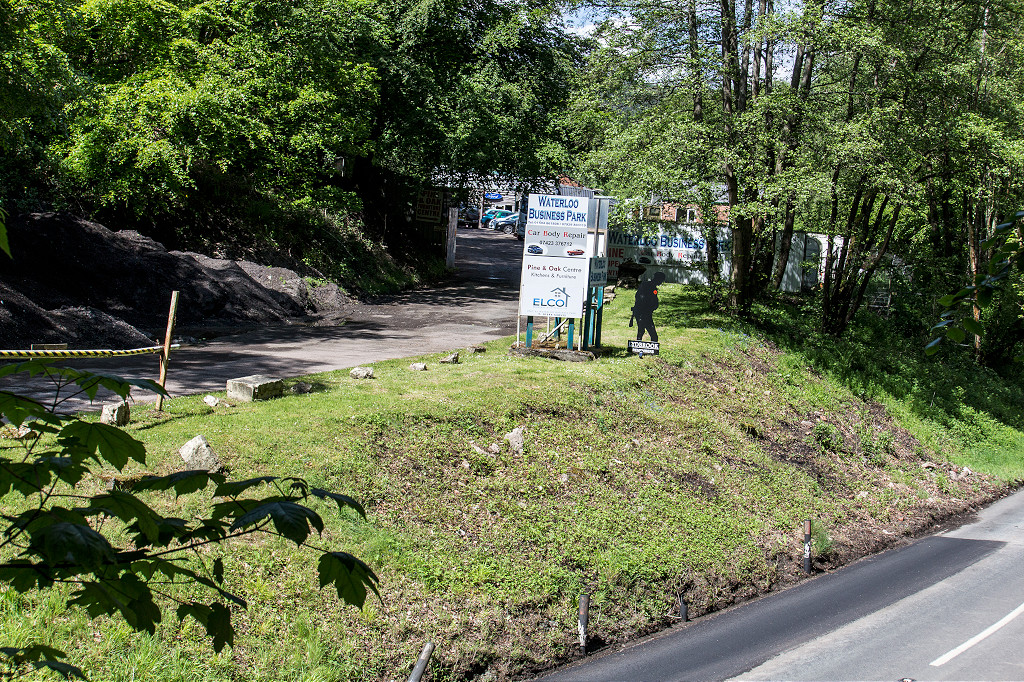
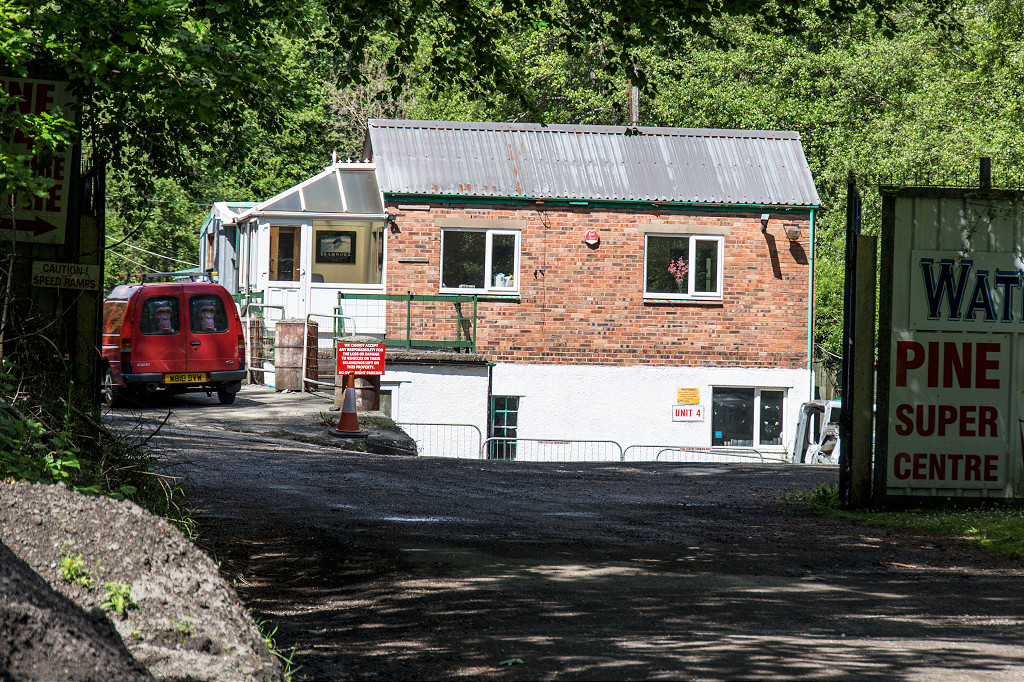
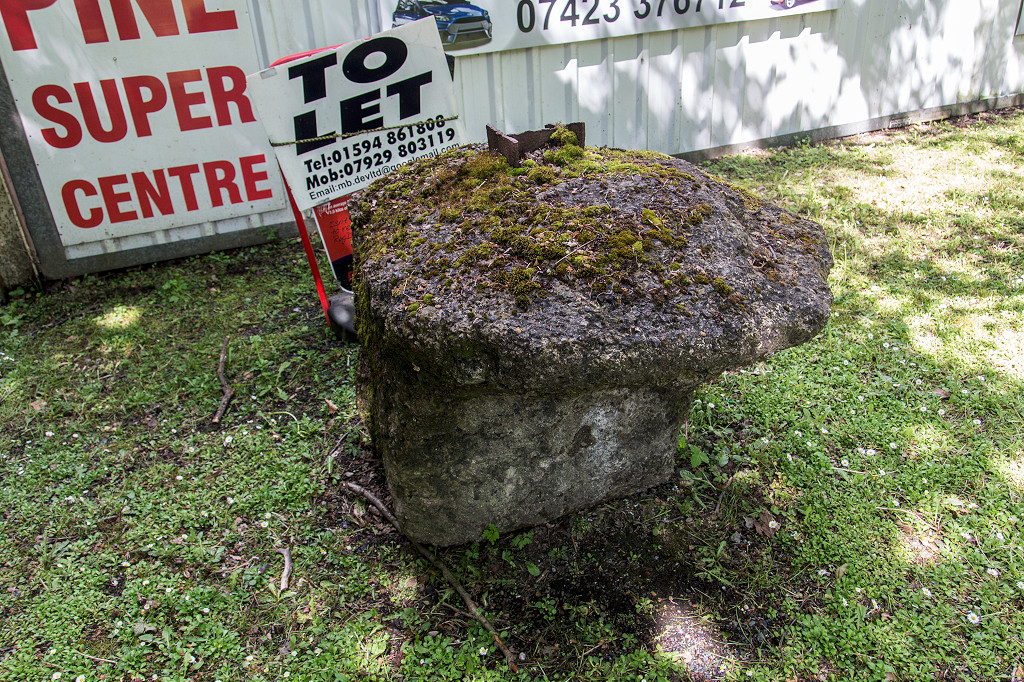
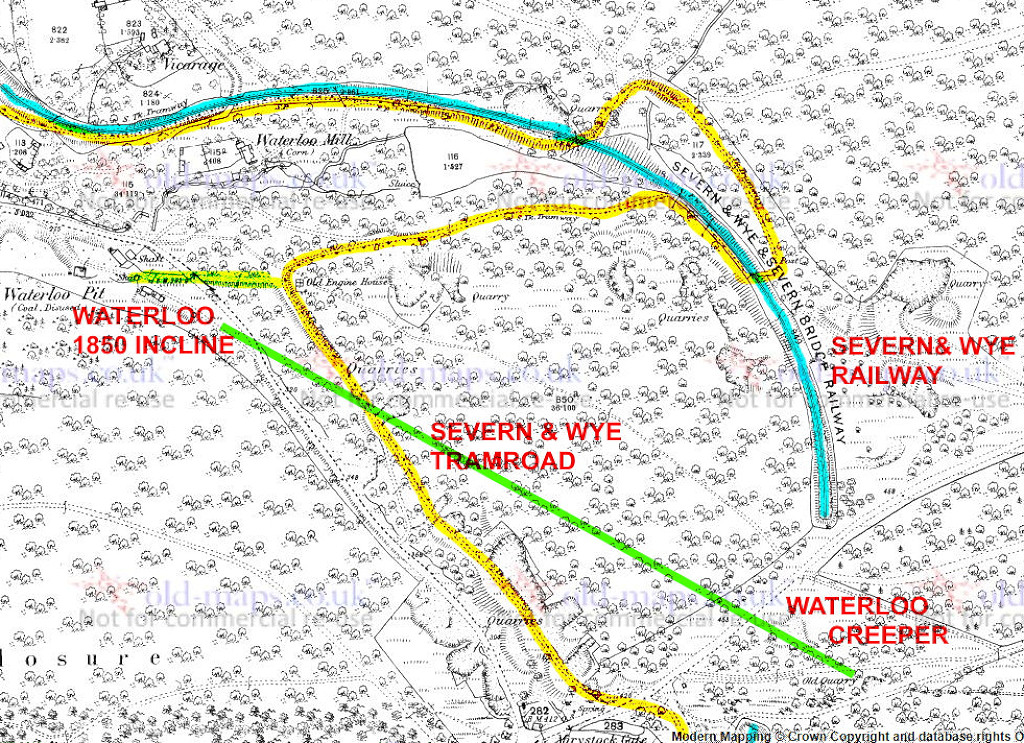
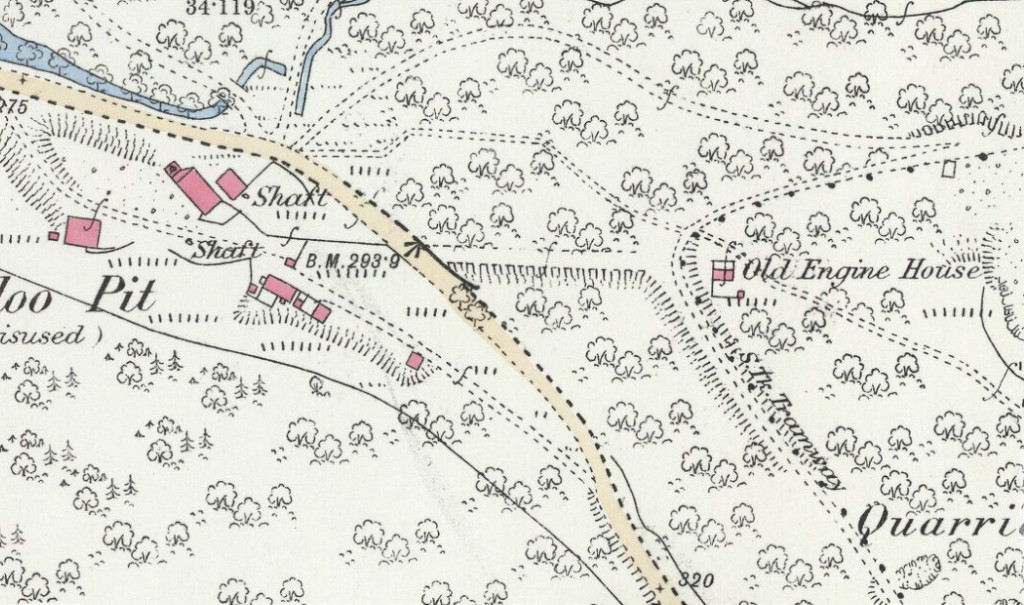 Waterloo Colliery, 1877 |
 Waterloo Colliery, 1920 |
 The Arthur & Edward Colliery |
Mierystock screens, 1958, © Photo courtesy of Historic England |
 The Arthur & Edward Colliery |
 The Colliery offices and canteen |
 The Arthur & Edward Colliery |
 The 'creeper' at the colliery |
 Waterloo Colliery 'creeper' incline |
 Waterloo Colliery 'creeper' incline |
 Waterloo Colliery 'creeper' incline |
 Waterloo Colliery 'creeper' incline |
 Waterloo Colliery 'creeper' incline |
 Waterloo Colliery 'creeper' incline |
 The 'creeper' at Mierystock |
 The 'creeper' at Mierystock |
 The 'creeper' at Mierystock |
 The 1850s engine house |
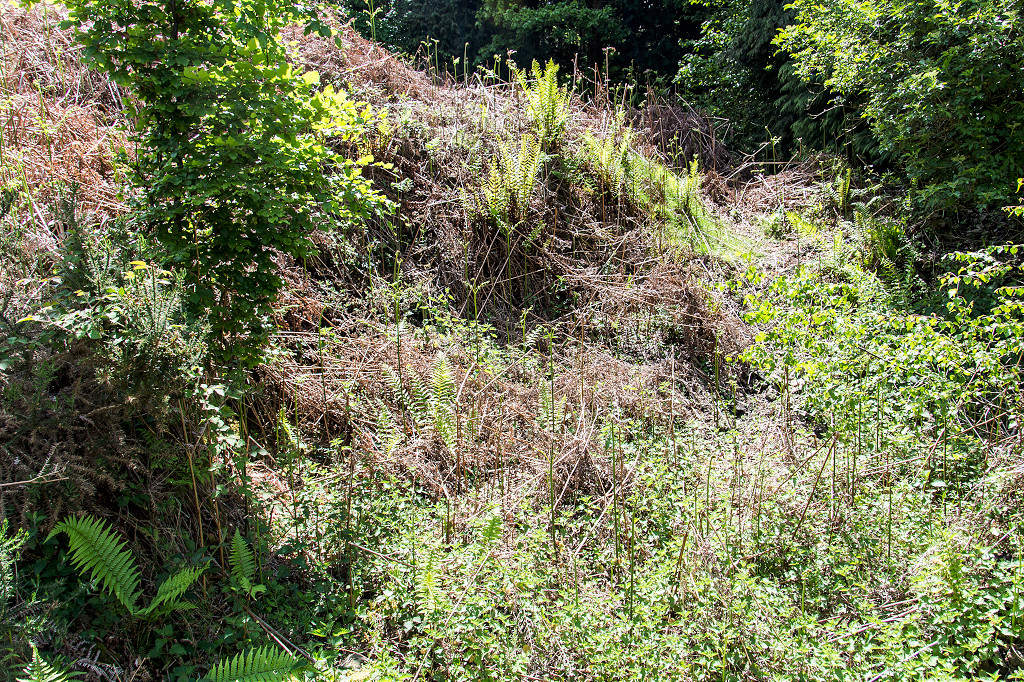
 The 1850s incline |
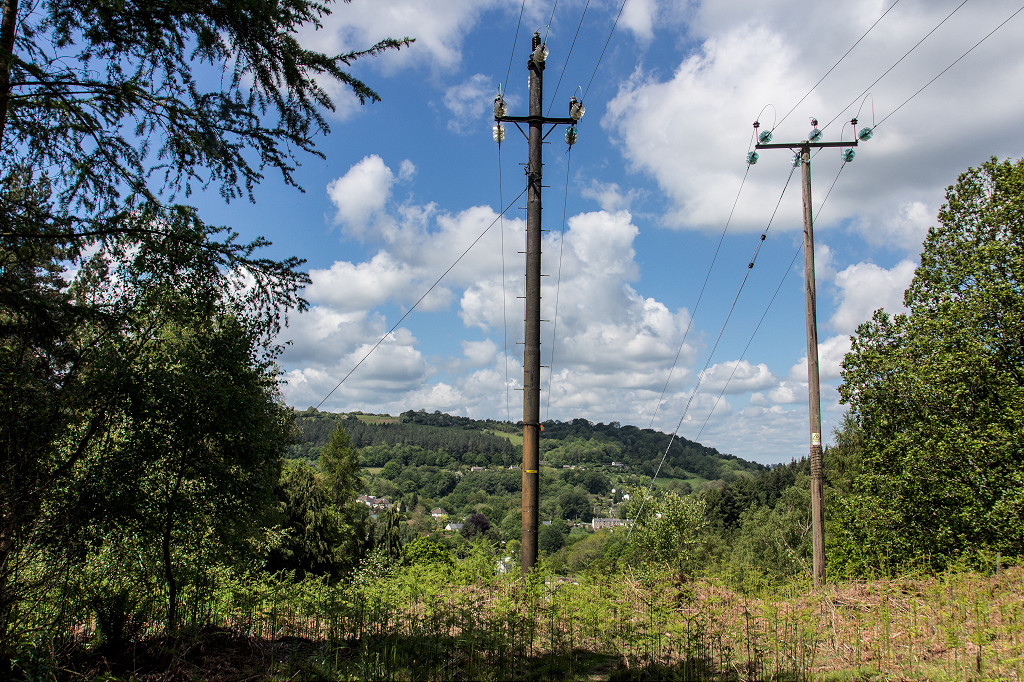 'West Glos Power Co' metal pylon |
 Brierley Quarry area, 1881 |
 The Severn & Wye Tramroad |
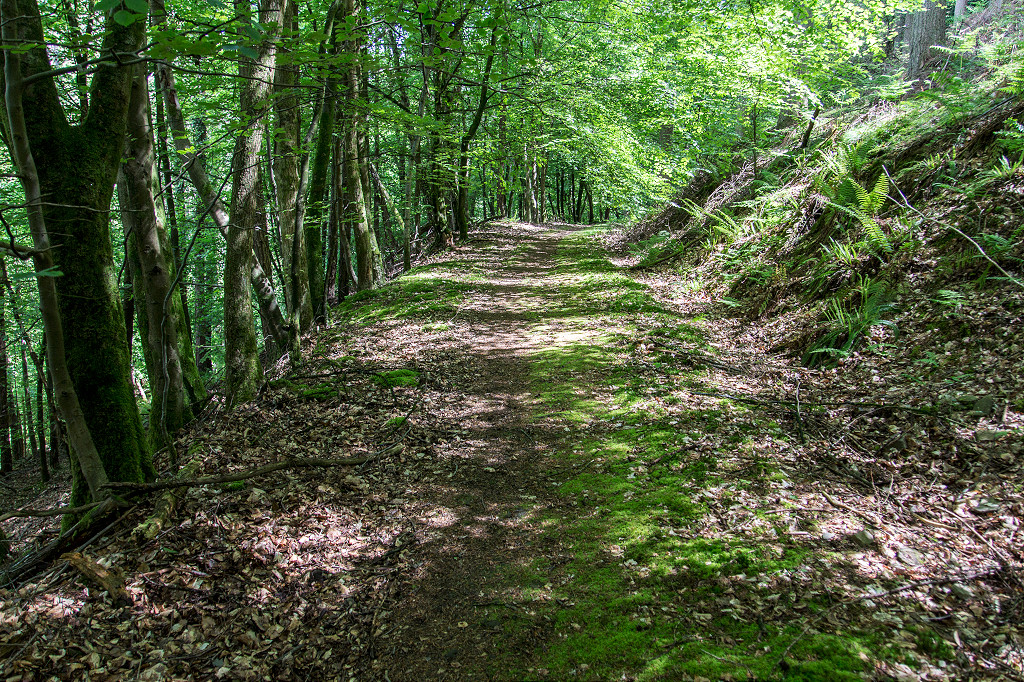 The Severn & Wye Tramroad |
 The Severn & Wye Tramroad |
 A quarry on the S & W Tramroad |
 A quarry on the S & W Tramroad |
 Brierley sidings trackbed |
 Brierley S tramroad bridge |
 Brierley S tramroad bridge |
 Brierley S tramroad bridge |
 The tramroad loop at Brierley |
 The tramroad loop at Brierley |
 The tramroad loop at Brierley |
|
 Brierley N tramroad bridge |
 Brierley N tramroad bridge |
 Waterloo Mill race |
 Waterloo Mill dam |
 Plud's Colliery tramway bridge |
 Plud's Colliery tramway bridge |
 Plud's Colliery tramway bridge |
 Plud's Colliery sidings and screens |
 Plud's Colliery sidings and screens |
 Plud's Colliery tramway |
 Plud's Colliery site |
|
 S&WR bridge over Vicarage Lane |
 S&WR bridge over Vicarage Lane |
 S&WR bridge over Vicarage Lane |
 S&W Tramroad at Vicarage Lane |
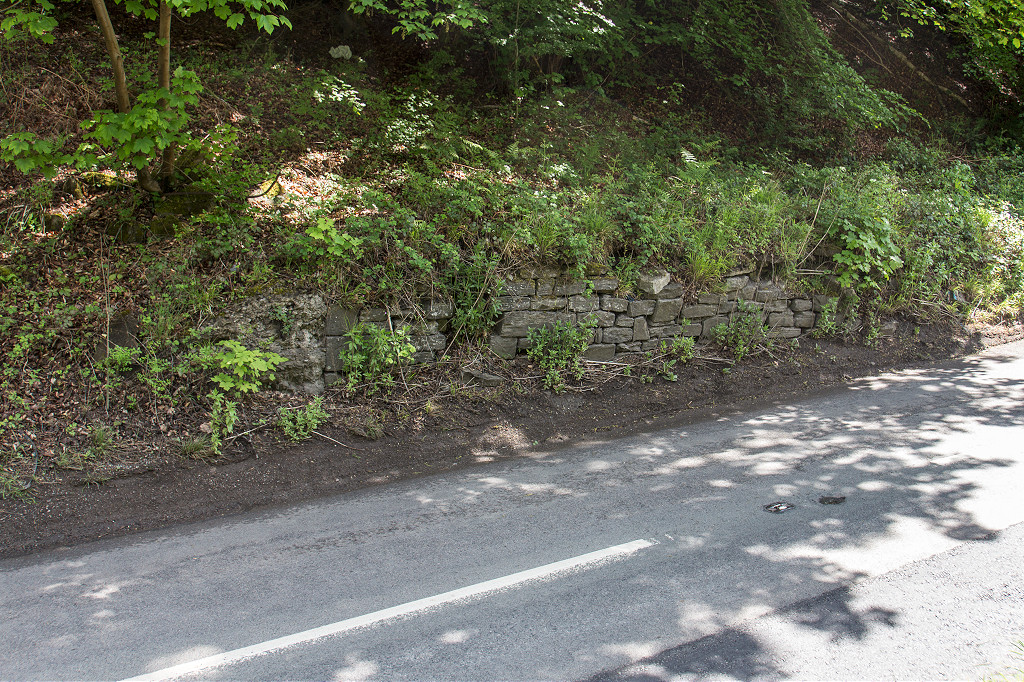
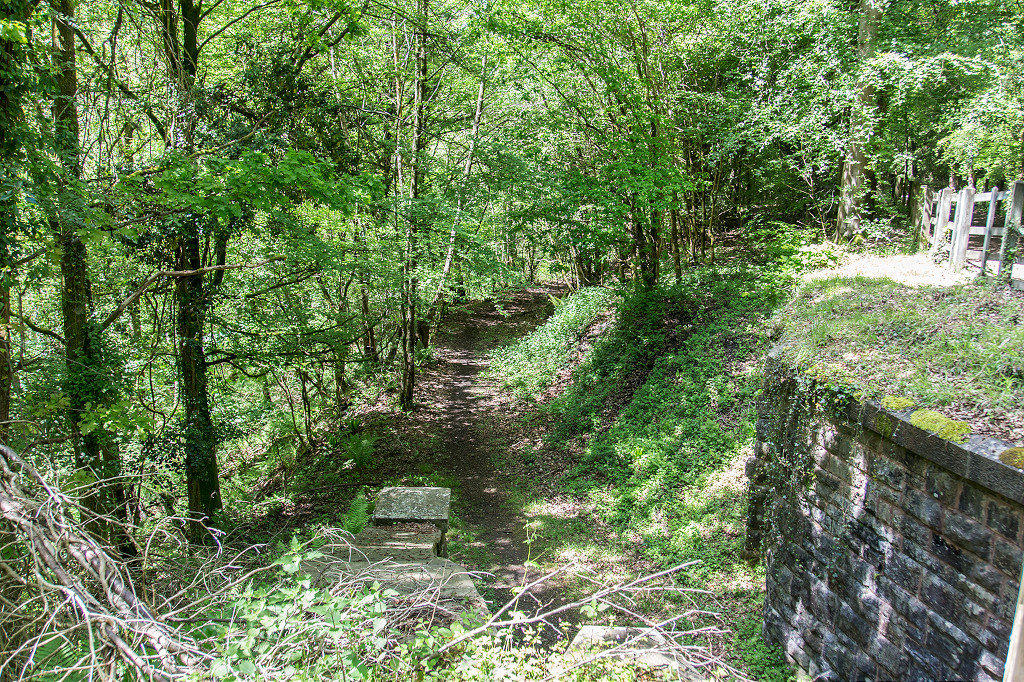
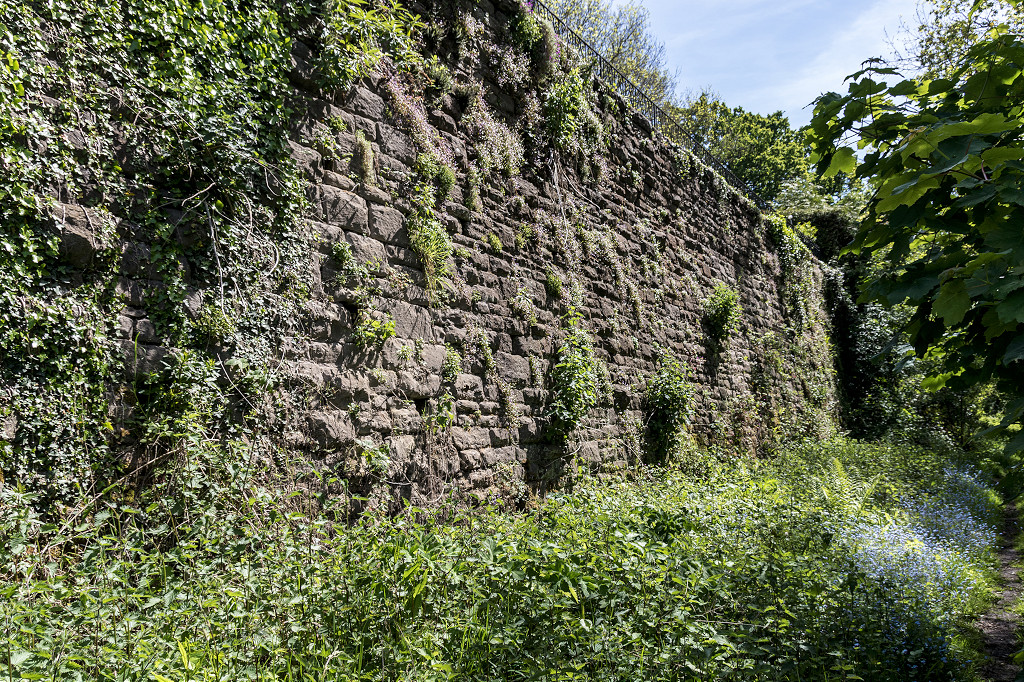
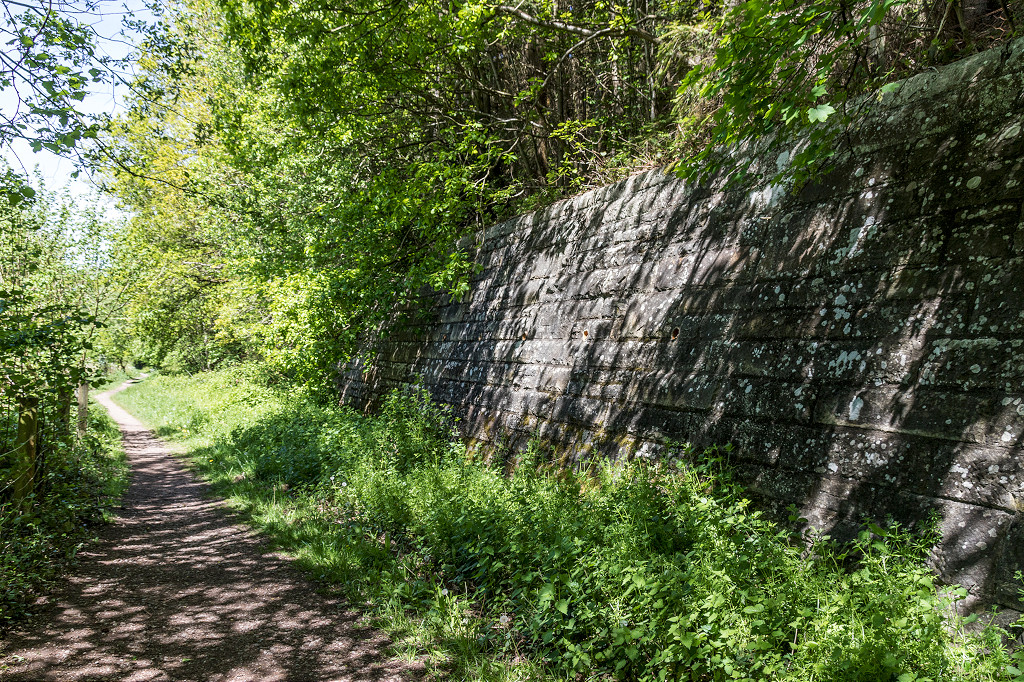 Upper Lydbrook retaining wall |
 Lydbrook Deep Colliery sidings |
 Lydbrook Deep Colliery sidings |
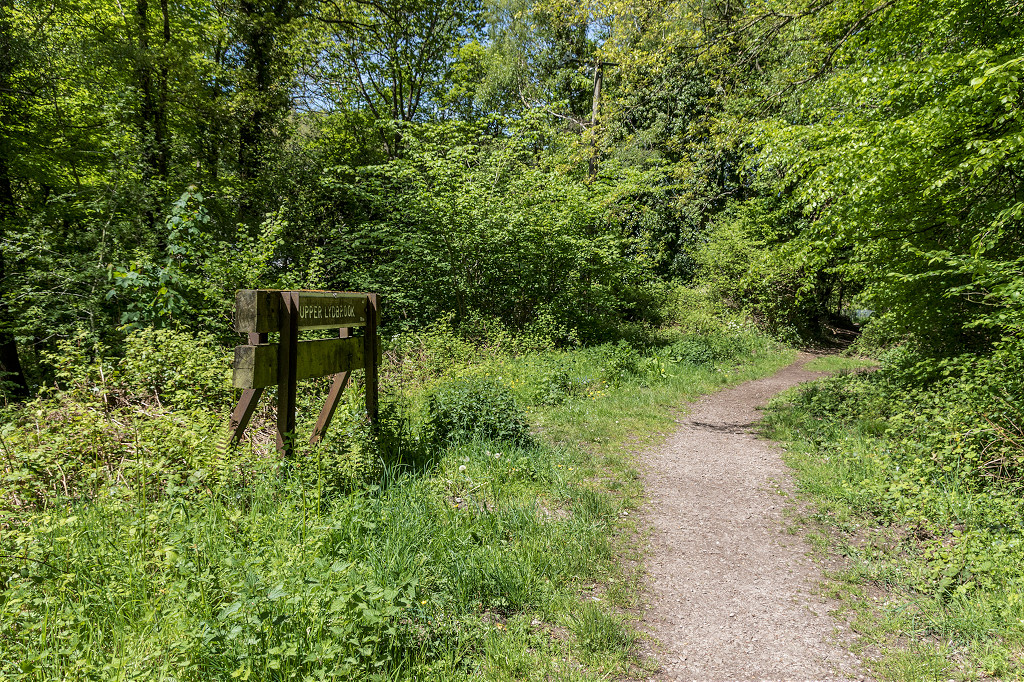
 Upper Lydbrook trackbed |
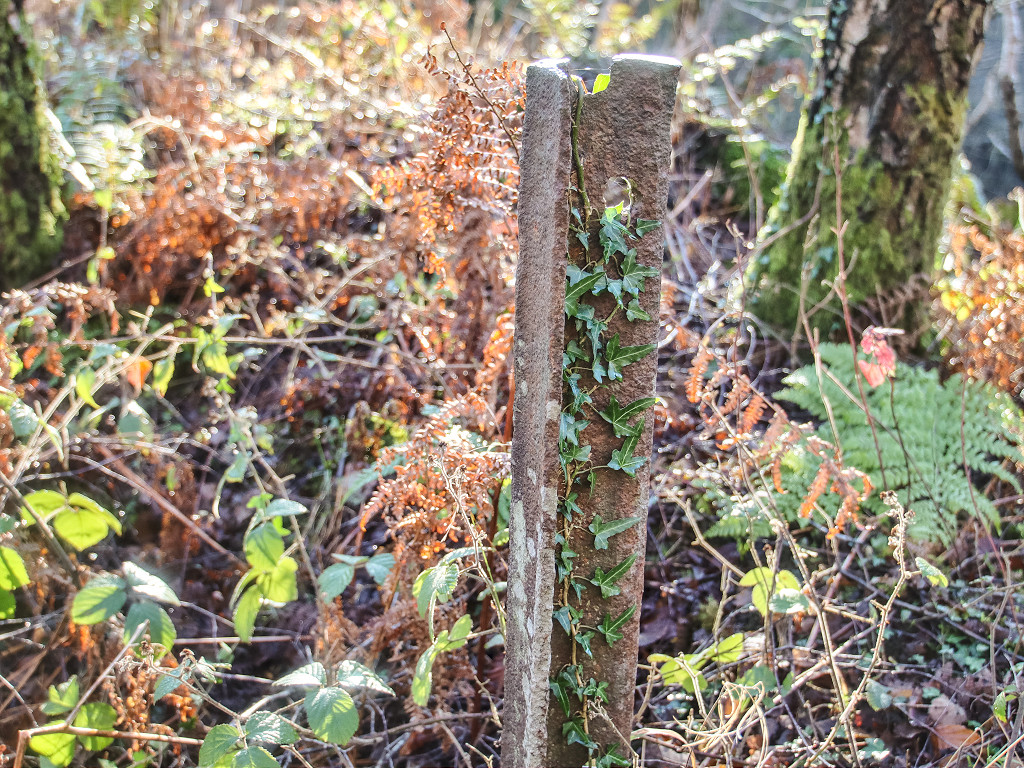
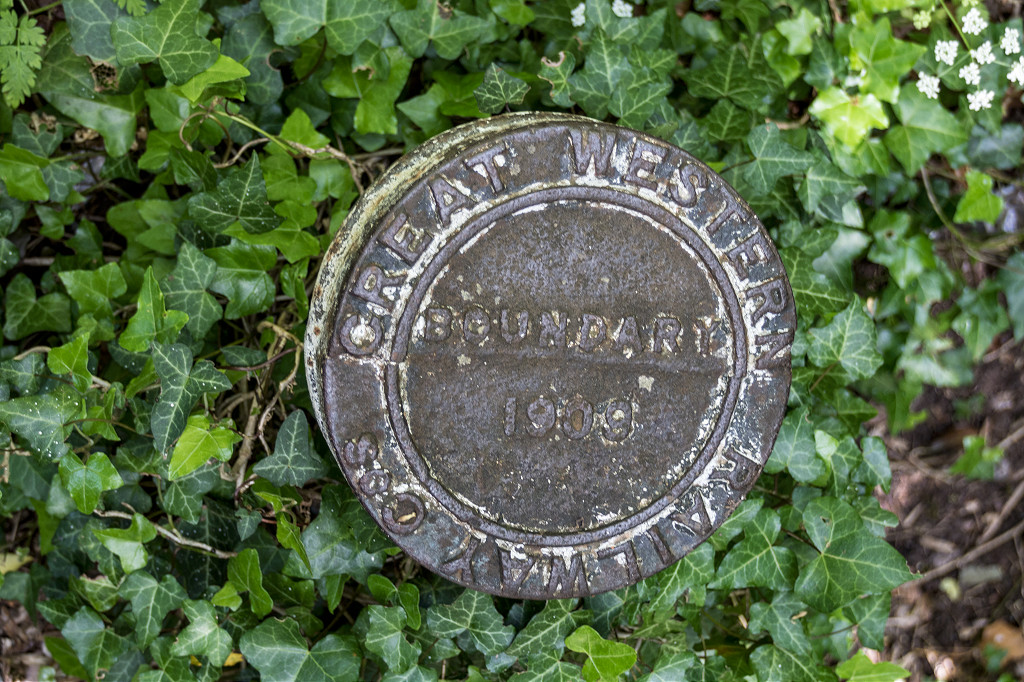 GWR boundary post |
 Coles Rock retaining wall |
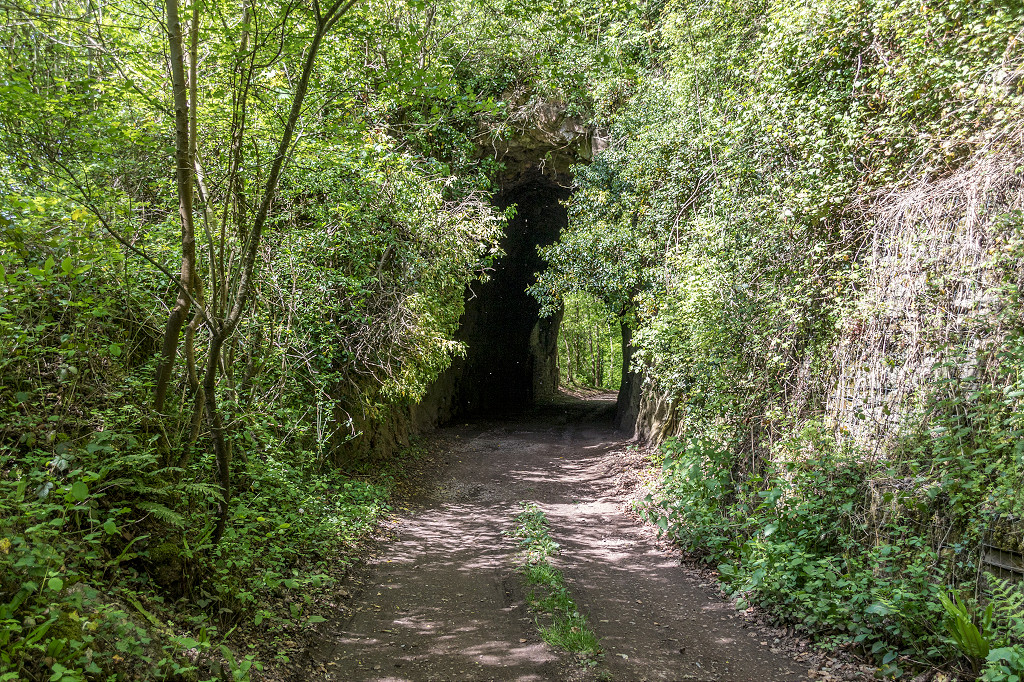 Coles Rock tunnel |
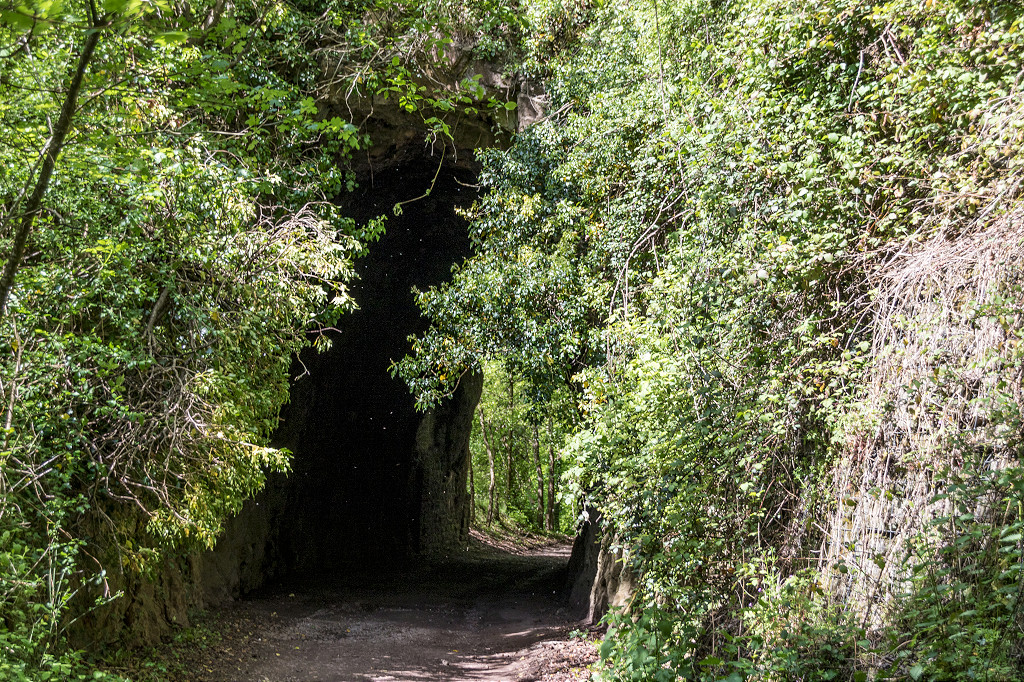 Coles Rock tunnel |
 Coles Rock tunnel |
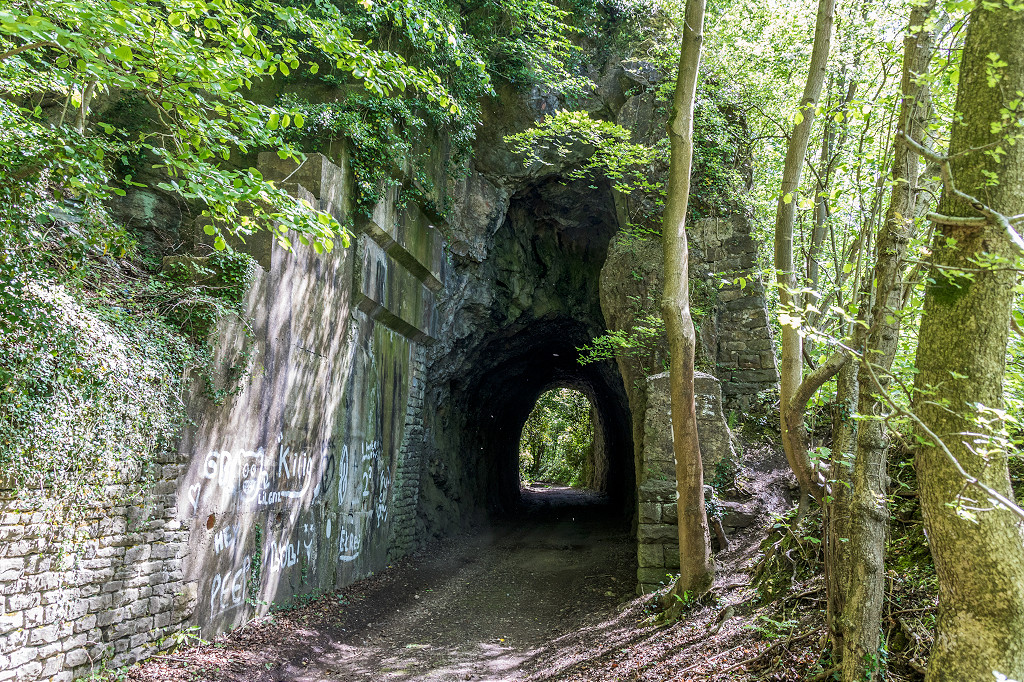 Coles Rock tunnel |
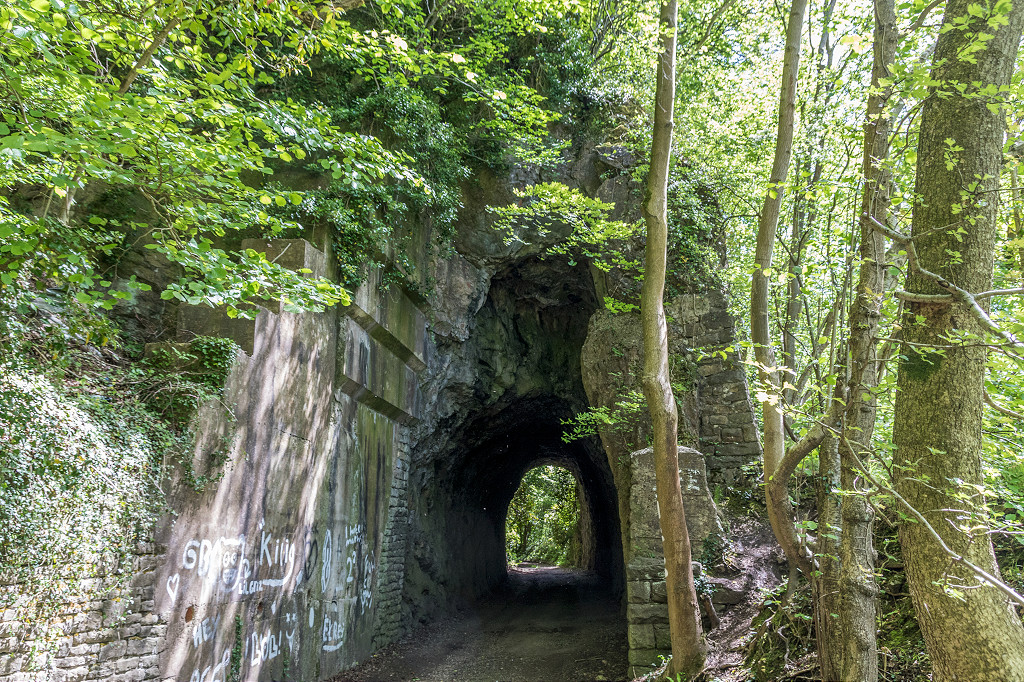 Coles Rock tunnel |
 Coles Rock tunnel |
 Coles Rock tunnel |
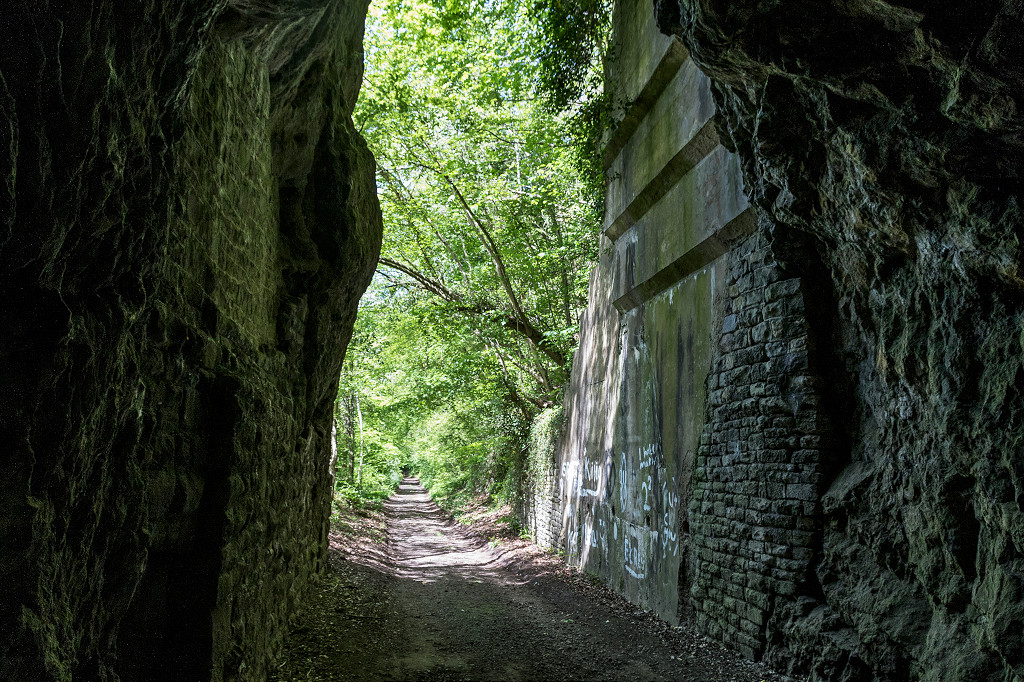
 Coles Rock trackbed |
 Coles Rock trackbed |
 Coles Rock tramroad |
 Hillview House access arch |
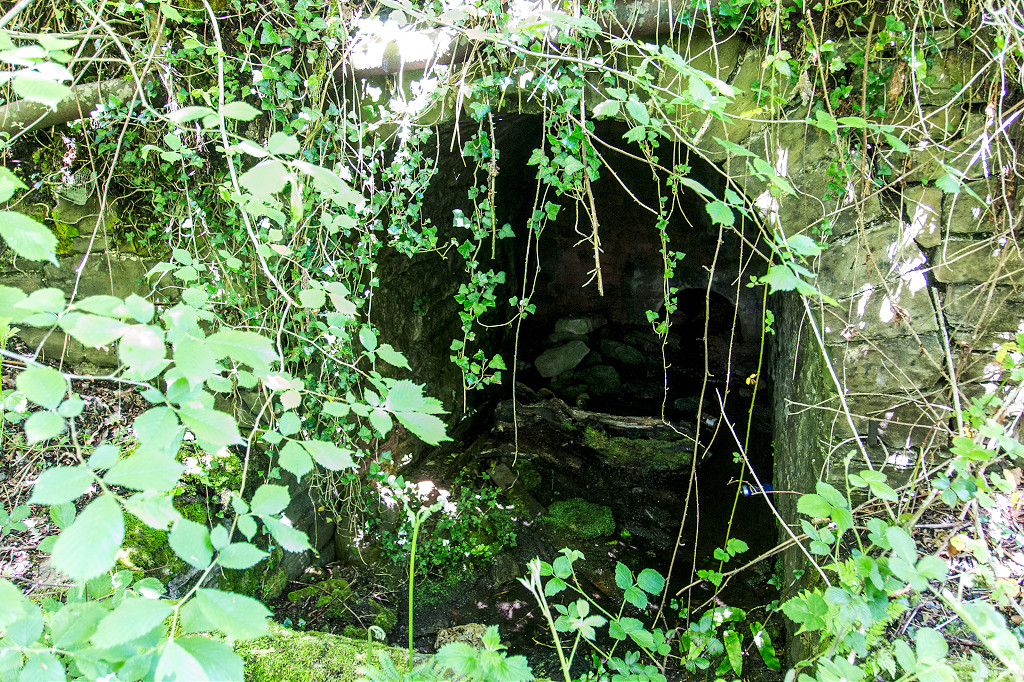
 Brains Iron Mine, Lydbrook |
 Lower Lydbrook Tinplate Works |
 Lower Lydbrook Tinplate Works |
 Lower Lydbrook Tinplate Works |
 Lower Lydbrook Tinplate Works |
 Lower Lydbrook Ironworks site |
 Lower Lydbrook Ironworks site |
 Tramroad at Lower Lydbrook |
|
 Tramroad at Lower Lydbrook |
 Tramroad at Lower Lydbrook |
 Tramroad at Lower Lydbrook |
 Tramroad at Lower Lydbrook |
 Lower Lydbrook Station |
 Lydbrook viaduct abutments |
 Lydbrook viaduct abutments |
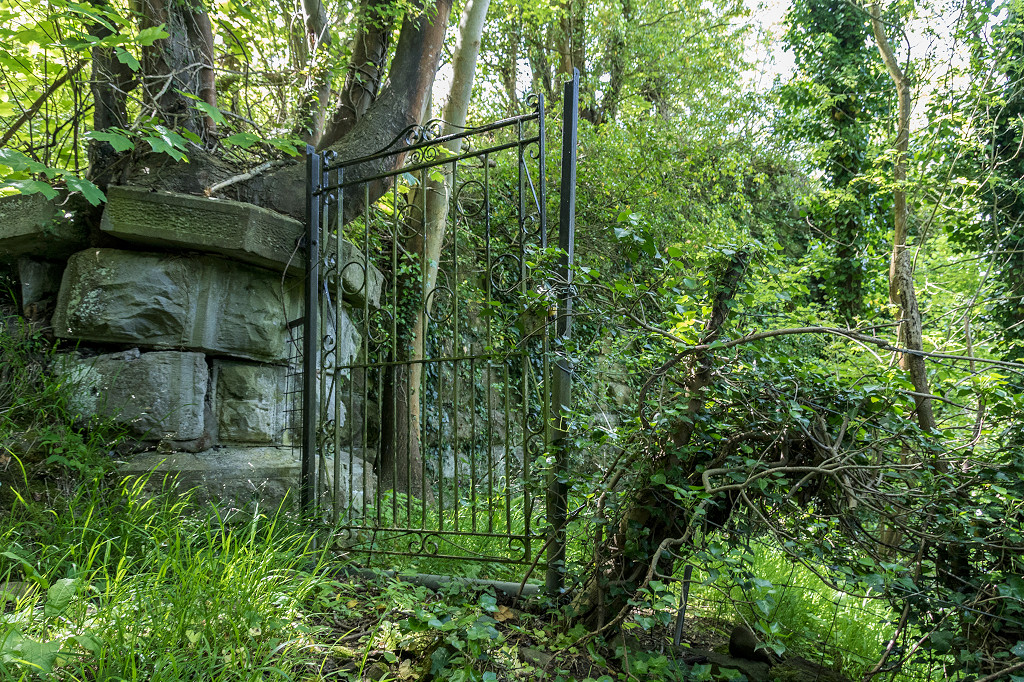
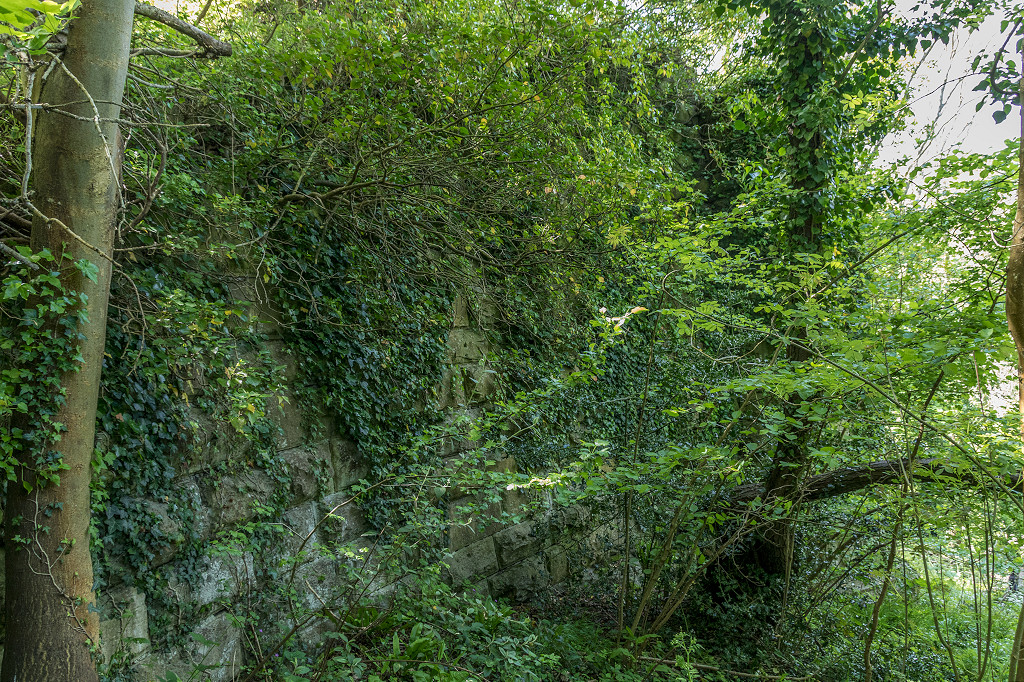
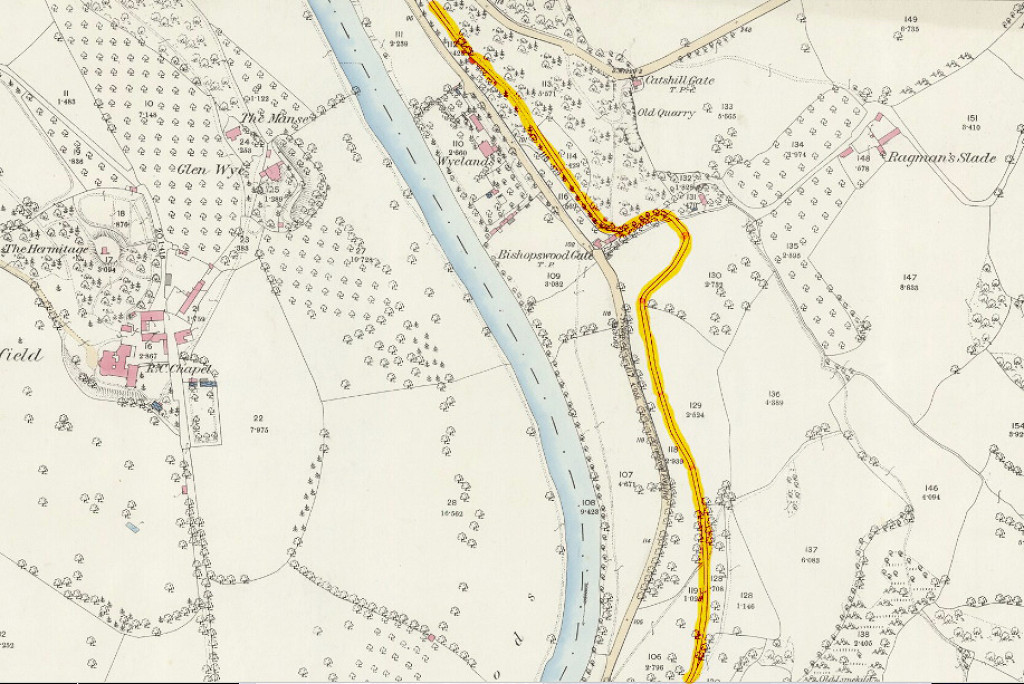
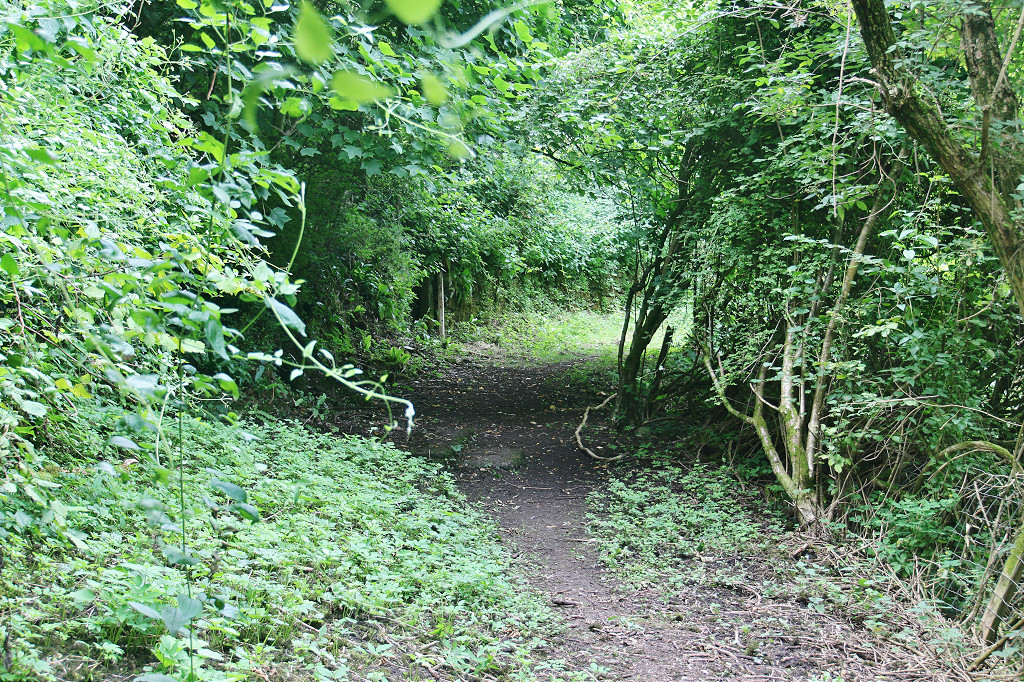
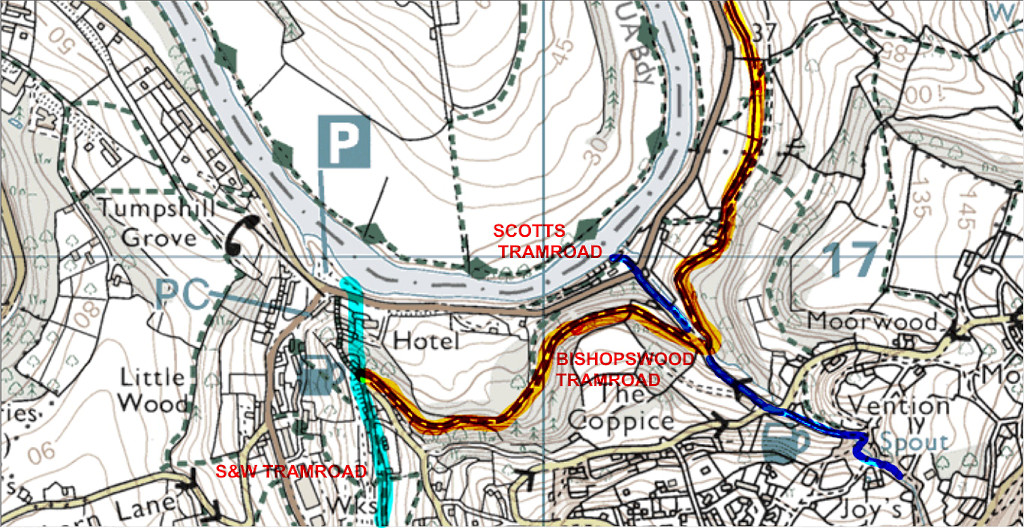 Bishopswood Tramroad |
 Bishopswood Tramroad |
 Bishopswood Tramroad |
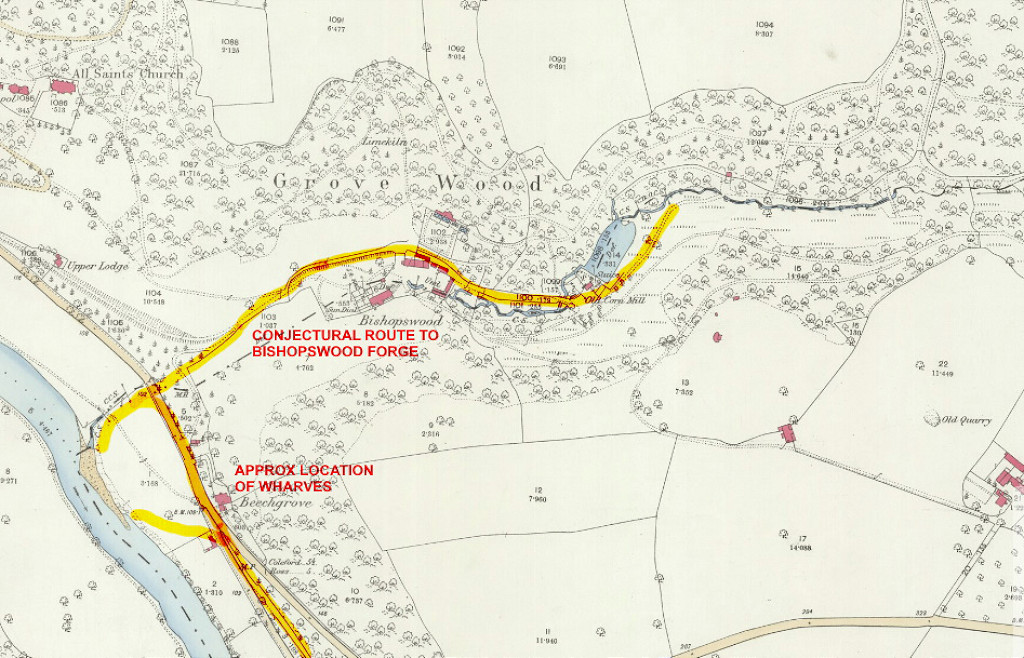 Bishopswood Tramroad |
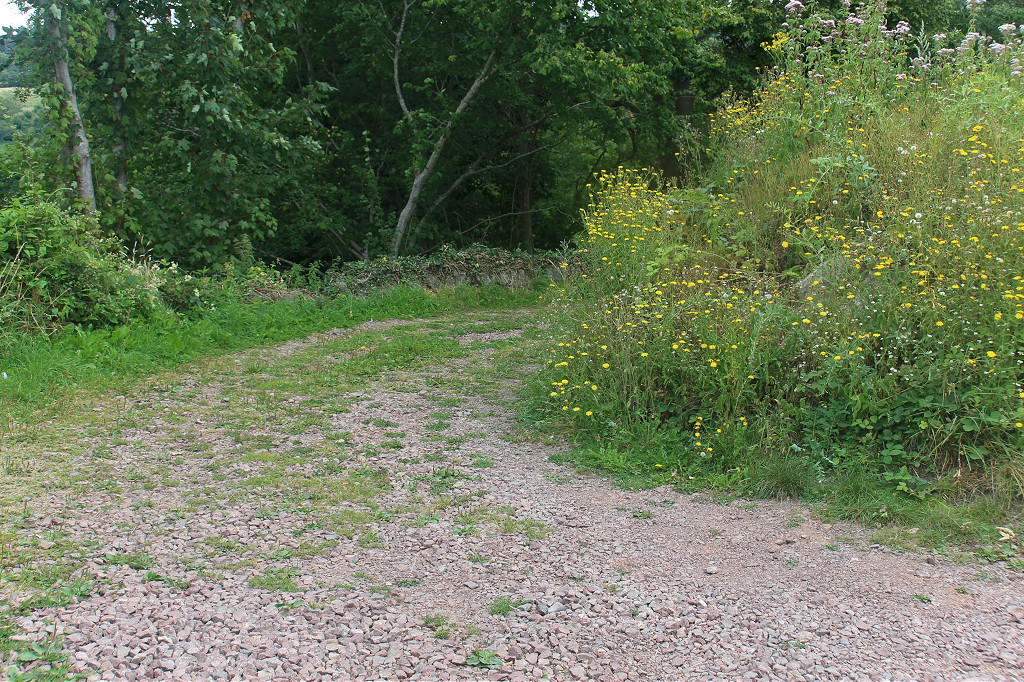 Bishopswood Tramroad |
 Bishopswood Tramroad |
 Bishopswood Tramroad |
 Bishopswood Tramroad |
 Bishopswood Tramroad |
 Bishopswood Tramroad |
 Bishopswood Tramroad |
 Bishopswood Tramroad |
 Bishopswood Tramroad |
 Bishopswood Tramroad |
 Bishopswood Tramroad |
 Bishopswood Tramroad |
 Waterscross Farm, Lydbrook |
 Waterscross Farm, Lydbrook |
 Waterscross Farm, Lydbrook |
 Waterscross Farm, Lydbrook |
 GWR Monmouth to Ross railway |
 GWR Monmouth to Ross railway |
 Stowfield Viaduct, Lydbrook |
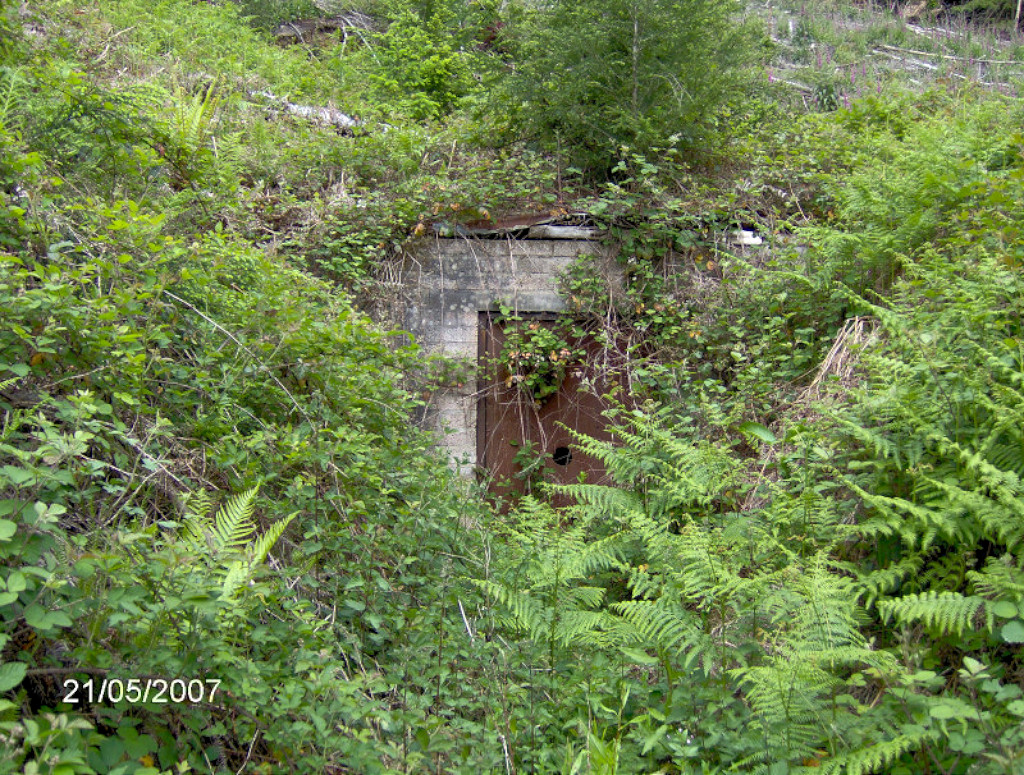
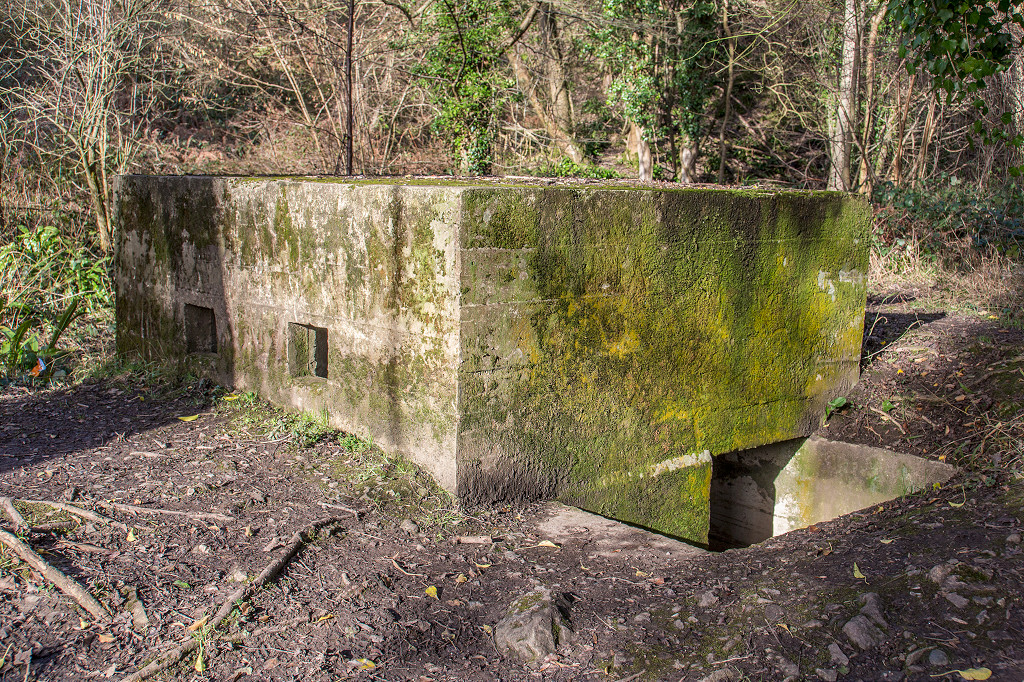 Lydbrook Tunnel pillbox |
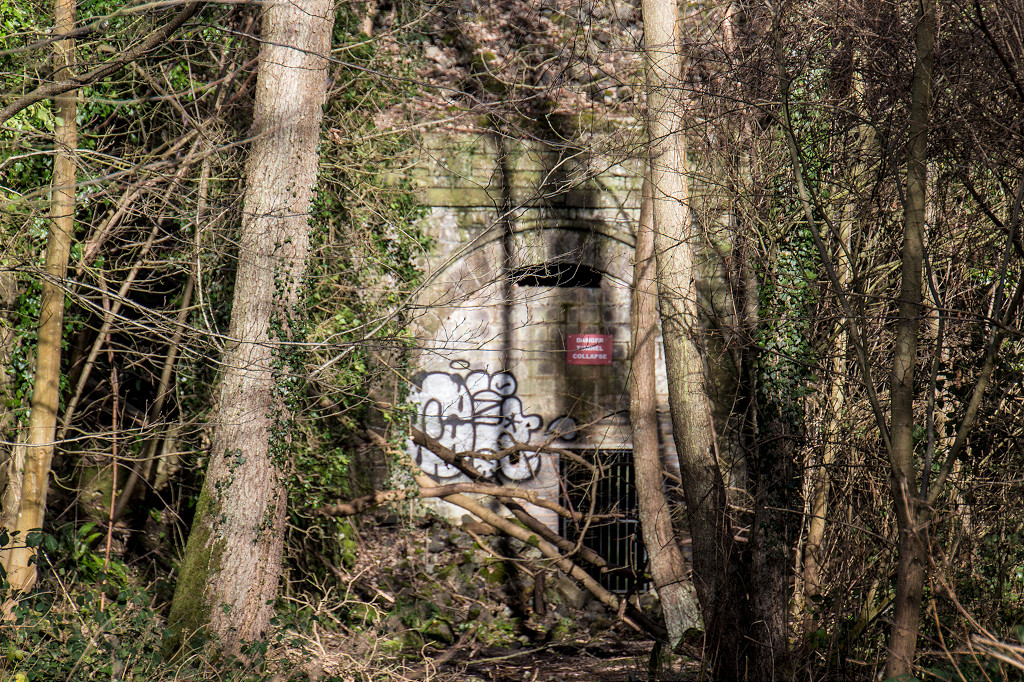 Lydbrook Tunnel Southern portal |
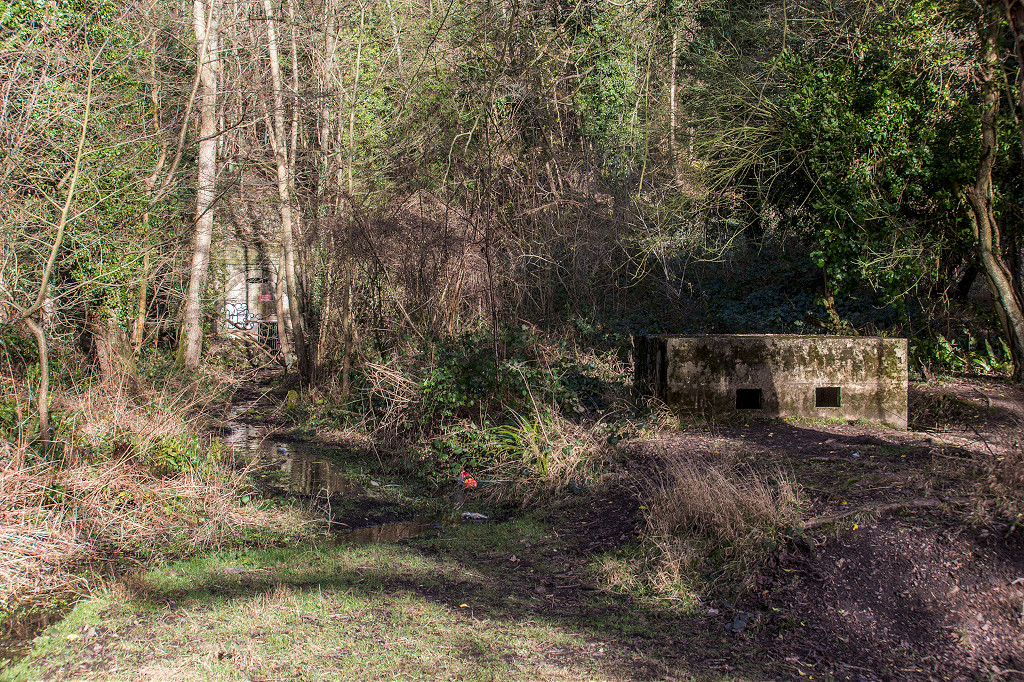 Lydbrook Tunnel and pillbox |
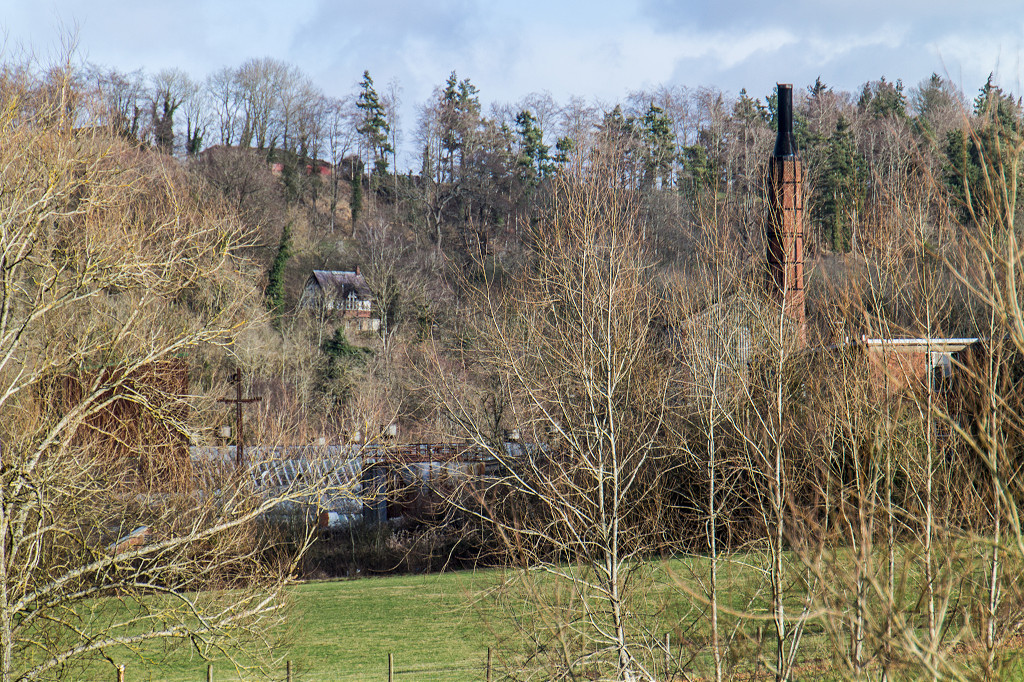 Lydbrook Cable Works |
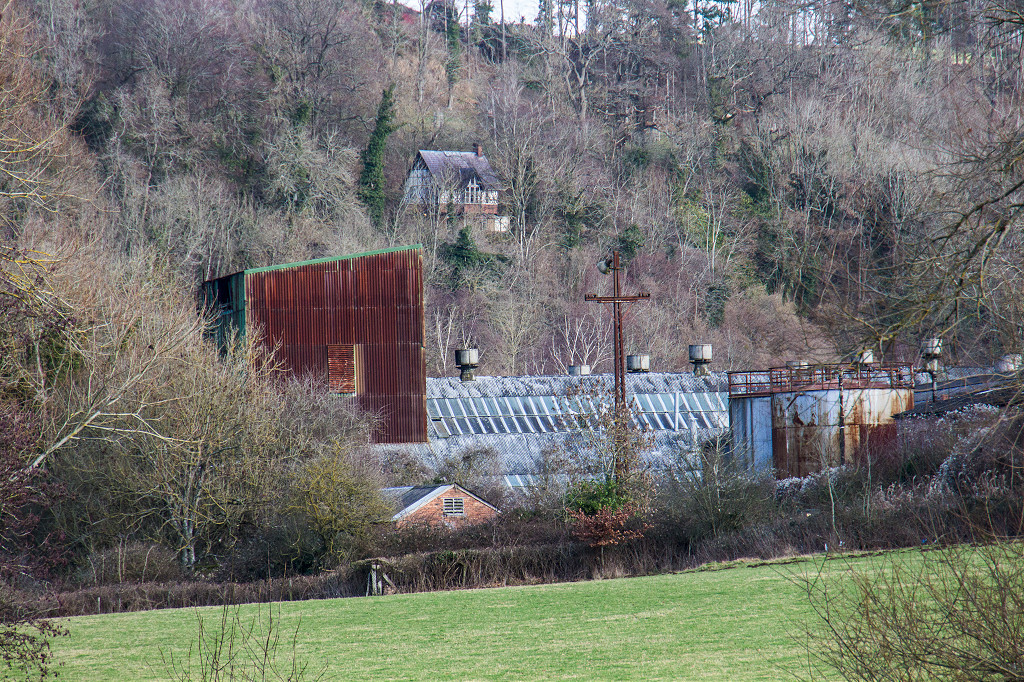 Lydbrook Cable Works |
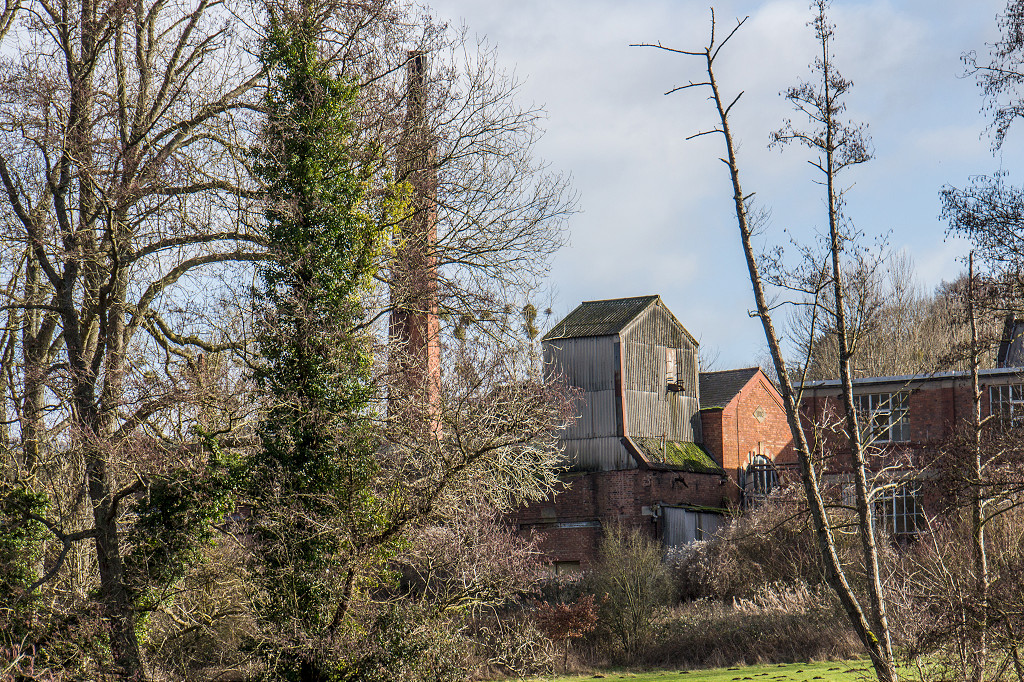 Lydbrook Cable Works |
 Lydbrook Cable Works |
 Lydbrook Cable Works |
 Lydbrook Cable Works |
 Coppet Hill limekiln |
 Coppet Hill limekiln |
 Coppet Hill limekiln |
 Coppet Hill limekiln |
 Symonds Yat smelting works |
 Symonds Yat smelting works |
 Symonds Yat smelting works |
 Symonds Yat smelting works |
 Symonds Yat smelting works |
 Wimberry Tramroad |
 Wimberry Tramroad |
 Wimberry Tramroad |
 Wimberry Tramroad |
 Wimberry Tramroad |
 Wimberry Tramroad |
 Wimberry Tramroad loading bank |
|
 Buckholt (or Hamblins) Colliery |
 Cannop Colliery |
 Cannop Colliery |
 New Thatch Colliery tips |
 Map of the level, 1960 |
 Level East of New Thatch |
 Level East of New Thatch |
 Speedwell Colliery |
 Speedwell Colliery |
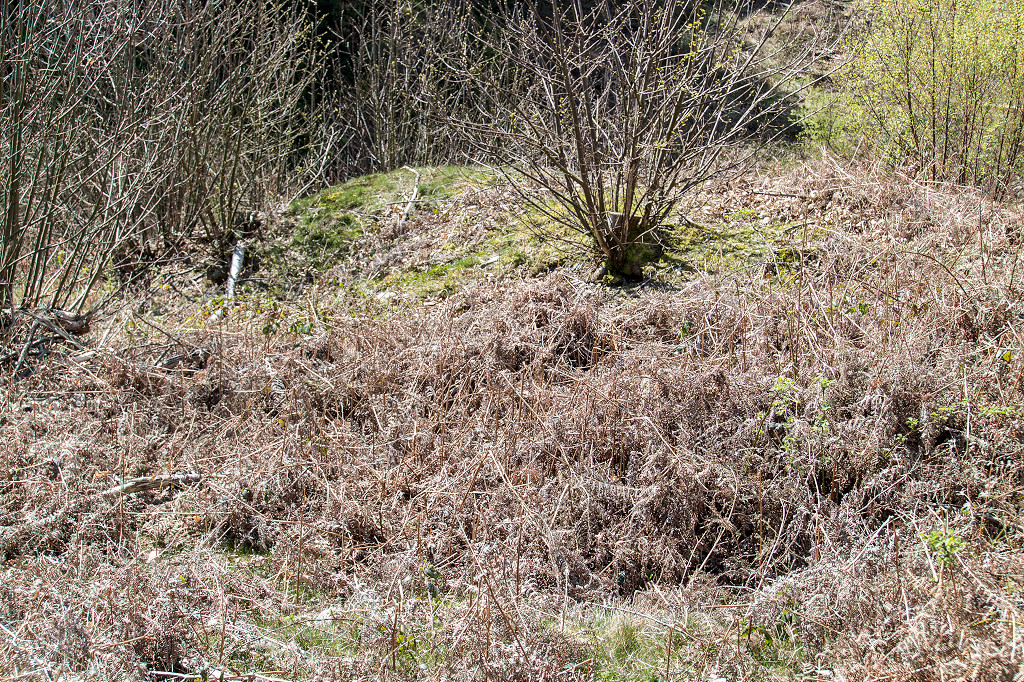
 Sallowvallets watercourses |
Industrial WalesCollieries, Ironworks, Quarries, Railways, Canals, Tramroads, Tunnels, Culverts and so much more....
|
Brickworks of WalesBricks are 'History with a label' so here's the story of the Brickworks of Wales - photos, maps and the products themselves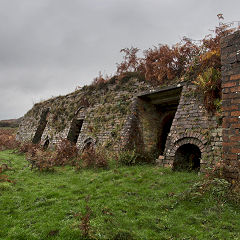
|
Around the WorldMy travels around the UK and the Whole Wide World in search of industries, railways, trams and mines to name a few.
|
Iron and StoneBoundary Stones, Mileposts and any kind of ironmongery from drain covers to builders plates.
|
Ships and ShippingShips around the World in simple alphabetical order of their name (or apparent area if I can't read the name).
|
The Site Map and IndexA full list of all the pages of the whole website in just one place, so you should find exactly what you are looking for.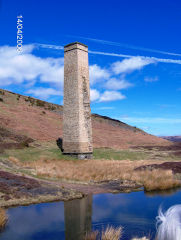
|
About the SiteThe background and technical details about the site, plus a contact page and links to other sites - and a warning !!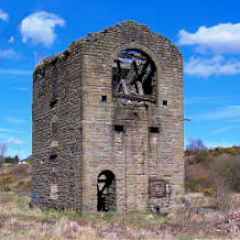
|
Contact MeSomething to add? A great photo? Something wrong? or need to know more about things? Just drop me a line here.
|
Further ReadingYou can find lots of local and other very helpful websites, books, magazines and Facebook groups all listed here.
|